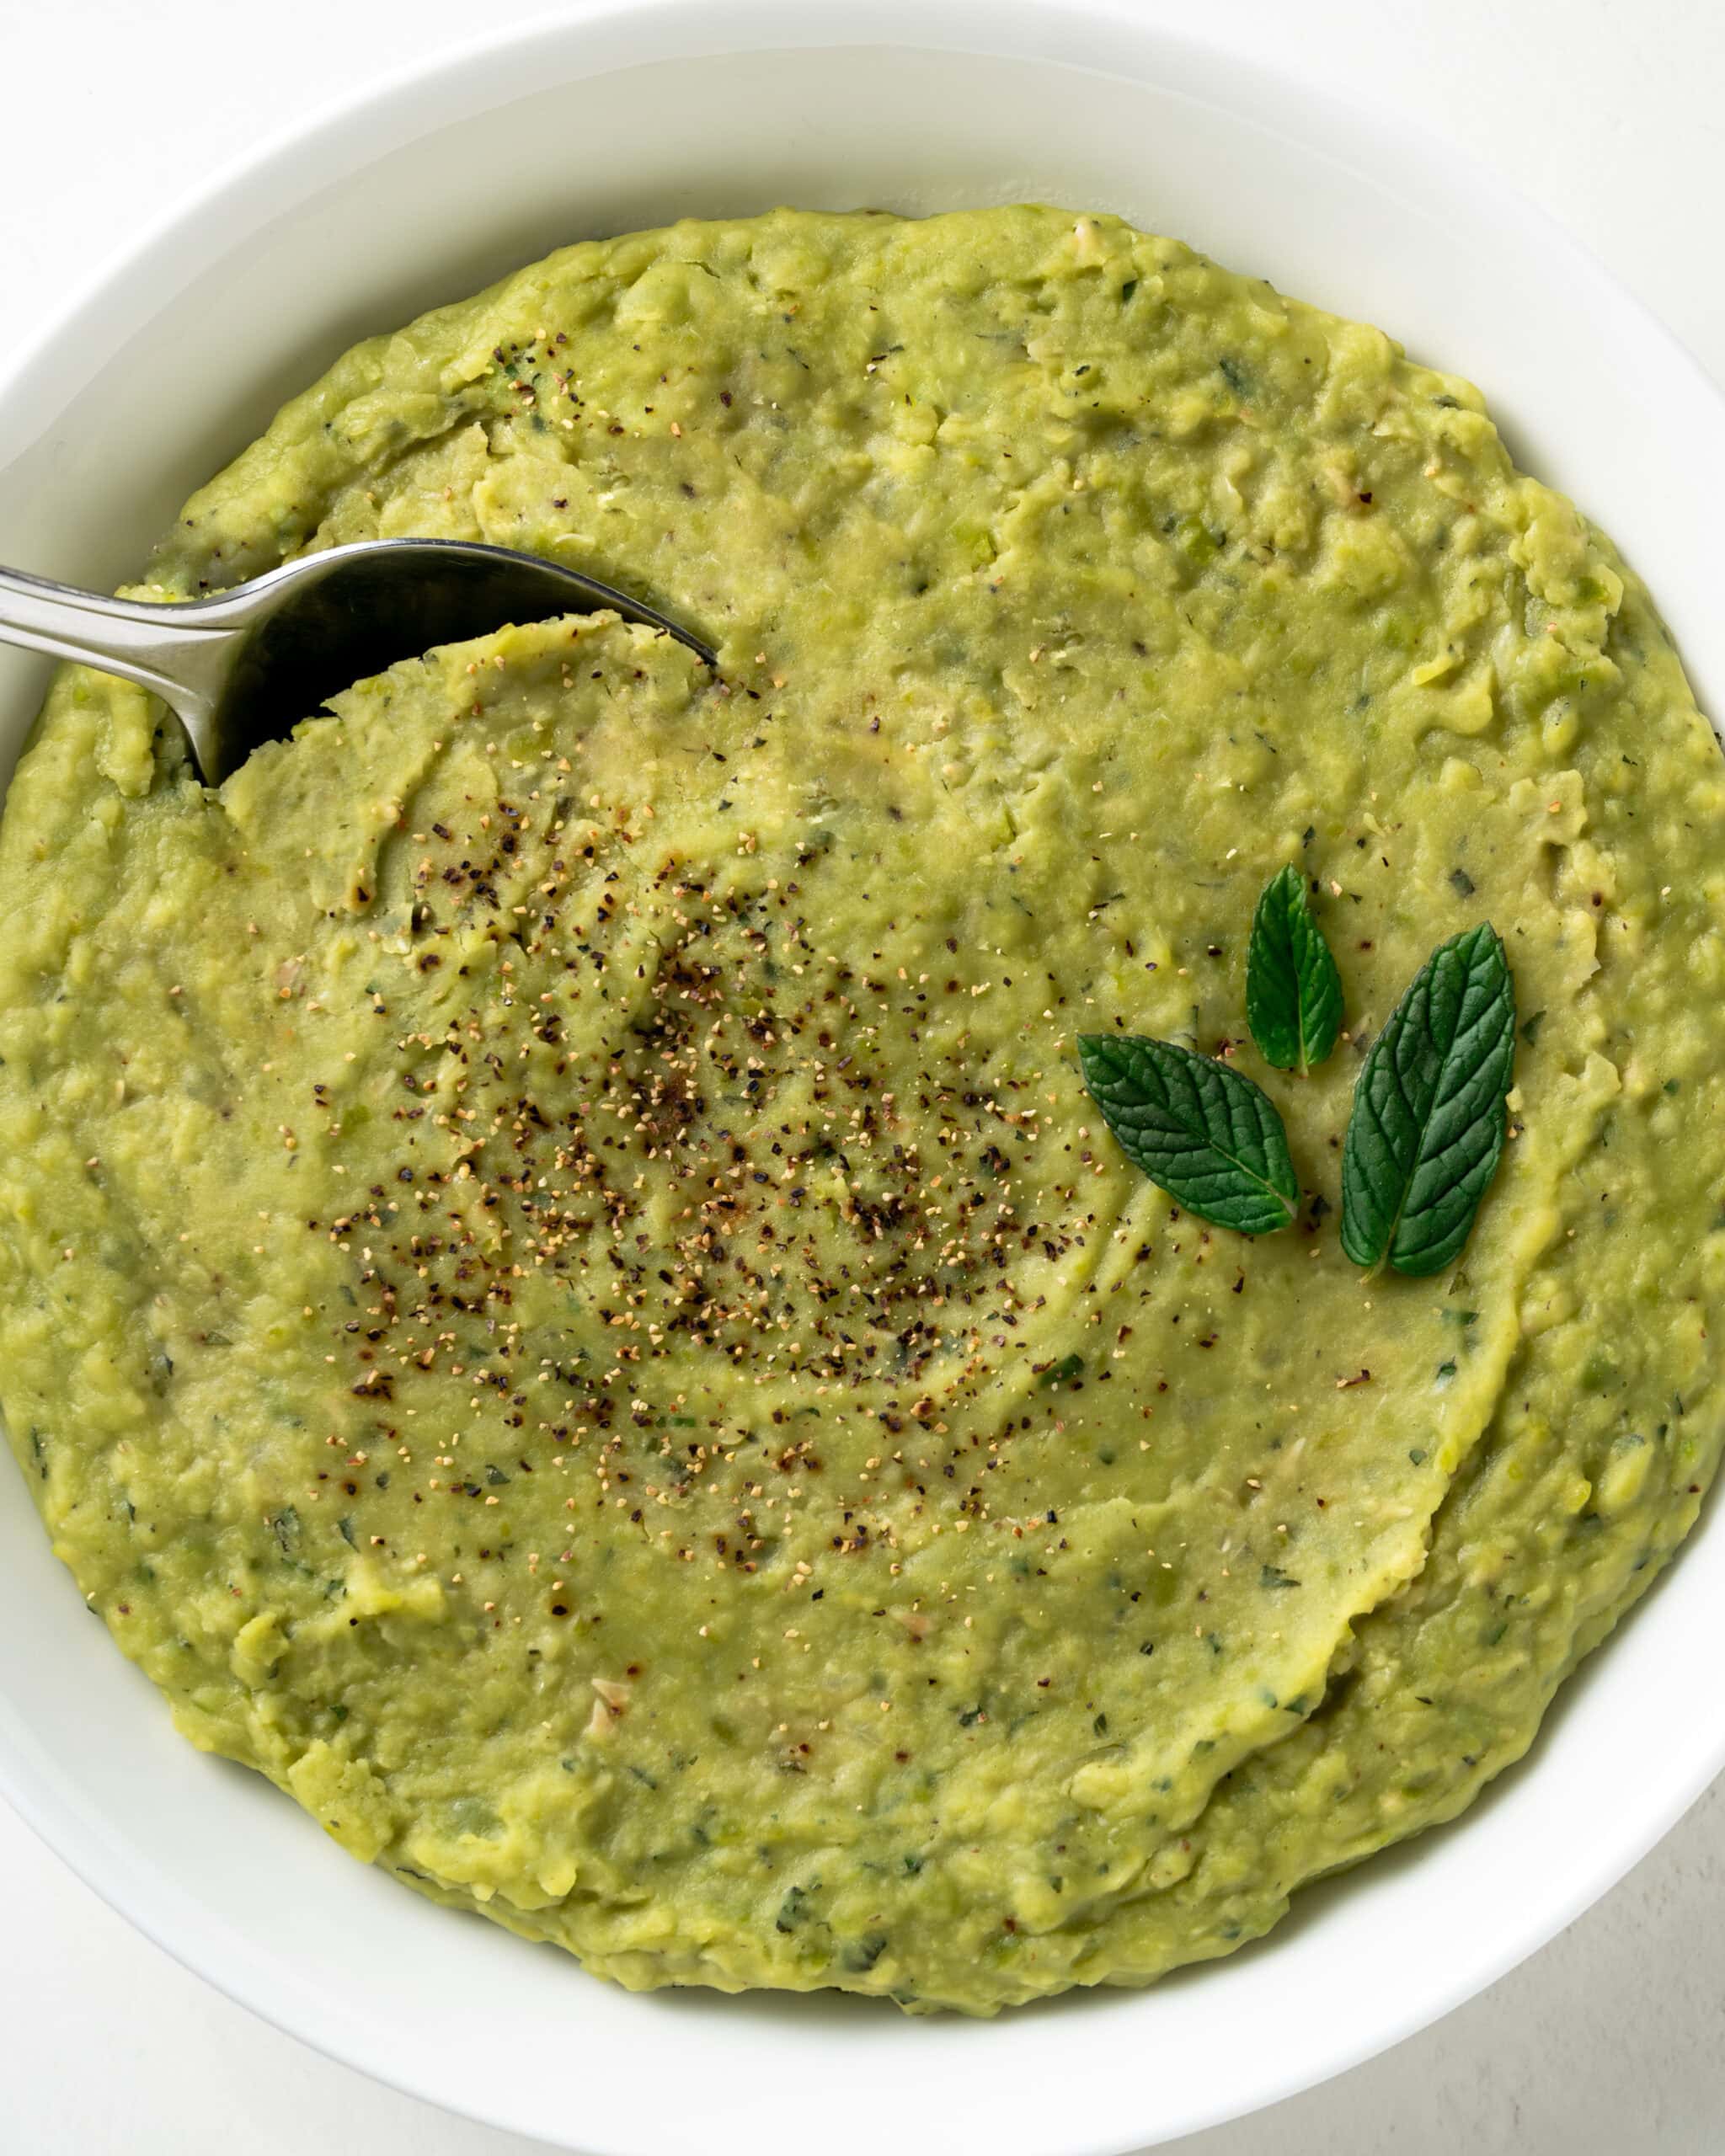
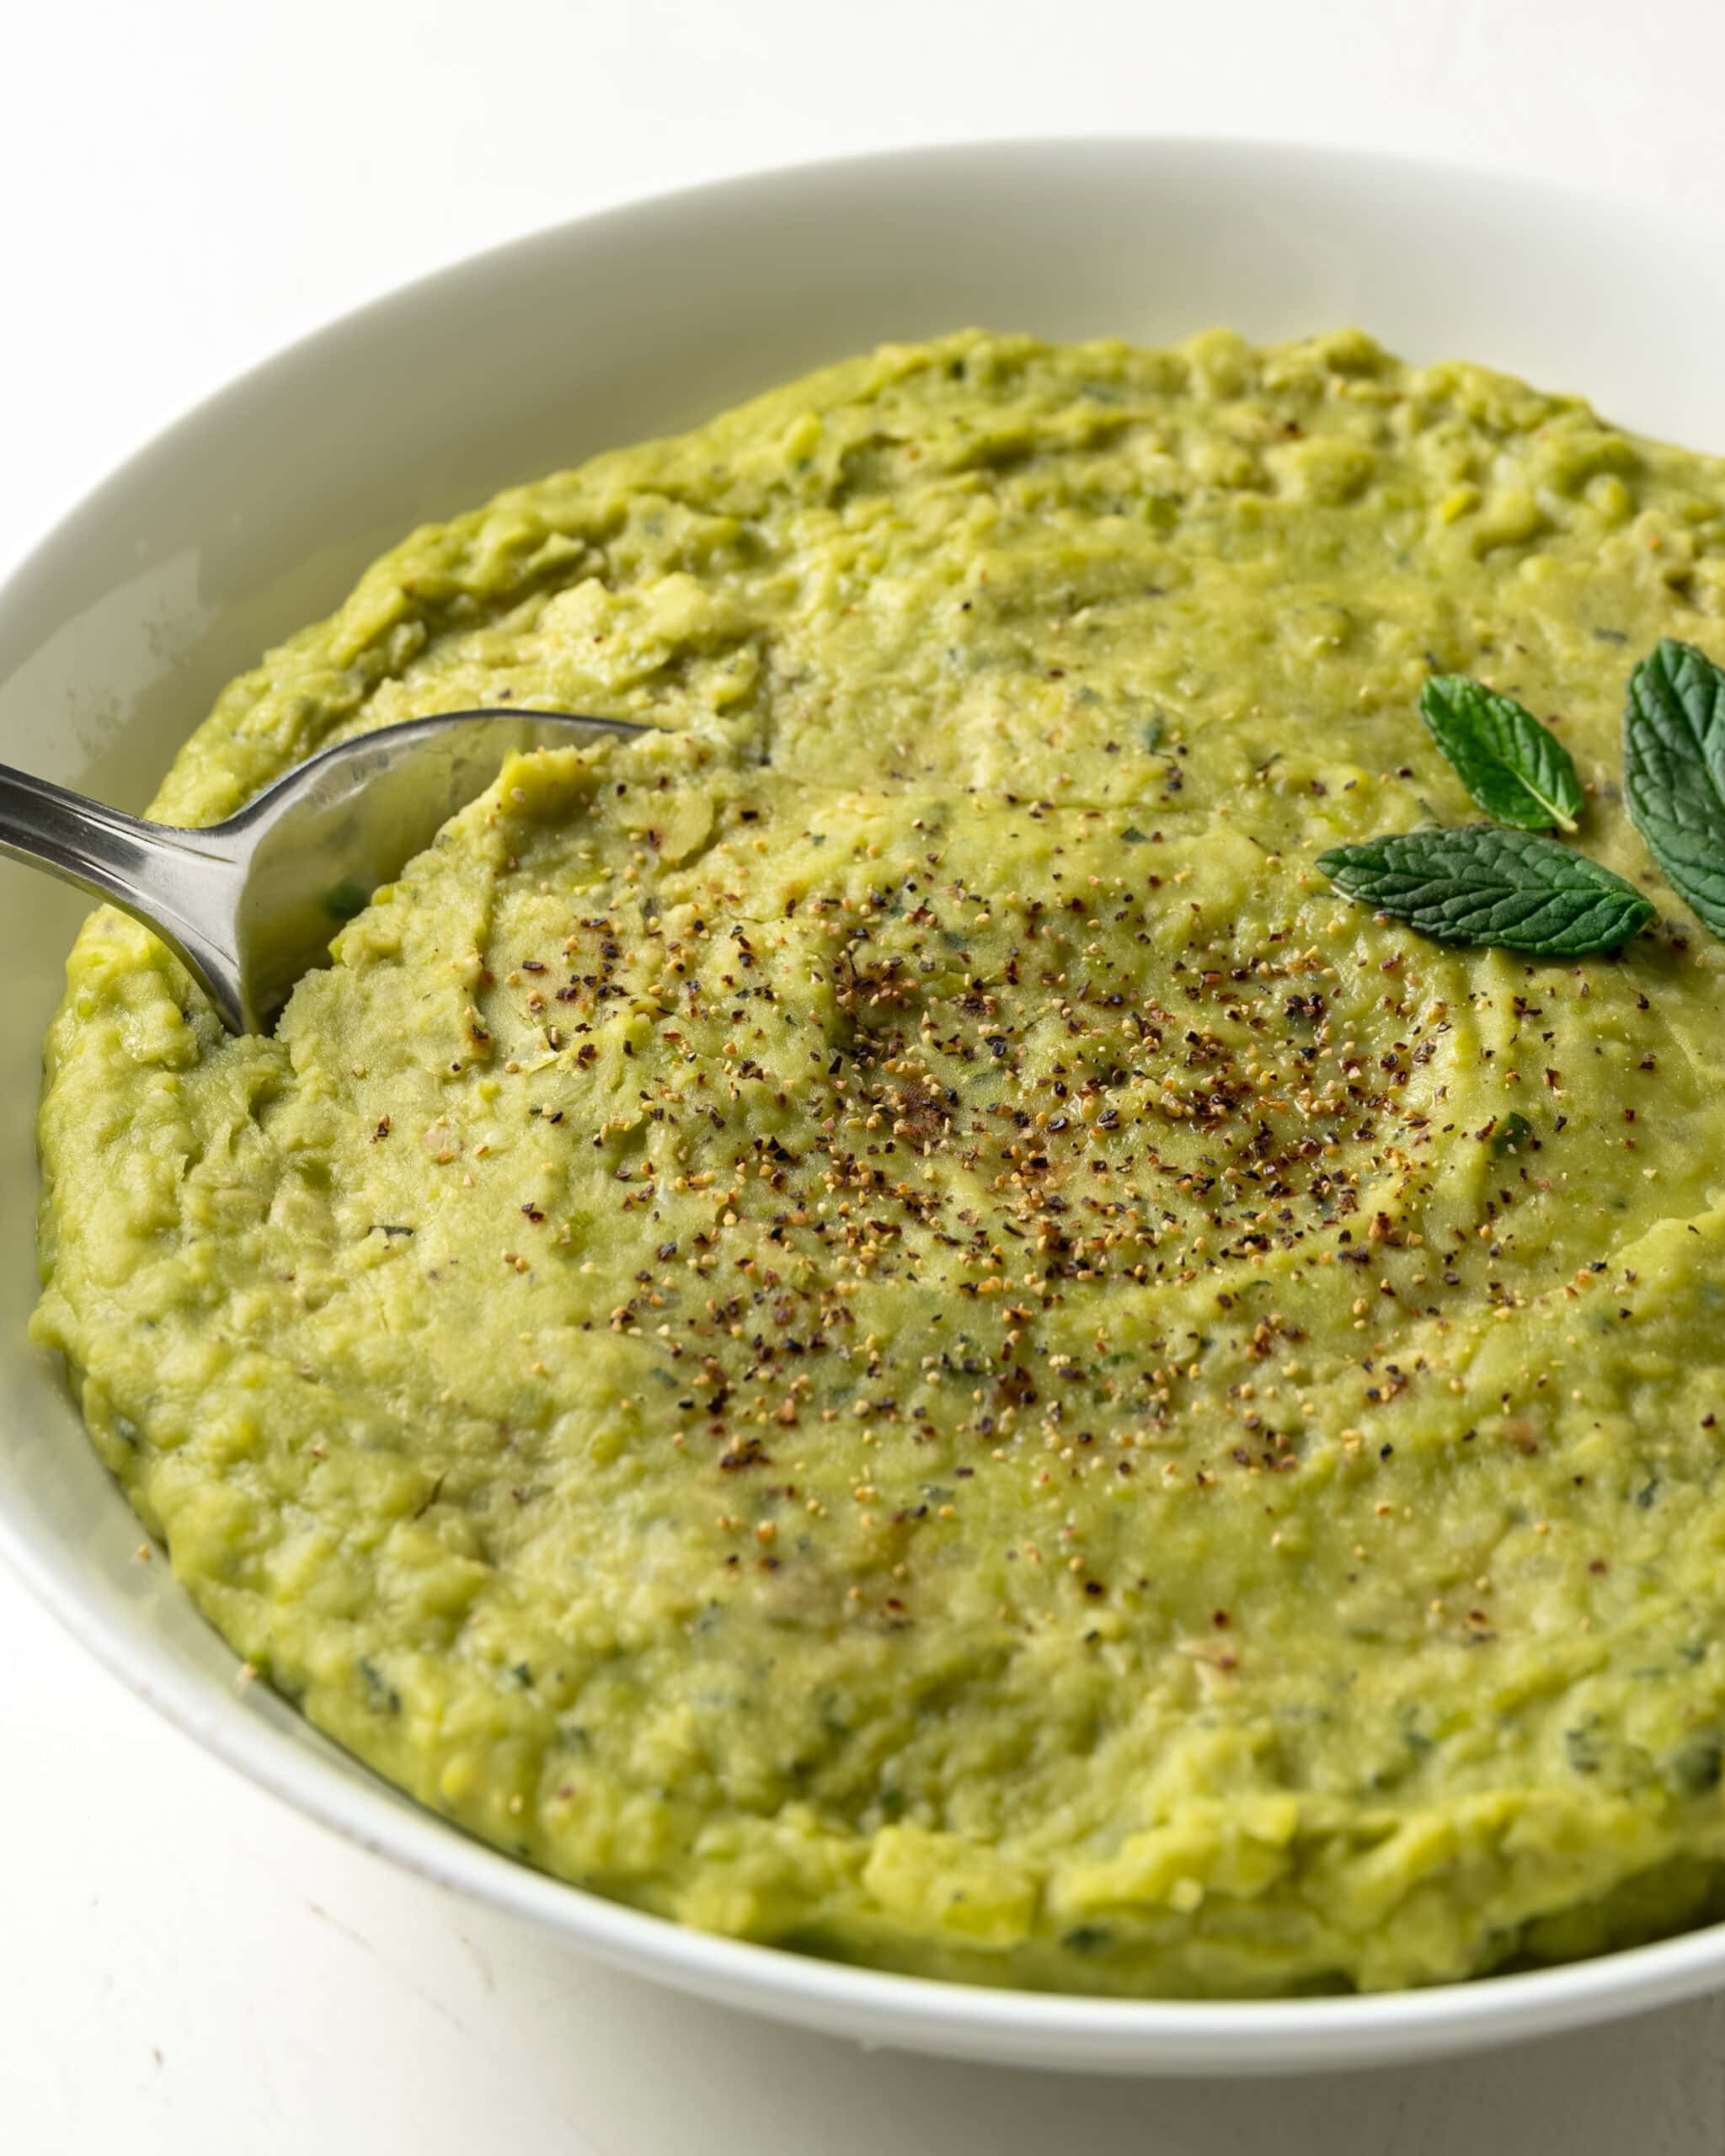
A refined take on the classic English side, this minted mushy peas recipe elevates a humble British and Irish staple to something truly gourmet. While traditionally served alongside fish and chips—my own first introduction to them in England—mushy peas are often misunderstood in the US, where the preference leans toward crisp, bright green spring peas over this rich, marrowfat-style delicacy.
By using authentic dried marrowfat peas, this recipe achieves a starchier, more traditional texture and a deeply savory flavor profile. To balance that richness, we’ve introduced fresh mint and lemon juice for a burst of brightness, finished with butter and a splash of heavy cream for a velvety, luscious mouthfeel. These are a natural pairing for a Gluten-Free Shepherd’s Pie or a warm loaf of Gluten-Free Irish Soda Bread.
Why We Love Minty Mushy Peas
- Perfect for St. Patrick's Day: While many people associate mushy peas strictly with English fish and chips or bangers and mash, they have a long-standing, unique role on the Irish dinner table.
- Effortless Adjustments: This is one of the few recipes where "fixing" it is easy. If it's too thick, add water. If it's too thin, keep boiling. Adjust the seasonings as desired.
Ingredients
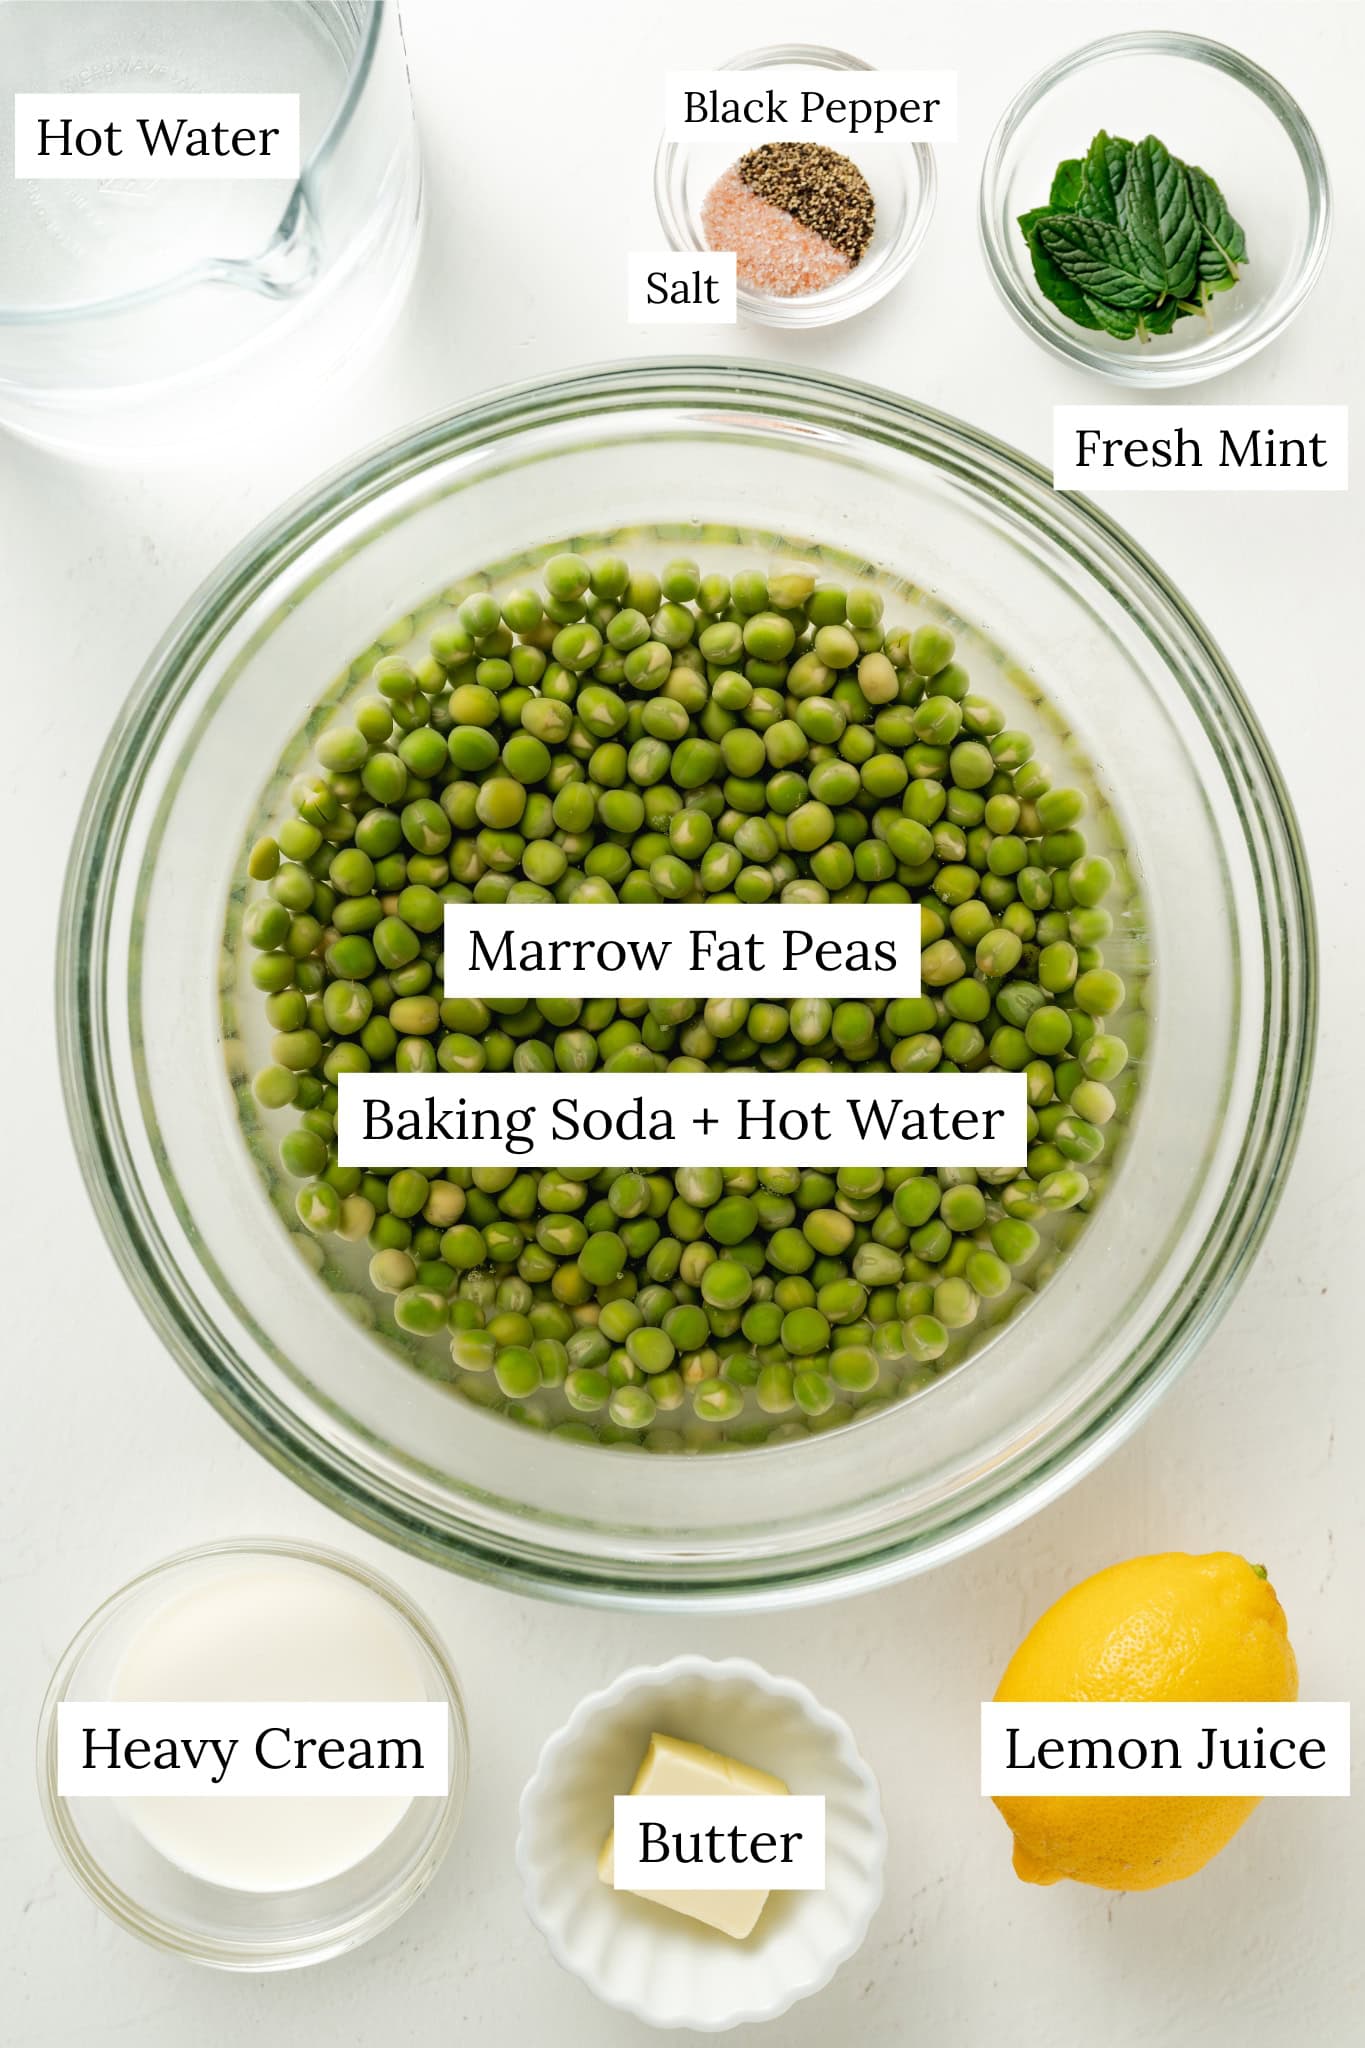
- Marrowfat Peas: Marrowfat peas are green peas allowed to dry naturally in the field to develop a signature high starch content and savory, marrow-like creaminess; while they may not be on every local US shelf, they are easily purchased online and have a long shelf life, making them a perfect, plant-based pantry staple for authentic British or Irish classics.
- Baking Soda: Acts as a crucial alkaline agent that breaks down the tough pectin in the pea skins to ensure a creamy texture and preserves the vibrant green color during the long simmer. Just make sure to rinse the peas thoroughly after the initial soak to avoid any soapy baking soda flavor.
Find the printable recipe card with full instructions and measurements below.
How To Make Minted Mushy Peas
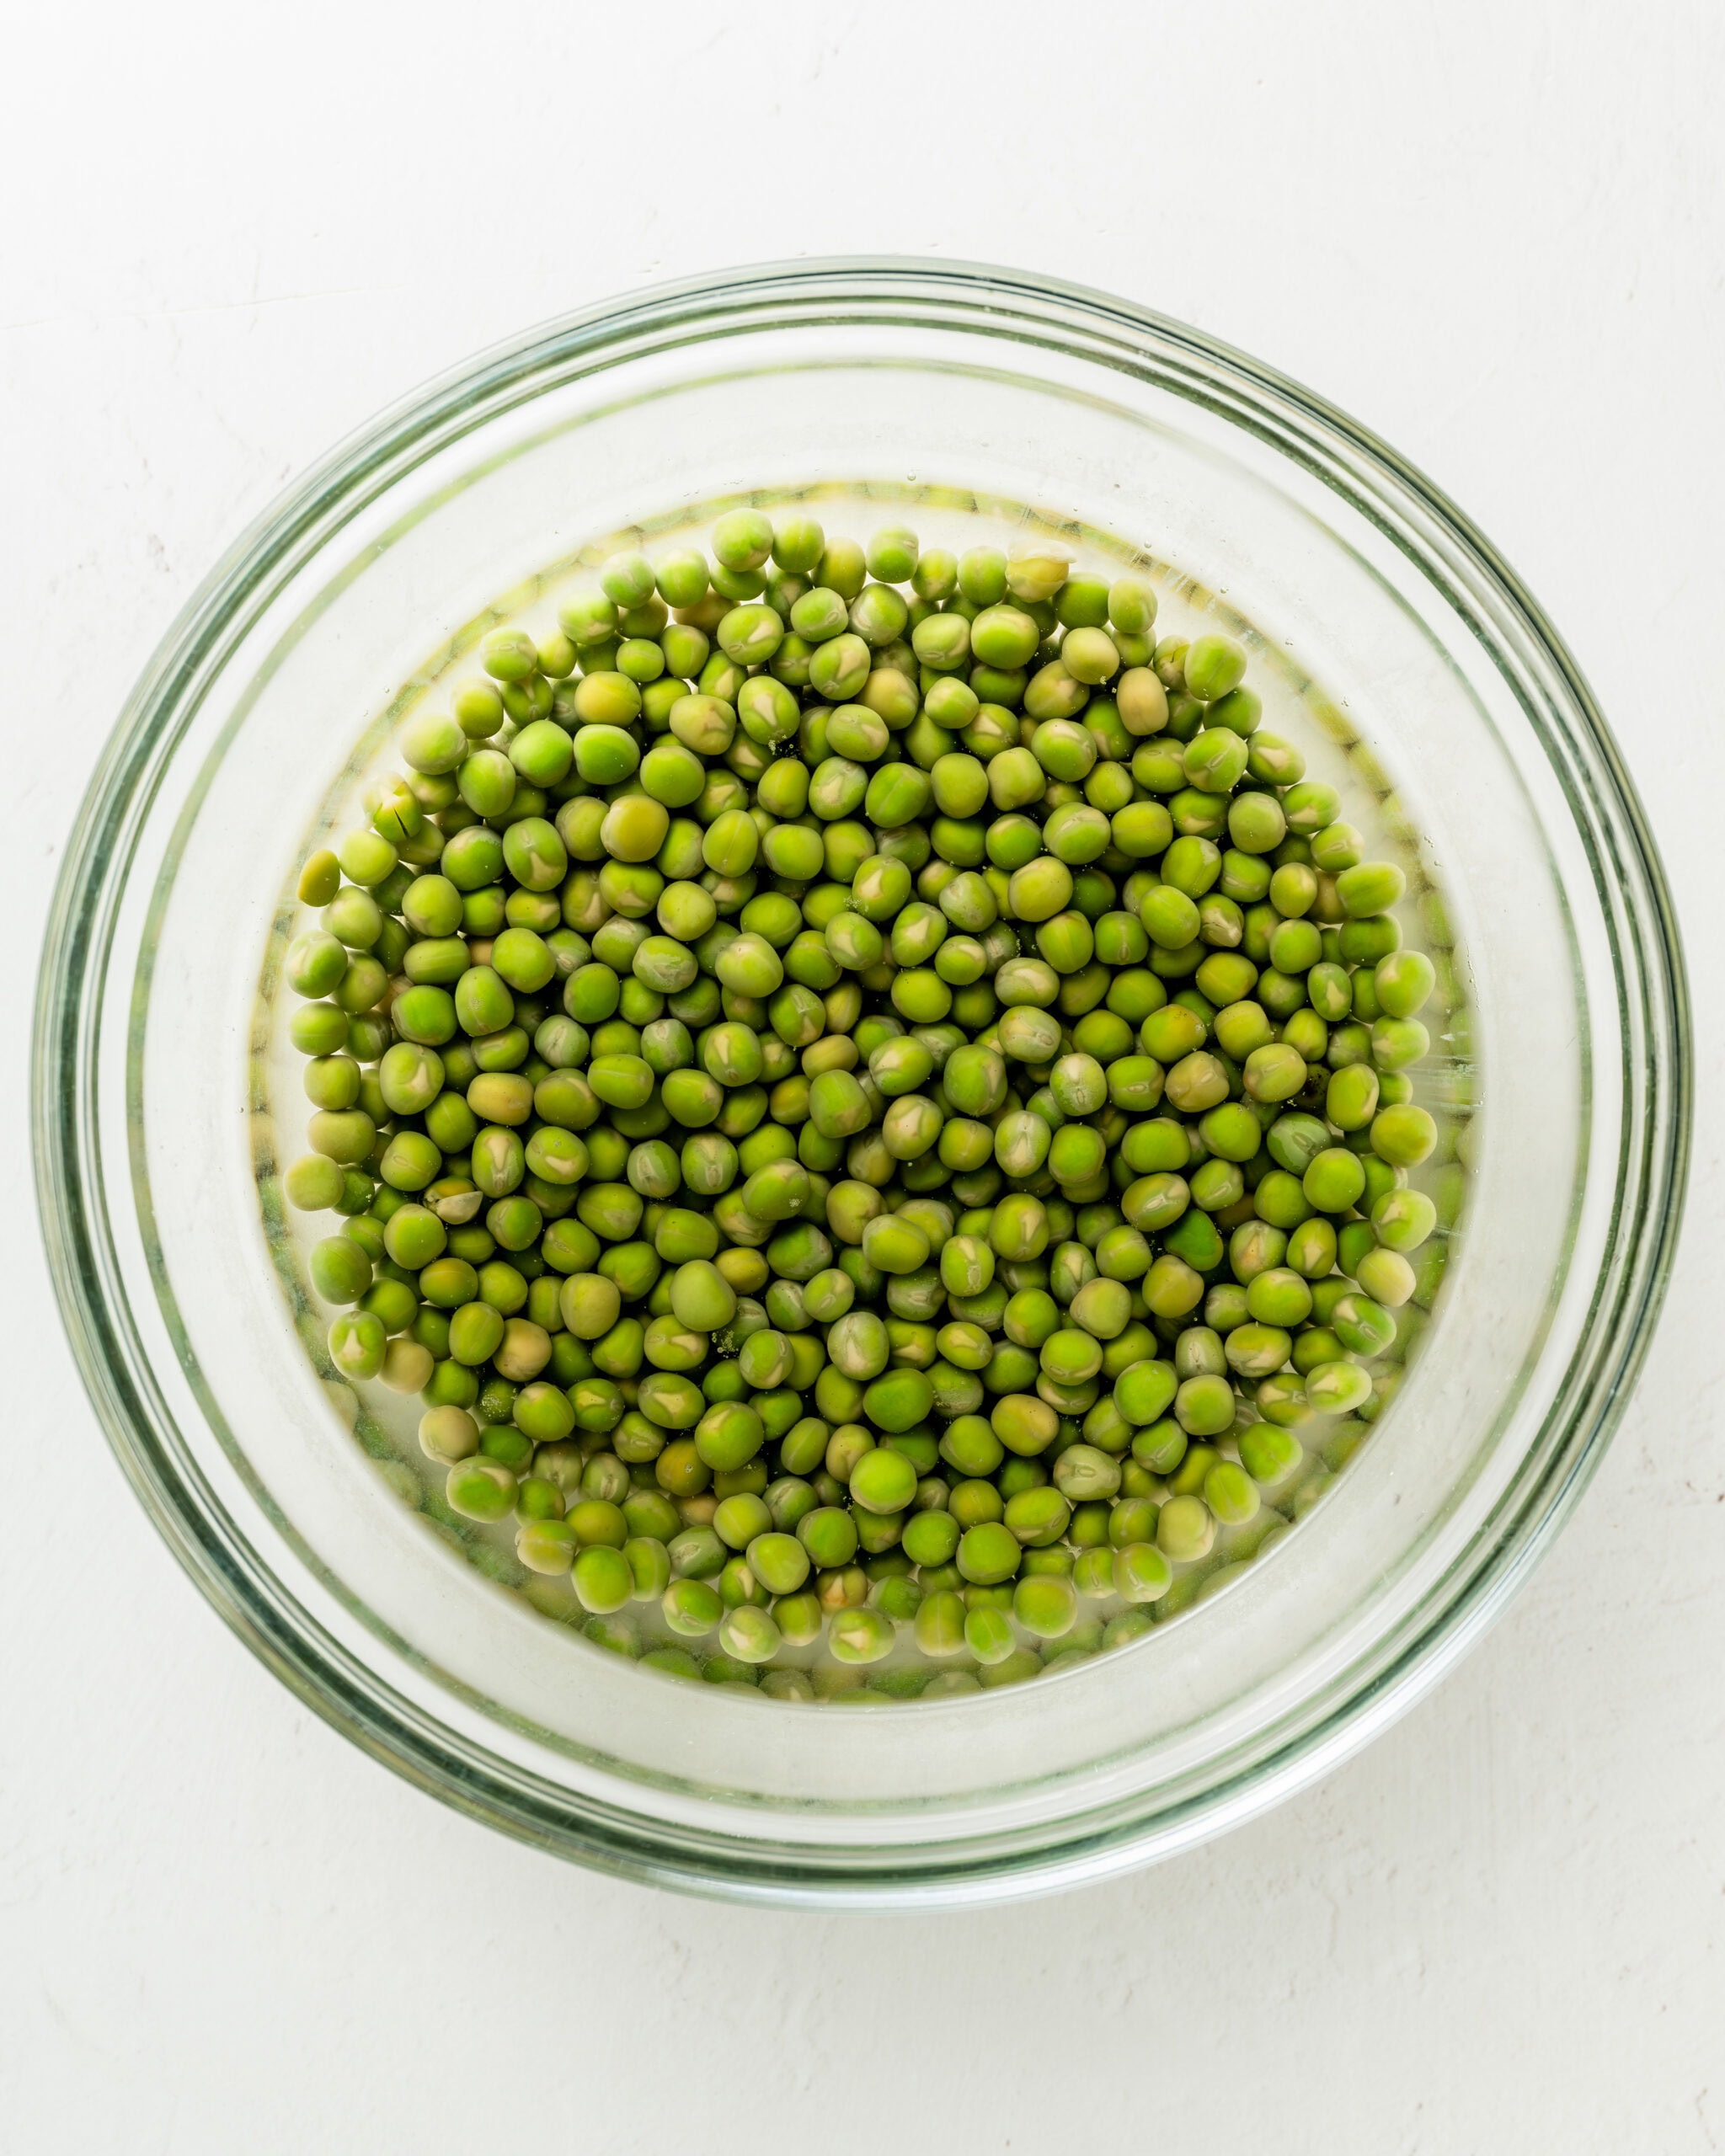
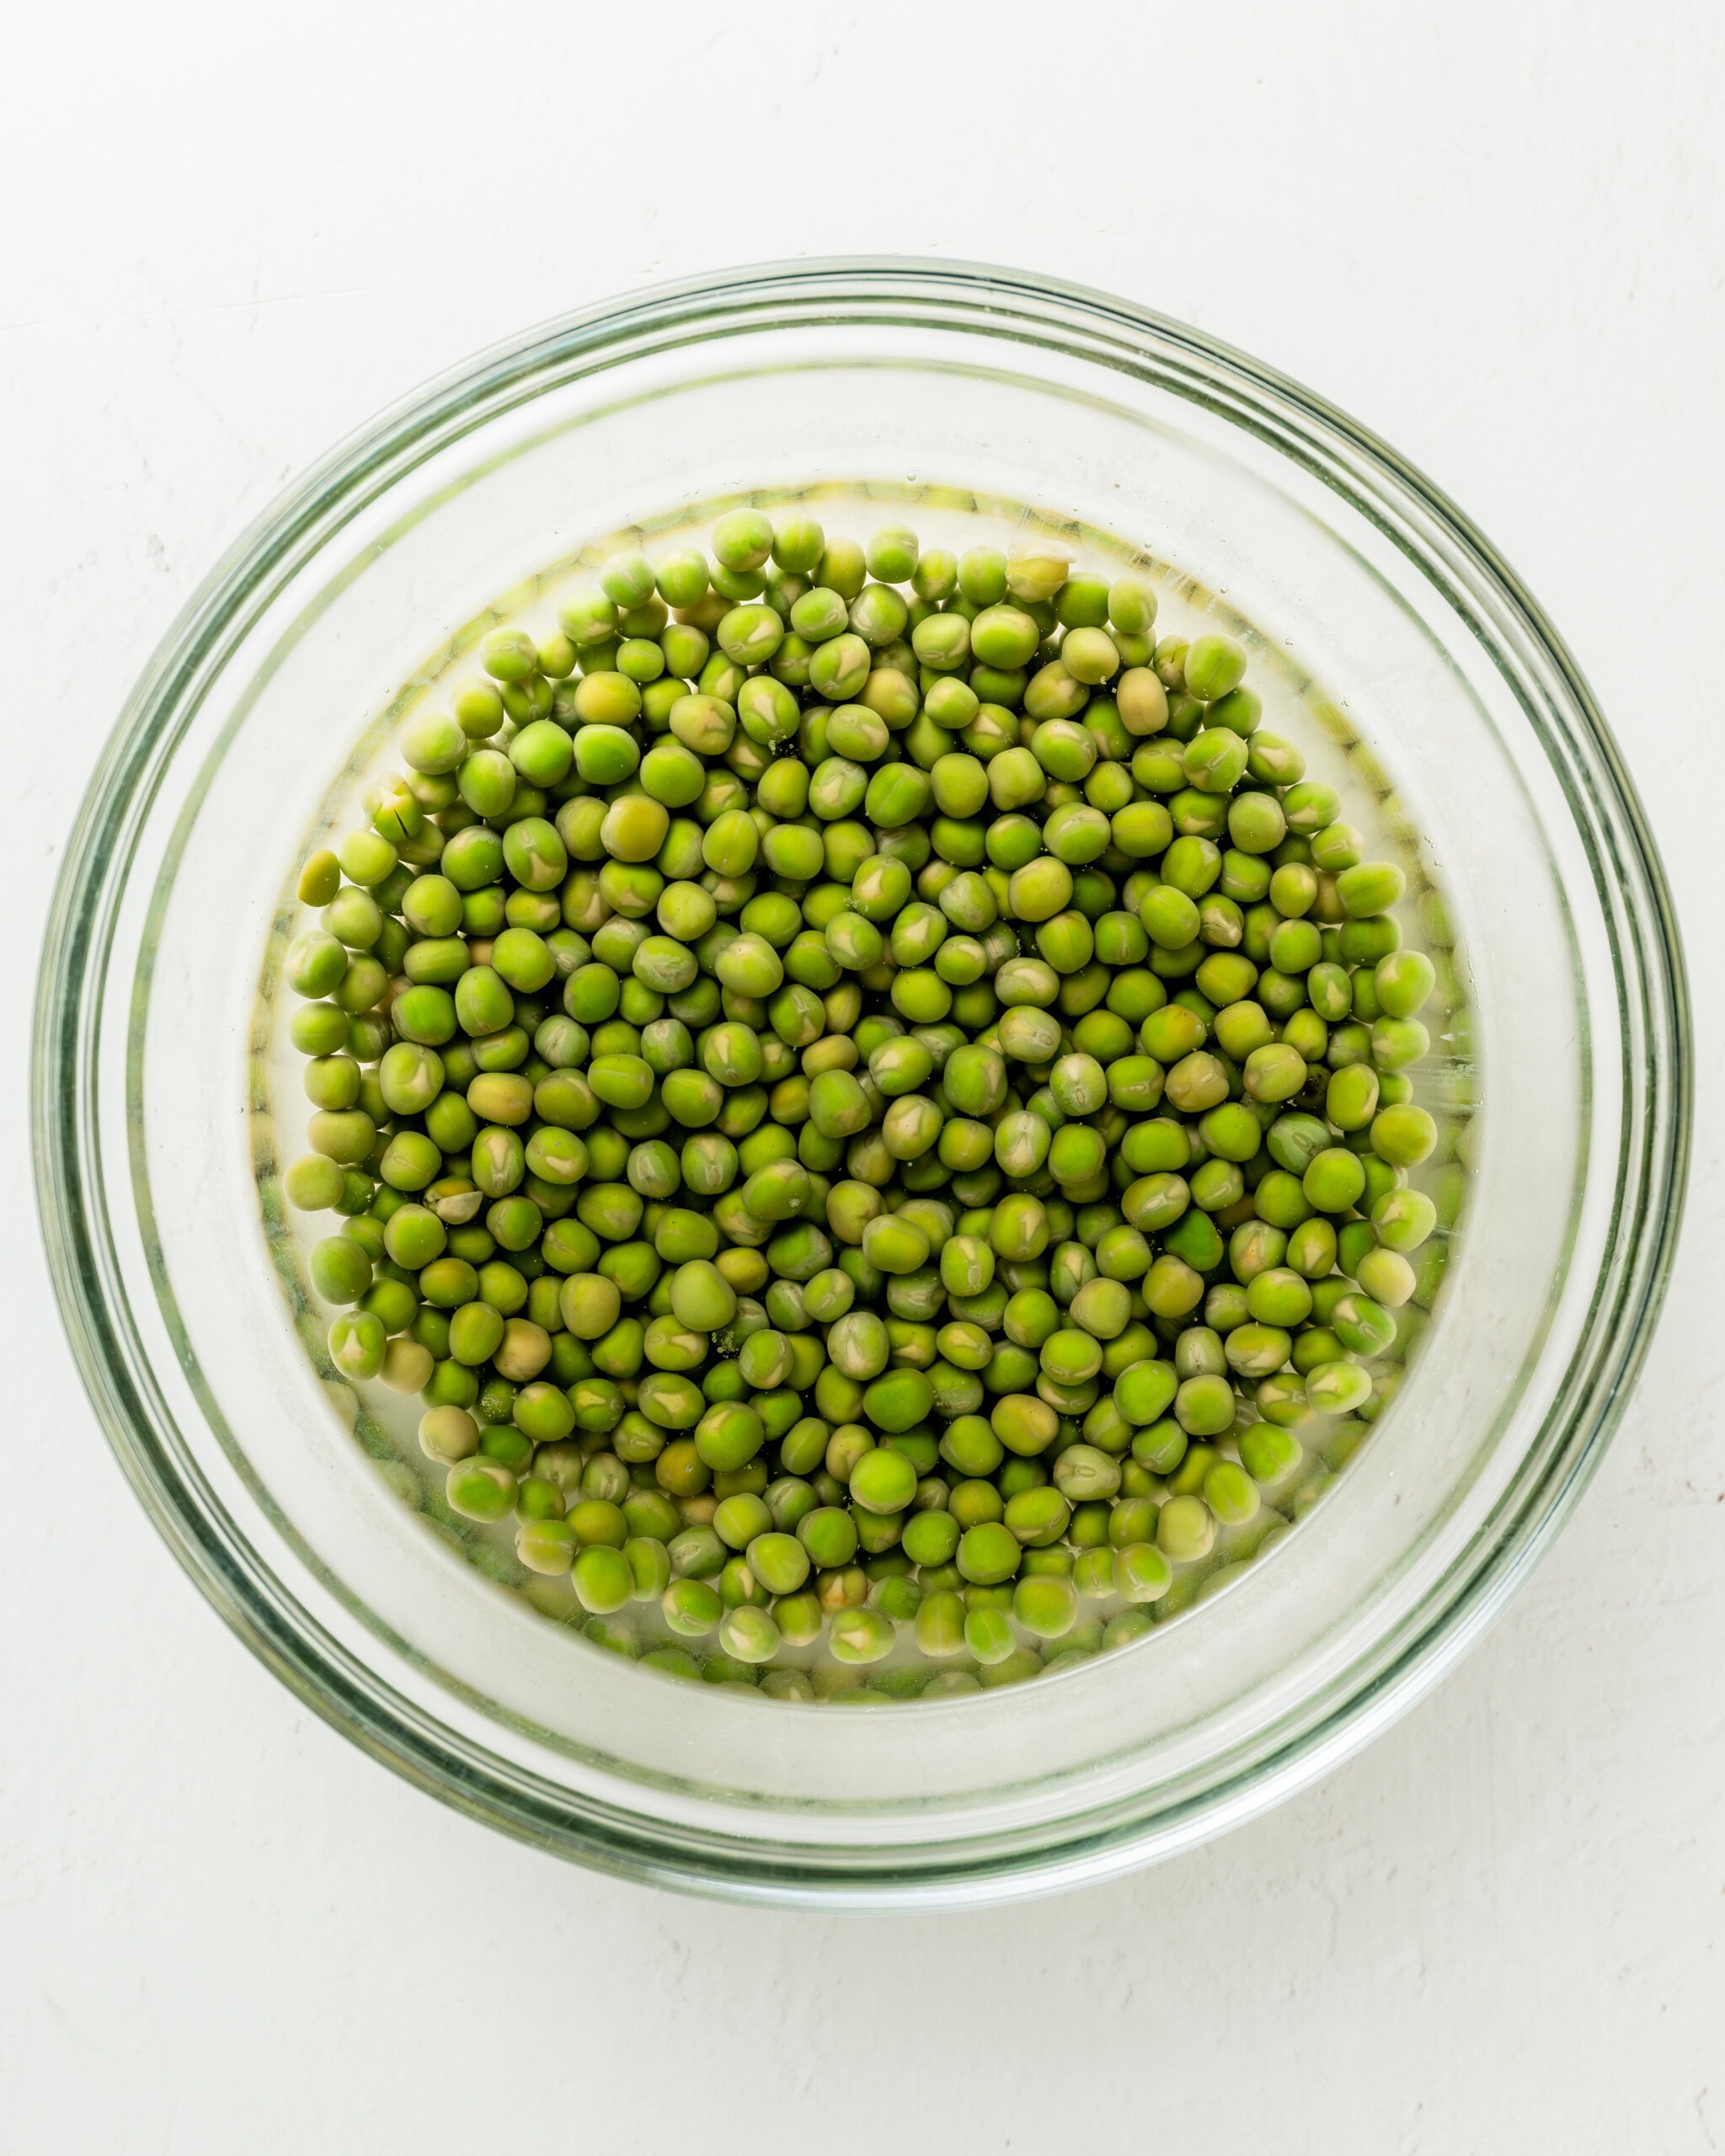
- Step 1: Soak the peas. In a large bowl, add the dried peas, baking soda, and boiling water. Soak for at least 12 hours.

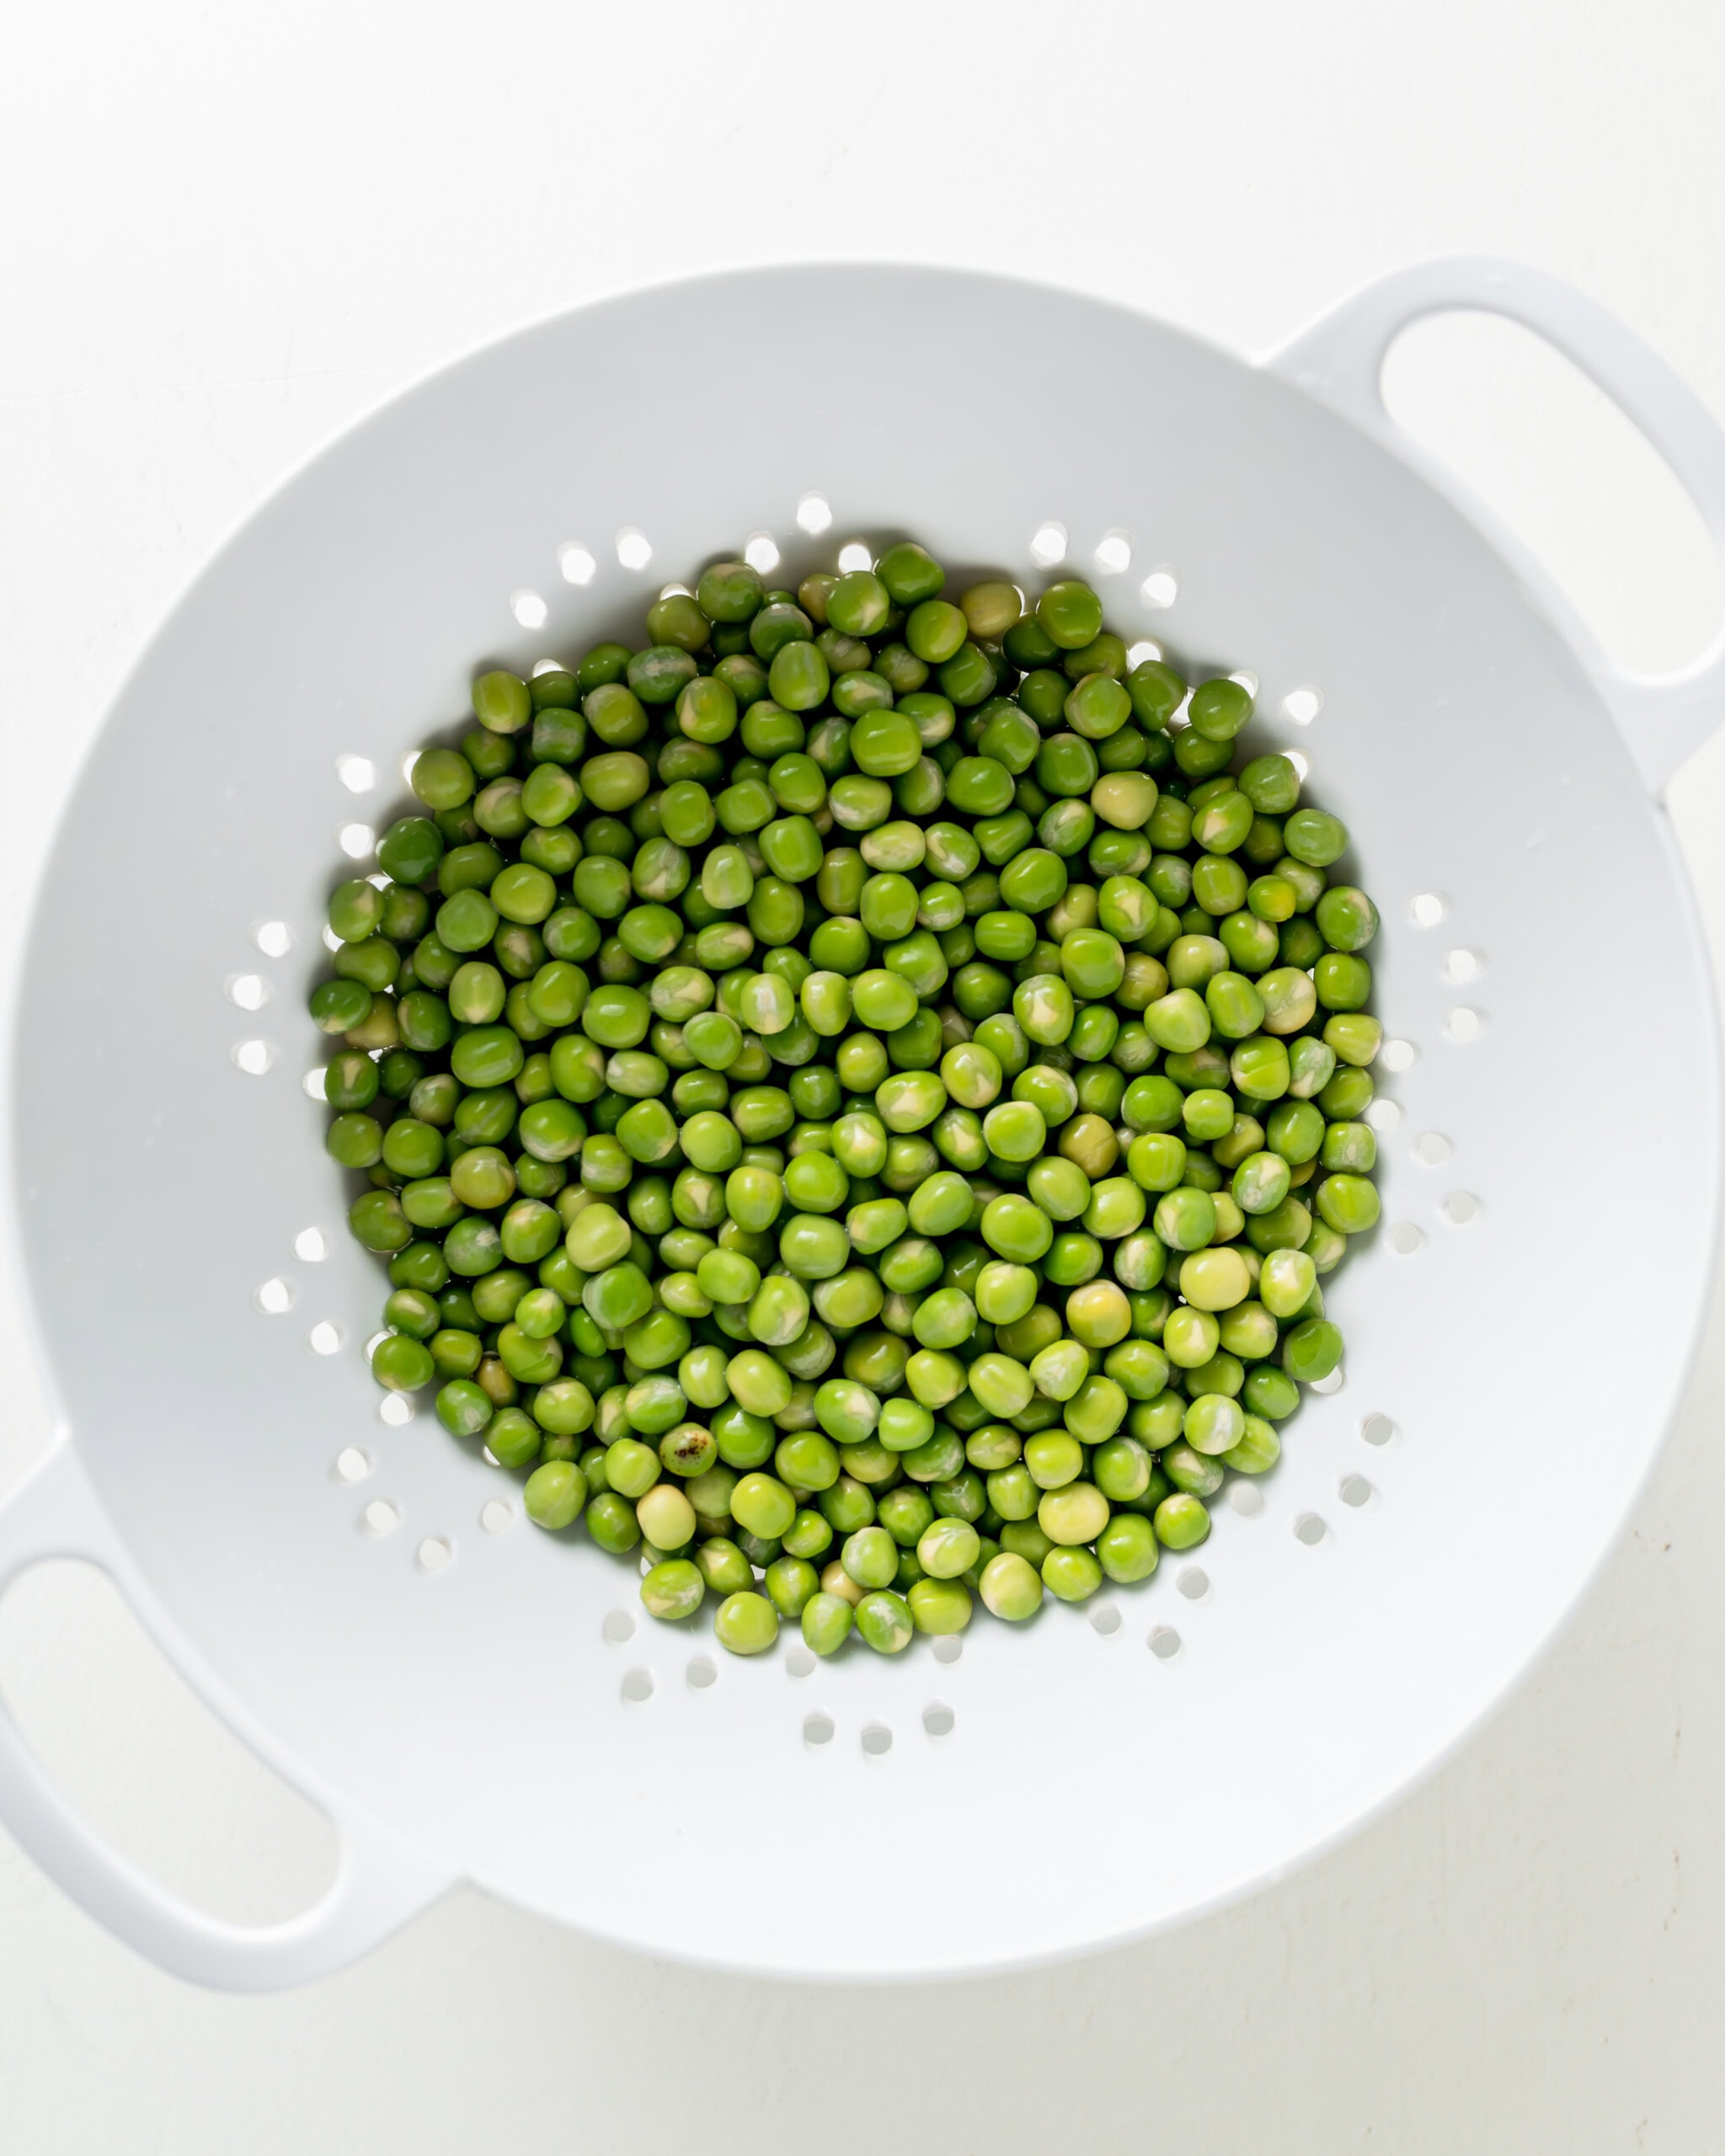
- Step 2: Rinse the peas. Strain the peas in a colander and rinse under cool water thoroughly to remove the baking soda.

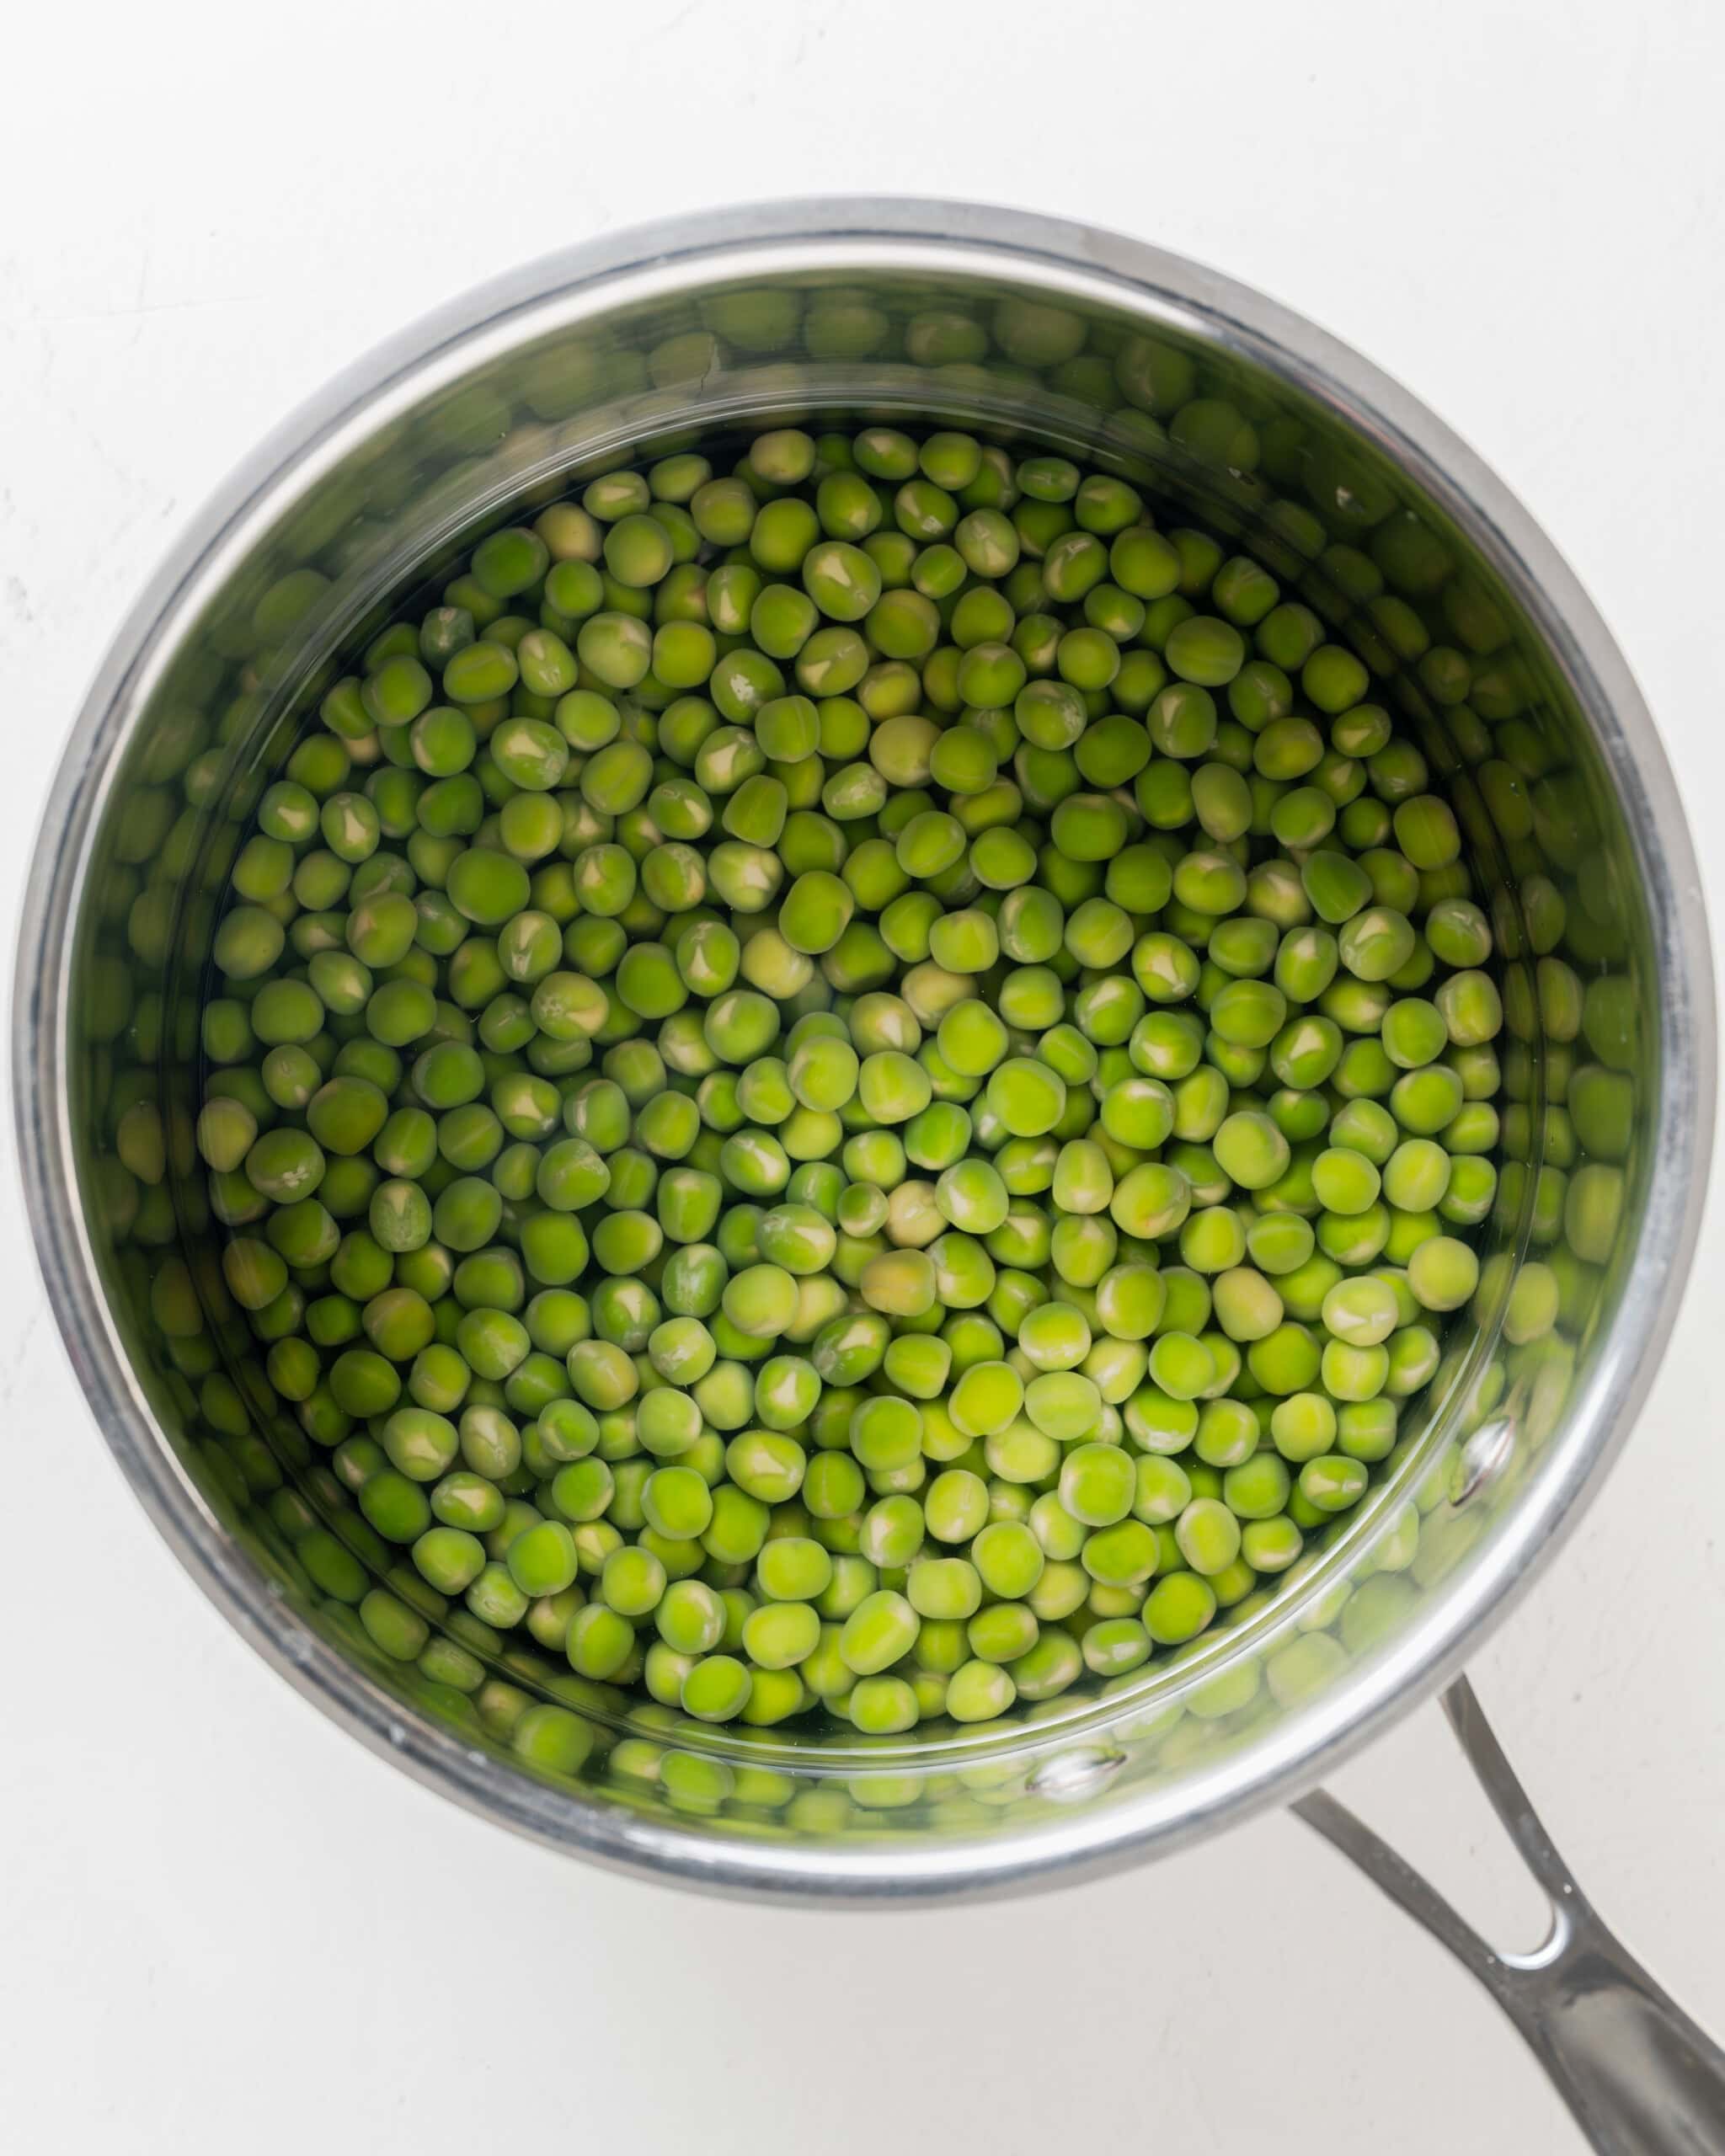
- Step 3: Simmer the peas. Transfer the rinsed peas to a saucepan of fresh water. Bring to a boil, then simmer uncovered for 25-30 minutes. Periodically skim off and discard any floating skins to ensure a smoother, more refined texture.

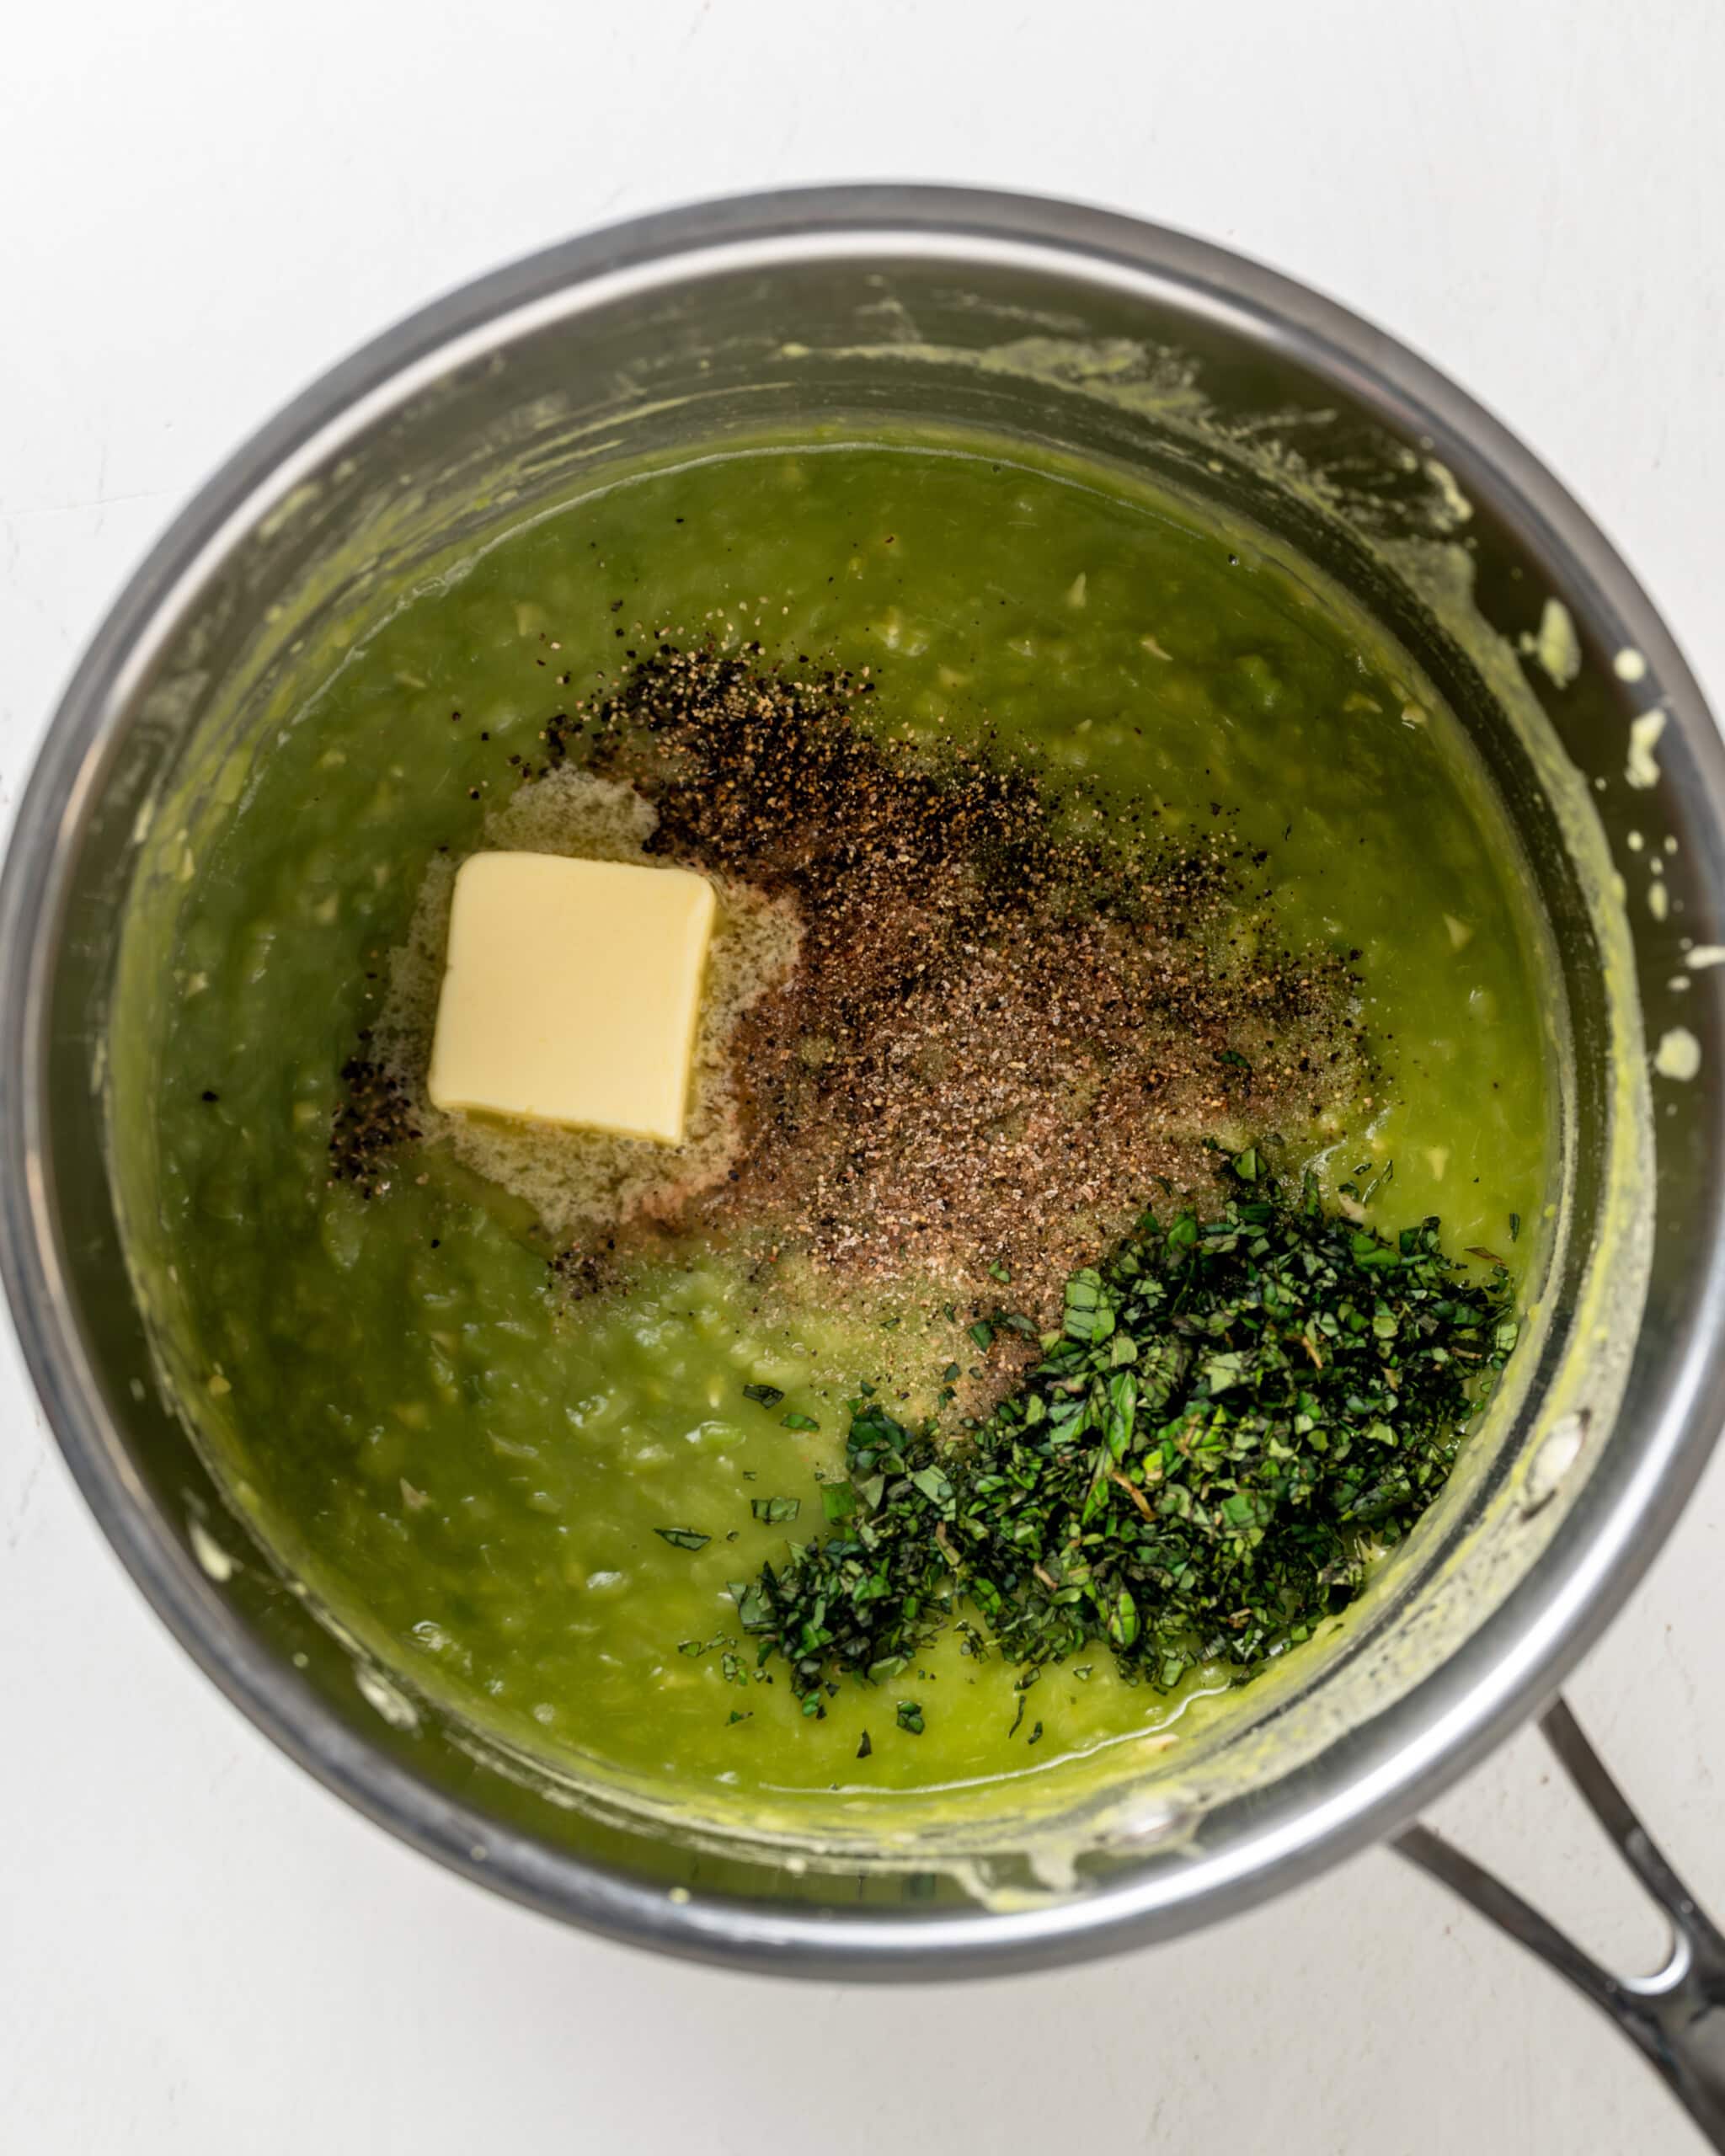
- Step 4: Add butter, herbs, and seasonings. Fold in the minced mint, softened butter, and seasonings.
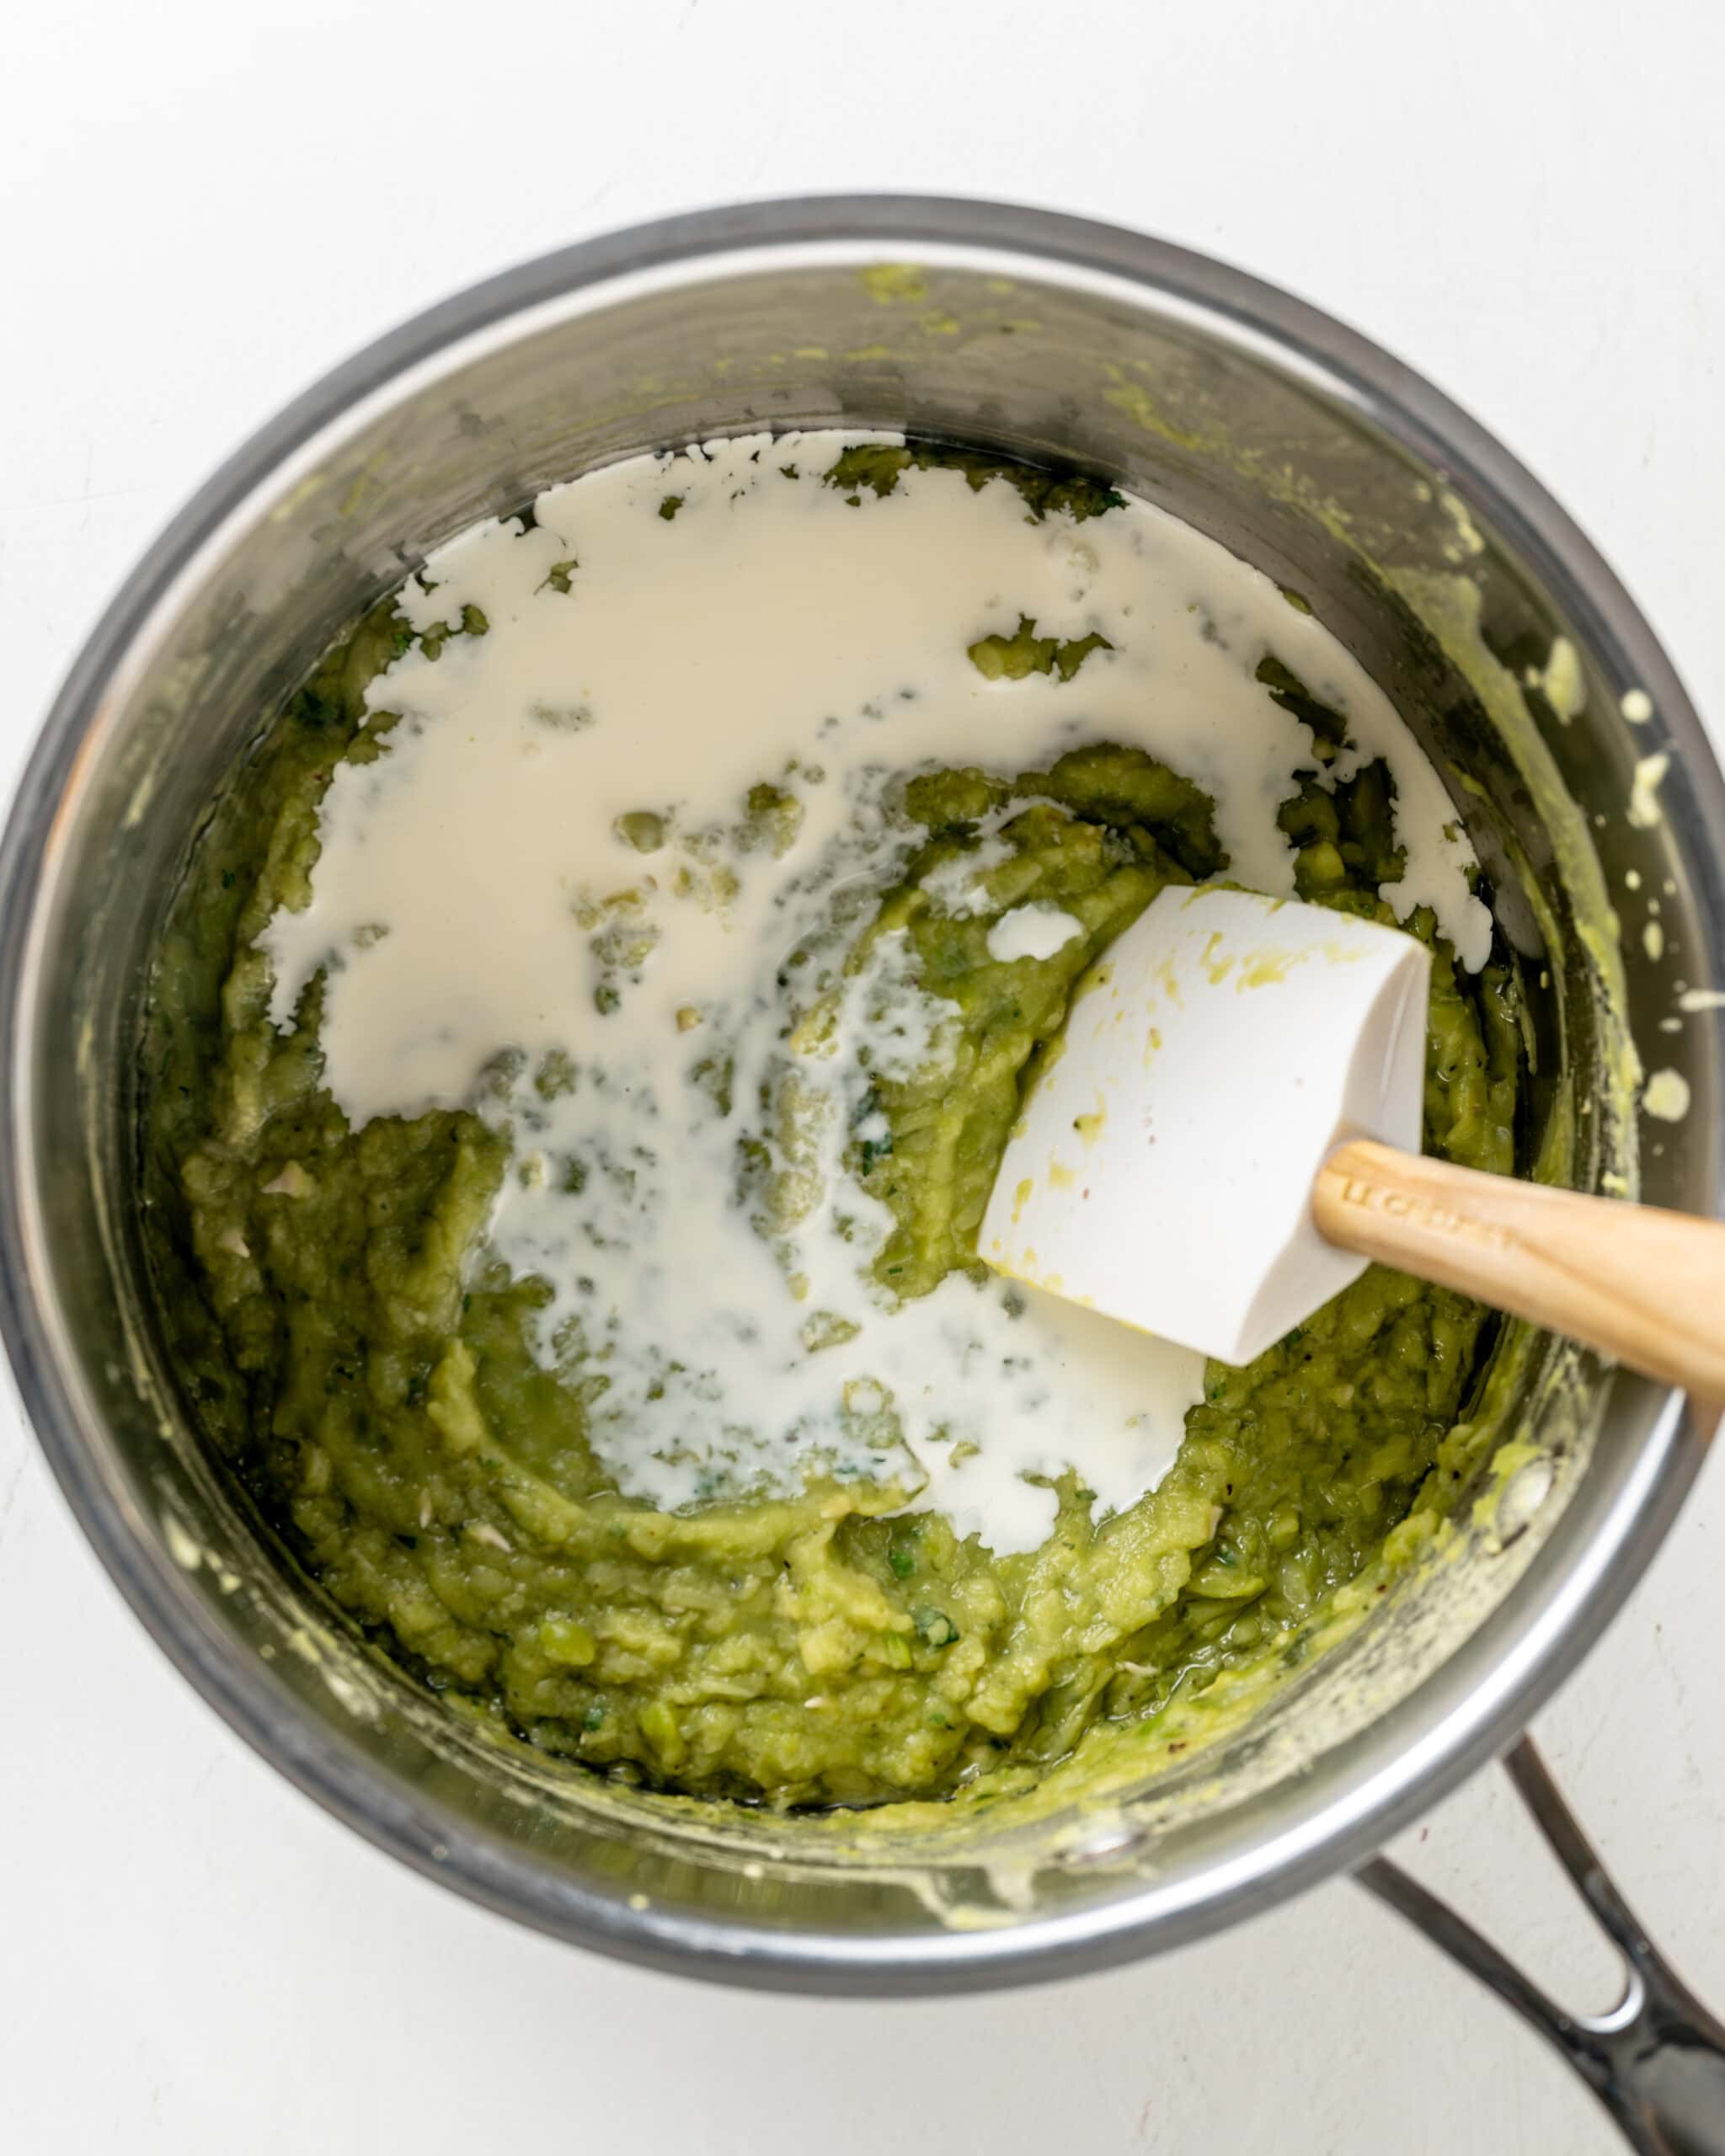
- Step 5: Add the liquids. Stir in the heavy cream and lemon juice. Let the peas sit for 15 minutes to allow the flavors to meld and the texture to set, then slowly stir in hot water until your desired consistency is reached.
Storage & Reheating
- Storage: Store leftovers in an airtight container in the refrigerator for up to 3–4 days. Because marrowfat peas are high in starch, they will continue to firm up as they cool, turning into a thick paste. This is normal!
- Reheating (Microwave): Place in a microwave-safe bowl, add a teaspoon of water, and cover. Heat in 30-second intervals, stirring in between to ensure even heating and a smooth texture.
- Reheating Stovetop: Place the peas in a small saucepan over medium-low heat. Add a splash of hot water or a little extra cream to loosen them back up. Stir gently until heated through.
More St. Patrick's Day Recipes
I hope you love this mushy peas recipe as much as I do! If you make it, I’d love to hear how it turned out in the comment box below. Your review will help other readers in the community.
Recipe

Minted Mushy Peas Recipe
Ingredients
Soak
- 8 ounces (225g) dried marrowfat peas
- 3 cups (720ml) boiling water, for overnight soaking
- 1 teaspoon baking soda
Simmer
- 2 ½ cups (600ml) boiling water
Finish
- 1 teaspoon salt
- ½ teaspoon black pepper
- 1 tablespoon (14g) unsalted butter, softened
- 2 tablespoons (30ml) lemon juice
- 2 tablespoons (30ml) heavy cream, room temperature
- 1 tablespoon fresh mint, minced
- ½ cup (120ml) boiling water, to thin the peas as needed
Instructions
- Soak the peas. Using a food scale for accuracy, place (225g) of dried marrowfat peas and 1 teaspoon of baking soda in a large, heatproof bowl. Add 3 cups (720ml) of boiling water. Stir the peas, lightly cover the bowl with a paper towel, and leave them to soak for at least 12 hours or overnight.

- Wash the peas. After 12 hours, drain the peas with a colander and rinse thoroughly under cold water to remove the baking soda.
- Simmer the peas. Transfer the peas to a saucepan and add 2 ½ cups (600ml) of water. Bring to a boil, then reduce the heat to medium. Simmer uncovered for approximately 25-30 minutes, stirring occasionally, until the peas are tender.
- Remove the skins. Periodically skim off and discard any loose skins that float to the surface. While this is a matter of personal preference and most skins will eventually break down, removing the larger ones ensures a smoother, more refined texture.
- Add the seasonings. Once the mixture has thickened to your liking, remove the pan from the heat. Stir in the salt, black pepper, softened butter, and fresh mint.
- Add the liquids. Once the butter has melted, fold in the lemon juice and heavy cream. Let the peas rest for 15 minutes. During this time, they will continue to thicken, and the flavors will meld. While they rest, boil ½ cup of water in the microwave.
- Adjust the texture. Before serving, gradually stir in the hot water (¼ cup at a time) until you reach your preferred consistency. For a traditional texture, you will likely use the full ½ cup.


Comments
No Comments