
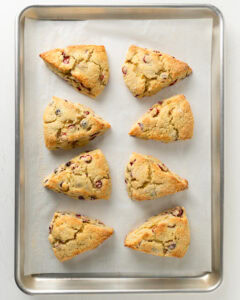
Gluten Free Cranberry Orange Scones
Celebrate the holiday season with these gluten-free cranberry orange scones! Every bite delivers a soft, tender crumb and a delightful sugar crunch, all while bursting with classic cranberry and orange flavor.
Servings 8
Calories 310kcal
Ingredients
Gluten-Free Cranberry Orange Scones
- 2 cups (272g) gluten-free flour (Bob's Red Mill 1:1 Baking Flour)
- 1 tablespoon baking powder
- ½ teaspoon teaspoon salt
- 8 tablespoons (113g) frozen butter, grated or diced (see notes)
- ½ cup (100g) granulated sugar, plus additional to sprinkle on top
- 1 tablespoon orange zest, from one large navel orange or two medium oranges
- ½ cup (120g) sour cream
- 4 tablespoons (60ml) heavy cream
- 1 large egg
- 1 teaspoon vanilla extract
- ½ teaspoon almond extract
- 1 cup (100g) fresh cranberries, sliced in half
Egg Wash
- 1 large egg
- ½ tablespoon heavy cream
Instructions
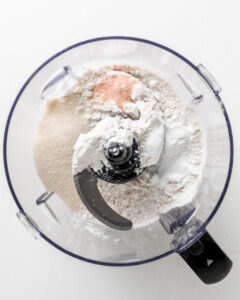
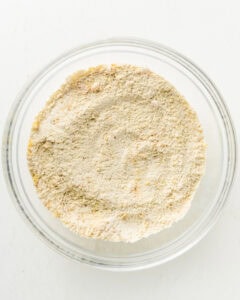
- Combine dry ingredients. In a food processor, pulse the gluten-free flour, baking powder, and salt until just combined. If you are using a large bowl, whisk these ingredients together until they are fully blended.
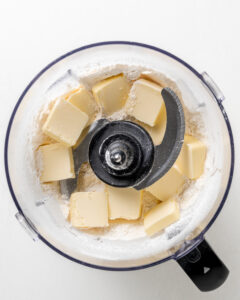
- Incorporate frozen butter. If using a food processor, add the diced frozen butter and pulse until coarse crumbs form. Transfer the contents to a large mixing bowl and set aside. If mixing by hand in a bowl, grate the cold butter directly into the flour mixture. Using a pastry blender or two forks, quickly cut the butter into the flour until it resembles coarse crumbs. Set the bowl aside.
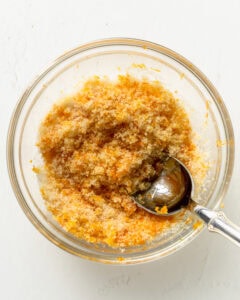
- Prep the orange sugar. In a small bowl, combine the granulated sugar and the bright orange zest. Stir together with a spoon until fully combined; this quick step helps release the oils and intensifies the orange flavor.
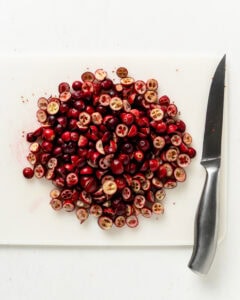
- Prep the cranberries. Using a sharp knife, slice the fresh cranberries in half and set them aside.
- Add the orange-zested sugar to the flour/butter mixture. Whisk everything together until thoroughly combined.
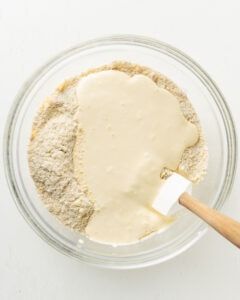
- Add the wet ingredients. In a separate bowl, whisk together the sour cream, heavy cream, one large egg, vanilla extract, and almond extract until smooth.Make a well in the center of the dry ingredients and pour in the sour cream mixture.Using a rubber spatula, gently fold the ingredients together until a shaggy, coarse dough forms. Don't worry if it seems loose with dry bits at the bottom—as long as the dough holds together when you pinch it, you're good to go!
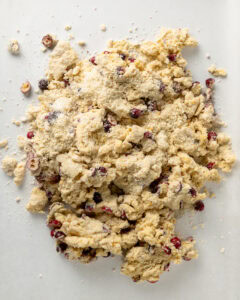
- Add the cranberries. Gently fold in the cranberries into the dough until they're evenly distributed.

- Bring the dough together. Turn the dough onto a lightly floured surface. Using floured hands, knead the dough until it comes together.
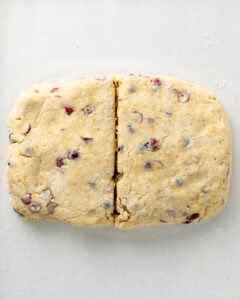
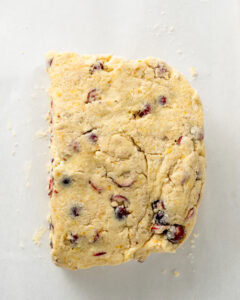
- Shape the dough. Pat the dough into a 7x5-inch rectangle. Using a bench scraper or a knife, slice the dough in half lengthwise. A bench scraper is my preferred tool, as it allows me to cleanly cut and lift the dough without overworking it.
- Laminate the dough. Stack the two pieces on top of each other. Turn the stacked dough 90 degrees and gently press it back into a 7x5-inch rectangle. If the dough starts to feel sticky, lightly flour your hands or work surface.
- Repeat lamination. Repeat the entire process of cutting, stacking, and rotating a total of three times.
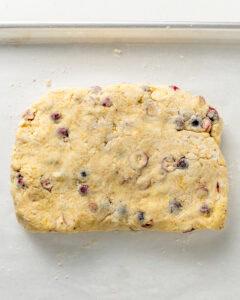
- Shape and chill the dough. Shape the dough into a 7-inch disk, ensuring it is at least ¾ inch thick to prevent flat scones. Wrap the disk tightly in plastic wrap and chill it in the fridge for a minimum of 30 minutes.This chilling step is essential because it allows the gluten-free flour to fully absorb the liquid, ensuring a beautiful, smooth, and less gritty texture in the final scones.

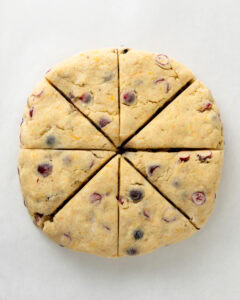
- Cut the wedges. Once the dough is chilled, take the disk out of the refrigerator. Using a sharp knife or bench scraper, slice the disk into eight triangular wedges. For the cleanest cut and best rise, be sure to press straight down through the dough without twisting, and wipe your knife clean after each slice. The dough will be slightly moist, which is normal, so take your time!
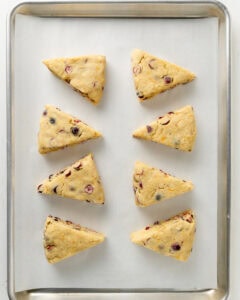
- Final chill and preheat. Arrange the cut scone wedges on a parchment-lined baking sheet, leaving a few inches of space between each. Place the baking sheet in the freezer for 30 minutes. While they are chilling, preheat your oven to 400F°.This final chill is the key to achieving a flaky, high-rising scone, as it ensures the butter is very cold right before it hits the heat!
- Apply egg wash and sugar topping. While the scones are finishing their final chill, whisk together one large egg and a splash of heavy cream to create your egg wash.After the 30-minute chill, lightly brush the egg wash over the tops of the scones with a pastry brush. Take care to avoid any drips down the sides, which can hinder their rise. The wash helps them bake up with a beautiful, golden-brown finish! Finish by sprinkling the tops generously with granulated sugar.

- Bake the scones. Place the baking sheet with the scones in the preheated oven and bake for 20–22 minutes, or until they are golden brown.To check for doneness: Insert a toothpick (it should come out clean), or use an instant-read thermometer (it should read at least 190F°).Once baked, remove the scones from the oven and let them cool completely on a wire rack for at least 30 minutes before serving.
Notes
Frozen Butter: To achieve the flakiest texture, dice the butter into cubes and place it on a plate in the freezer for at least 20 minutes before you begin. Once frozen, you can either grate it into the flour mixture or pulse it in a food processor.
Nutrition
Calories: 310kcal | Carbohydrates: 31g | Protein: 5g | Fat: 19g | Saturated Fat: 11g | Polyunsaturated Fat: 1g | Monounsaturated Fat: 5g | Trans Fat: 0.5g | Cholesterol: 95mg | Sodium: 262mg | Potassium: 211mg | Fiber: 4g | Sugar: 9g | Vitamin A: 642IU | Vitamin C: 3mg | Calcium: 118mg | Iron: 1mg