Gluten Free Pie Crust (Flaky and Buttery)
This easy homemade gluten-free pie crust recipe is ultra flaky with a classically rich, buttery flavor. In this post, I share my tips and tricks for making the perfect gluten-free pie crust, which can be used for both savory pies and sweet pies.
Servings 8
Calories 121kcal
Ingredients
- 8 tablespoons cold butter (cubed and placed in the freezer for 15 minutes)
- 1⅓ cup (180g) gluten-free flour (Bob's Red Mill Gluten Free 1 to 1 Baking Flour)
- 1 tablespoon sugar
- ½ teaspoon salt
- 3 tablespoons (45g) sour cream
- 3 tablespoons (45g) ice cold water
Instructions
Making The Pie Dough
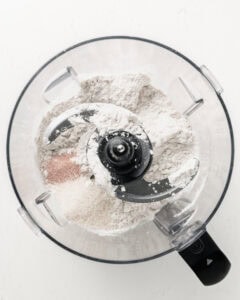
- Mix the Dry Ingredients. Add the gluten-free flour, sugar, and salt to a food processor. Pulse to combine.
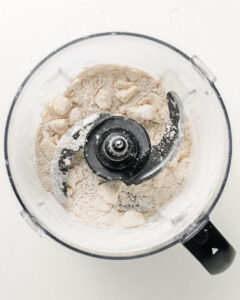
- Add the Cold Butter. Add the super-chilled butter cubes to the flour mixture in the food processor and pulse 5 times using short, quick pulses.
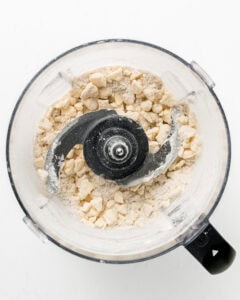
- Add the Sour Cream. Accurately weigh the sour cream (45 grams) and add it to the flour-and-butter mixture. Pulse 5 more times. The butter pieces should be the size of half walnuts.
- Flatten the Butter. Transfer the mixture to a large bowl. Using your thumb and forefinger, press each butter cube into a thin, flat shard. These "shingles" create steam pockets in the oven for maximum lift and flakiness. Continuously toss the shards in the flour as you work to keep them coated and prevent clumping.
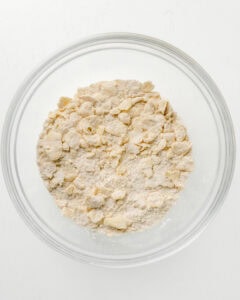
- Hydrate the Dough. Transfer the mixture to a stand mixer with the paddle attachment (or stay in your mixing bowl to work by hand). Create a well in the center and add 45 grams of ice water. On low speed—or using a gentle tossing motion by hand—mix until the dough begins to come together.The dough will appear dry at first, but resist the urge to add more water. Using a gentle press-and-turn motion against the bowl, bring the mass together until it is uniformly combined and holds its shape when pressed. The final dough should be cohesive rather than perfectly smooth—aim for a texture that isn't dusty or crumbly, yet doesn't feel sticky to the touch.

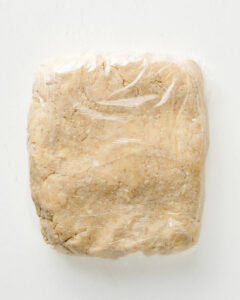
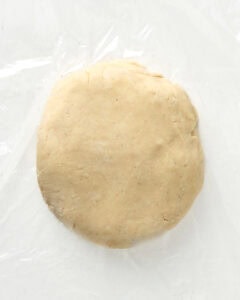
- Shape the Dough. Form the dough into an even disk or square (the shape is less important at this phase). Wrap tightly in plastic wrap and chill for 30 minutes.
Laminate The Dough
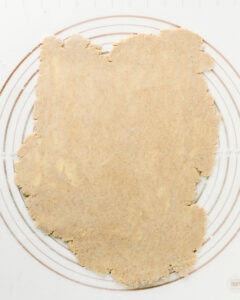
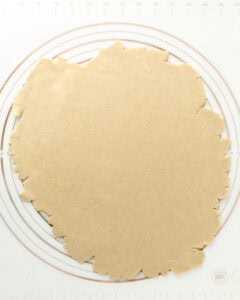
- Roll Out the Dough. On a lightly floured surface or silicone mat, roll the dough to ¼-inch thickness (roughly 13 inches in diameter). Use a pastry brush to sweep away any excess flour before moving to the next step.
- Create Layers. Using a bench scraper to help lift the dough, fold the dough in half horizontally, then fold it in half vertically (into quarters). Repeat this entire folding process one more time, working quickly to avoid the butter from melting.
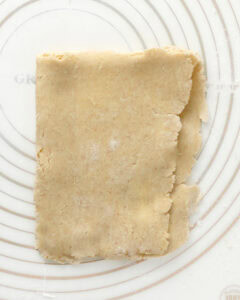
- Refrigerate. For the final step (after the last lamination), shape the dough into a round disk, 1 inch thick, by folding the corners underneath to form a smooth disk. Wrap and refrigerate for 1 hour.
Rolling Out The Dough
- Roll Out the Dough. If the dough has been refrigerated for over an hour, let it sit at room temperature for 15 minutes before rolling. Lightly dust your work surface (or a silicone mat) and rolling pin with flour. Roll the dough to a uniform ¼-inch thickness, lifting and rotating it continuously to prevent sticking.
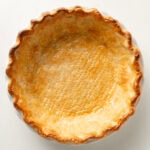
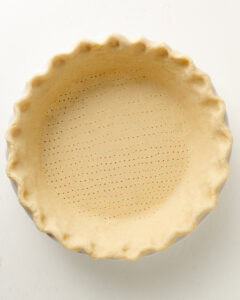
- Transfer and Shape the Dough. Gently roll the dough onto your rolling pin, then carefully unroll it over the pie plate. Ease the dough into the dish without stretching it. Fold the overhang underneath itself so the edge sits flush with the rim. Finish by shaping the edges as desired—either fluting or crimping—to create a beautiful frame.

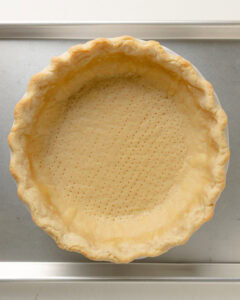
- Freeze the Crust. Lightly dock the crust by pricking the bottom and sides with a fork (pierce only the surface to avoid leaks) to allow steam to escape. Finally, freeze the prepared crust for 30 minutes to ensure it holds its shape and stays flaky.Note: Only dock the crust when pre-baking an empty shell. If you are filling a crust before it goes into the oven, skip the docking entirely to prevent the filling from leaking and making the crust soggy. I avoid docking for a pumpkin pie or quiche just as a precaution.
Par-Bake The Crust (Partially Bake)
- Line and Weight the Crust. Preheat the oven to 425°F with the rack positioned in the lower third. Place a piece of crumpled parchment paper inside the pie shell and fill it with pie weights, ensuring the entire bottom is covered. Gently press the weights so they rest firmly against the sides of the crust; this provides the necessary support to keep your crust from shrinking or slumping during the bake.
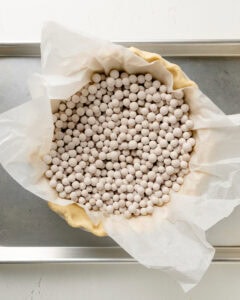
- Par-Bake the Crust. Place the pie dish on a baking sheet and bake the weighted crust for 15 minutes. After 15 minutes, carefully lift out the parchment paper and pie weights, setting them aside in a bowl or tray. This initial bake sets the shape of your crust and prevents the sides from shrinking.
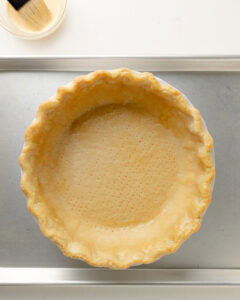
- Apply Egg Wash. Whisk together one egg and a splash of heavy cream. Using a pastry brush, lightly coat the entire crust—including the edges and the center. This creates a moisture barrier and adds a beautiful, glossy shine to your crust.
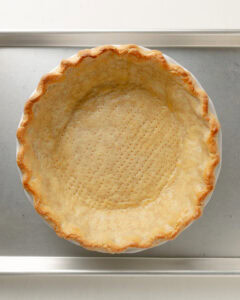
- Finish Par-Baking. Continue baking for 8–10 minutes until the bottom and sides are golden brown. At this stage, the crust is only partially baked; it will finish cooking once you add the filling and return it to the oven as directed.
Blind (Fully) Bake The Crust:
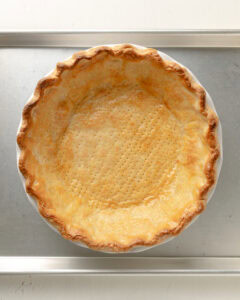
- Fully Baked Crust. Follow all of the steps above. Cover the crust with a pie shield to prevent the crust from further browning. Return the crust to the oven and bake for an additional 5–7 minutes (for a total bake time of 30–32 minutes). The crust is ready when it is fully baked through, crisp, dry, and golden. Transfer the fully baked pie crust to a wire rack to cool completely. Once cooled, fill the crust with your choice of non-bake filling.
Notes
Weigh your ingredients on a food scale. For complete accuracy, I recommend weighing all of your ingredients on a food scale.
Nutrition
Calories: 121kcal | Carbohydrates: 13g | Protein: 2g | Fat: 7g | Saturated Fat: 4g | Polyunsaturated Fat: 1g | Monounsaturated Fat: 2g | Trans Fat: 1g | Cholesterol: 35mg | Sodium: 66mg | Potassium: 9mg | Fiber: 2g | Sugar: 3g | Vitamin A: 216IU | Calcium: 15mg | Iron: 1mg