You're going to adore this incredible, easy gluten free buttermilk biscuit recipe! It consistently delivers the softest, most buttery biscuits, complete with irresistible, crispy, flaky layers.

Why You'll Love These Gluten Free Buttermilk Biscuits
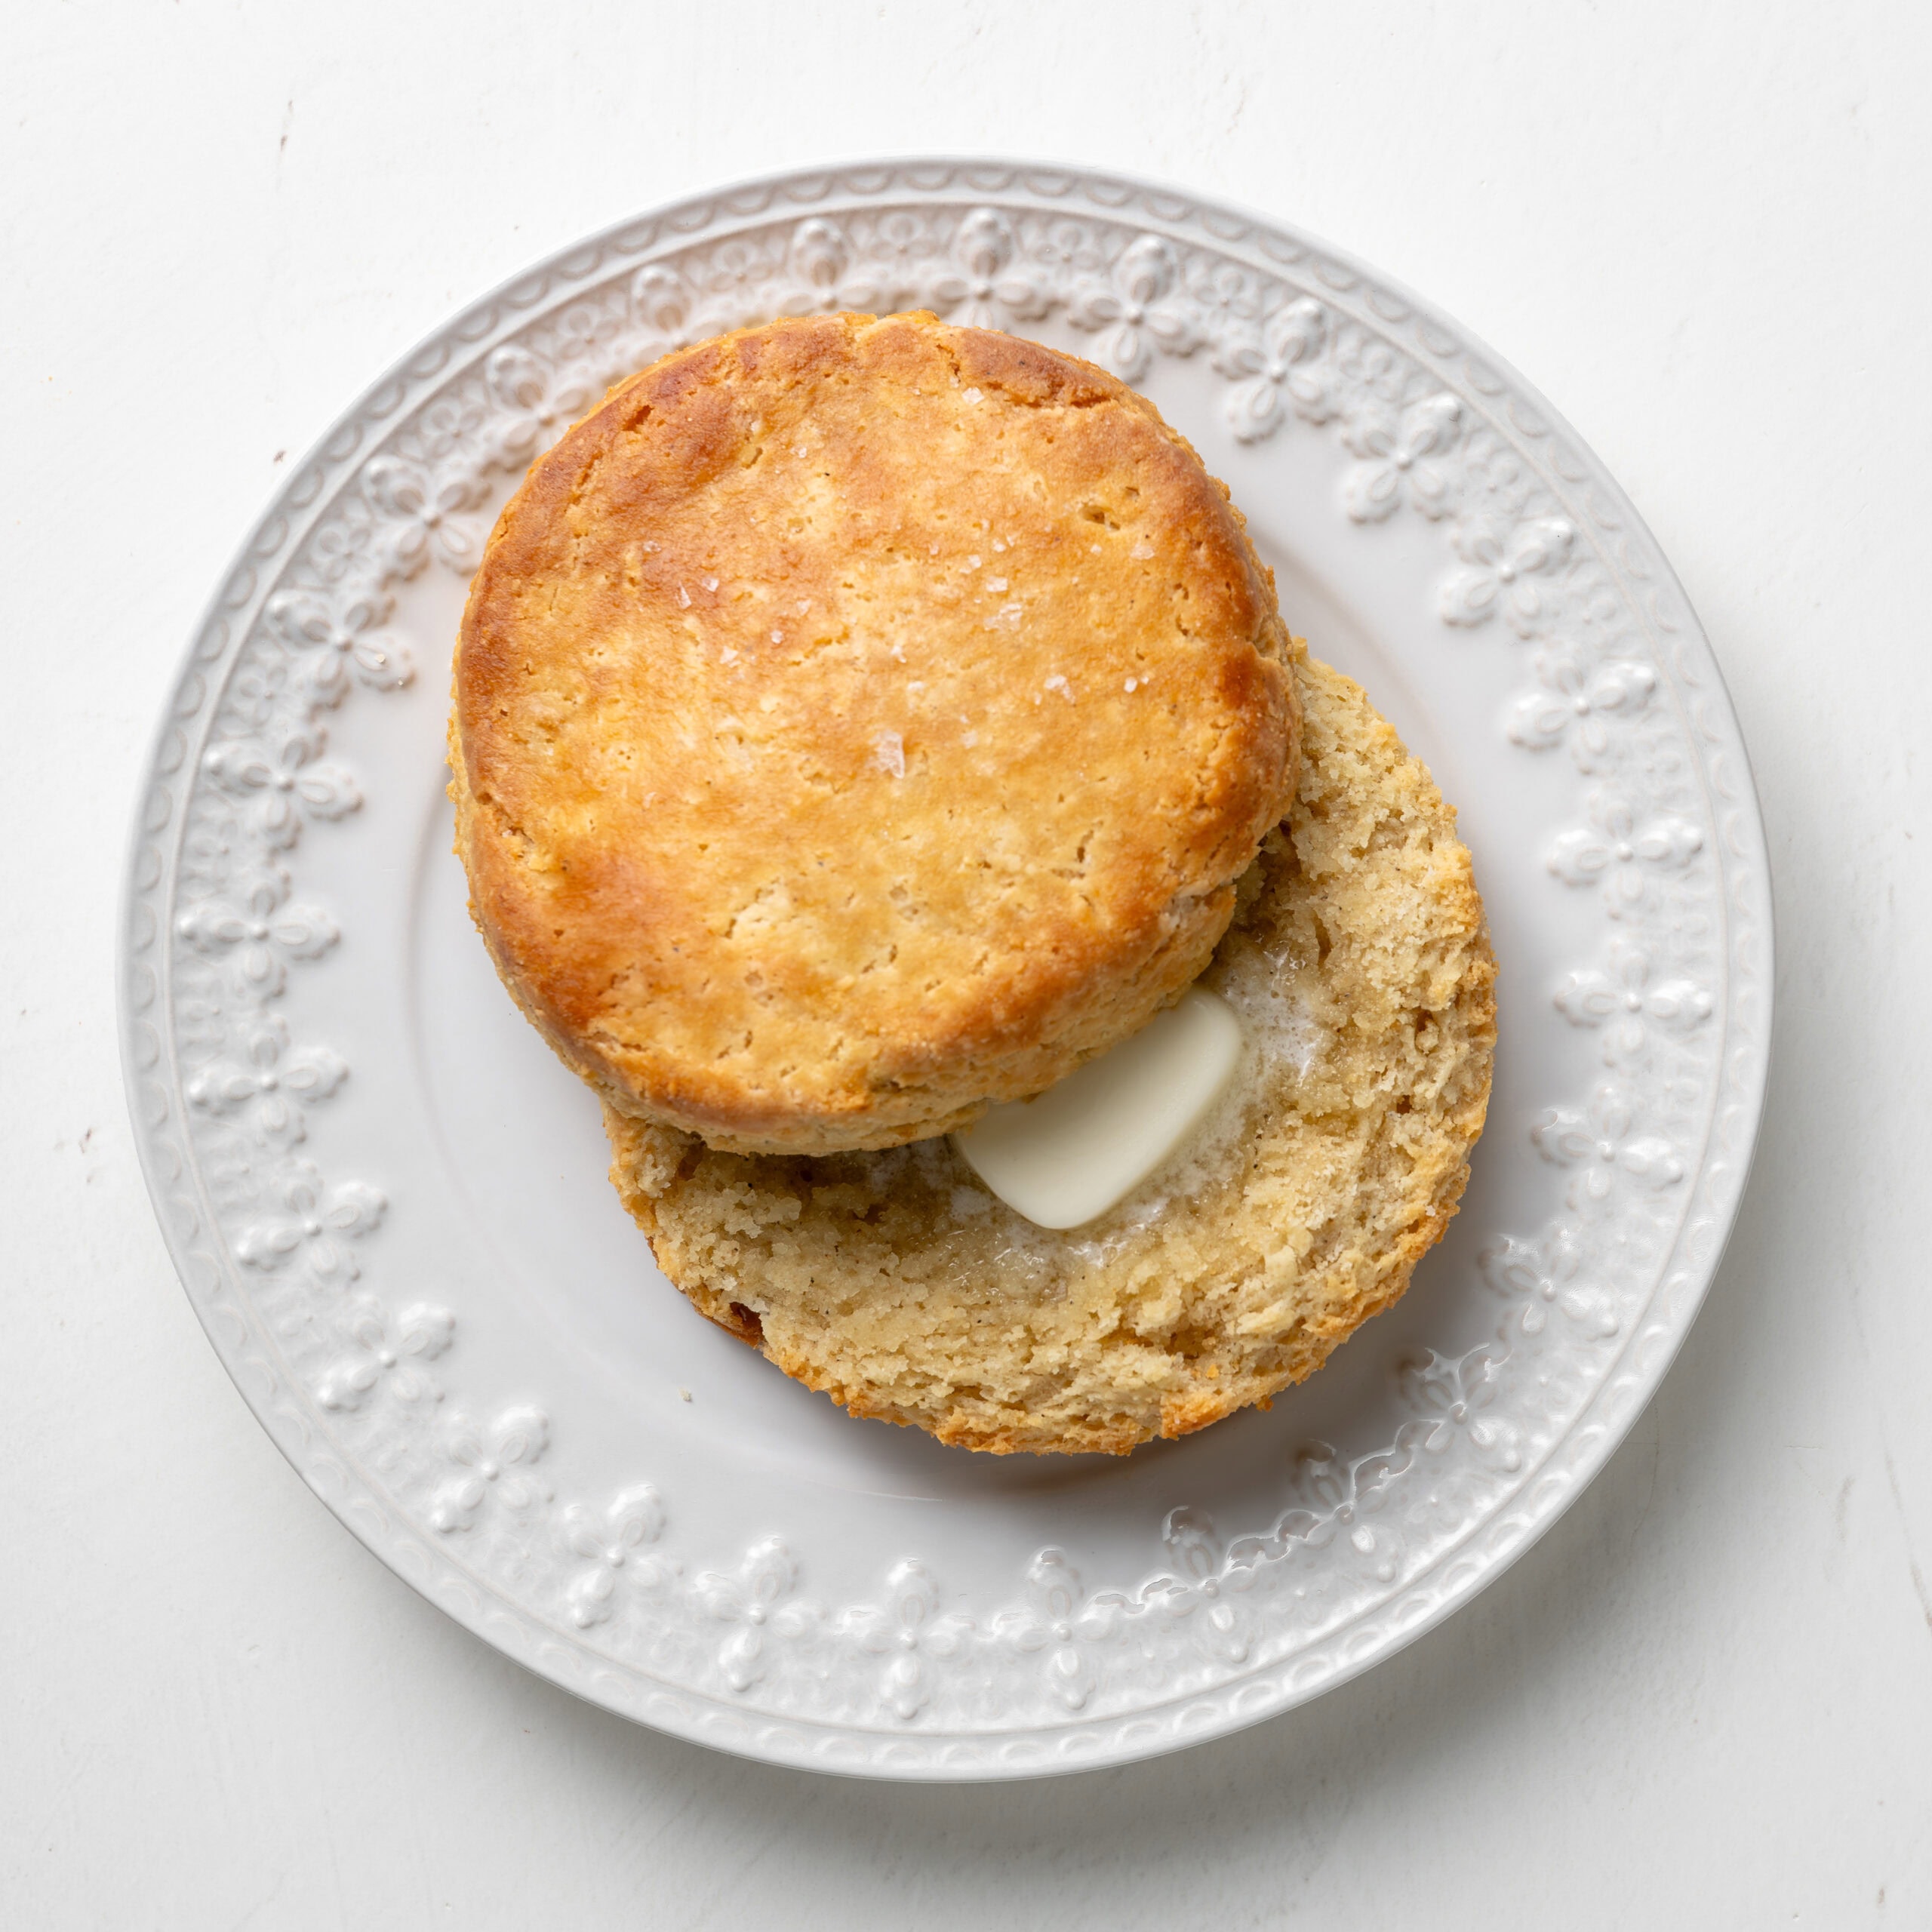
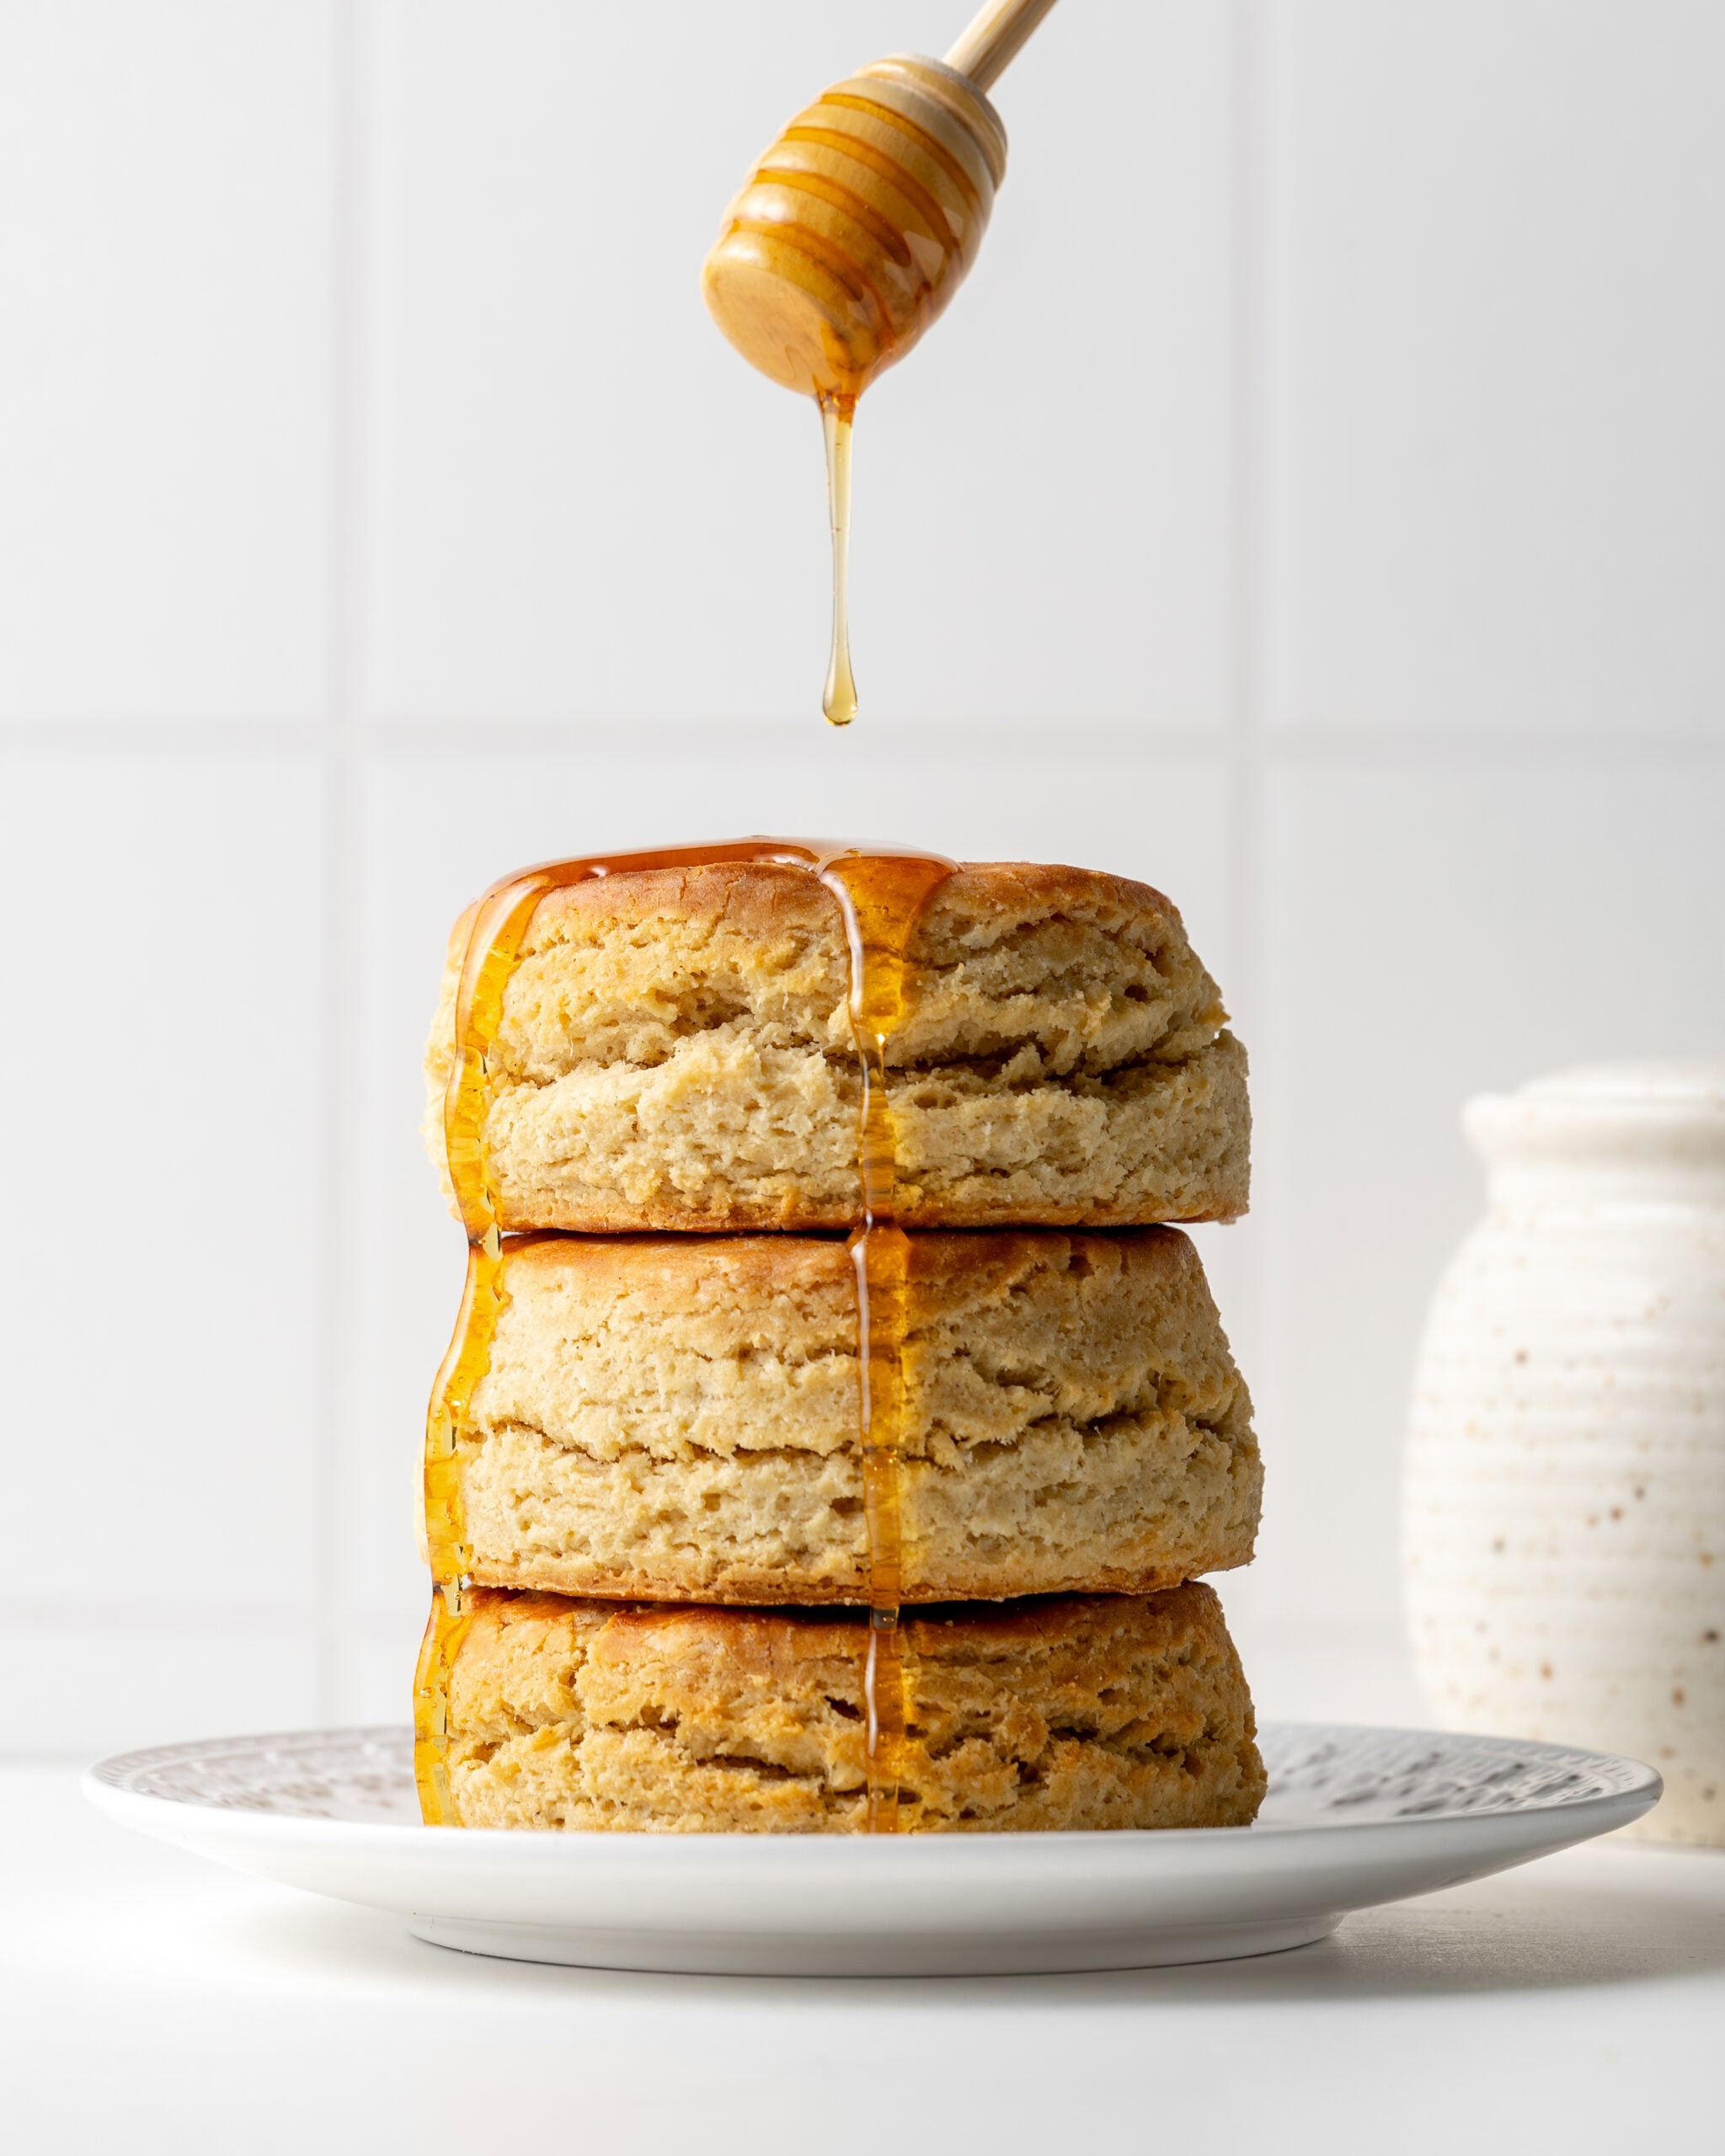
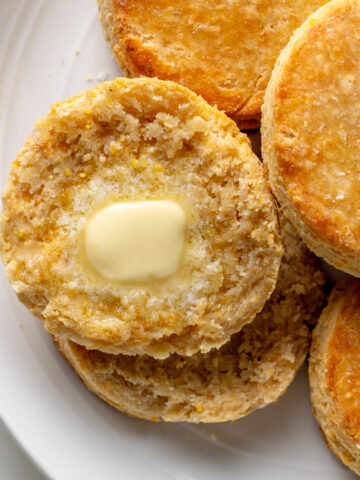
Prepare for your new favorite indulgence: flaky, buttery, soft gluten-free buttermilk biscuits! These are the biscuits you've been dreaming of—ideal for classic gluten-free biscuits and gravy, drizzled with honey, or as the perfect topping for our gluten-free chicken pot pie with biscuits. Here are our reasons why you will love this recipe:
- Buttery Softness: Despite their impressive flakiness, these biscuits remain wonderfully tender and soft on the inside. They strike the perfect balance between crispy exterior and cloud-like interior.
- Surprisingly Easy: This recipe is designed to be straightforward and approachable, even for those new to gluten-free baking or laminating techniques.
Gluten Free Buttermilk Biscuit Ingredients
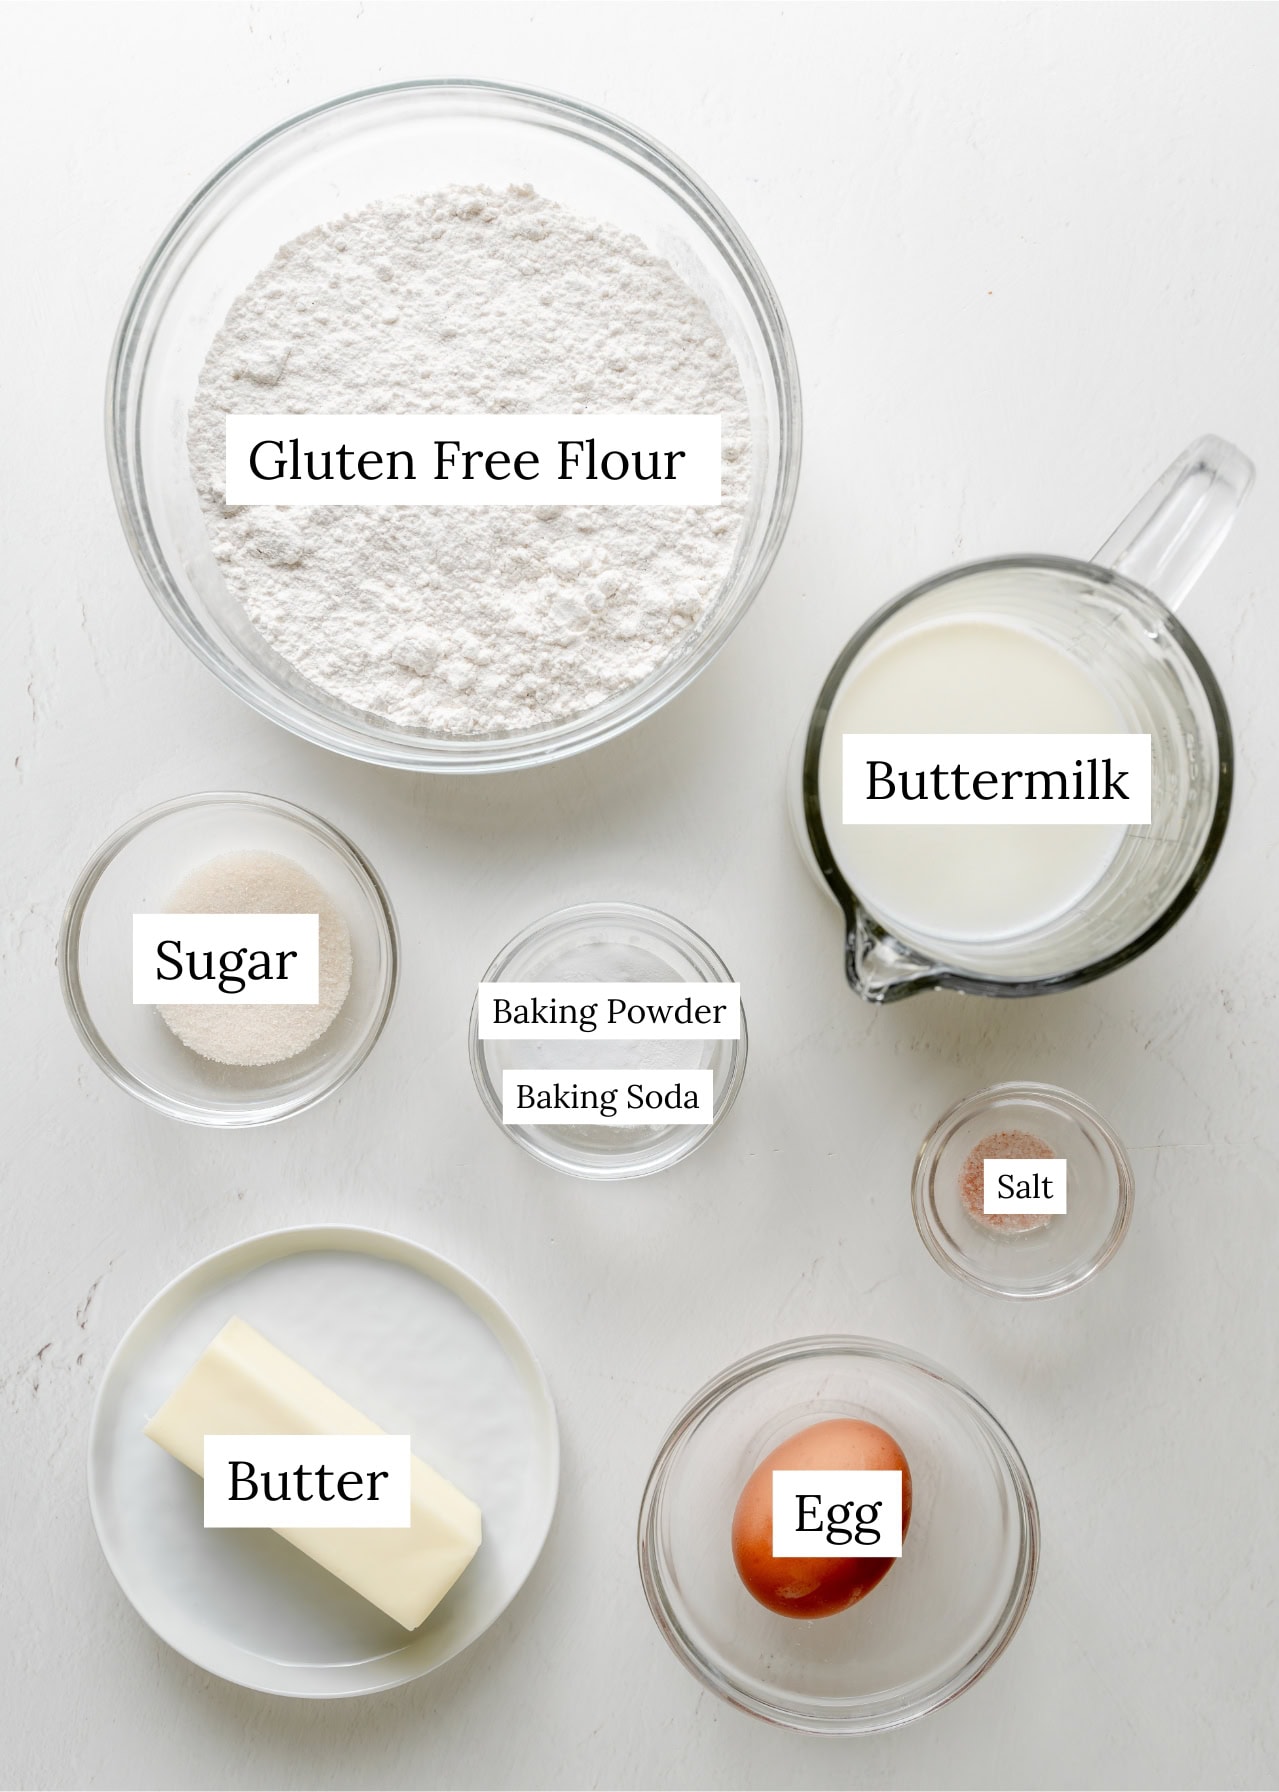
Ingredient Notes
Here are a few notes on some of the key ingredients to make these gluten-free buttermilk biscuits. See the recipe card below for exact measurements.
- Gluten-Free Flour Blend: My favorite brand of gluten-free flour is Bob's Red Mill Gluten-Free 1 to 1 Baking Flour. For the best results, be sure to weigh the flour using a food scale.
- Unsalted Butter: For flaky layers, cold butter is essential. Ensure your butter is frozen for at least 20 minutes before use.
- Buttermilk: The acidity in buttermilk plays a crucial role in these biscuits: it reacts with both the baking soda and baking powder, helping the biscuits rise tall. Additionally, it tenderizes the dough and imparts a delicious tangy flavor.
- Egg: While not a traditional ingredient, adding an egg helps create richer, more flavorful, and notably more tender biscuits. We've found that the overall texture and mouthfeel are significantly improved with its inclusion.
How To Make Gluten Free Buttermilk Biscuits
Here's an overview of how to make this recipe. For complete instructions, you can jump to the recipe card.
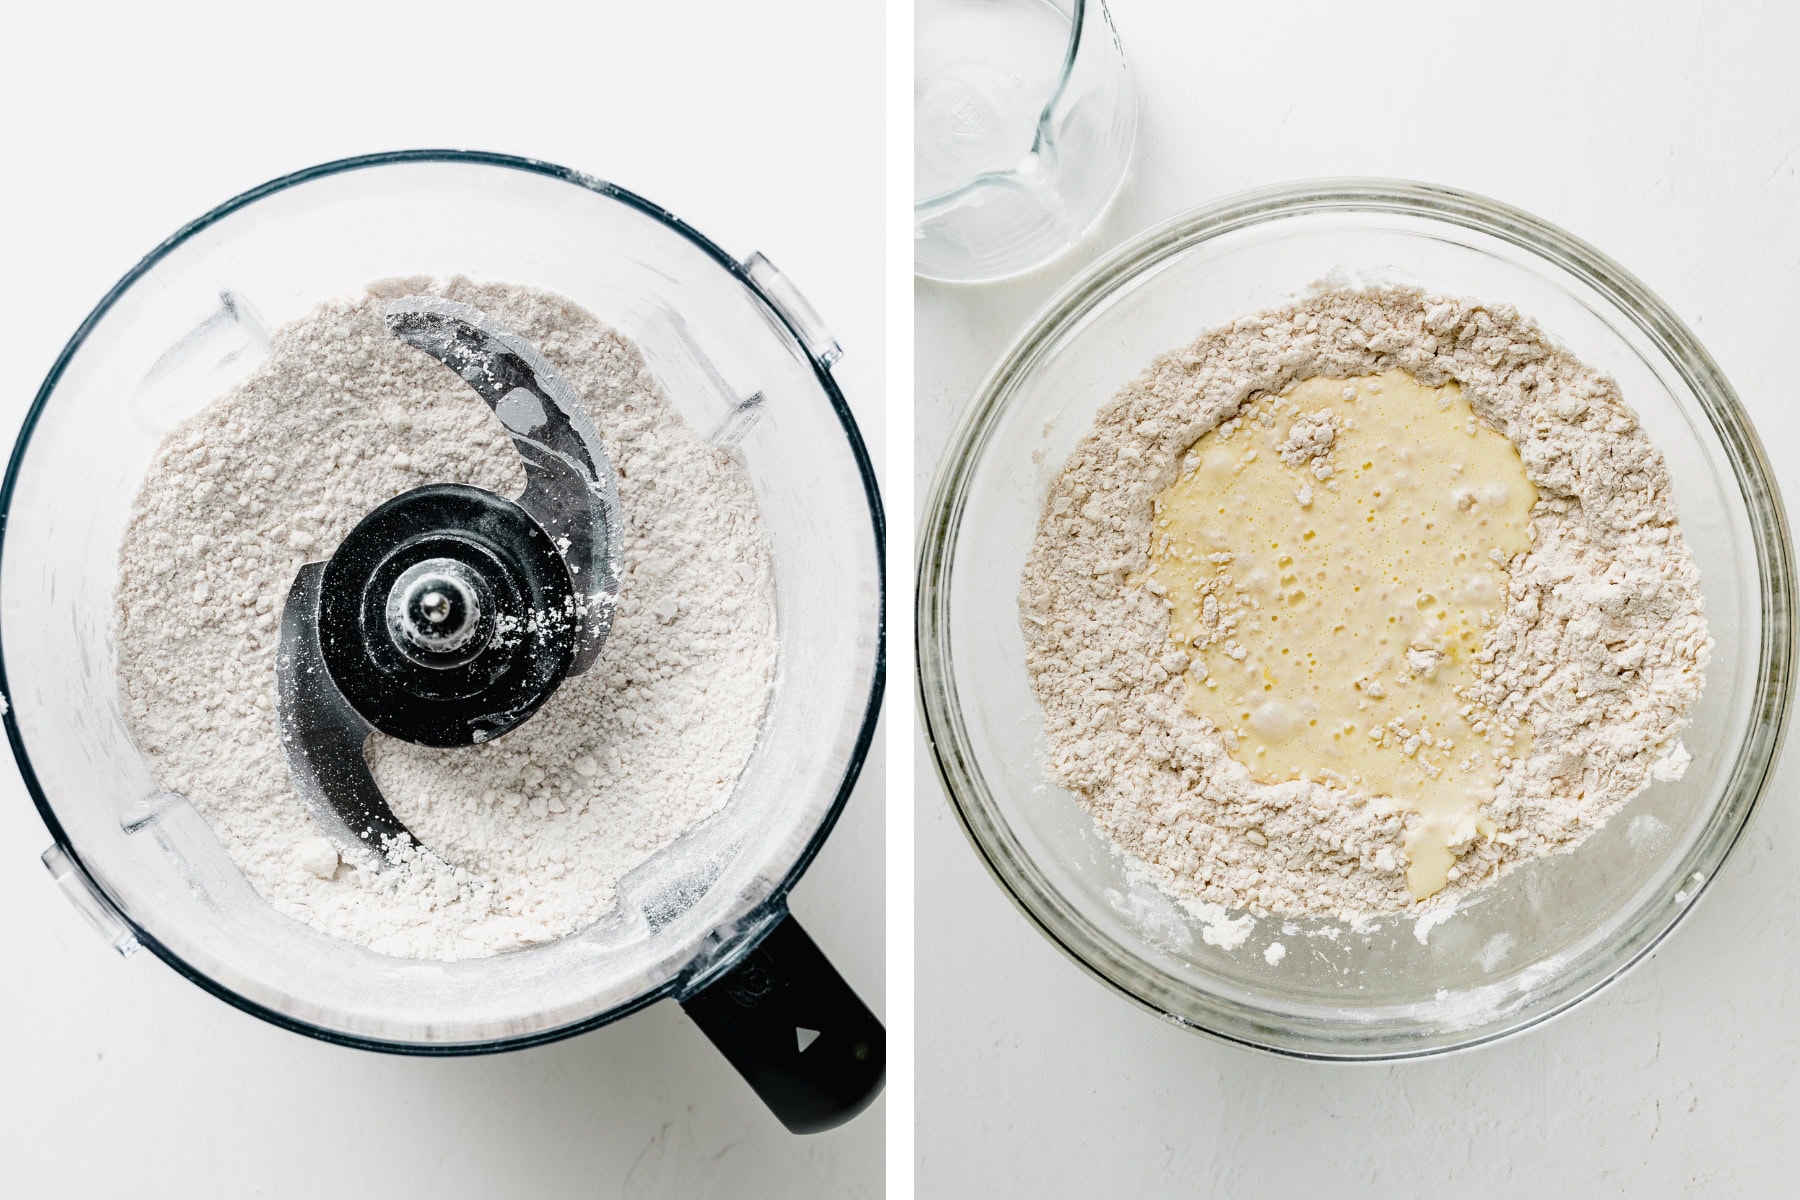
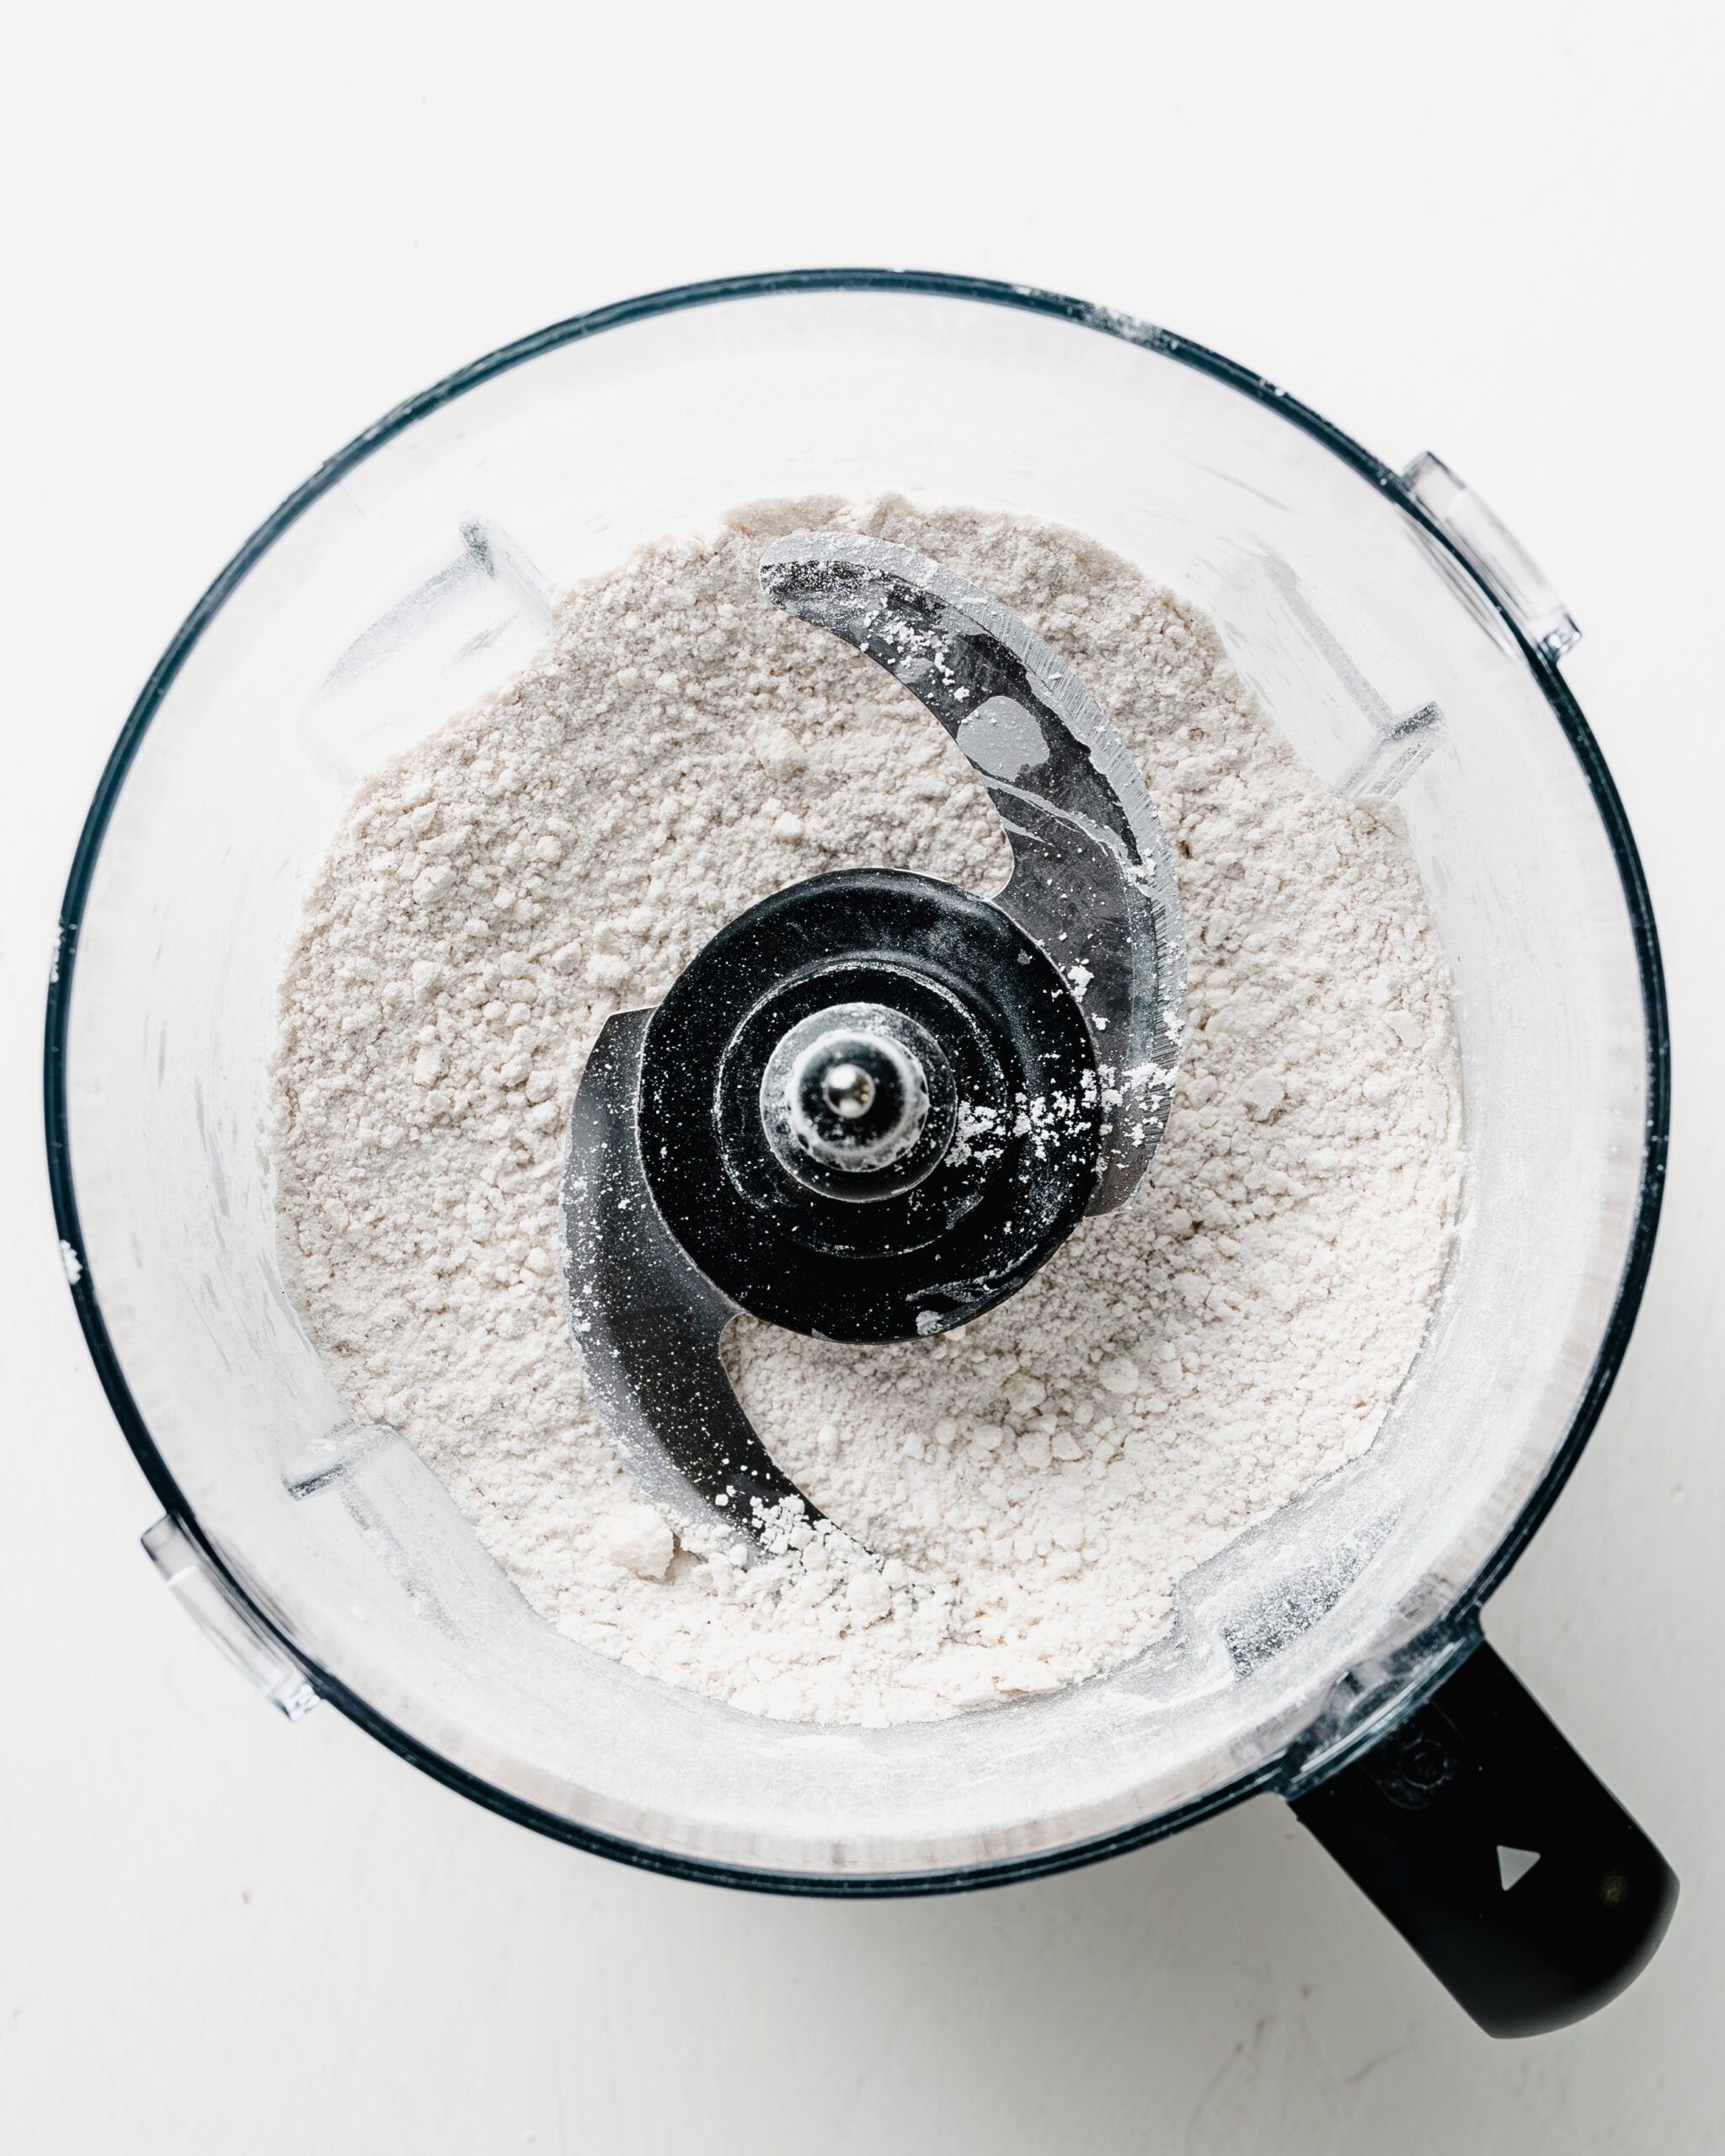
- Step 1: Combine the dry ingredients and frozen butter. Work the butter into the flour mixture until coarse crumbs form.
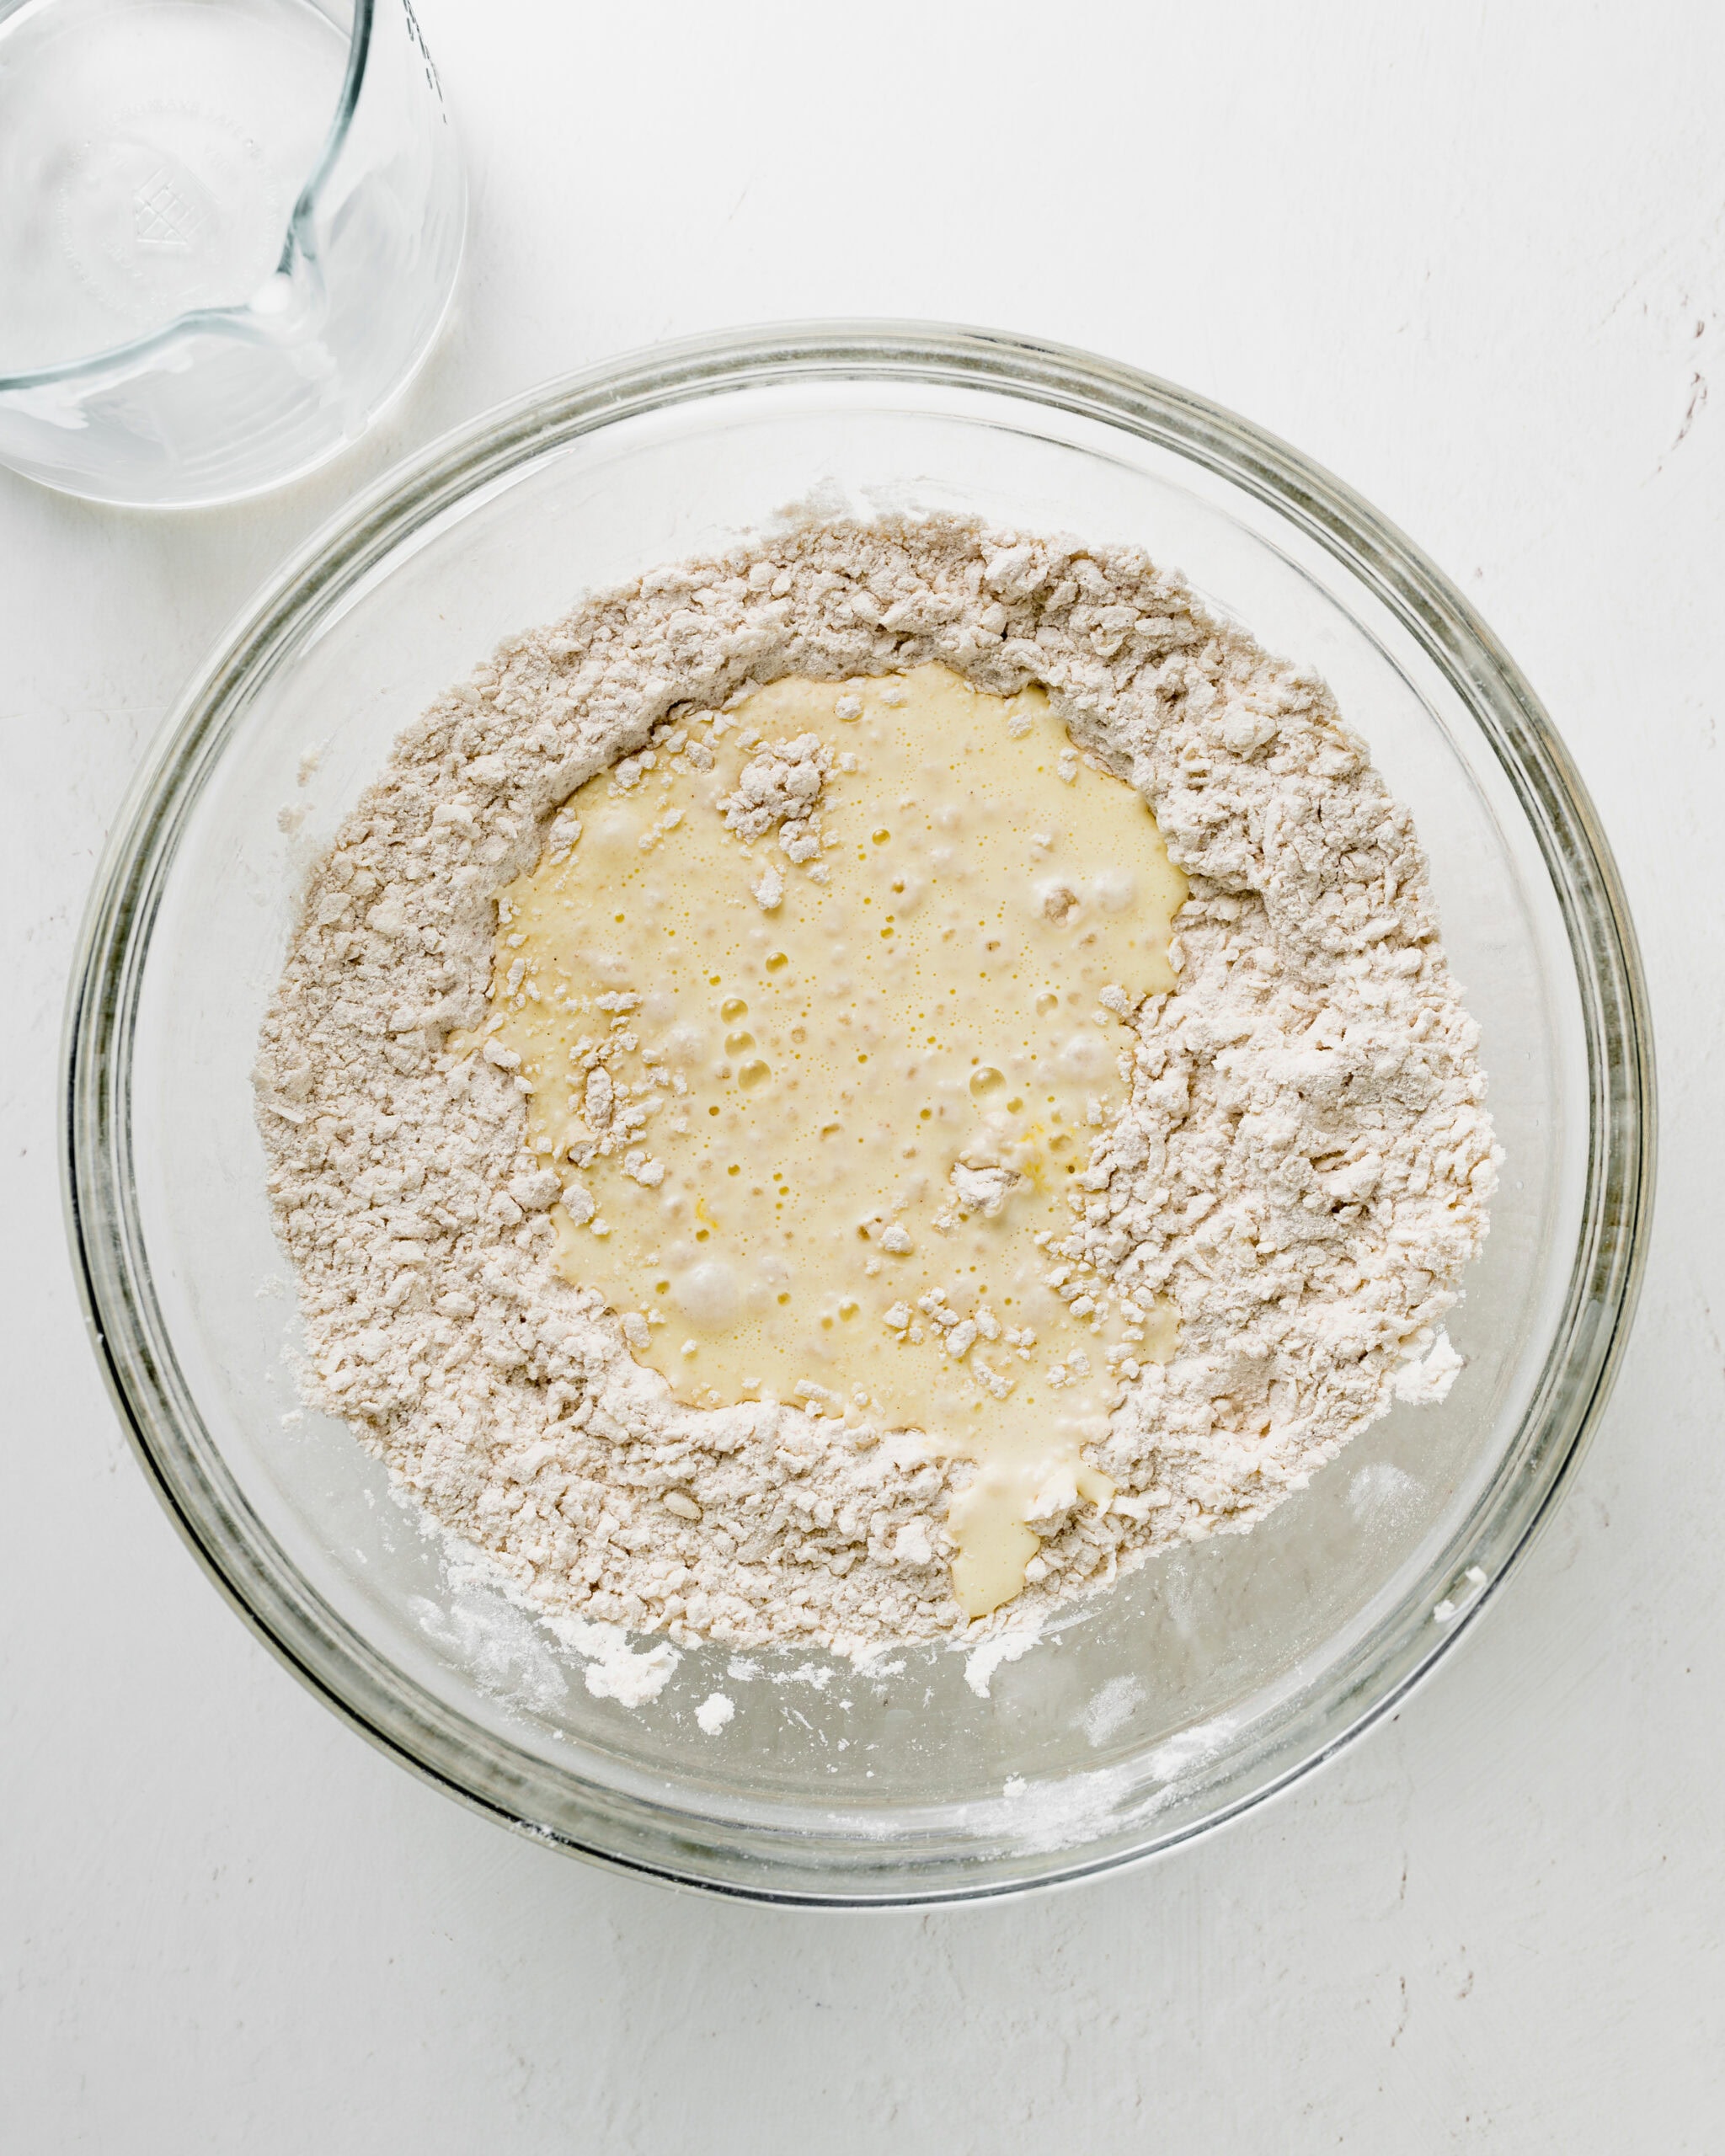
- Step 2: Add the wet ingredients to the dry ingredients. Make a well in the center of the flour mixture. Pour in the buttermilk and egg mixture, then mix until the dough forms. Pour in the buttermilk and egg mixture, then mix until the dough forms.
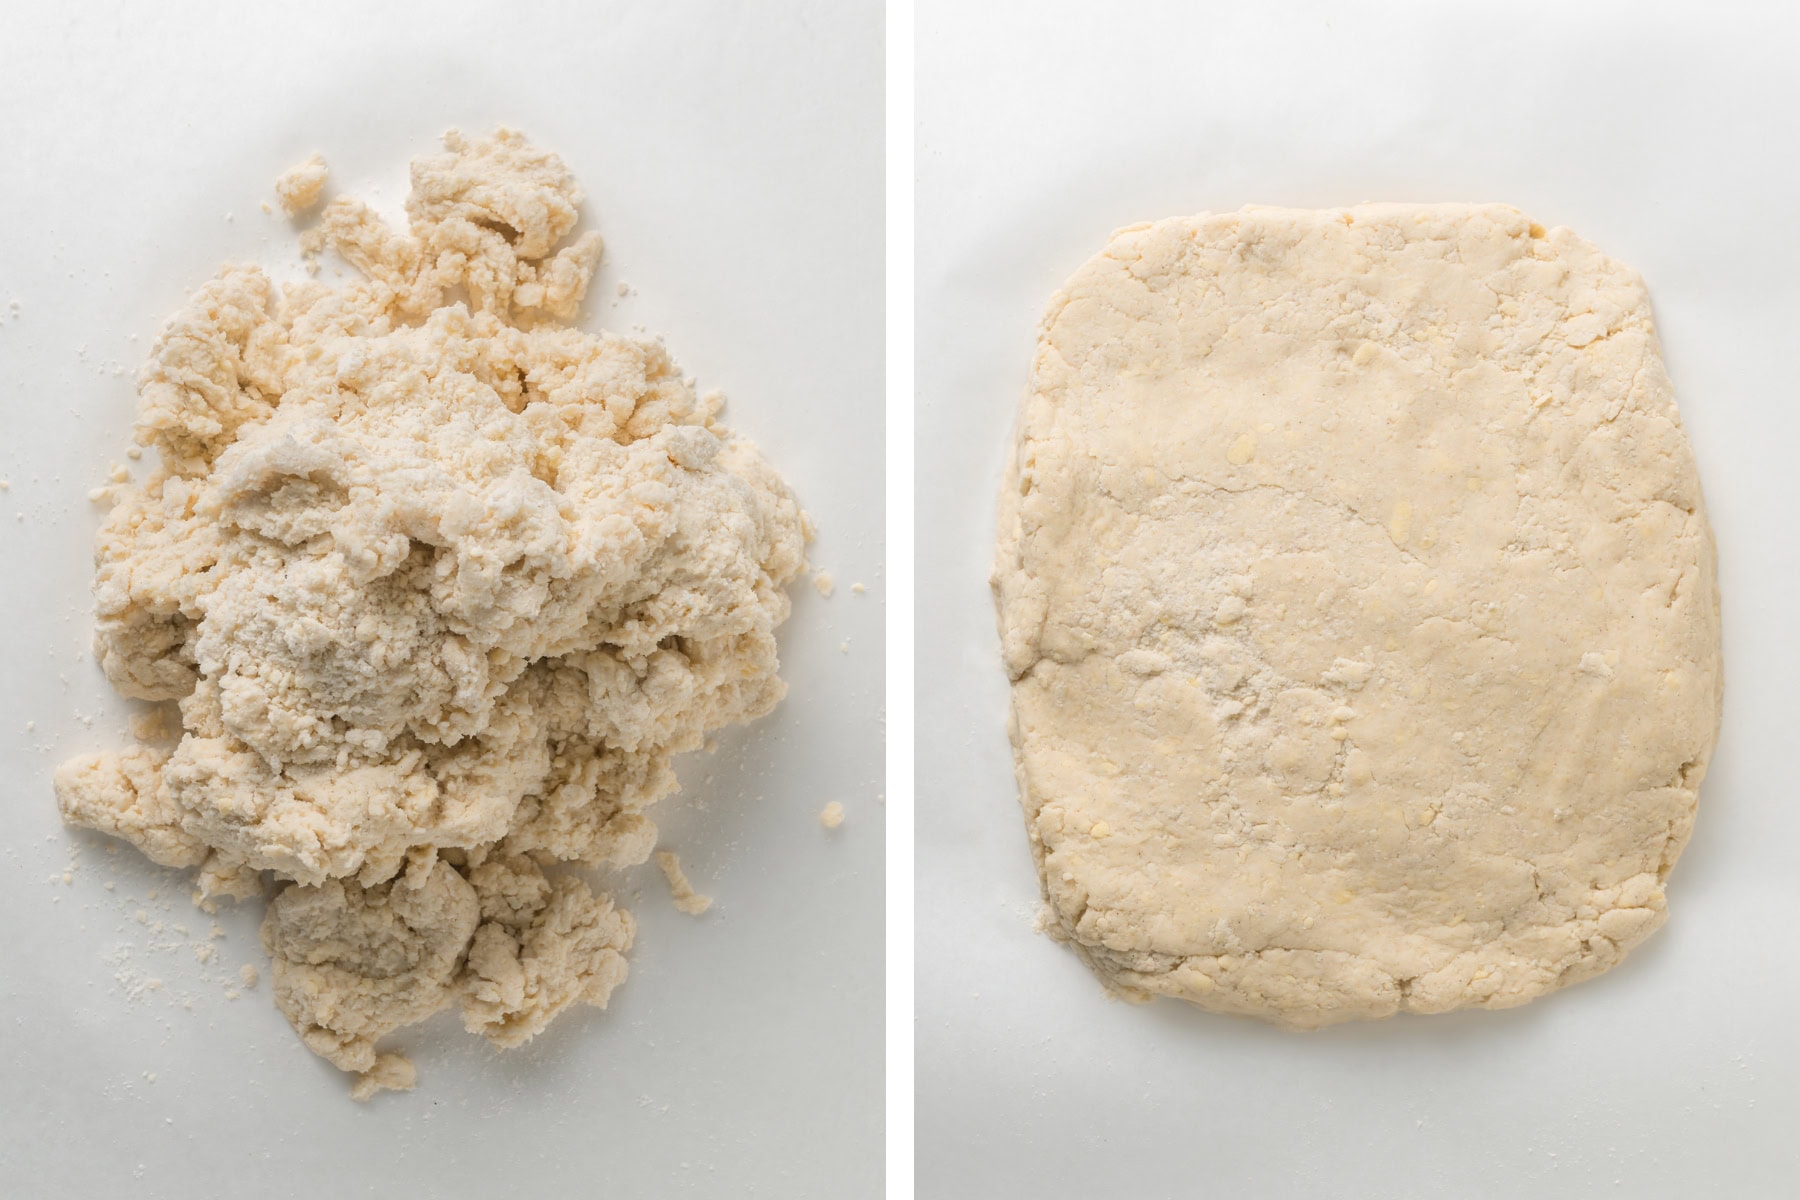
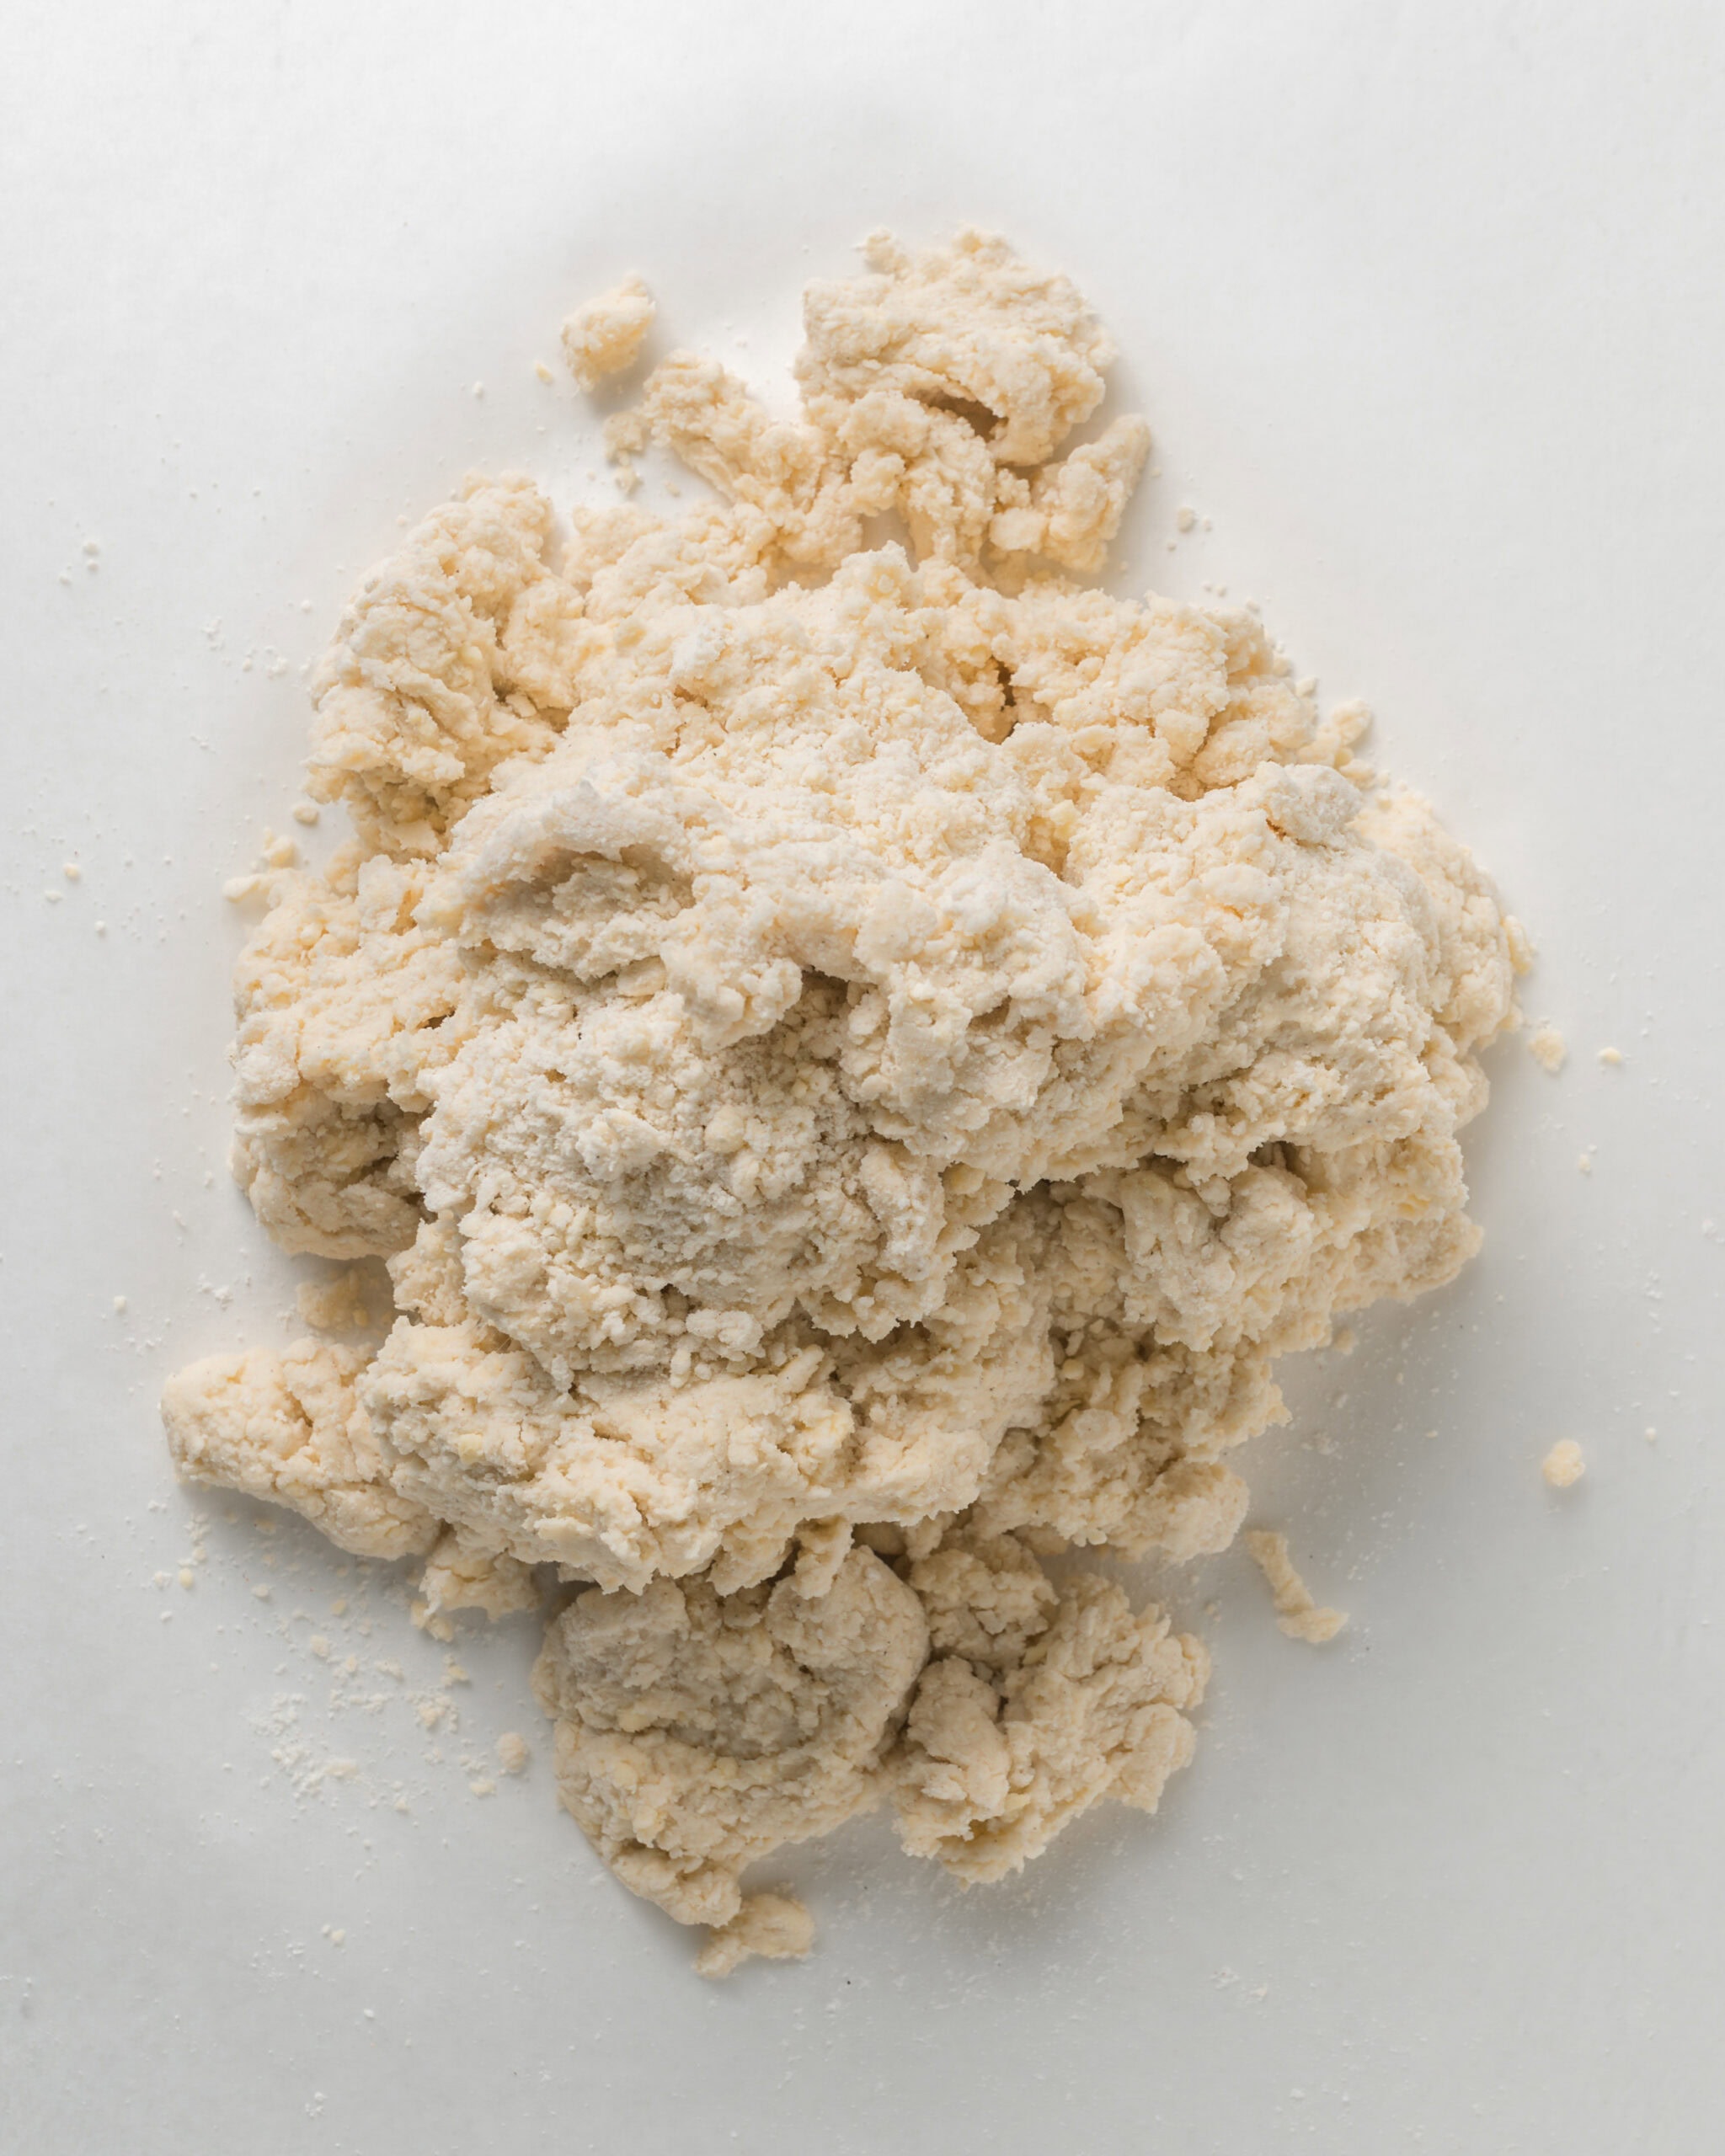
- Step 3: Turn the dough out onto a floured surface. It will look a bit dry and crumbly, but don't worry—it'll come together when you laminate it.
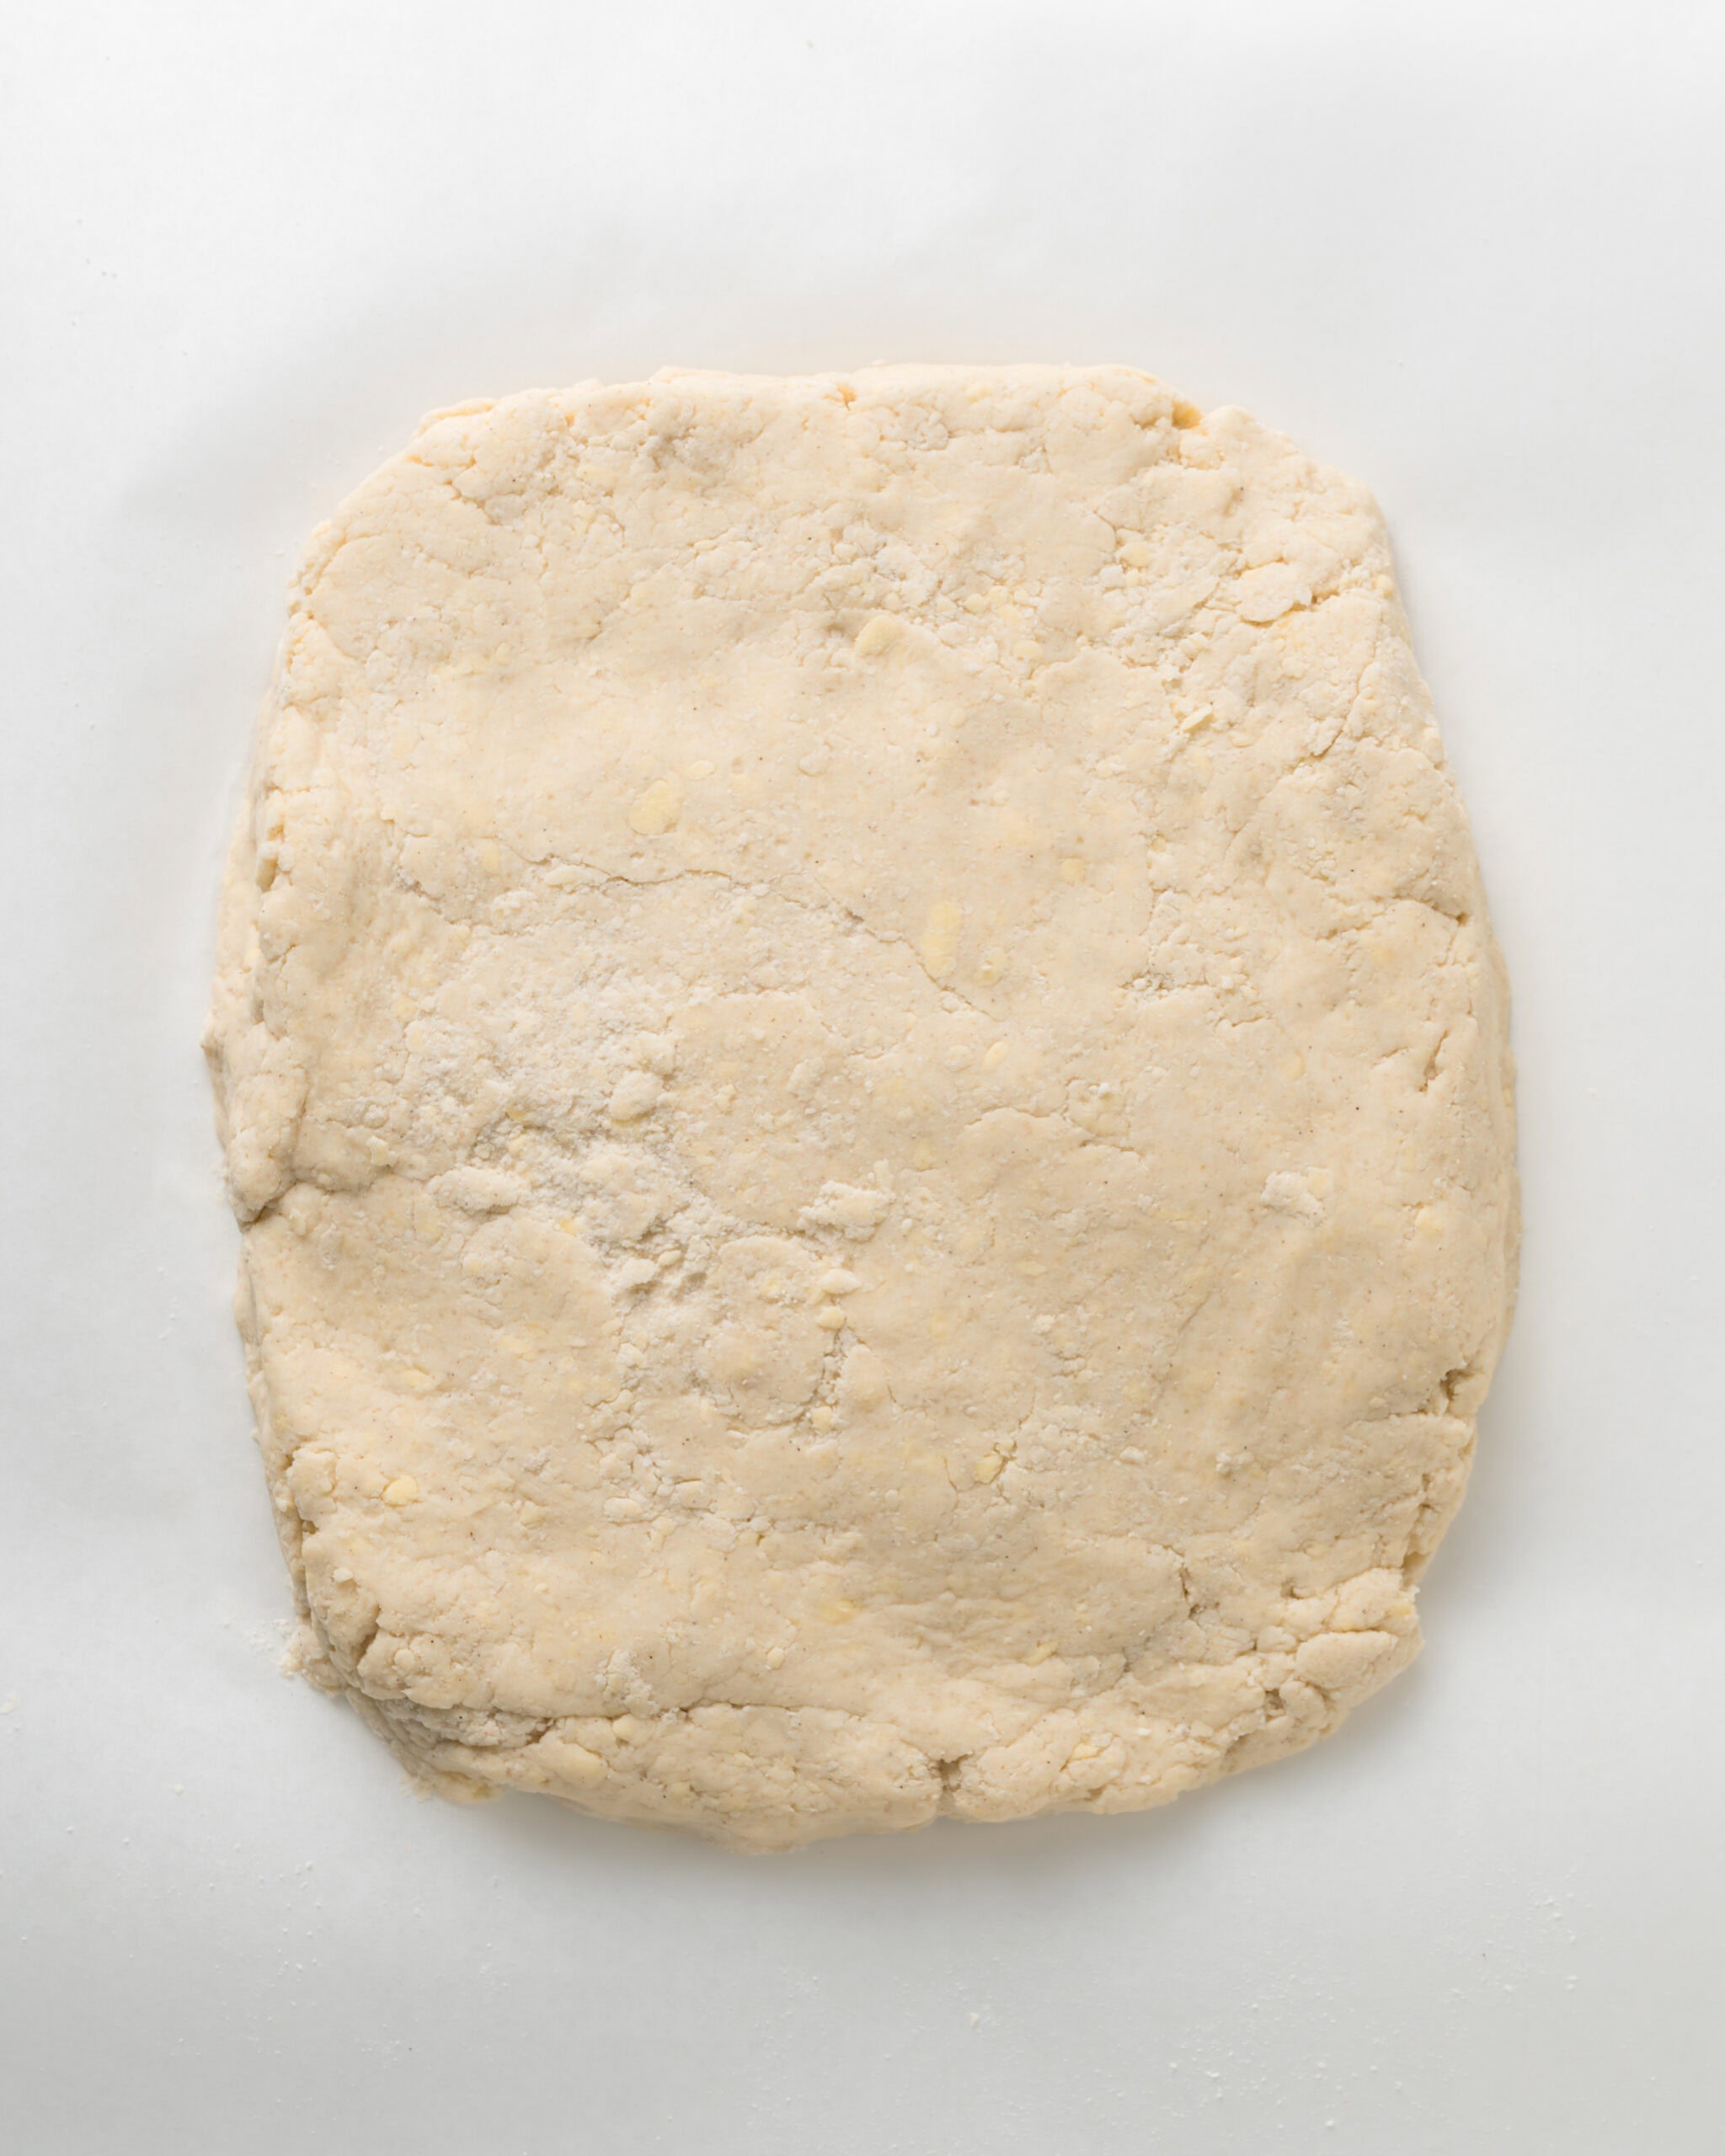
- Step 4: Pat the dough into a rectangle. The rectangle should be 1 inch thick, but no less than ¾ inch thick.
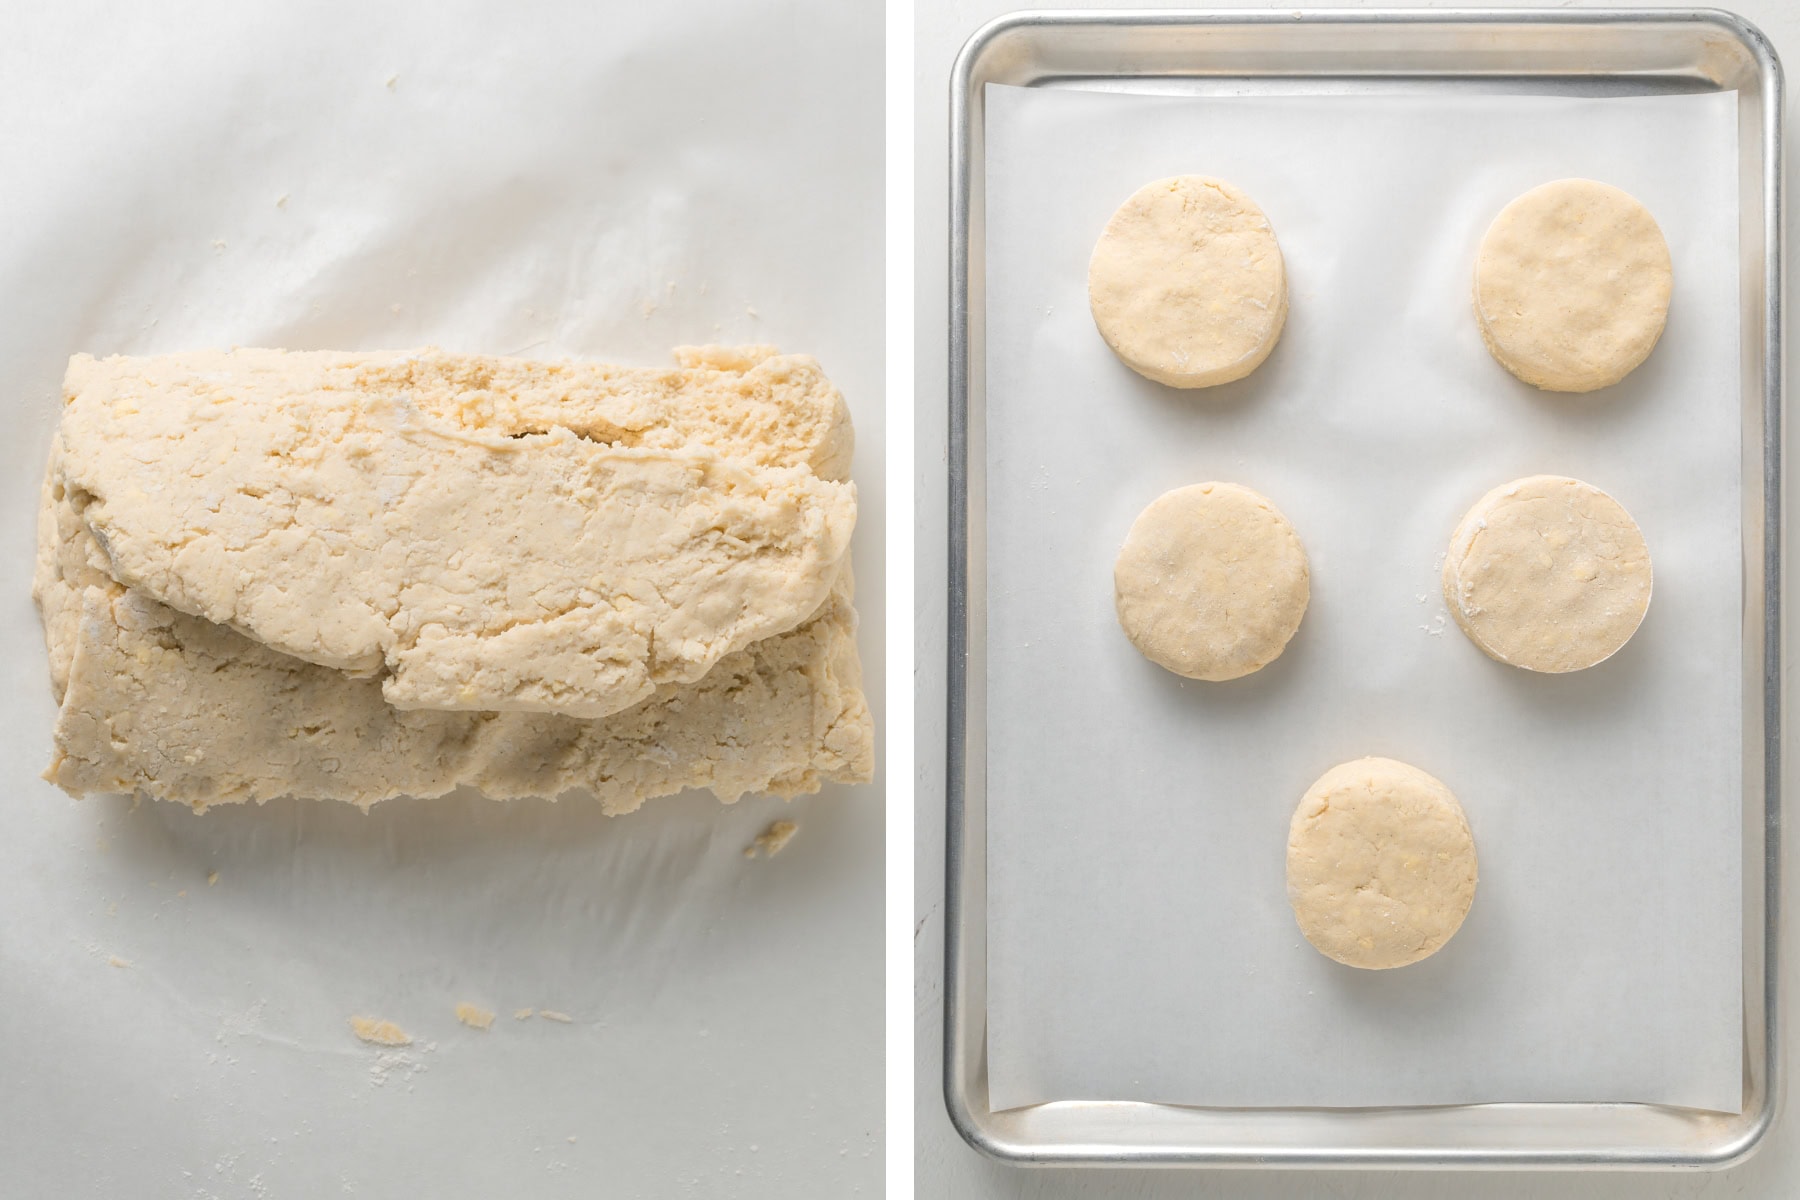
- Step 5: Laminate. Fold the dough like a letter: bring one end to the center, then fold the other end over it. Rotate the dough 90 degrees, pat it flat, and repeat this process twice more for a total of three folds.
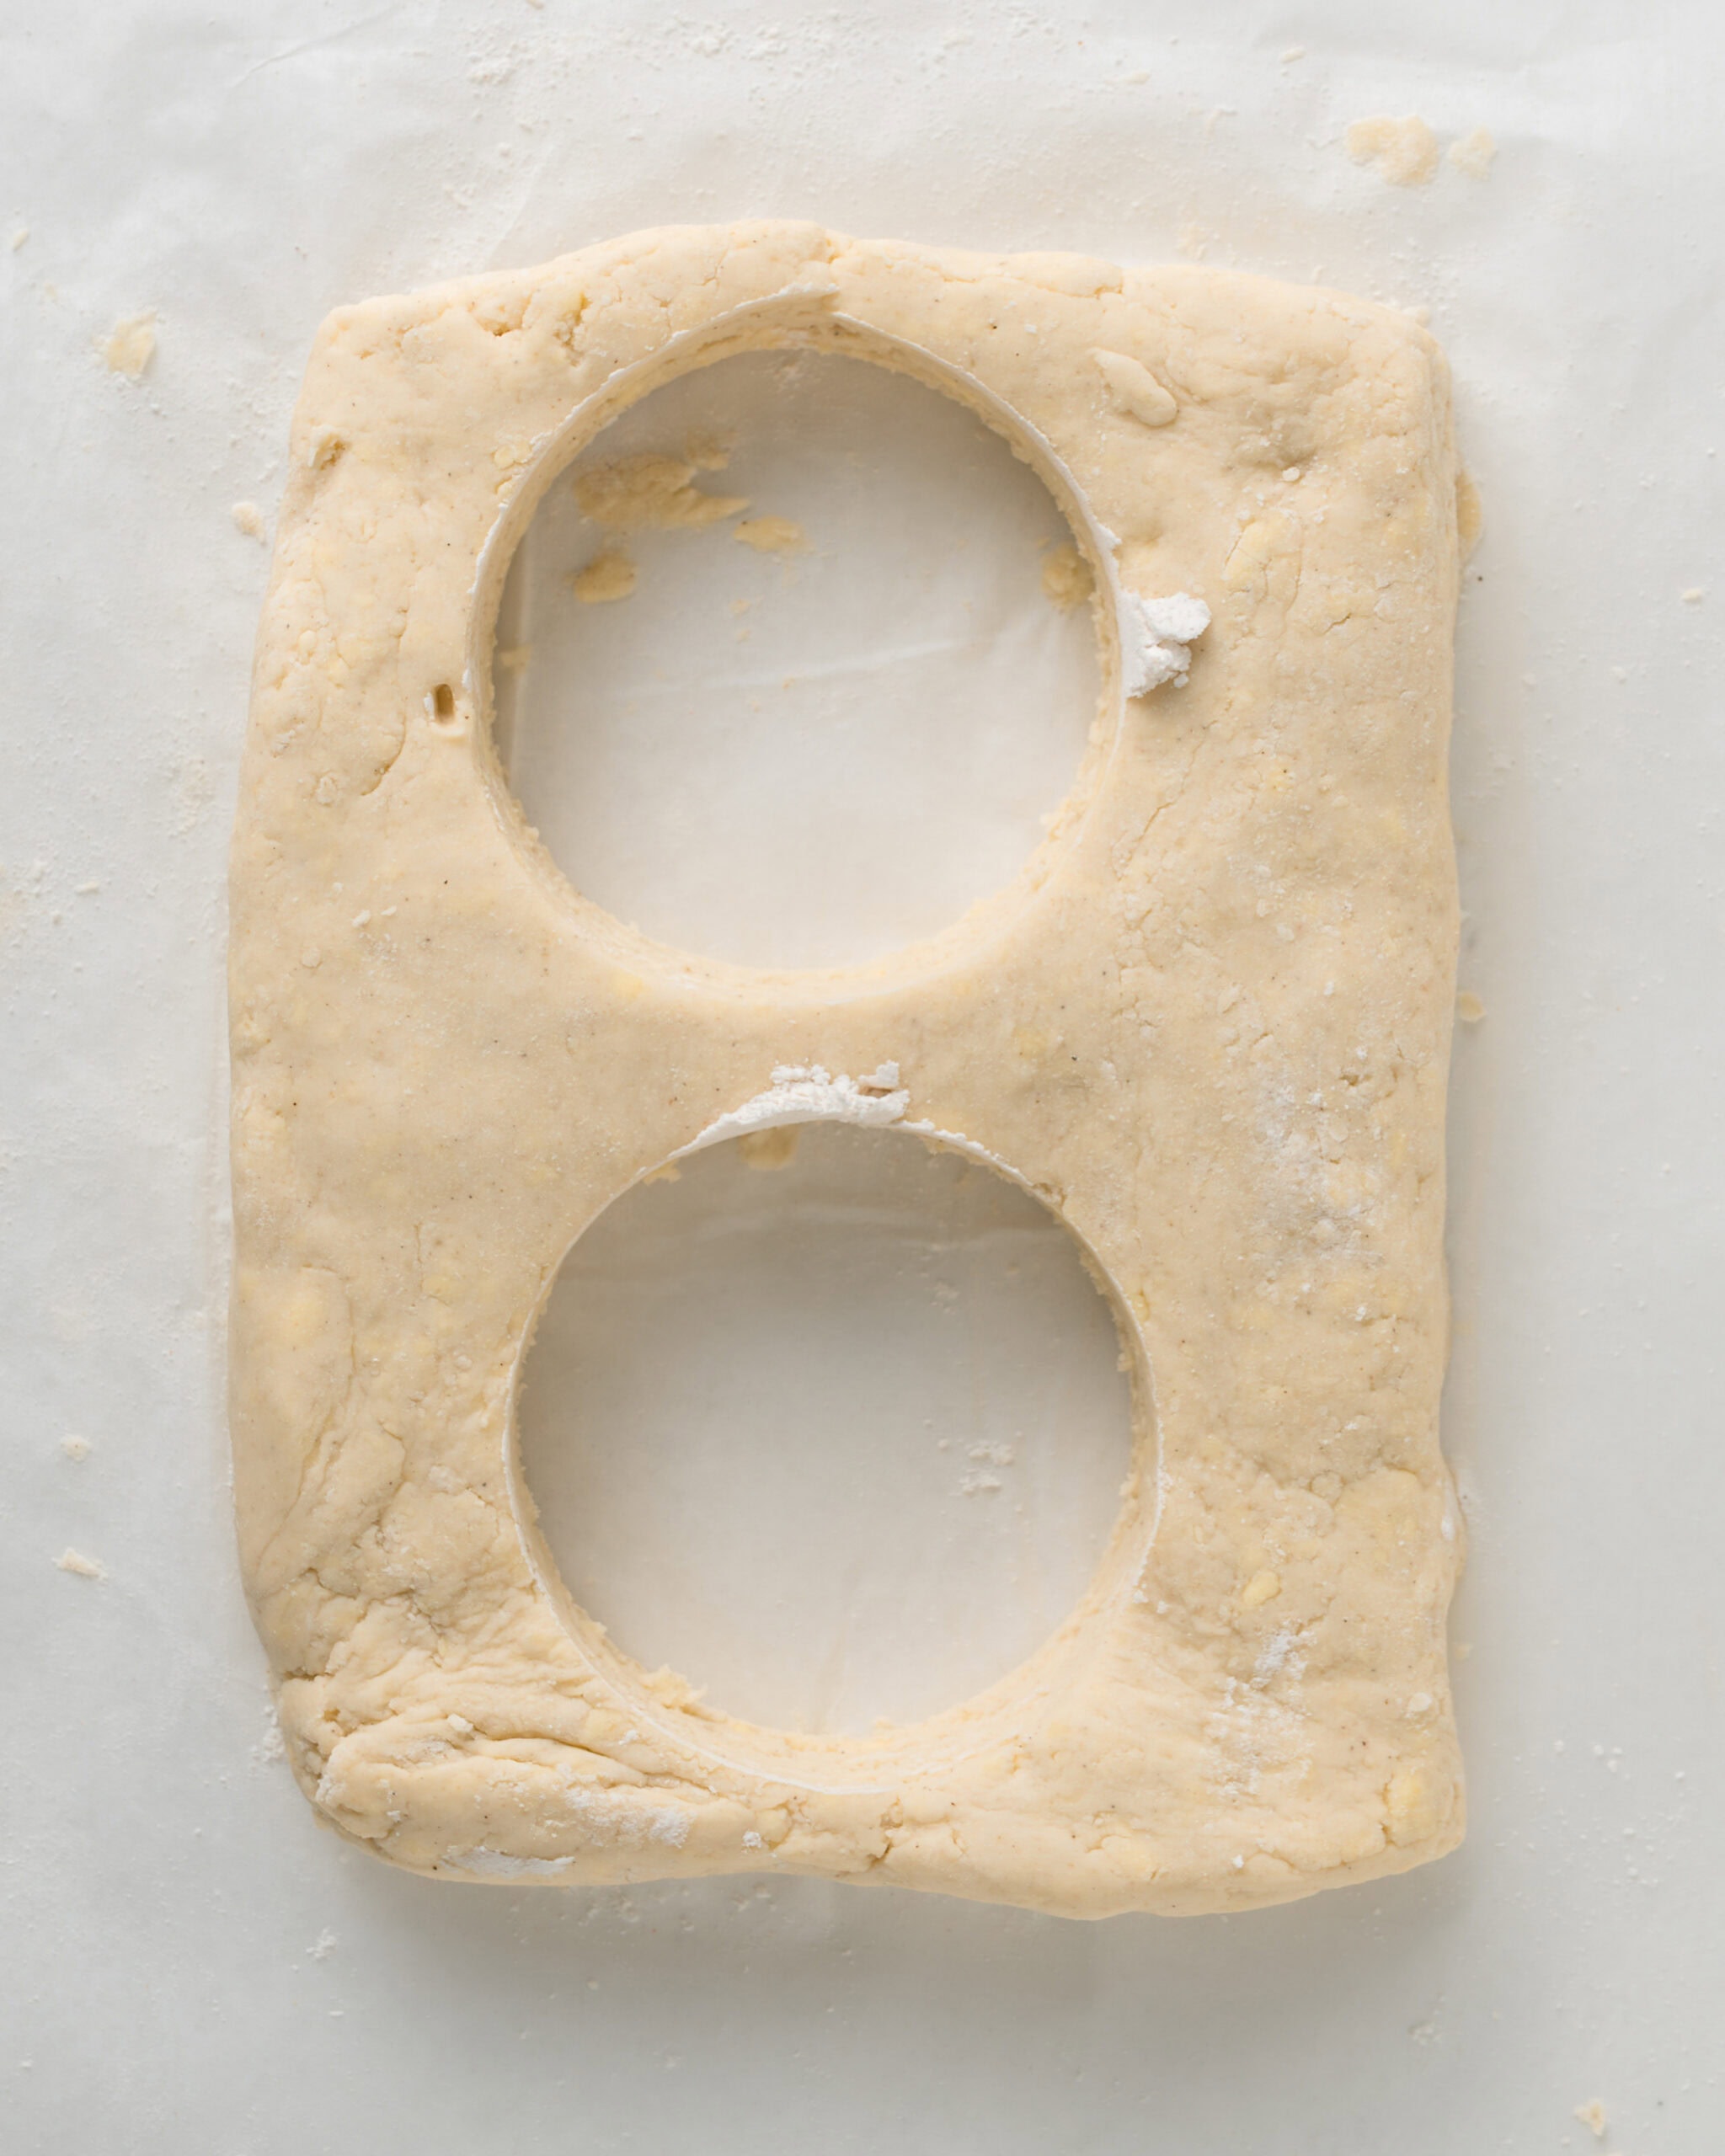
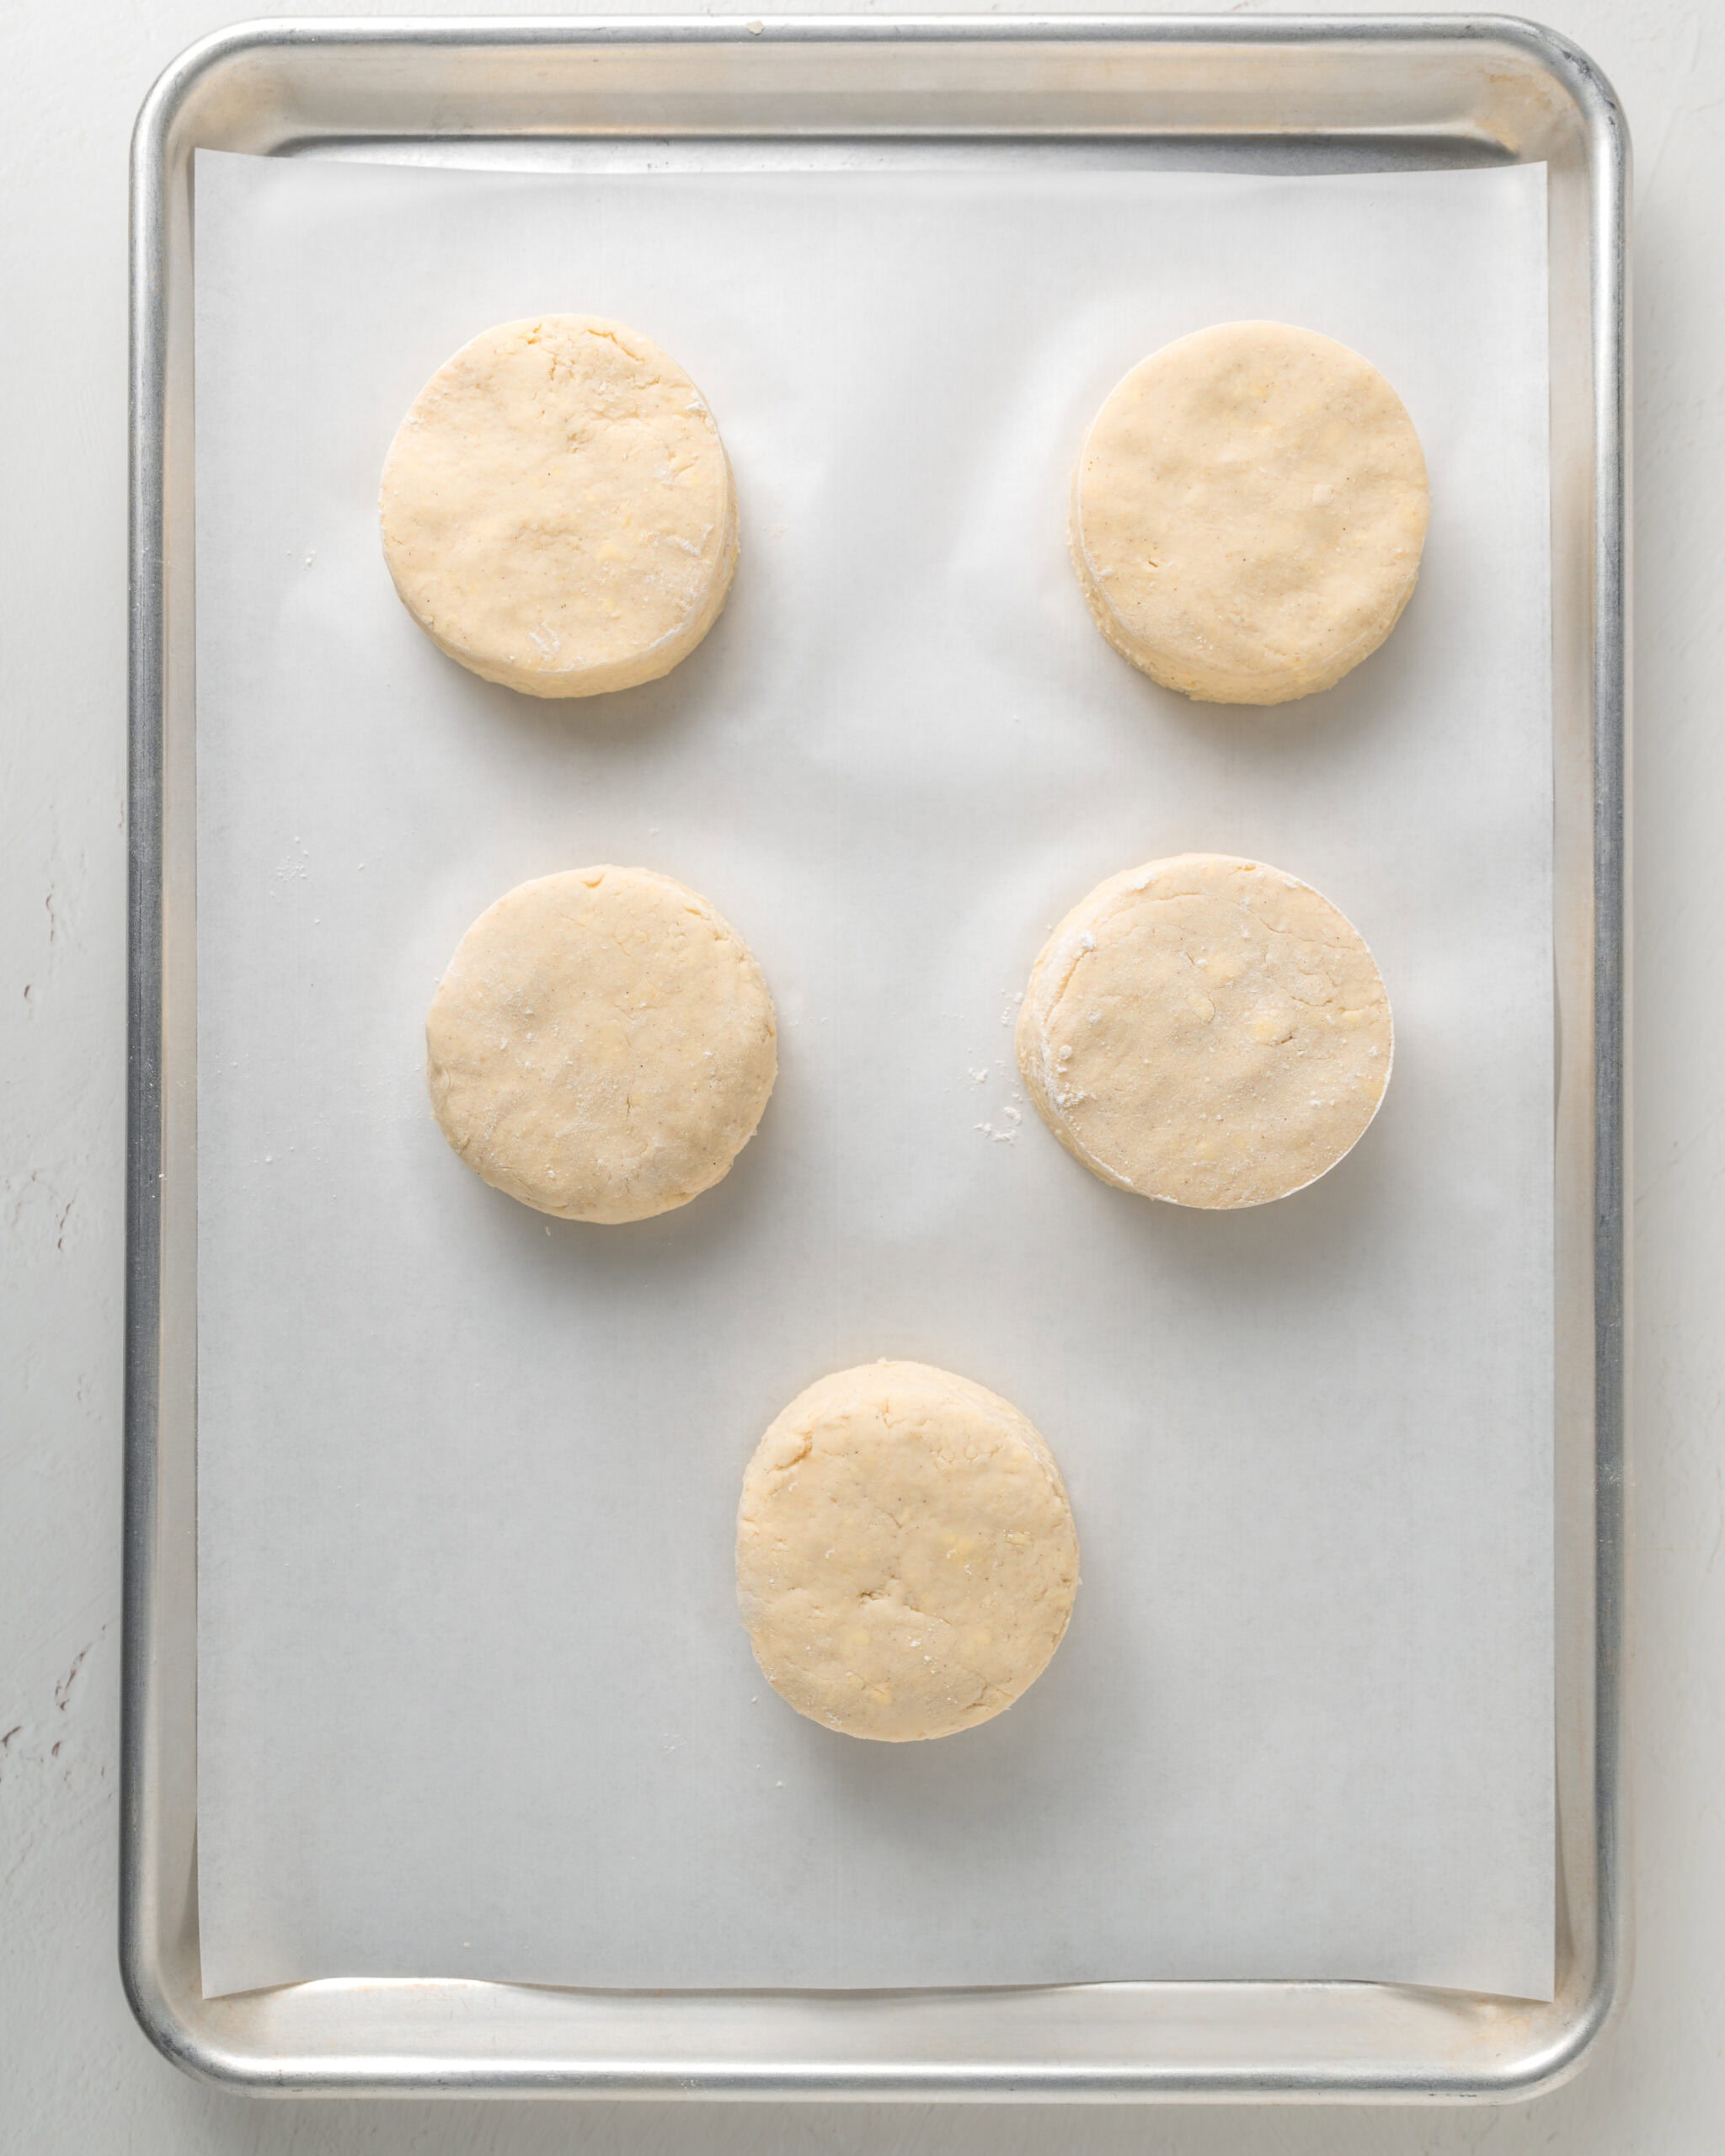
- Step 6: Cut biscuits. Cut 5-8 biscuits with a biscuit cutter, then place them on a parchment-lined baking sheet and freeze for 20 minutes. Brush the tops with buttermilk and bake for 15-20 minutes.

Common Questions
The key to light, fluffy, and flaky buttermilk biscuits boils down to these essential steps:
Laminating the dough: You'll use a simple letter-folding technique to create layers.
Using very cold, small pieces of butter: The colder the butter, the better.
Baking at a high temperature: This intense heat is crucial for the flakiness.
Avoid overworking the dough. A mere three quick folds are all it takes for the lamination technique before you cut your biscuits. Overworked dough leads to tough biscuits.
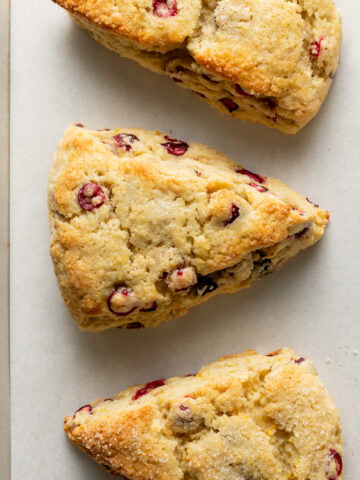
More Recipes With Biscuits You'll Love
Recipe
Gluten Free Buttermilk Biscuits
Ingredients
- 8 tablespoons (113g) unsalted butter, chilled
- 2¼ cups (340g) gluten-free flour (Bob's Red Mill 1:1 Gluten-Free Baking Flour)
- 1 tablespoon (15g) sugar
- 1 tablespoon baking powder
- ½ teaspoon baking soda
- 1 teaspoon salt
- 1 cup (240ml) buttermilk
- 1 large egg
Instructions
- Prepare and freeze the butter. If you're using a food processor to cut the butter into the flour, slice the stick into cubes and pop them in the freezer for 20 minutes. If you're grating the butter, grab a box grater or a cheese grater and place a sheet of parchment paper on a plate underneath to catch all the butter. Hold the grater firmly in one hand and the butter in the other, then carefully grate the butter, watching your fingers! Once you're done, transfer the parchment paper with the grated butter to the freezer for 20 minutes.
- Combine the dry ingredients and frozen butter. In a large bowl, whisk together the gluten-free flour, sugar, baking powder, baking soda, and salt until they're fully combined. If you prefer using a food processor, pulse these ingredients a few times until they're evenly mixed.Next, add the cubed or grated frozen butter. Use a pastry cutter to cut the butter into the dry ingredients until coarse crumbs form. If you're using a food processor, pulse the mixture until coarse crumbs form, then transfer the butter/flour mixture to a large bowl.

- Add the wet ingredients. Get a medium-sized bowl and whisk the buttermilk and large egg together. Make a well in the middle of your flour mixture. Pour the buttermilk and egg mixture into the well.
- Stir until the dough forms. Use a rubber spatula to stir it all together. It will look really dry when you start, but keep mixing, and it will turn into a shaggy dough with dry bits at the bottom of the bowl.
- Shape the dough. Turn the dough out onto a floured surface. Lightly flour your hands and the work surface as needed to prevent sticking. Gently flatten the dough with both hands into a 1-inch-thick rectangle.
- Laminate the dough. To laminate the dough, picture yourself folding a letter. Using a bench scraper, bring one side into the center, then fold the other side directly on top. Next, rotate the dough 90 degrees and gently flatten it back into a rectangle. Repeat this entire folding process two more times, for a total of three folds.
- Cut the biscuits. After the final fold, pat the dough back into a rectangle about ¾ to 1 inch thick on all four sides. Using a 2½ to 3-inch round biscuit cutter, press straight down into the dough and pull straight up. Don't twist the cutter, or your biscuits will crimp and won't rise properly. Clean and re-flour the cutter between each cut.Gather any dough scraps and gently re-roll them into another rectangle, maintaining a thickness of ¾ to 1 inch. Continue cutting biscuits until you've used all the dough. Depending on your cutter size, you should yield between 5 and 8 biscuits.
- Chill the biscuits. Place the biscuits on a parchment-lined baking sheet, spacing them about 1 inch apart; this helps them rise taller. Then, put the baking sheet in the freezer for 20 minutes. While the biscuits are chilling, preheat your oven to 450°F.
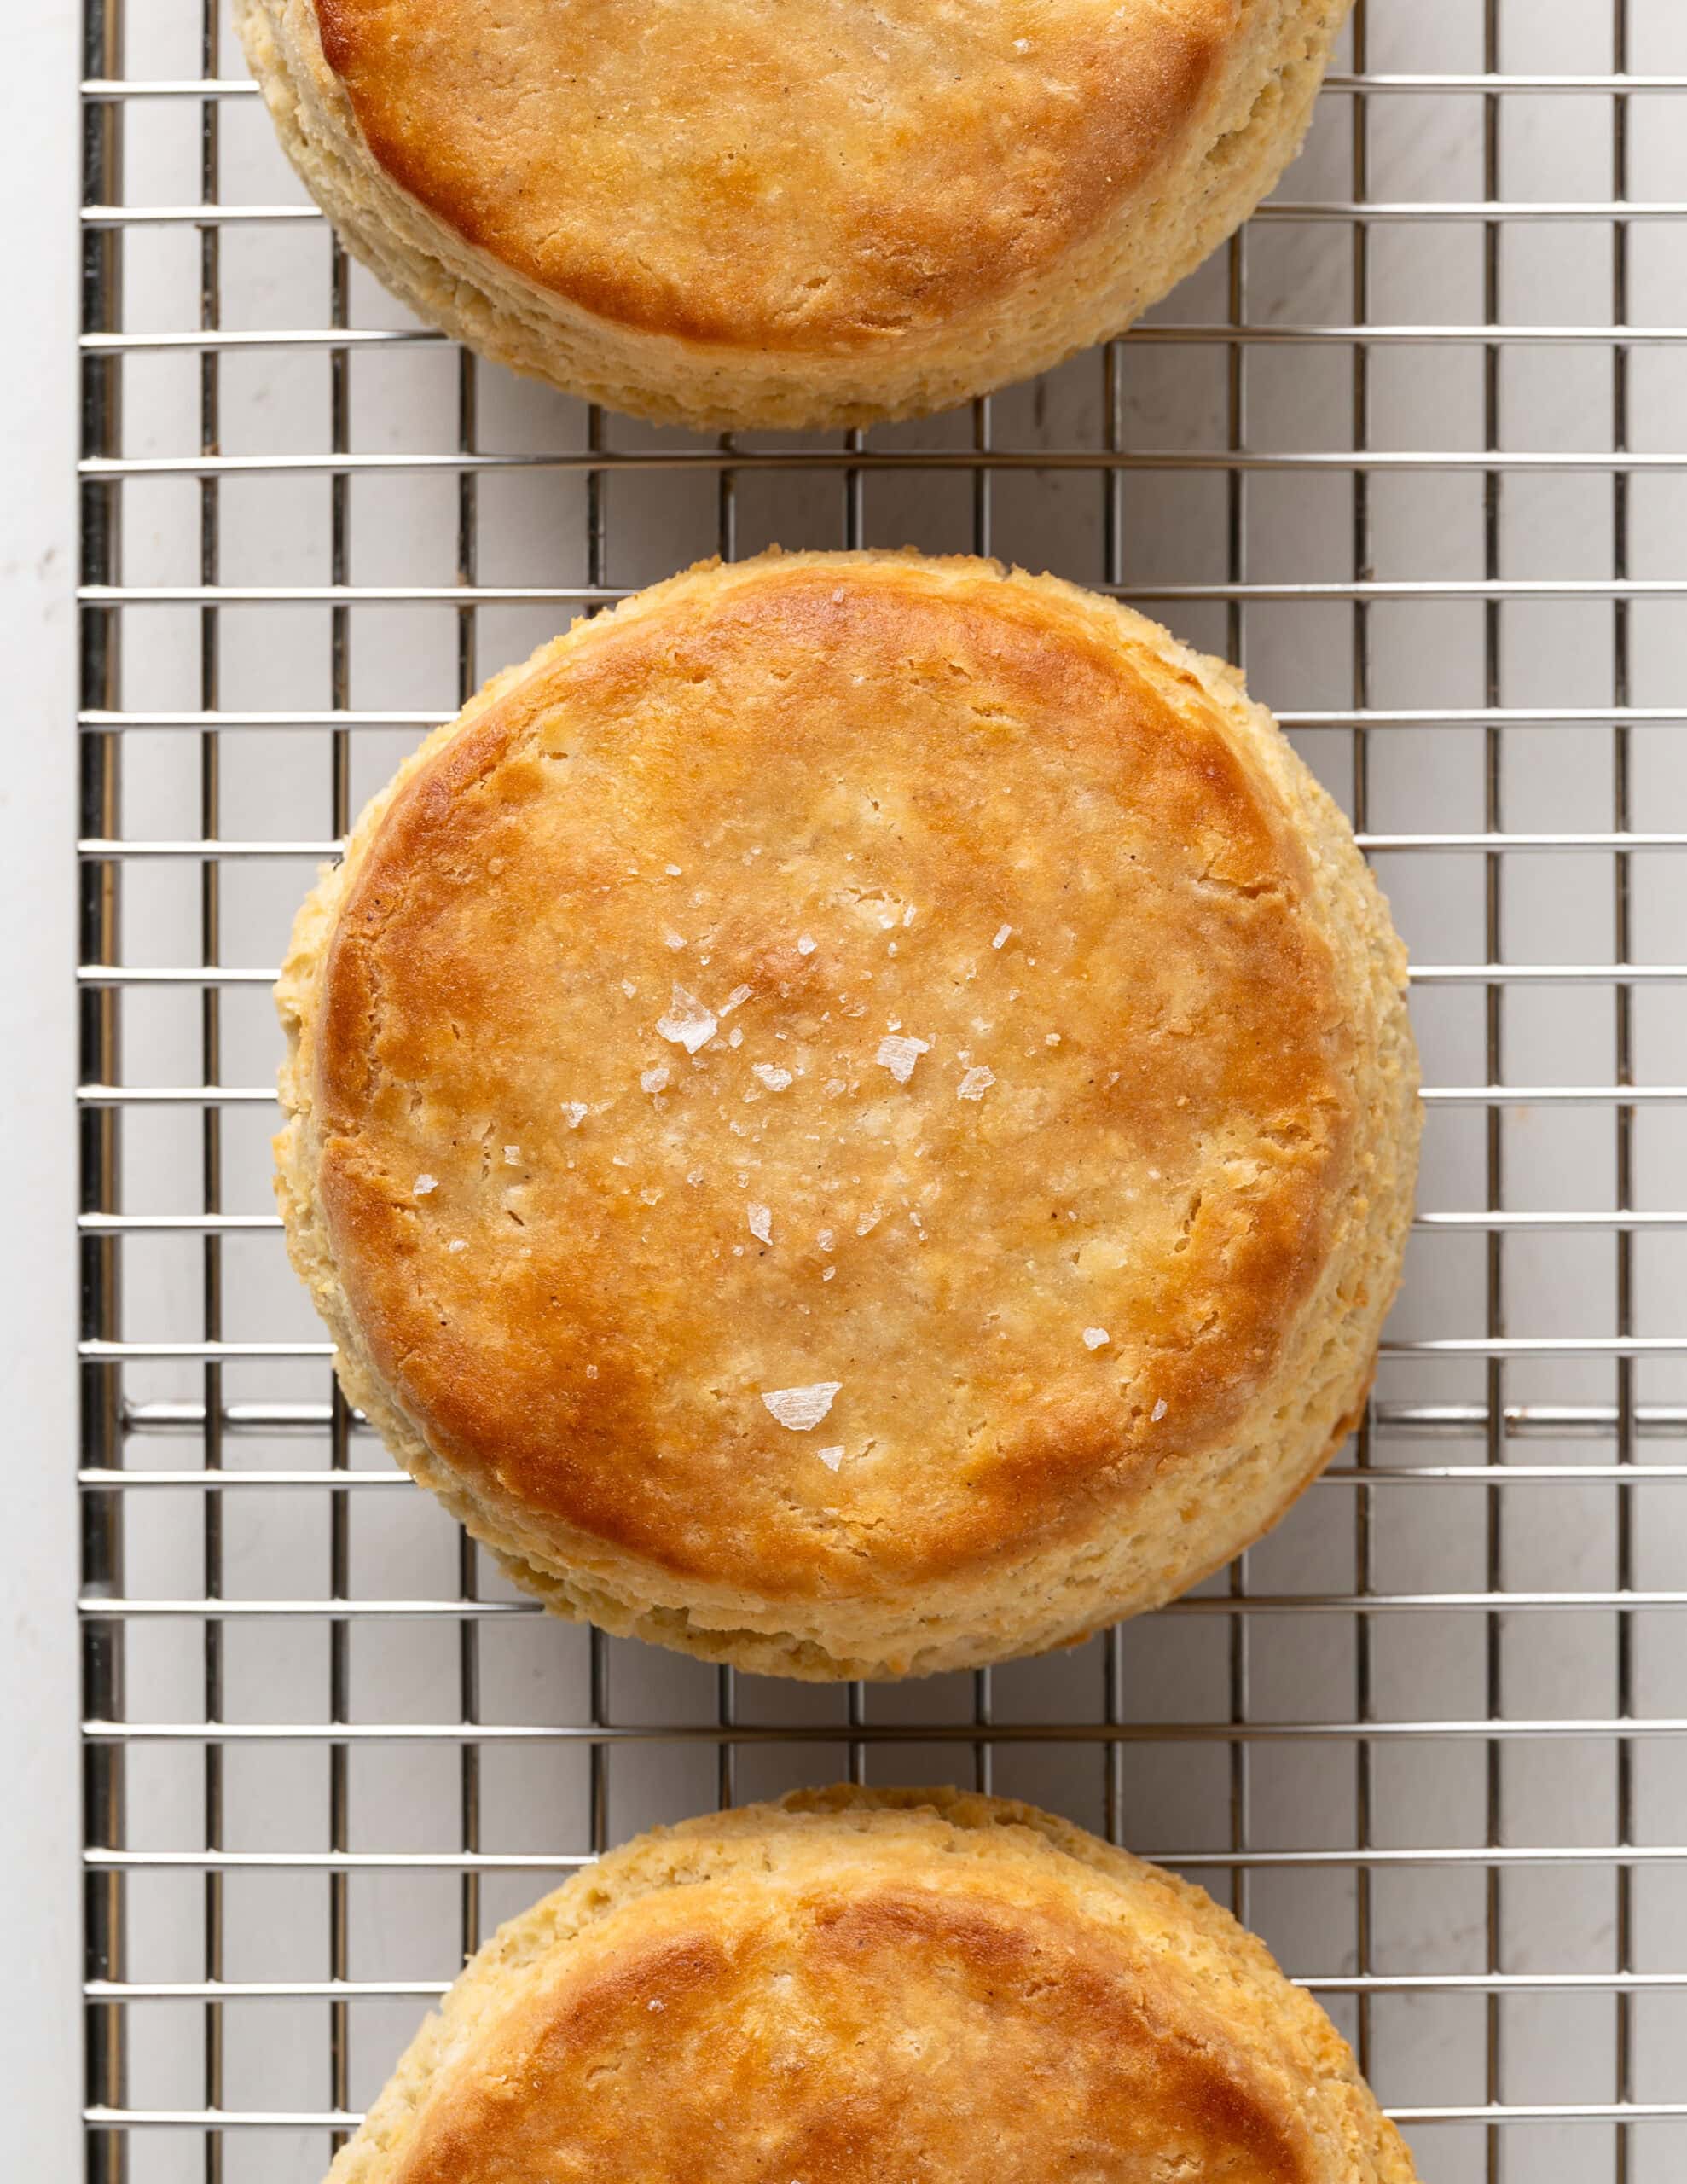
- Bake the biscuits. Remove the biscuits from the freezer and brush their tops with additional buttermilk. Place them in the oven and bake for 15 to 20 minutes, or until golden brown. Smaller biscuits will likely be done around the 15-minute mark, while larger ones may take closer to 19 minutes. For perfectly baked biscuits, use an instant-read thermometer to check their internal temperature; it should be 190-200°F. Remove the biscuits from the oven and brush their tops with a tablespoon of melted butter and, if you like, a sprinkle of flaky sea salt. Transfer them to a wire rack to cool for a few minutes before serving.


CC says
Hi there! I can't wait to try your biscuits! Does the gf flour contain xanthan gum?
Thanks!
CC
Rebecca Taig says
Hi CC,
You are going to love these biscuits. The gluten-free flour I use is Bob's Red Mill 1 to 1 Gluten-free Baking Flour and it does have xanthan gum in the mix.
Happy baking!
Katharine says
Can I leave the sugar out if I don’t want sweet biscuits or does it serve a particular function in the recipe? Thanks!
Rebecca Taig says
Hi Katharine,
The purpose of the sugar is to help balance the flavors and it adds a touch of browning. They do not taste sweet, but I think you can omit it completely and be fine.
I'd love to know your thoughts, because cutting back sugar where we can is always important.