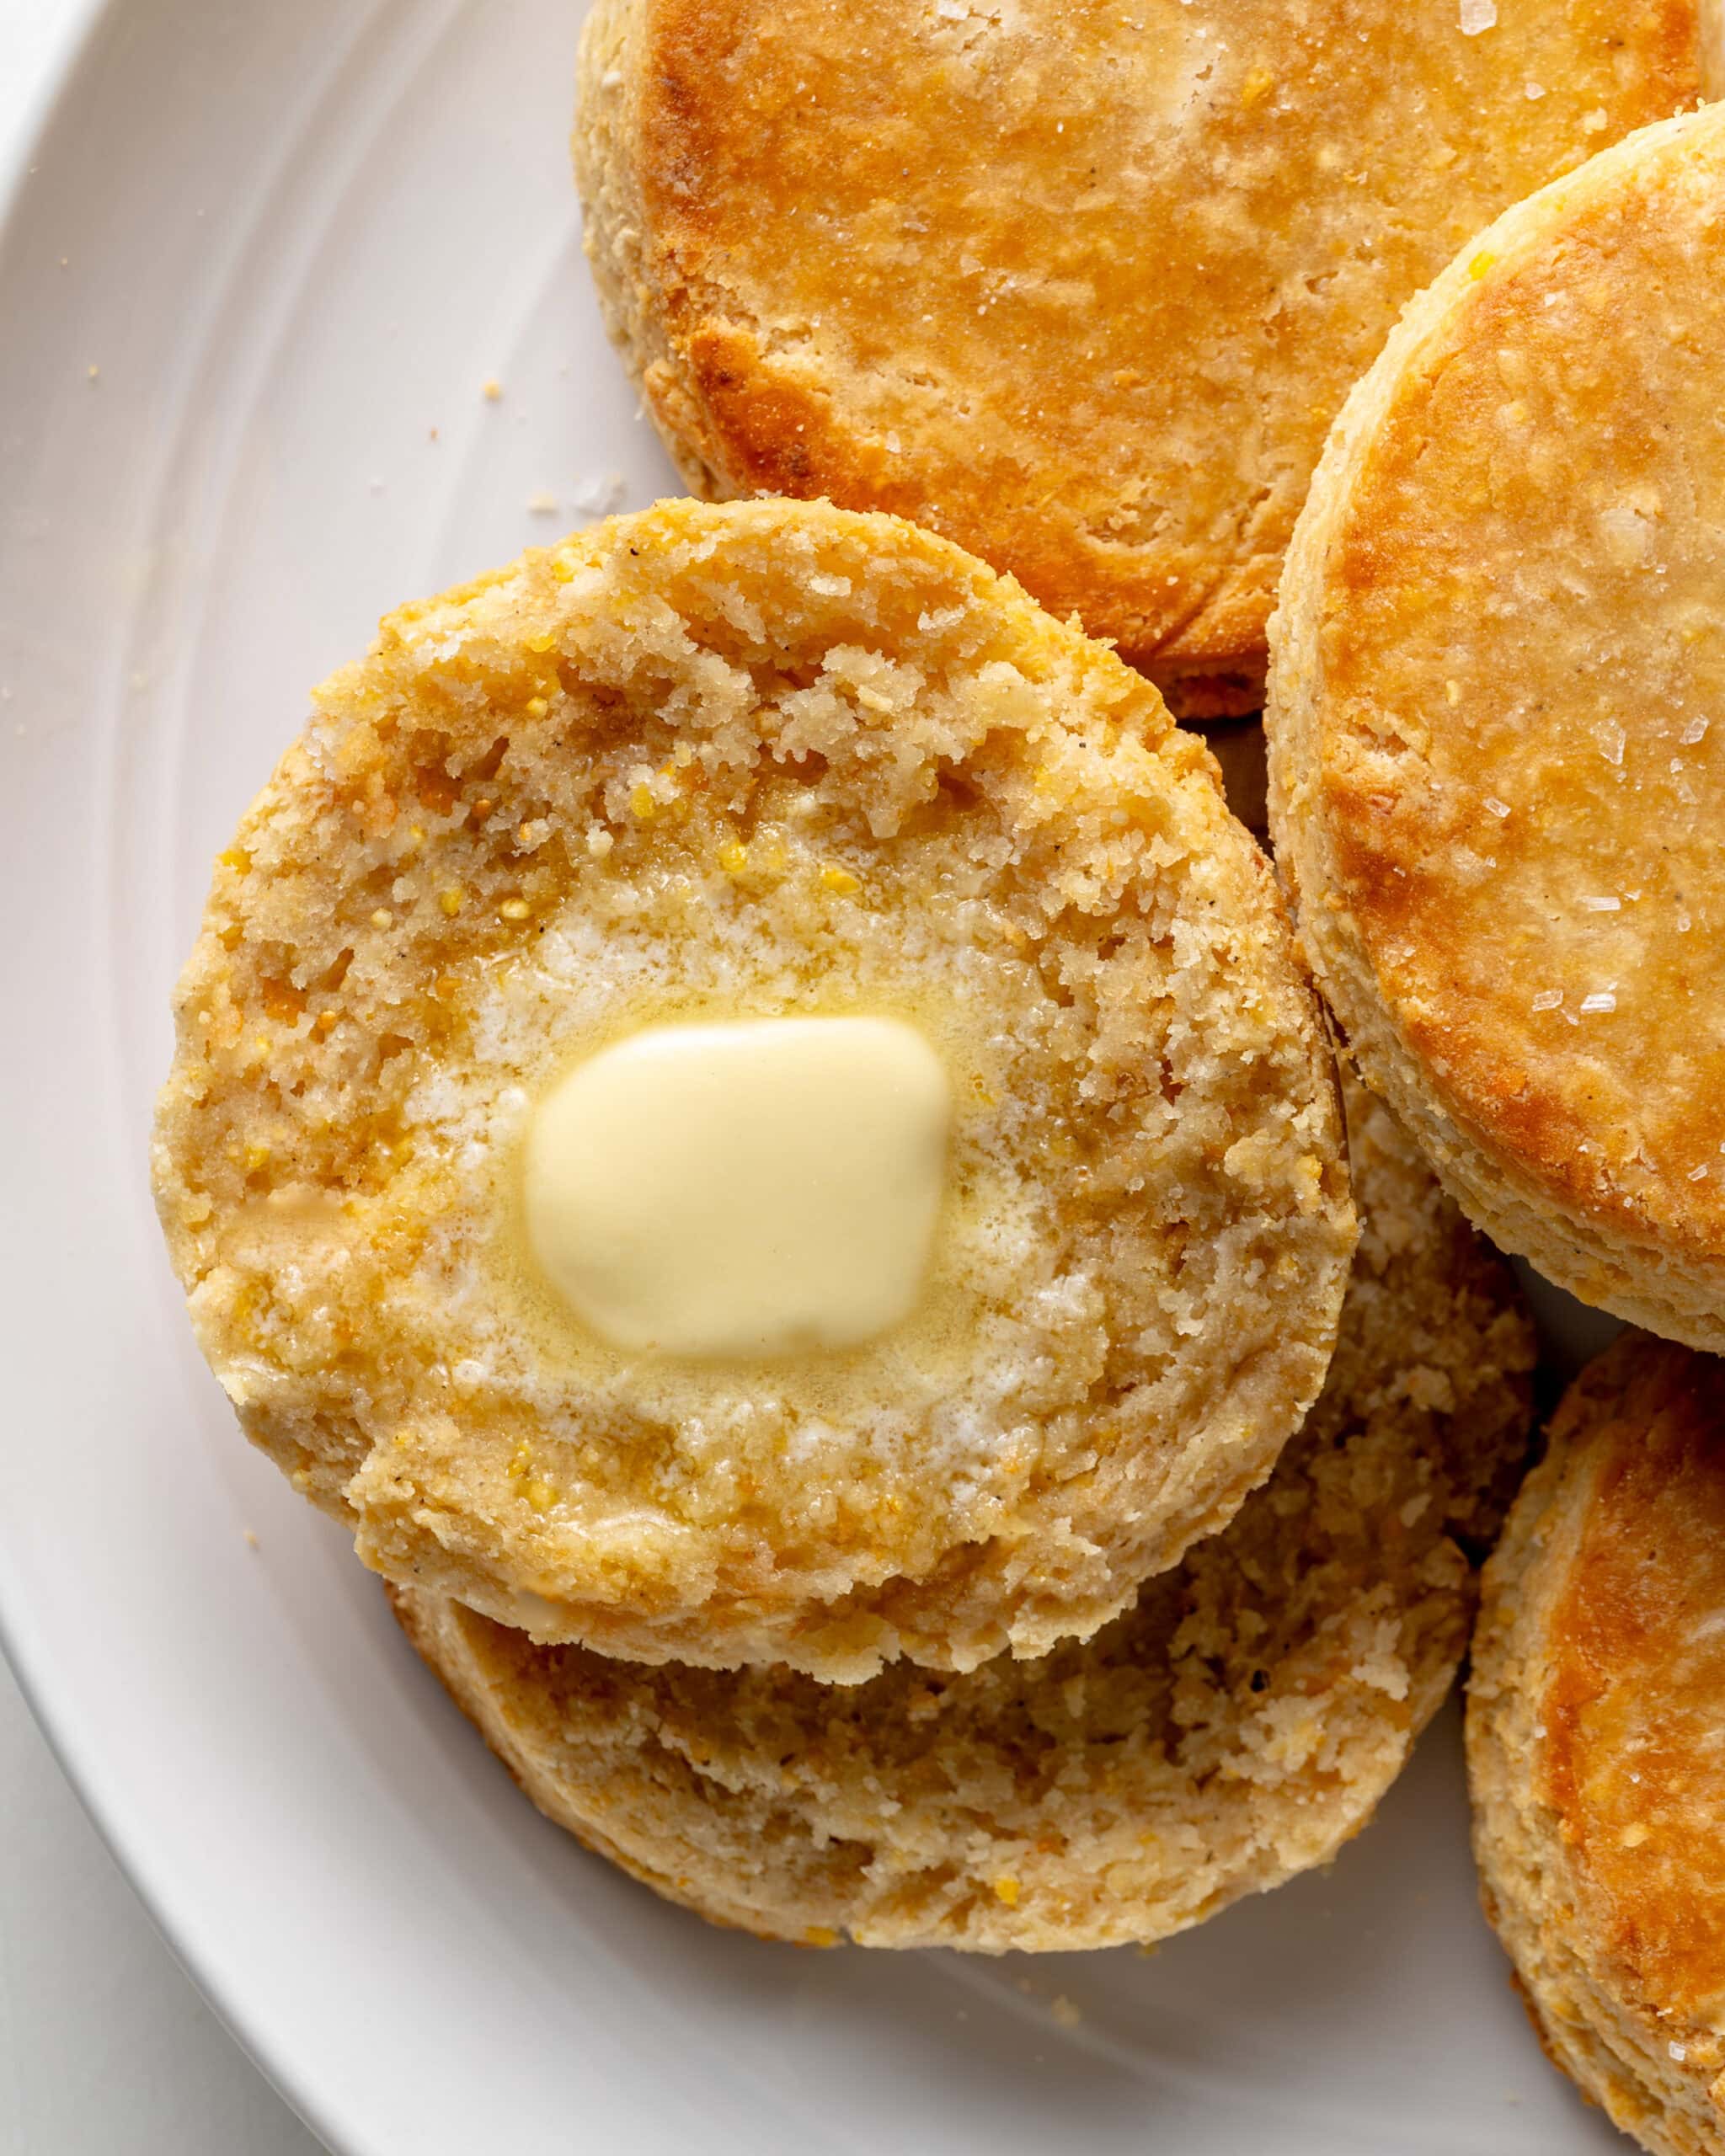
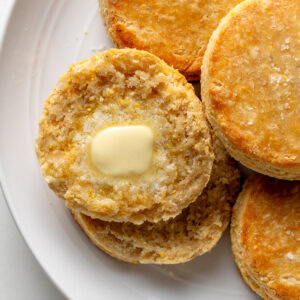
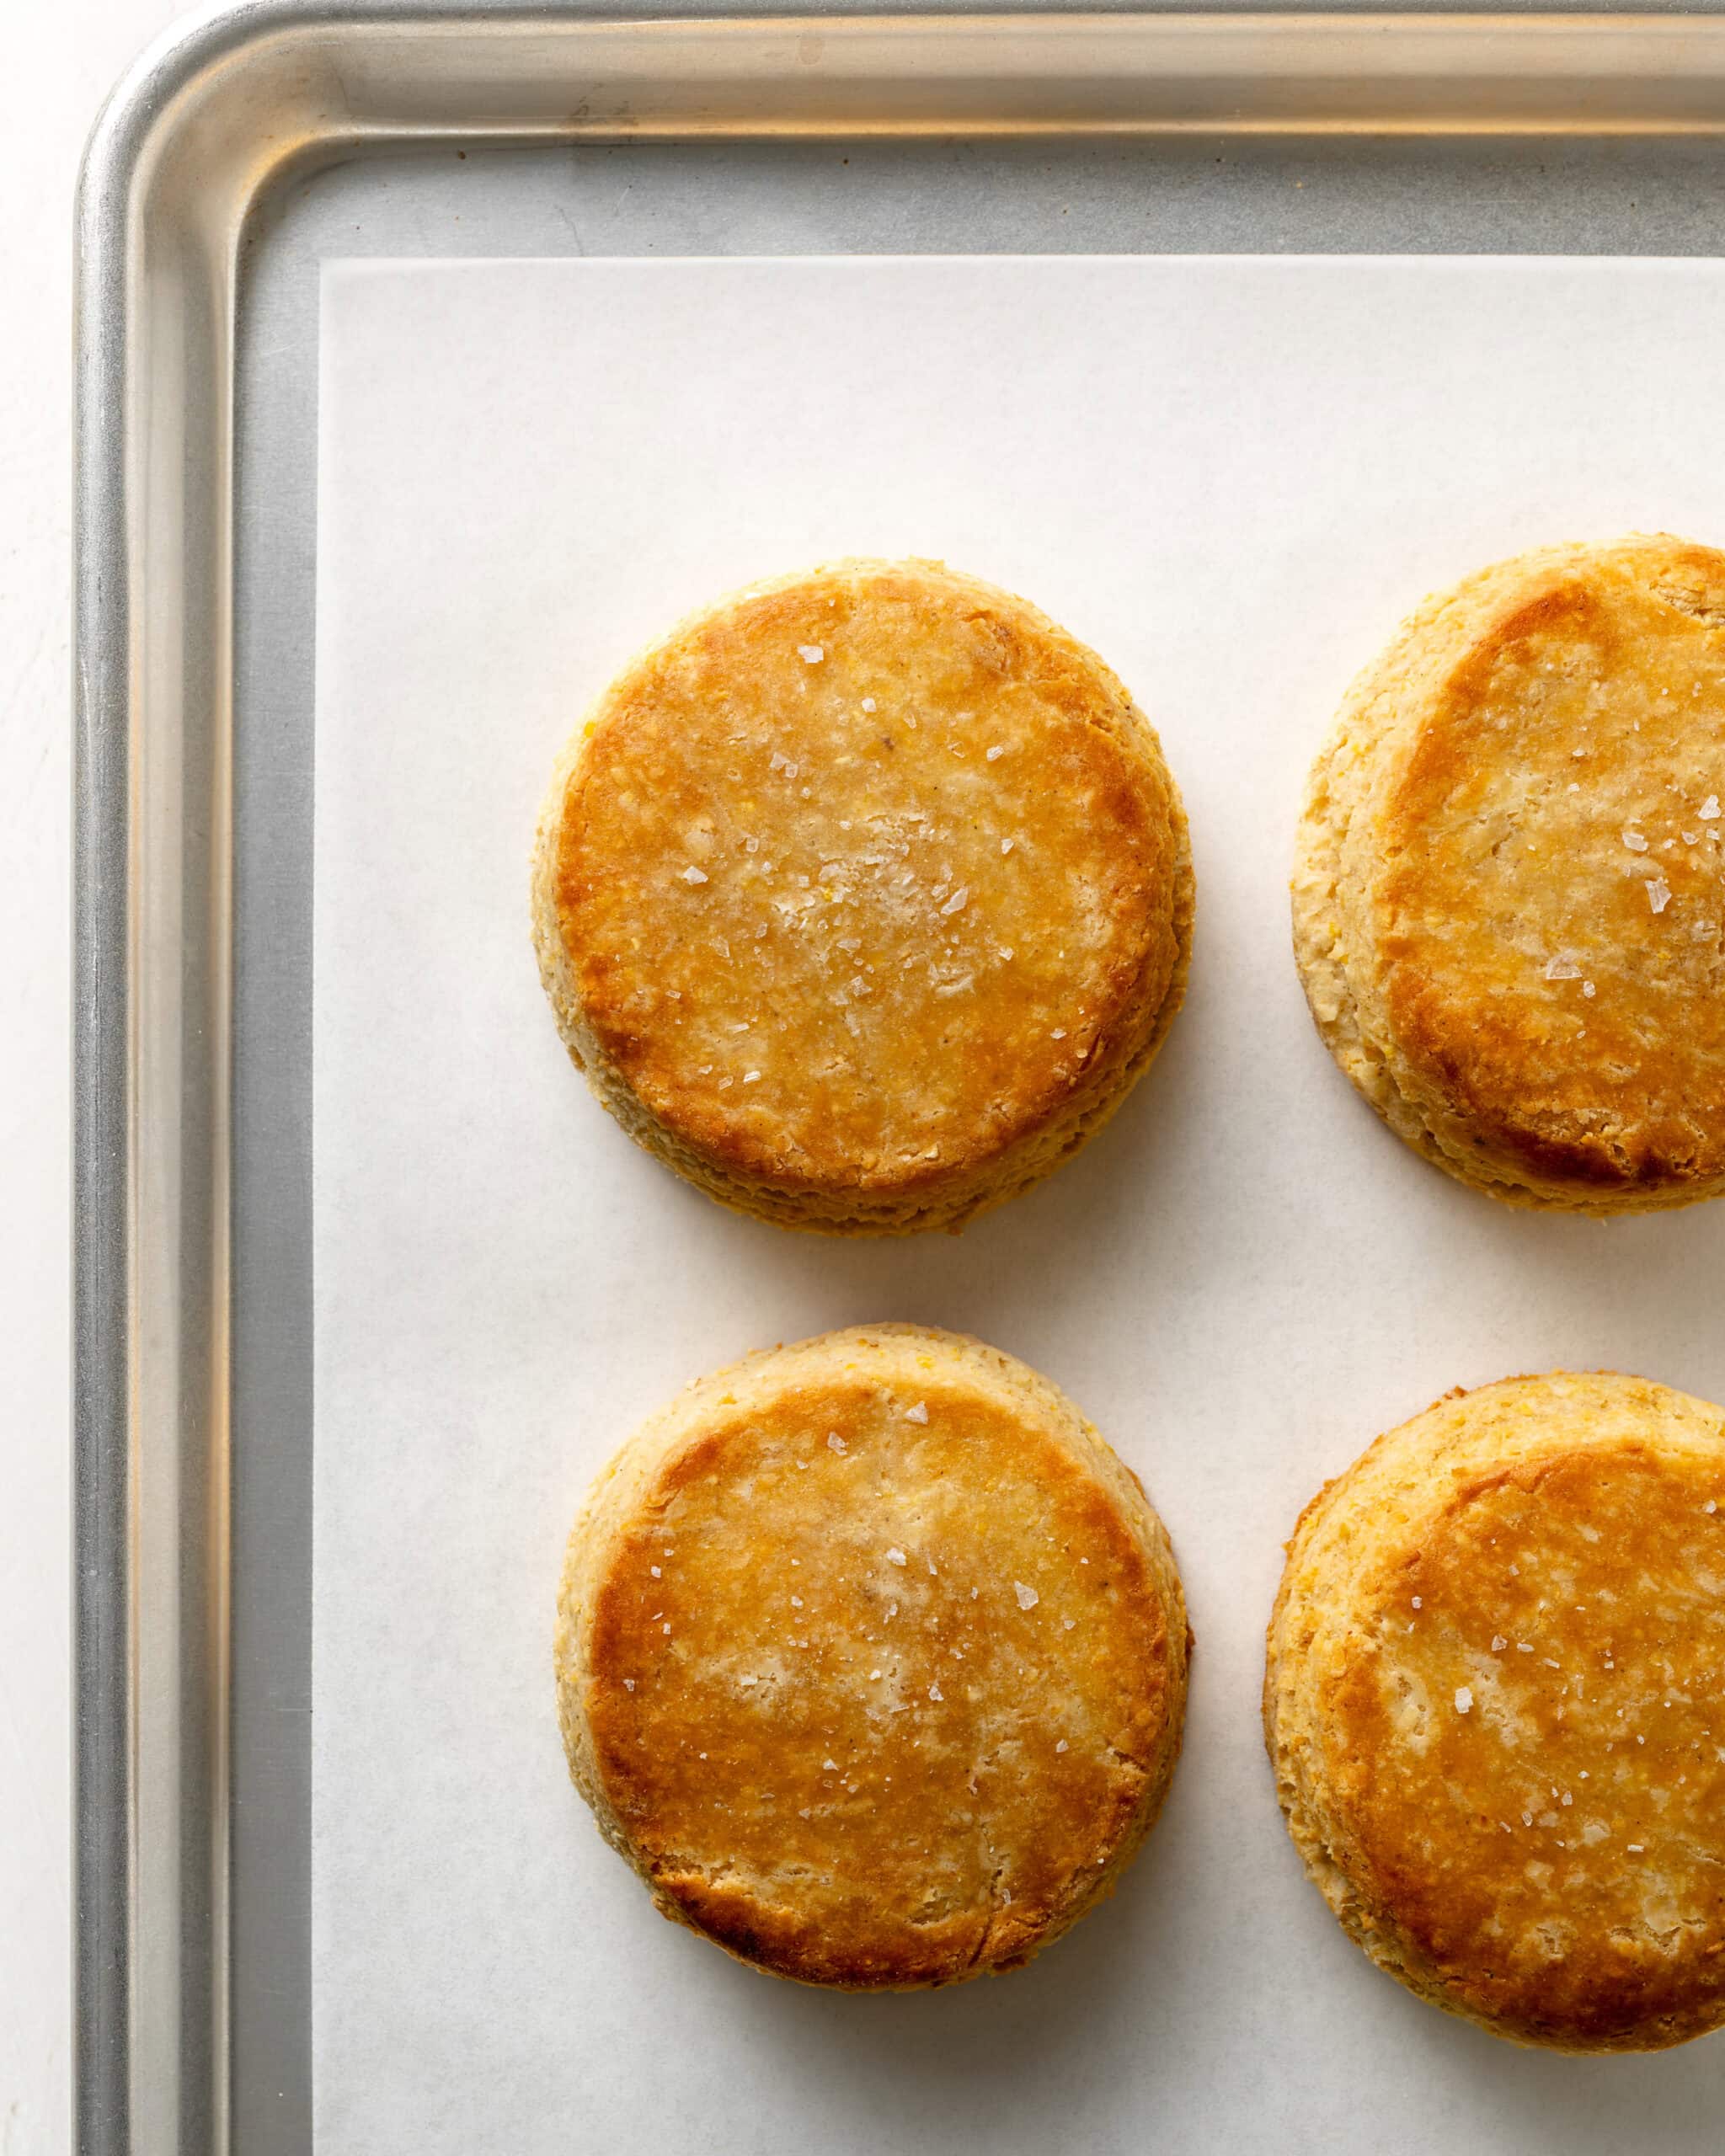
These gluten-free cornmeal biscuits are soft, fluffy, and rich with butter, perfectly balanced with a touch of savory garlic and tangy buttermilk. You will absolutely love their unique dual texture: a gentle cornmeal crunch on the outside that yields to a tender, melt-in-your-mouth interior. Whether you are dipping them into a cozy bowl of soup or a hearty chili, they are the ultimate comforting side dish!
It is no secret that we love biscuits around here. From my celebrated gluten-free buttermilk biscuits to seasonal favorites like my gluten-free pumpkin biscuits with sage and rosemary, they are an absolute staple on our table. These cornmeal biscuits are an exciting new addition to that lineup, bringing a completely different flavor and texture profile to dinner. And, of course, just like my other biscuit recipes, they work flawlessly smothered in my signature biscuits and gravy!
What Makes These Cornmeal Biscuits Irresistible
- An Elevated Comfort Classic: Biscuits are wonderfully quick to whip up, giving you warm, homemade goodness in no time. We upgraded this fast favorite with rich butter, a hint of savory garlic, and tangy buttermilk. Add in that signature cornmeal crunch, and you have a truly unique take on a beloved side dish!
Cornmeal Biscuits Ingredients
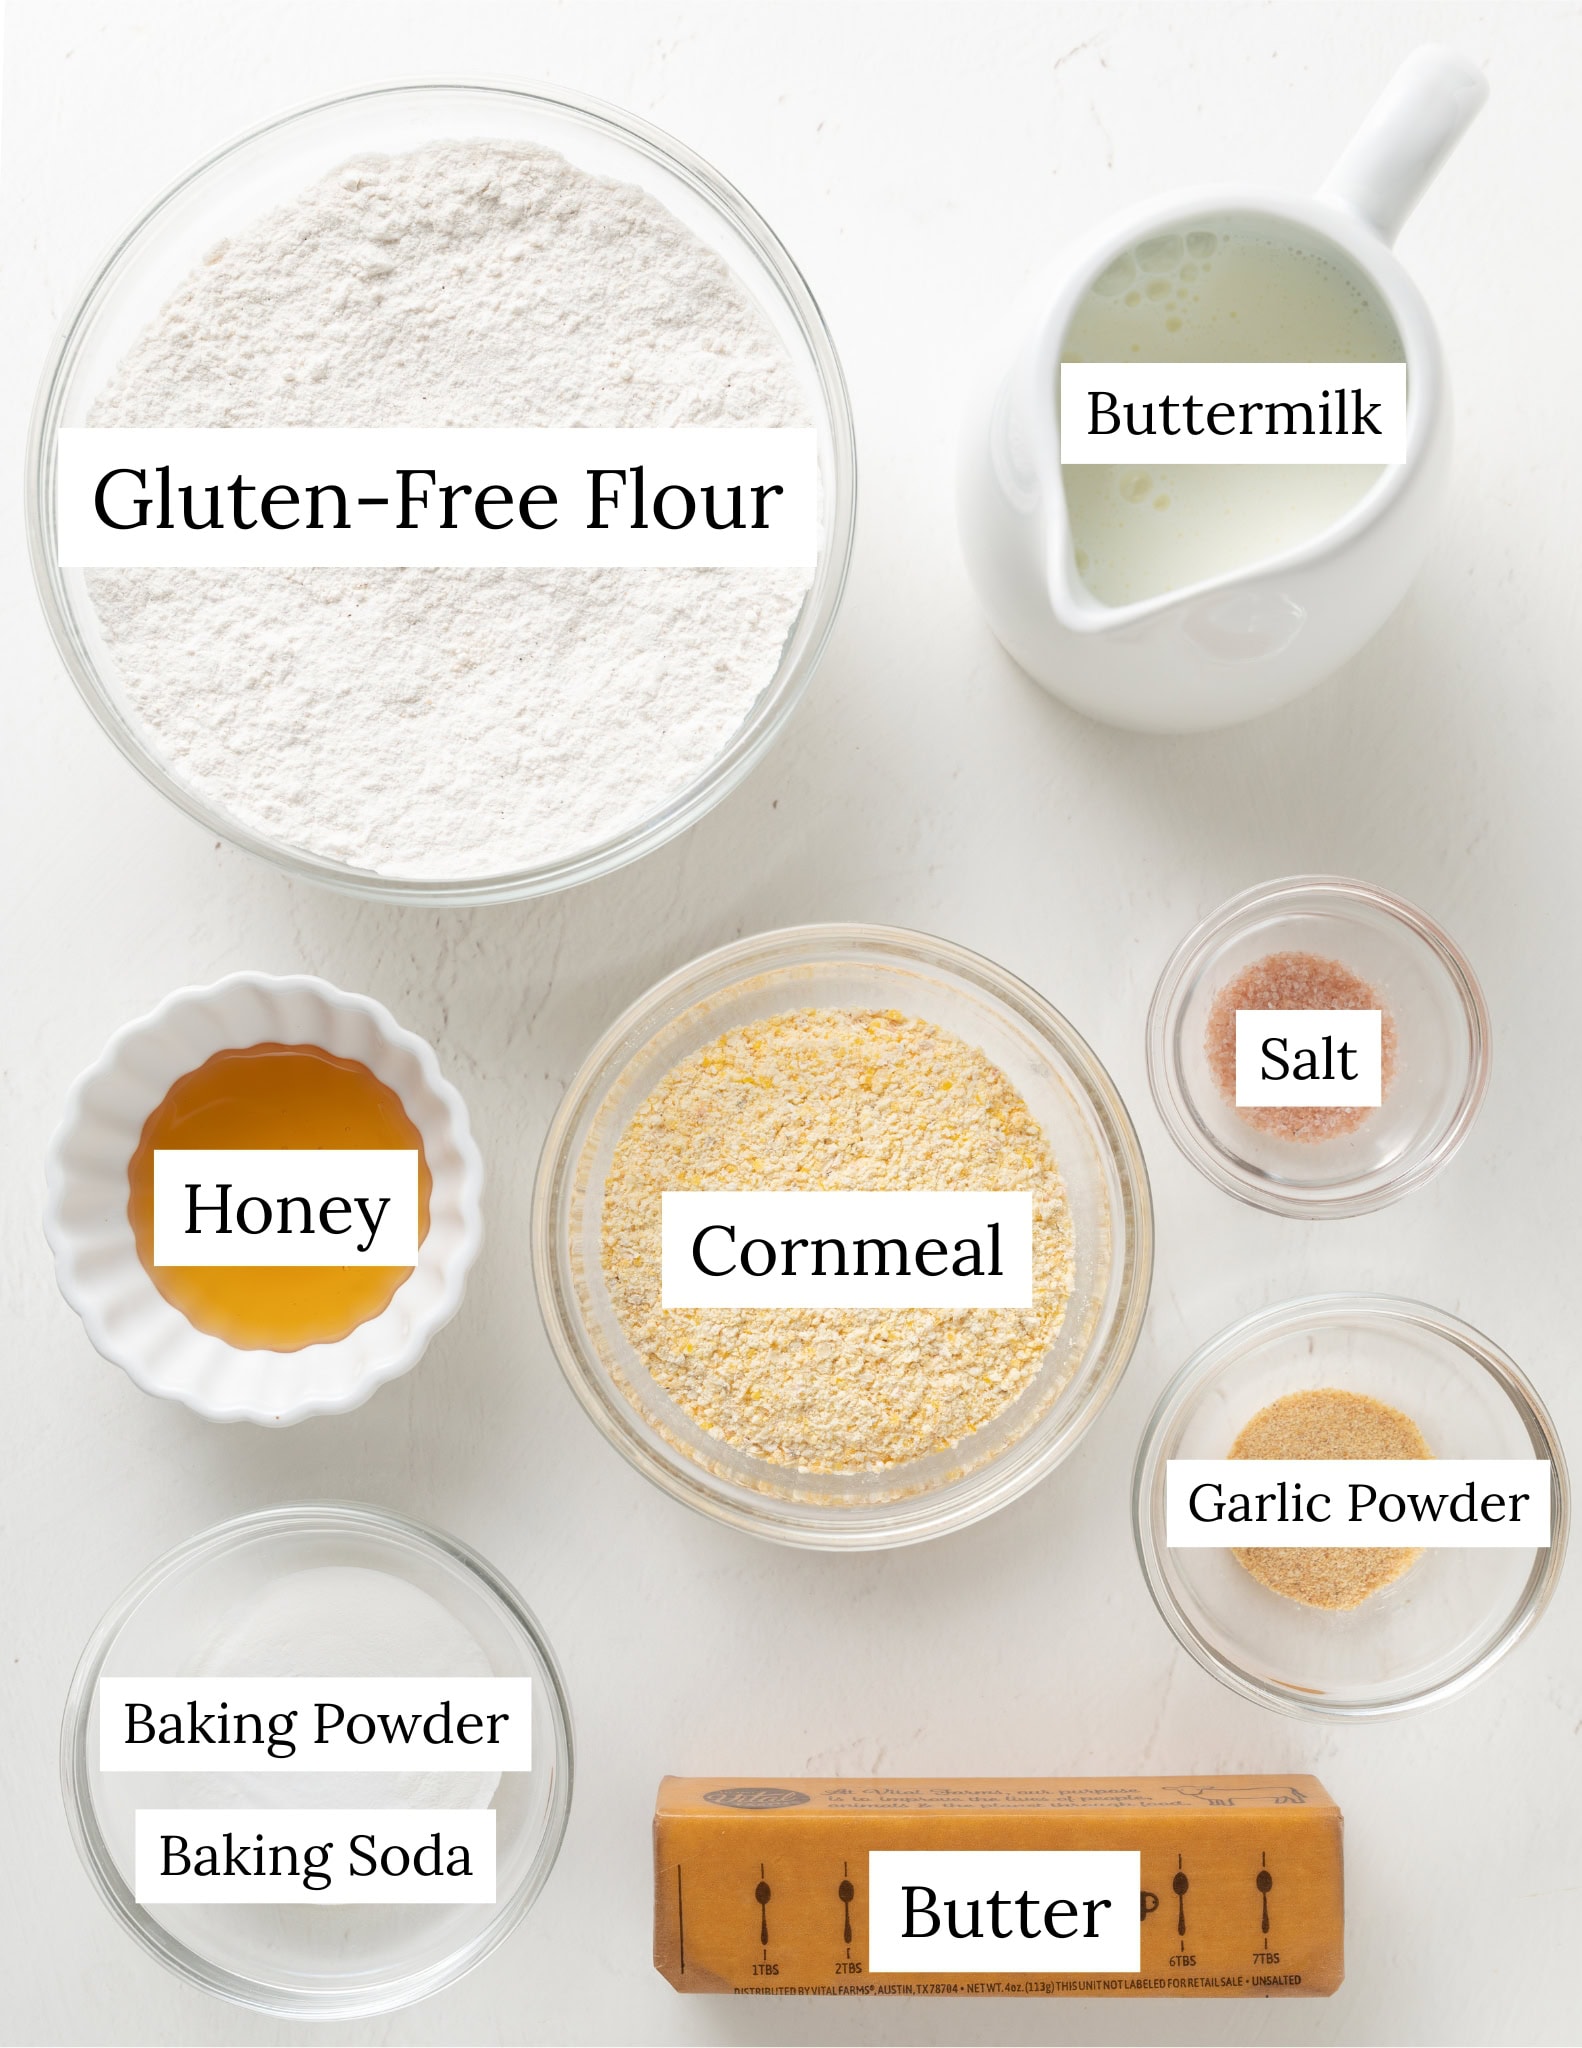
Ingredient Notes
Here are a few notes on some of the key ingredients to make these cornmeal biscuits. See the printable recipe card with full instructions and measurements below.
- Flour: For the best overall texture in this gluten-free version, we highly recommend opting for a high-quality gluten-free flour blend, such as Bob’s Red Mill Gluten-Free 1:1 Baking Flour. If you are not gluten-free, you can easily use regular all-purpose flour in this recipe.
- Yellow Cornmeal: The addition of cornmeal creates a delcious, tender, and crunchy mouthfeel. We love using Bob's Red Mill Gluten Free Medium Grind Cornmeal.
- Buttermilk: Provides a characteristic tangy, rich flavor that balances the richness of the butter and complements the savory notes of the garlic and cornmeal.
- Honey: Adds just a touch of sweetness.
How To Make Cornmeal Biscuits
Here's an overview of how to make this cornmeal biscuit recipe. For complete instructions, you can jump to the recipe card.
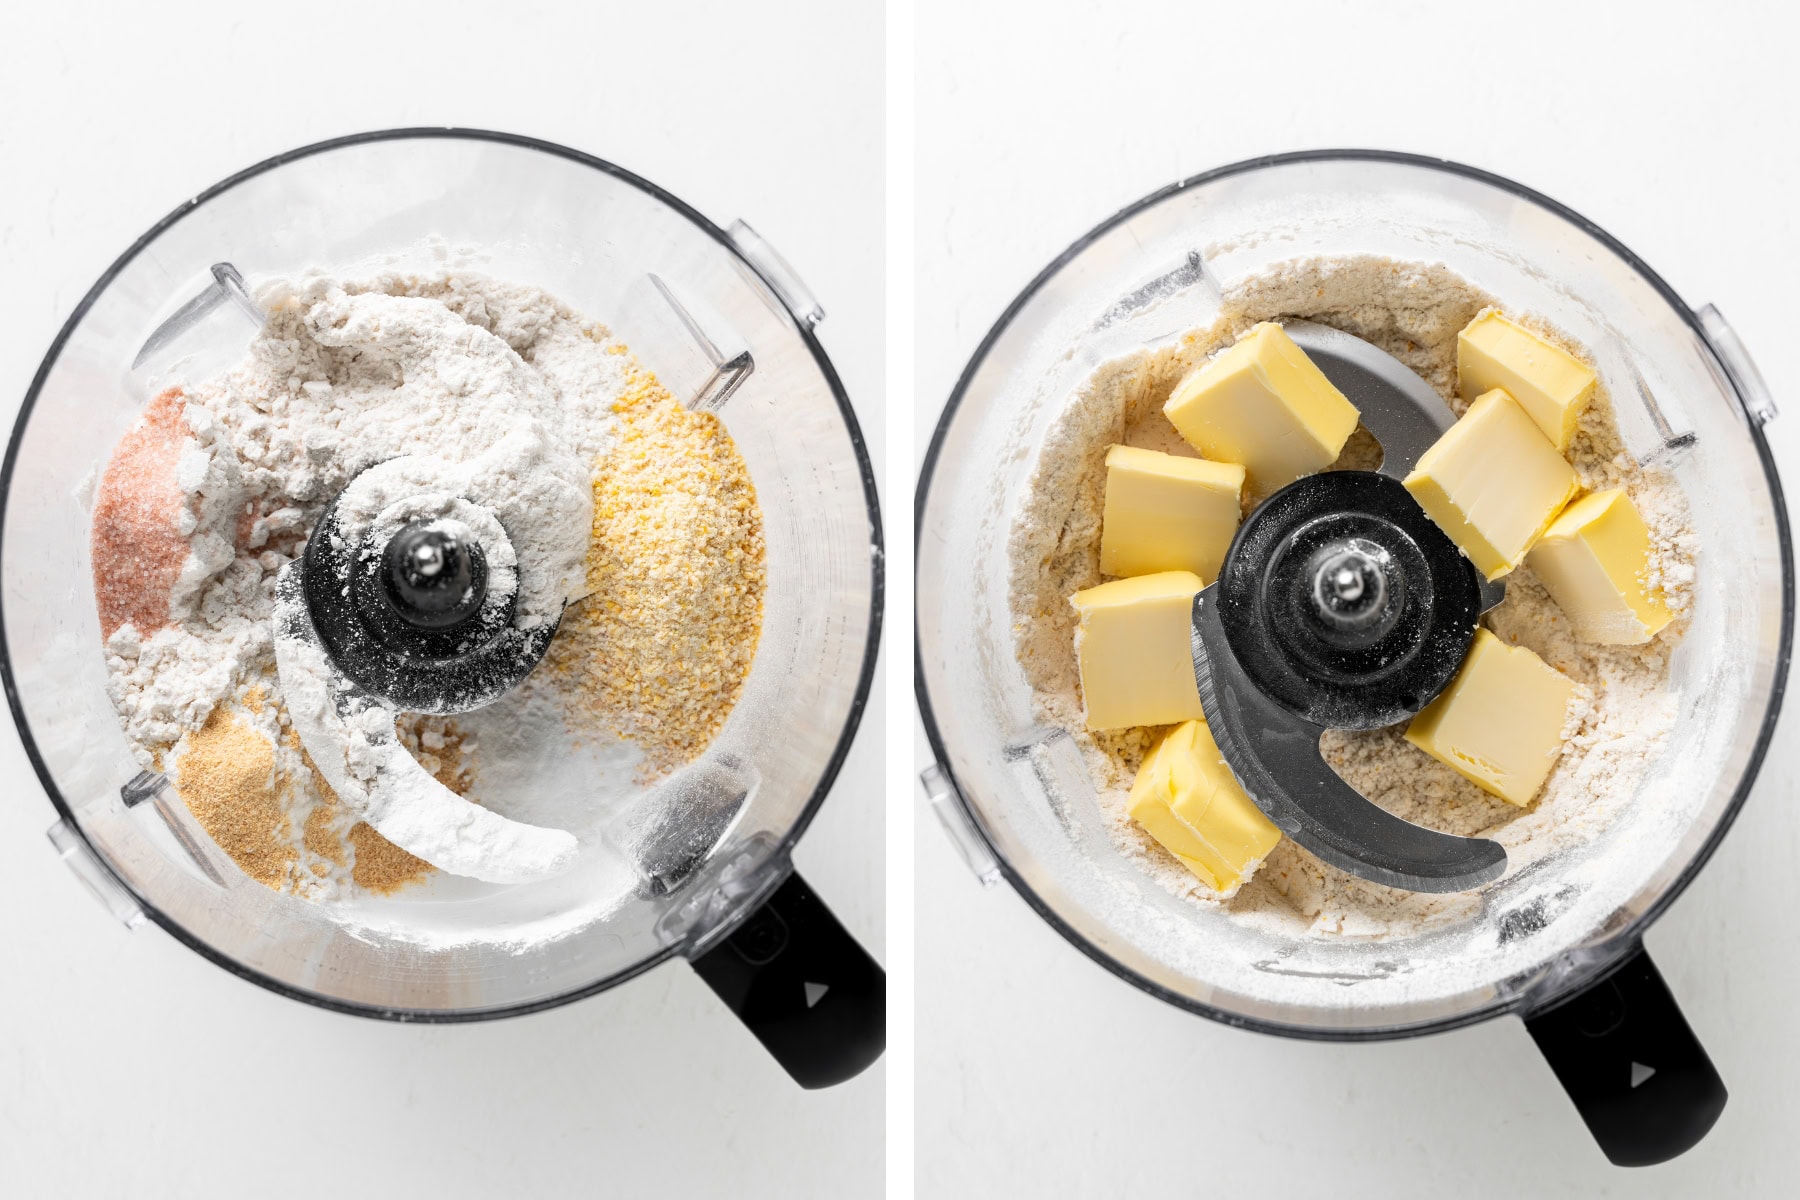
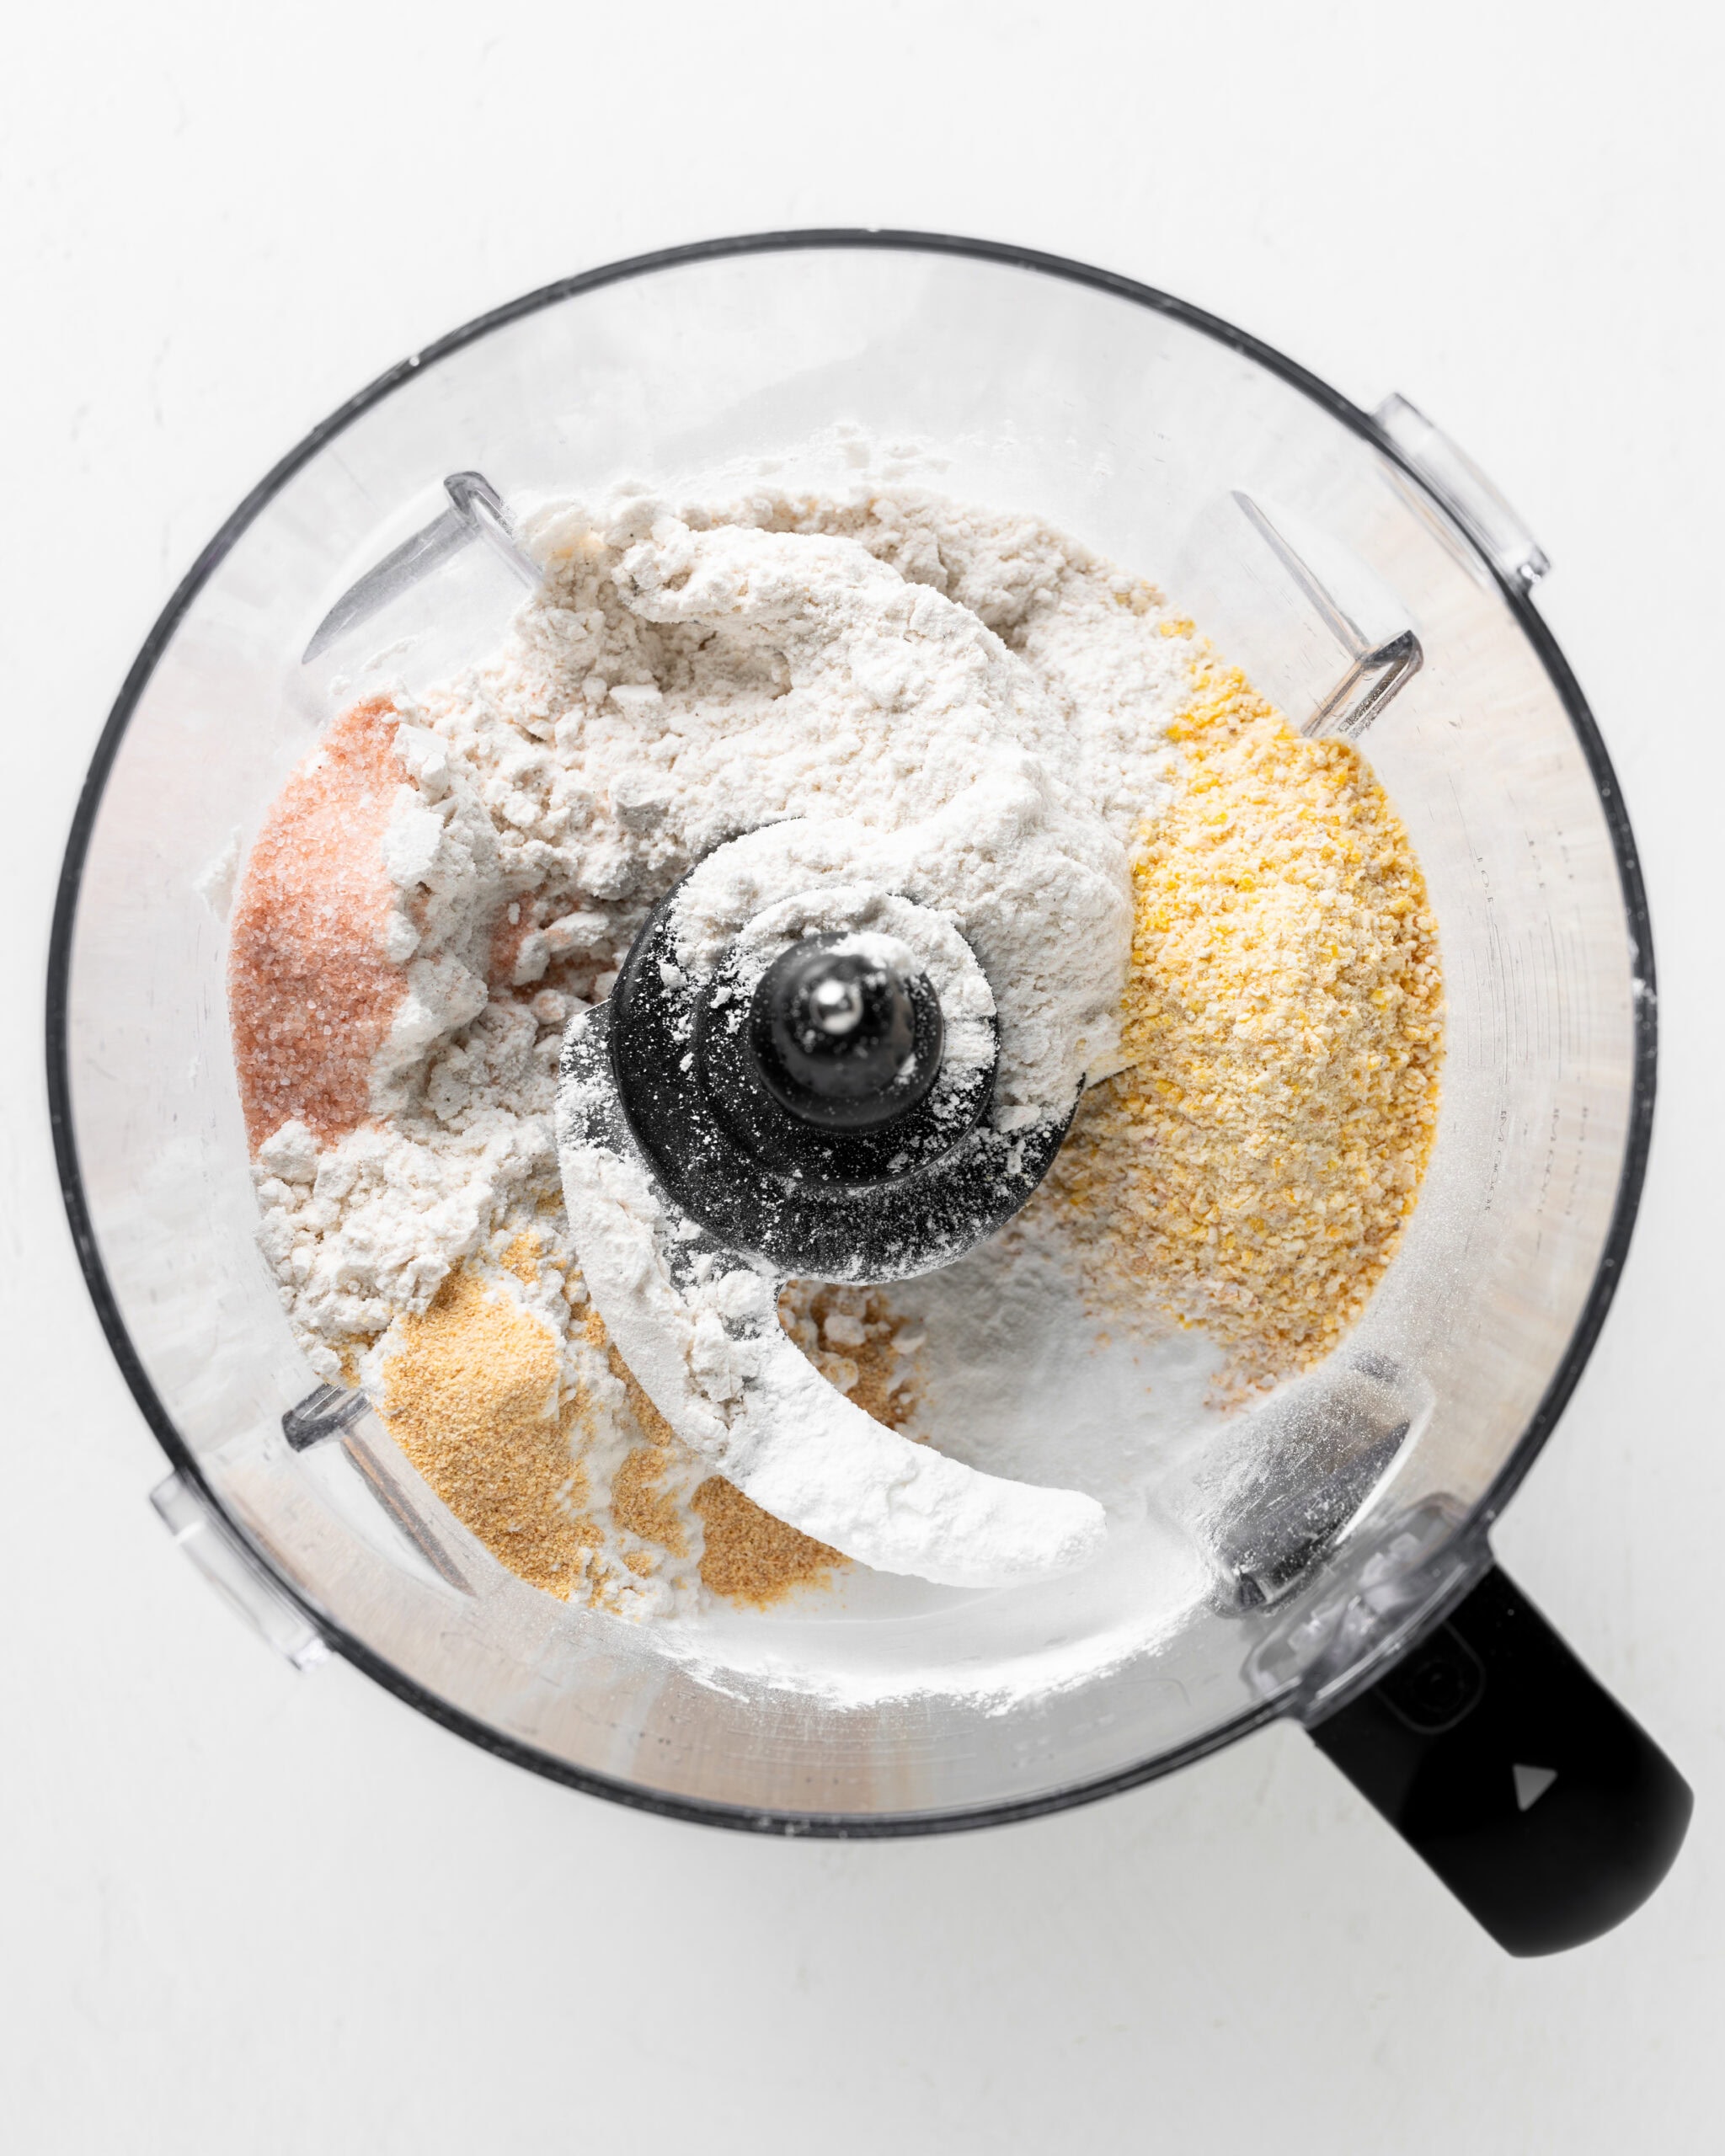
- Step 1: Combine the dry ingredients. In a food processor, combine the gluten-free flour, cornmeal, baking powder, baking soda, garlic powder, and salt. Pulse until combined.
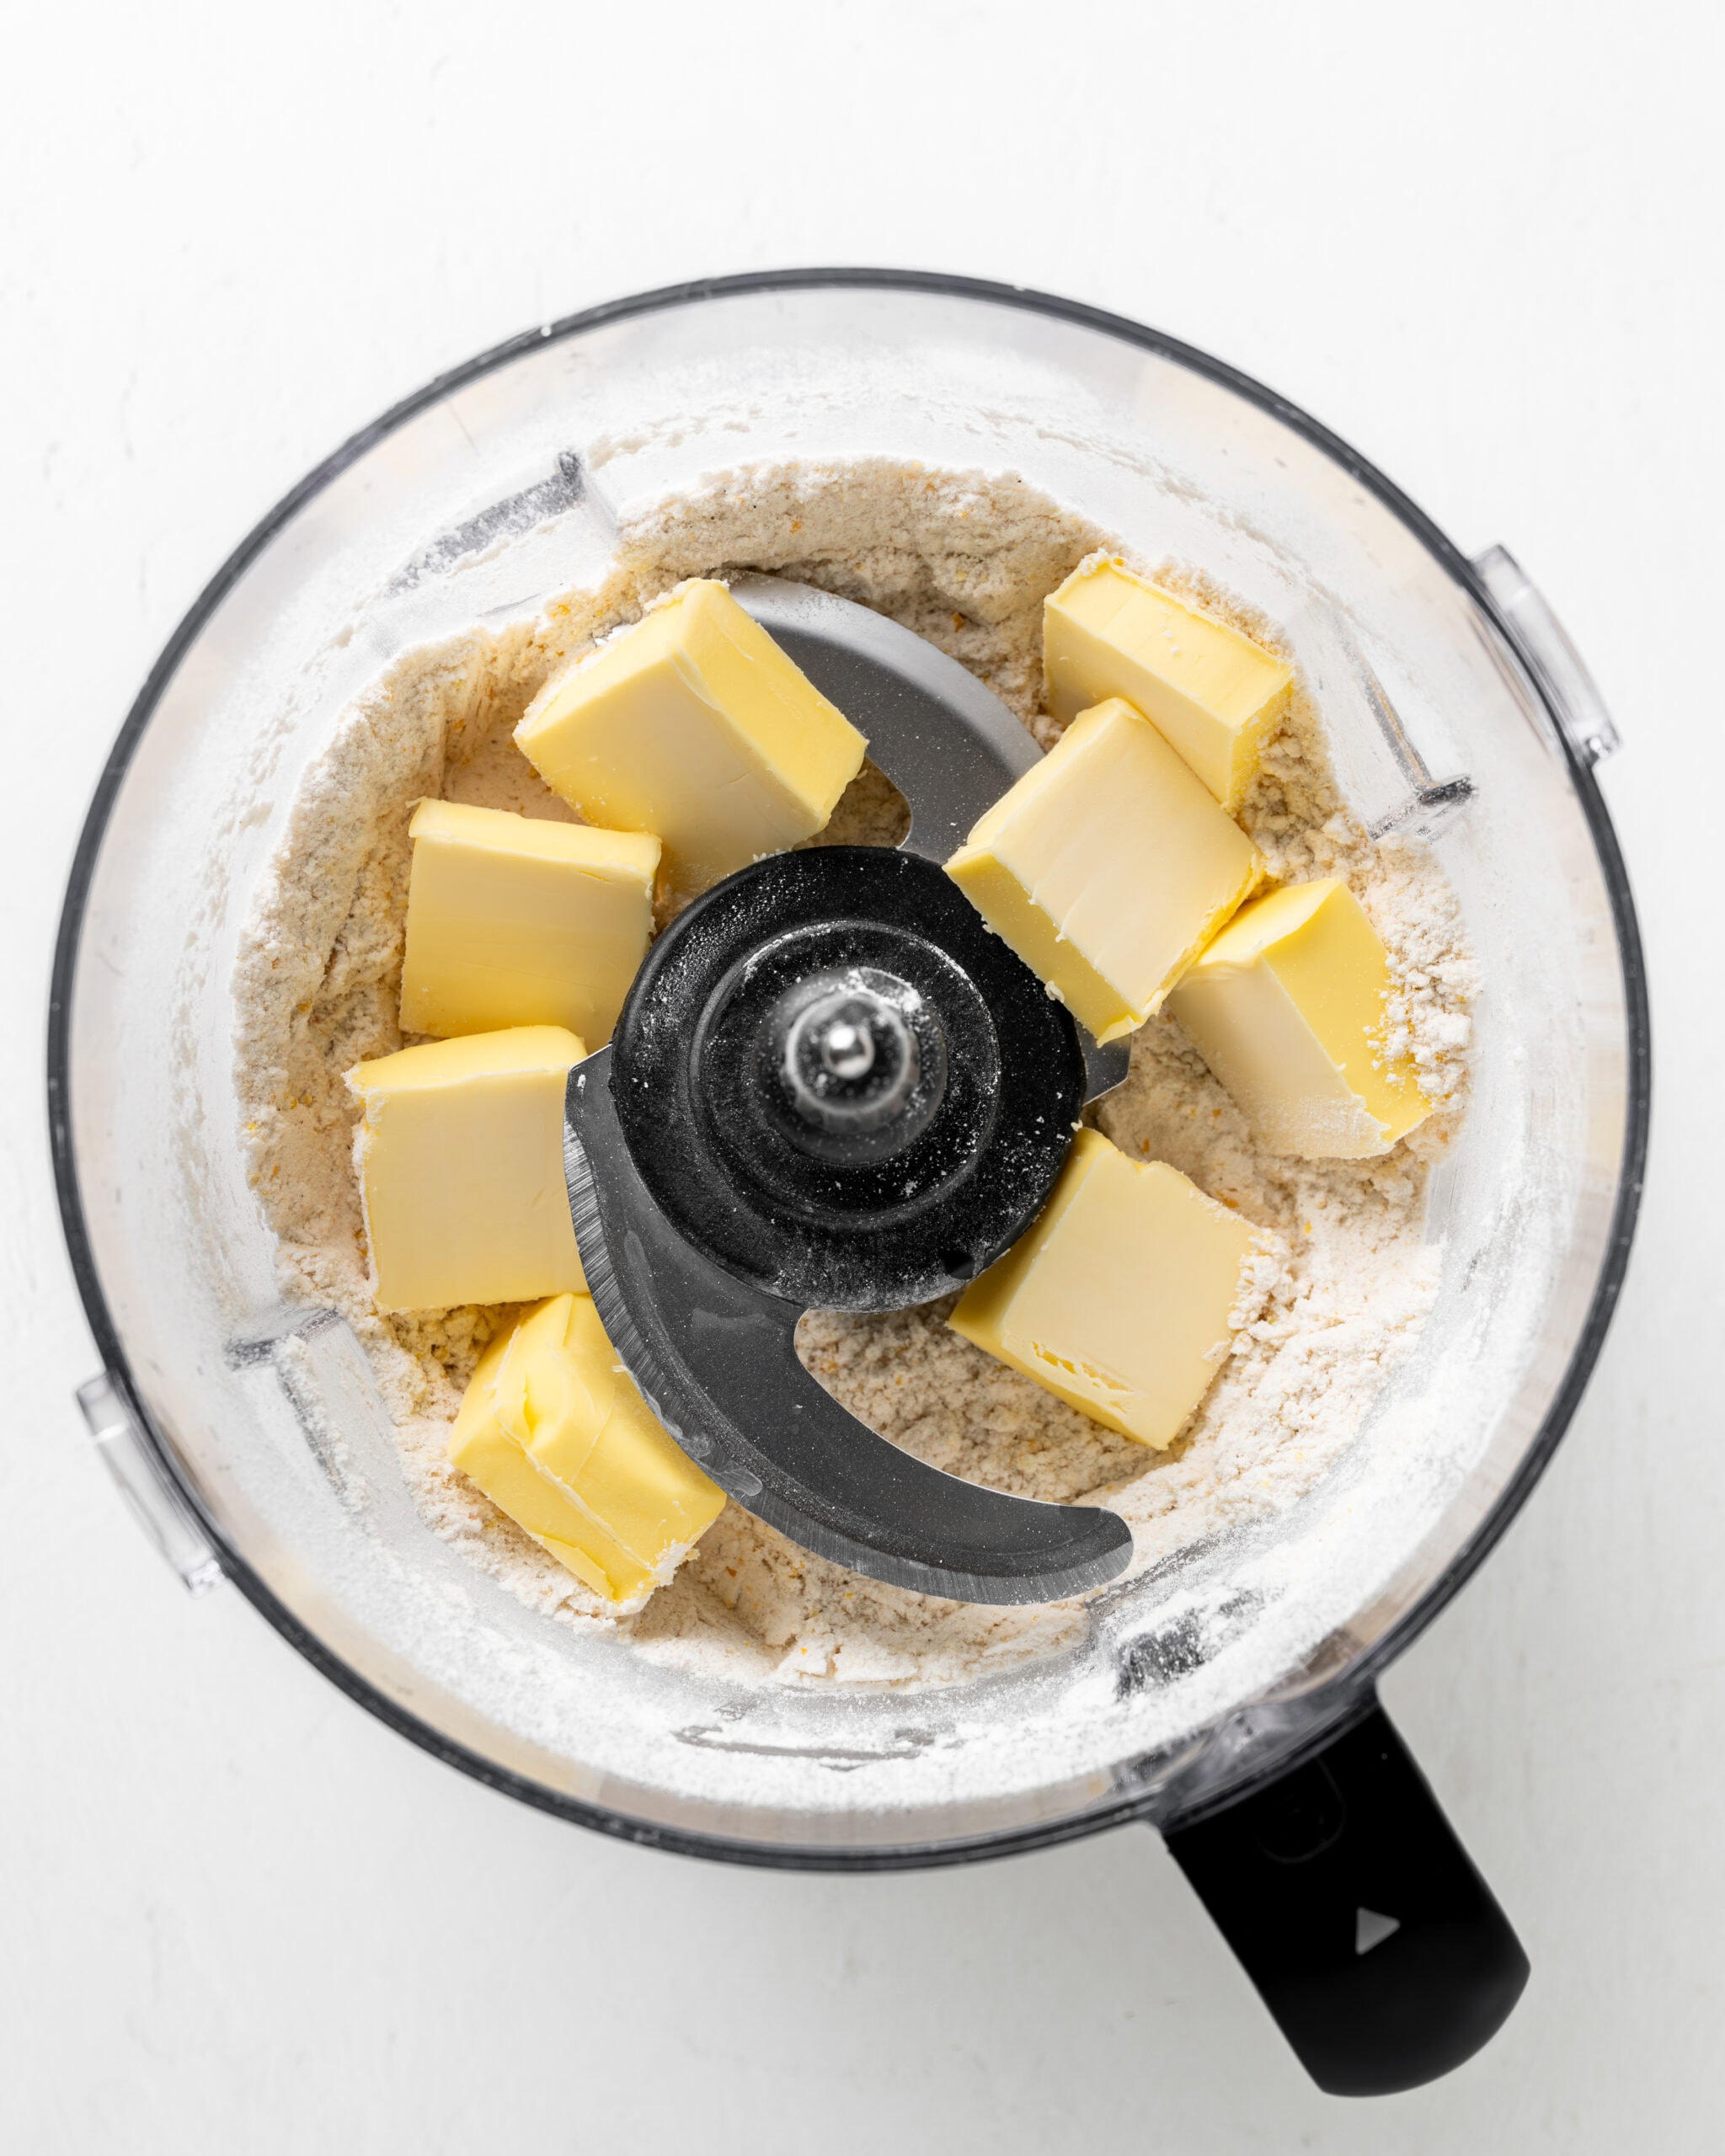
- Step 2: Add the cold butter. Pulse the diced frozen butter into the flour until coarse crumbs form. Transfer the mixture to a large mixing bowl.
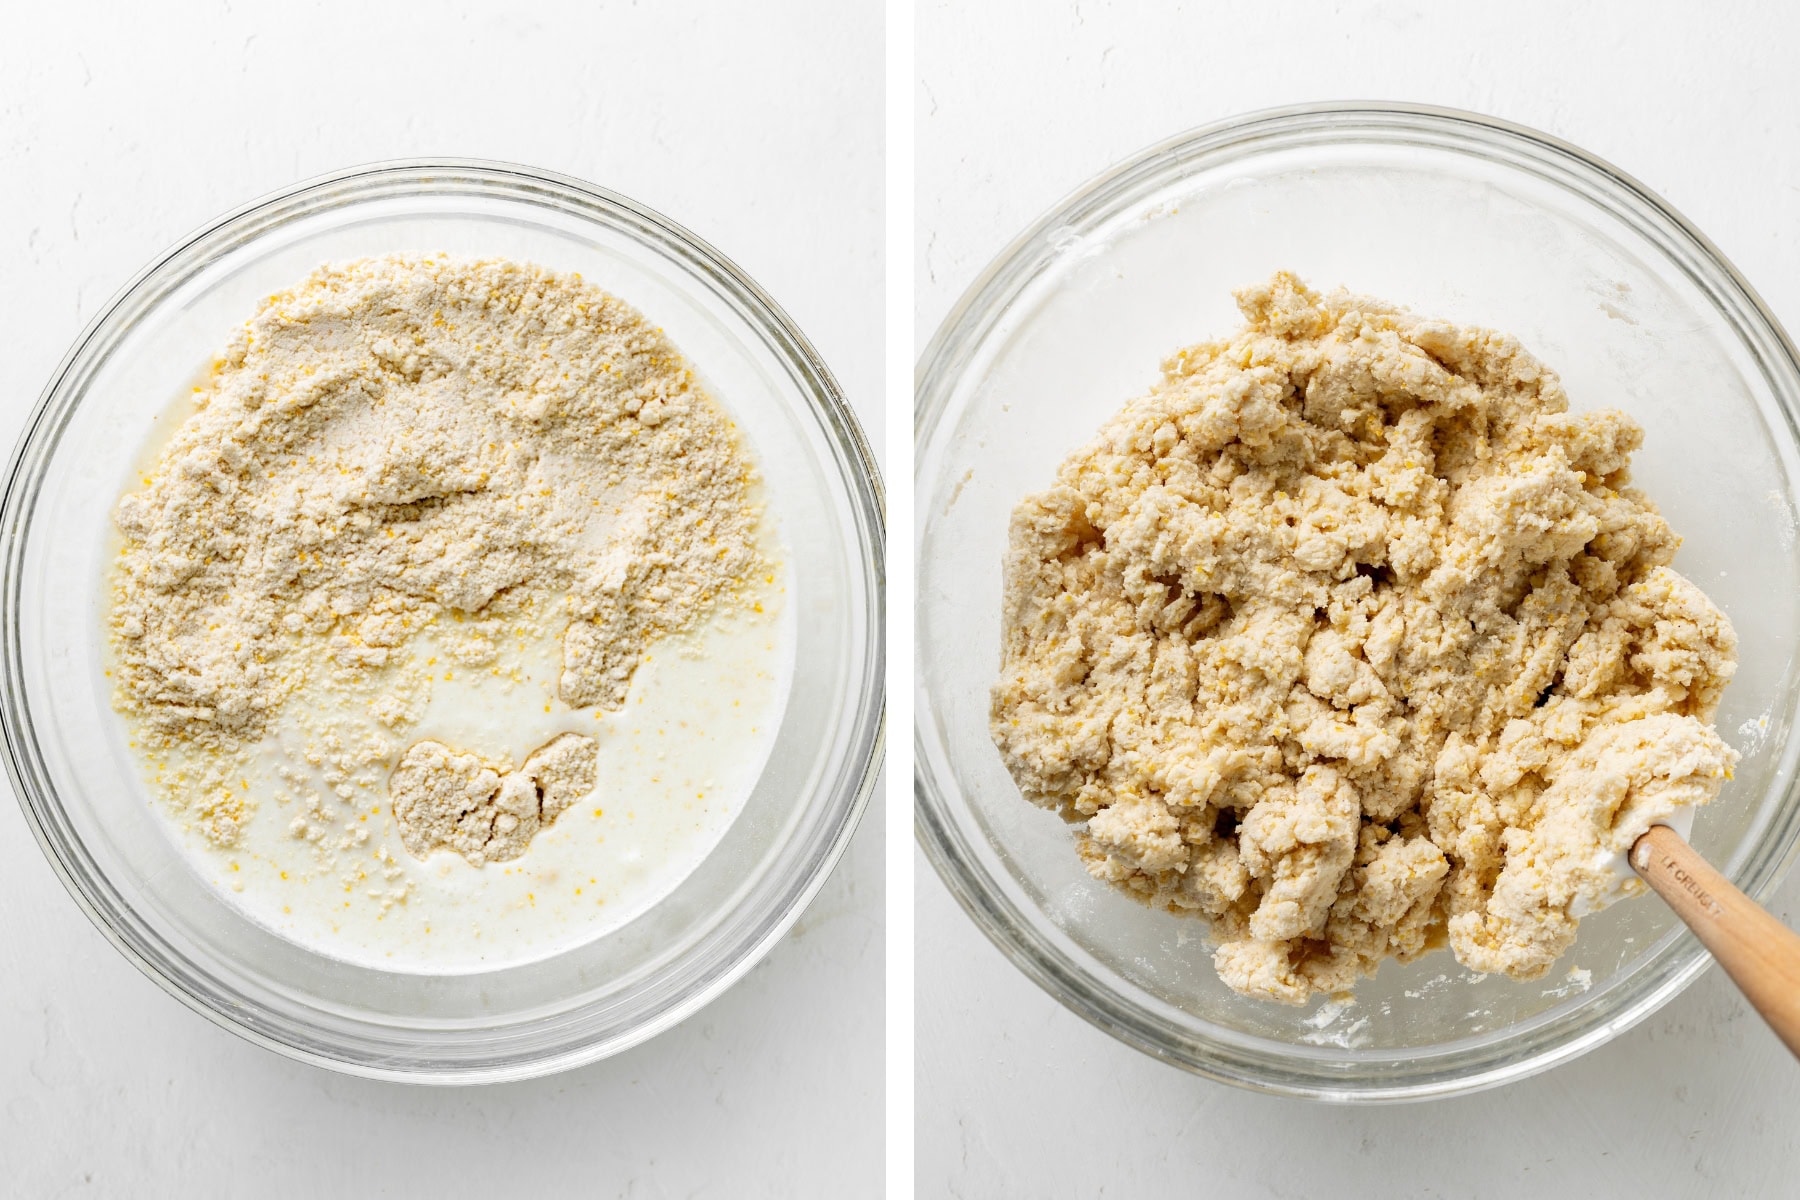
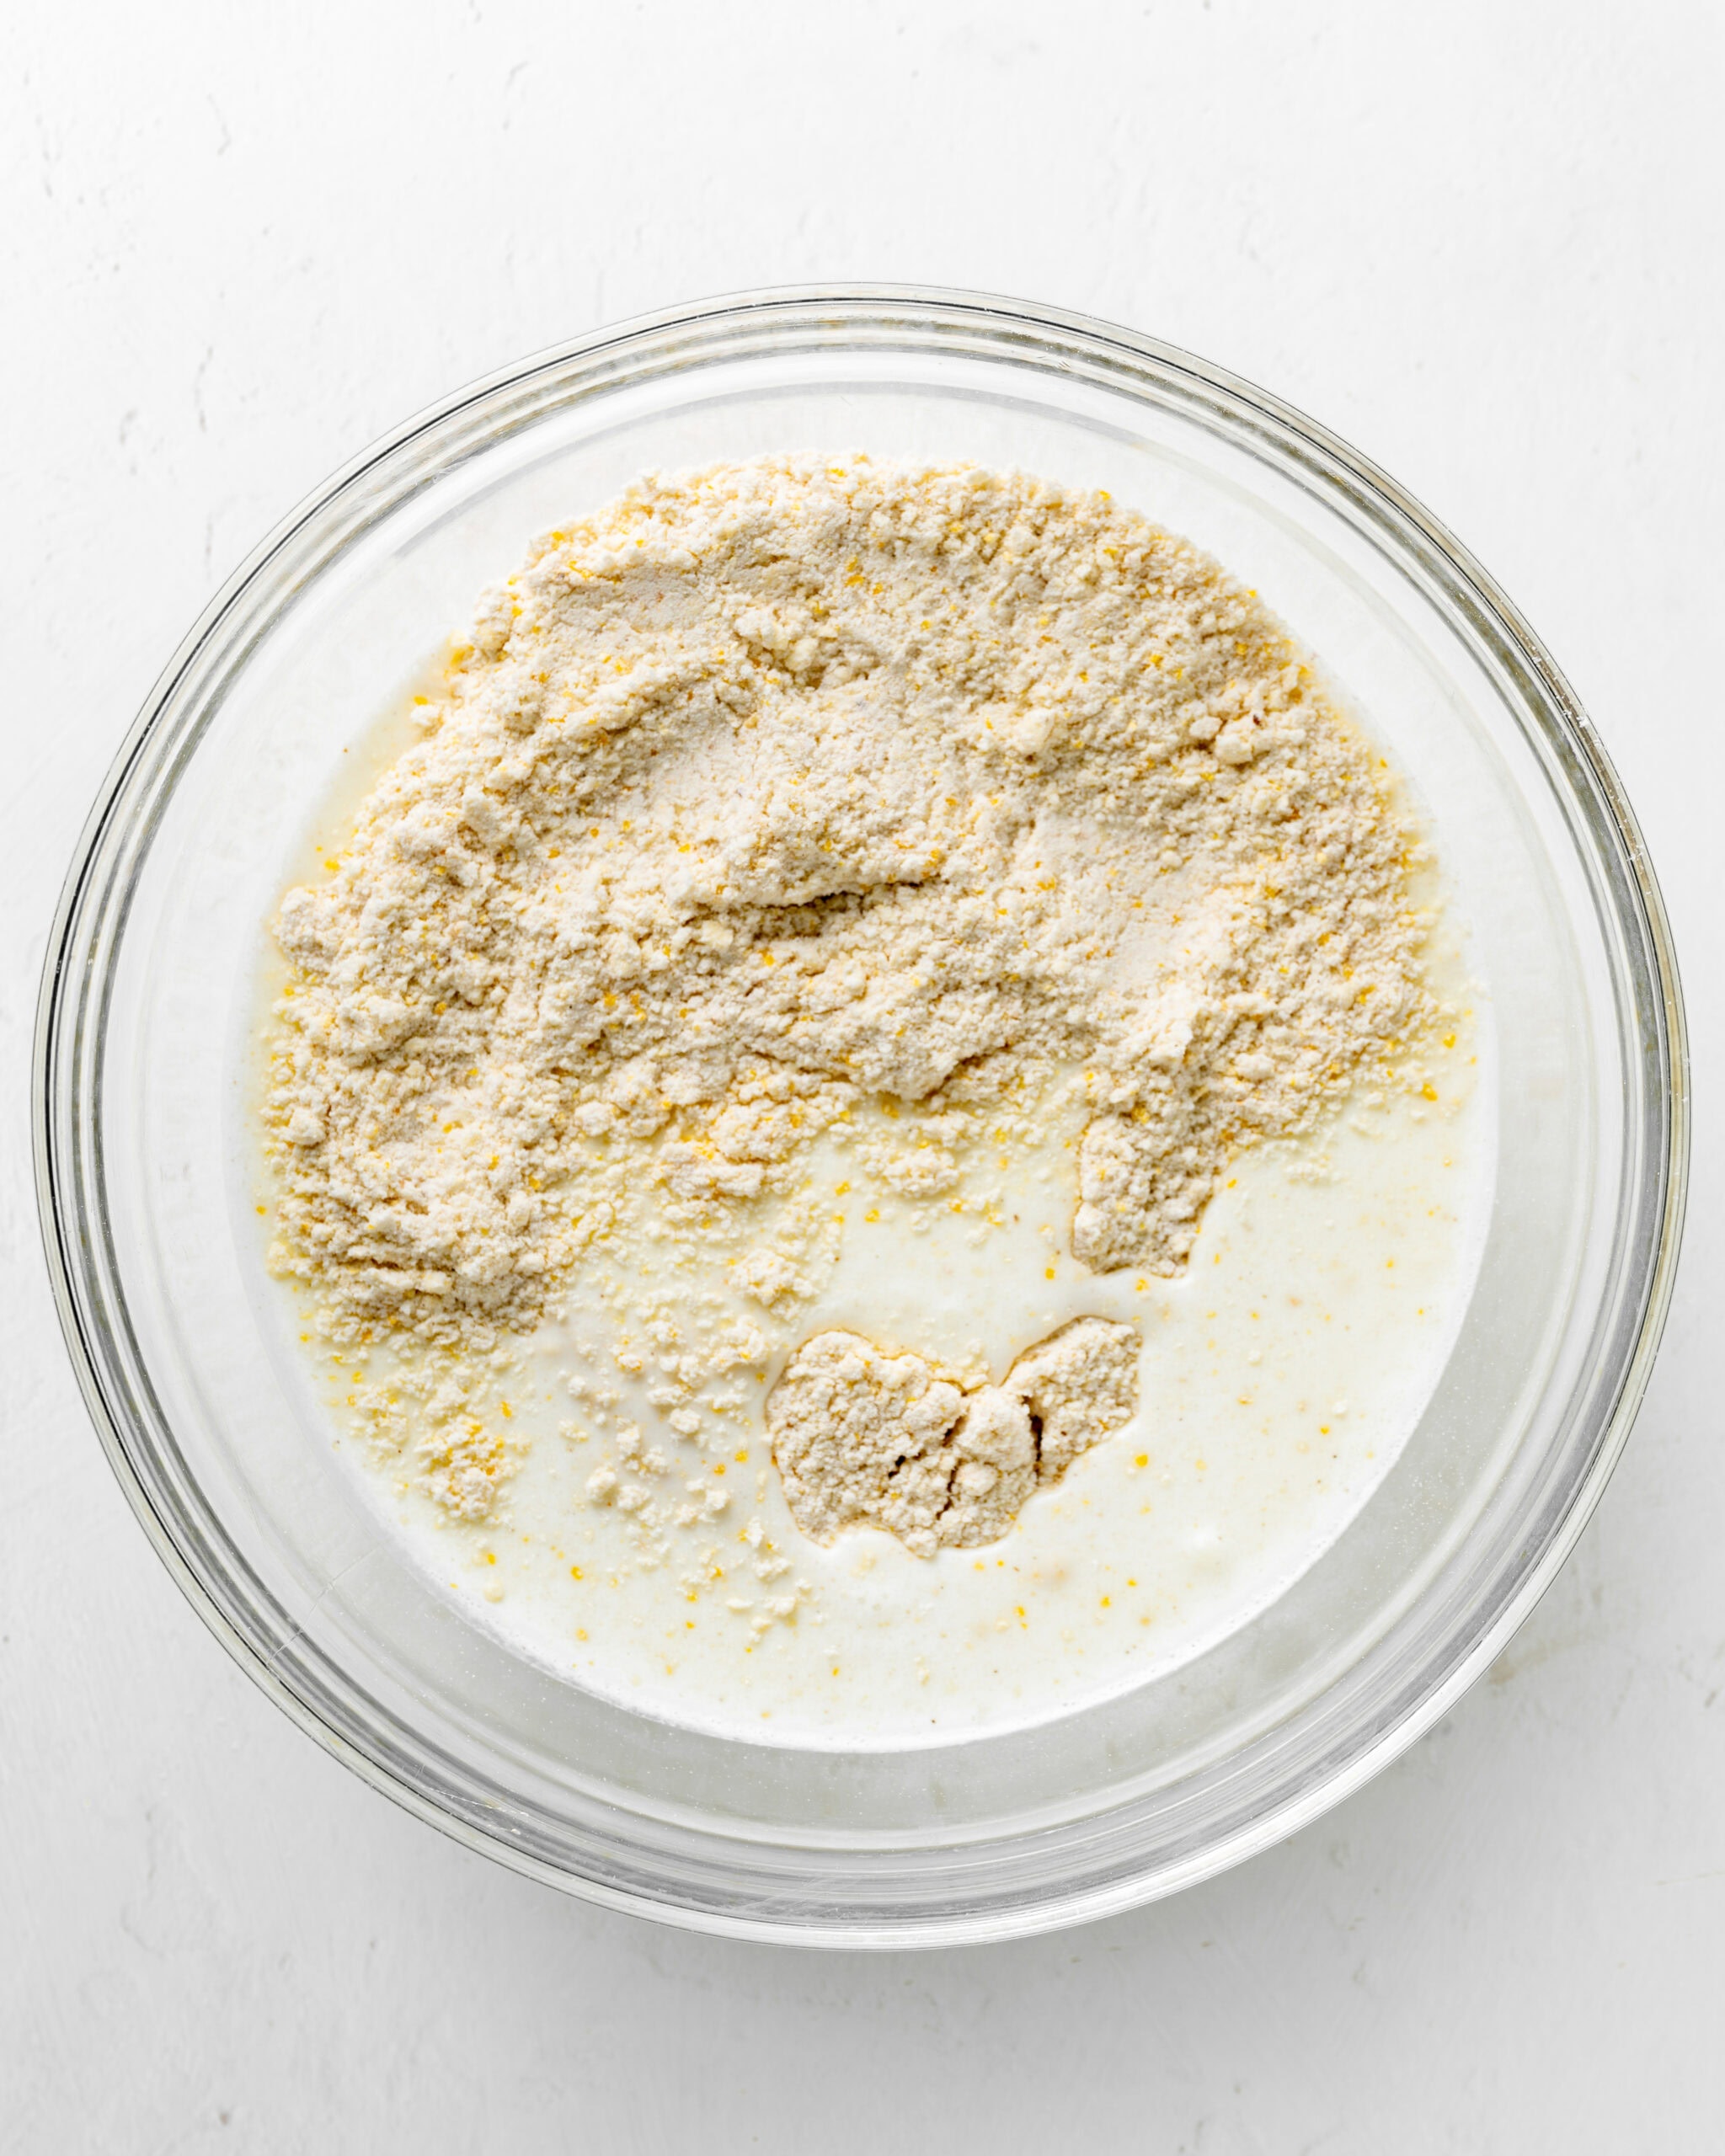
- Step 3: Add the wet ingredients. Pour the buttermilk over the flour mixture and add the honey.
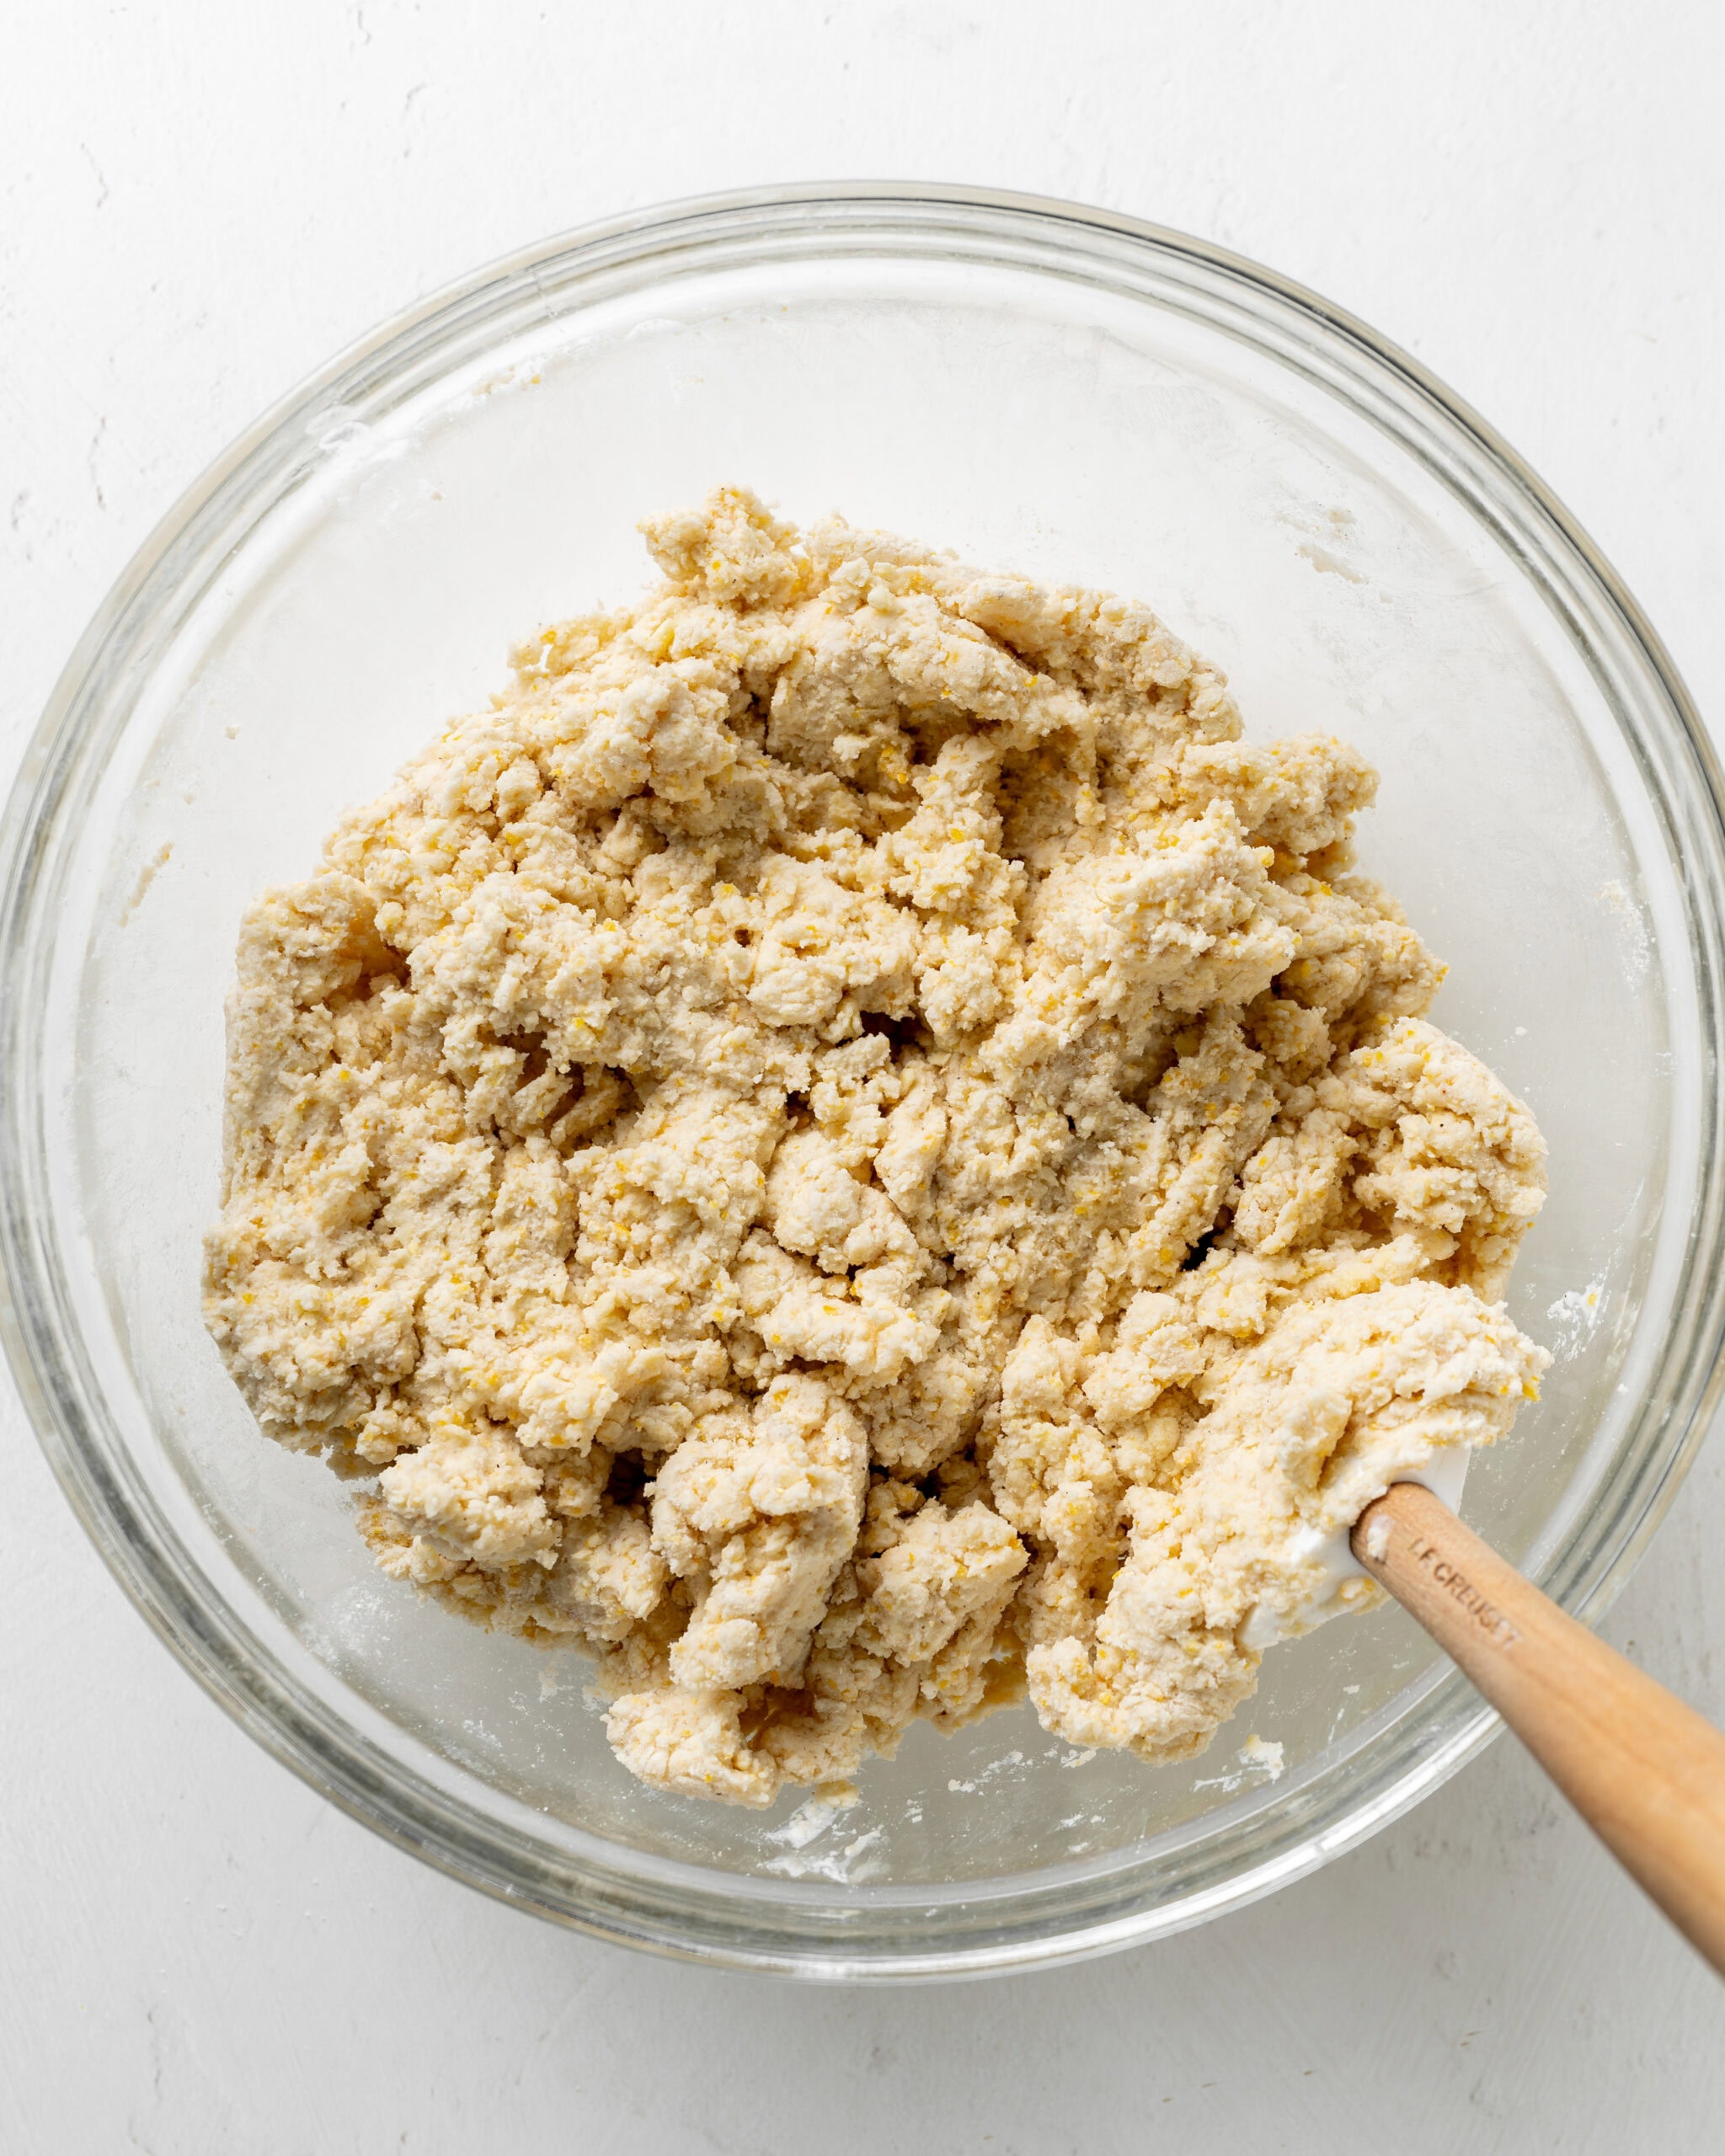
- Step 4: Bring the dough together. Mix gently with a rubber spatula until the dough is just combined.
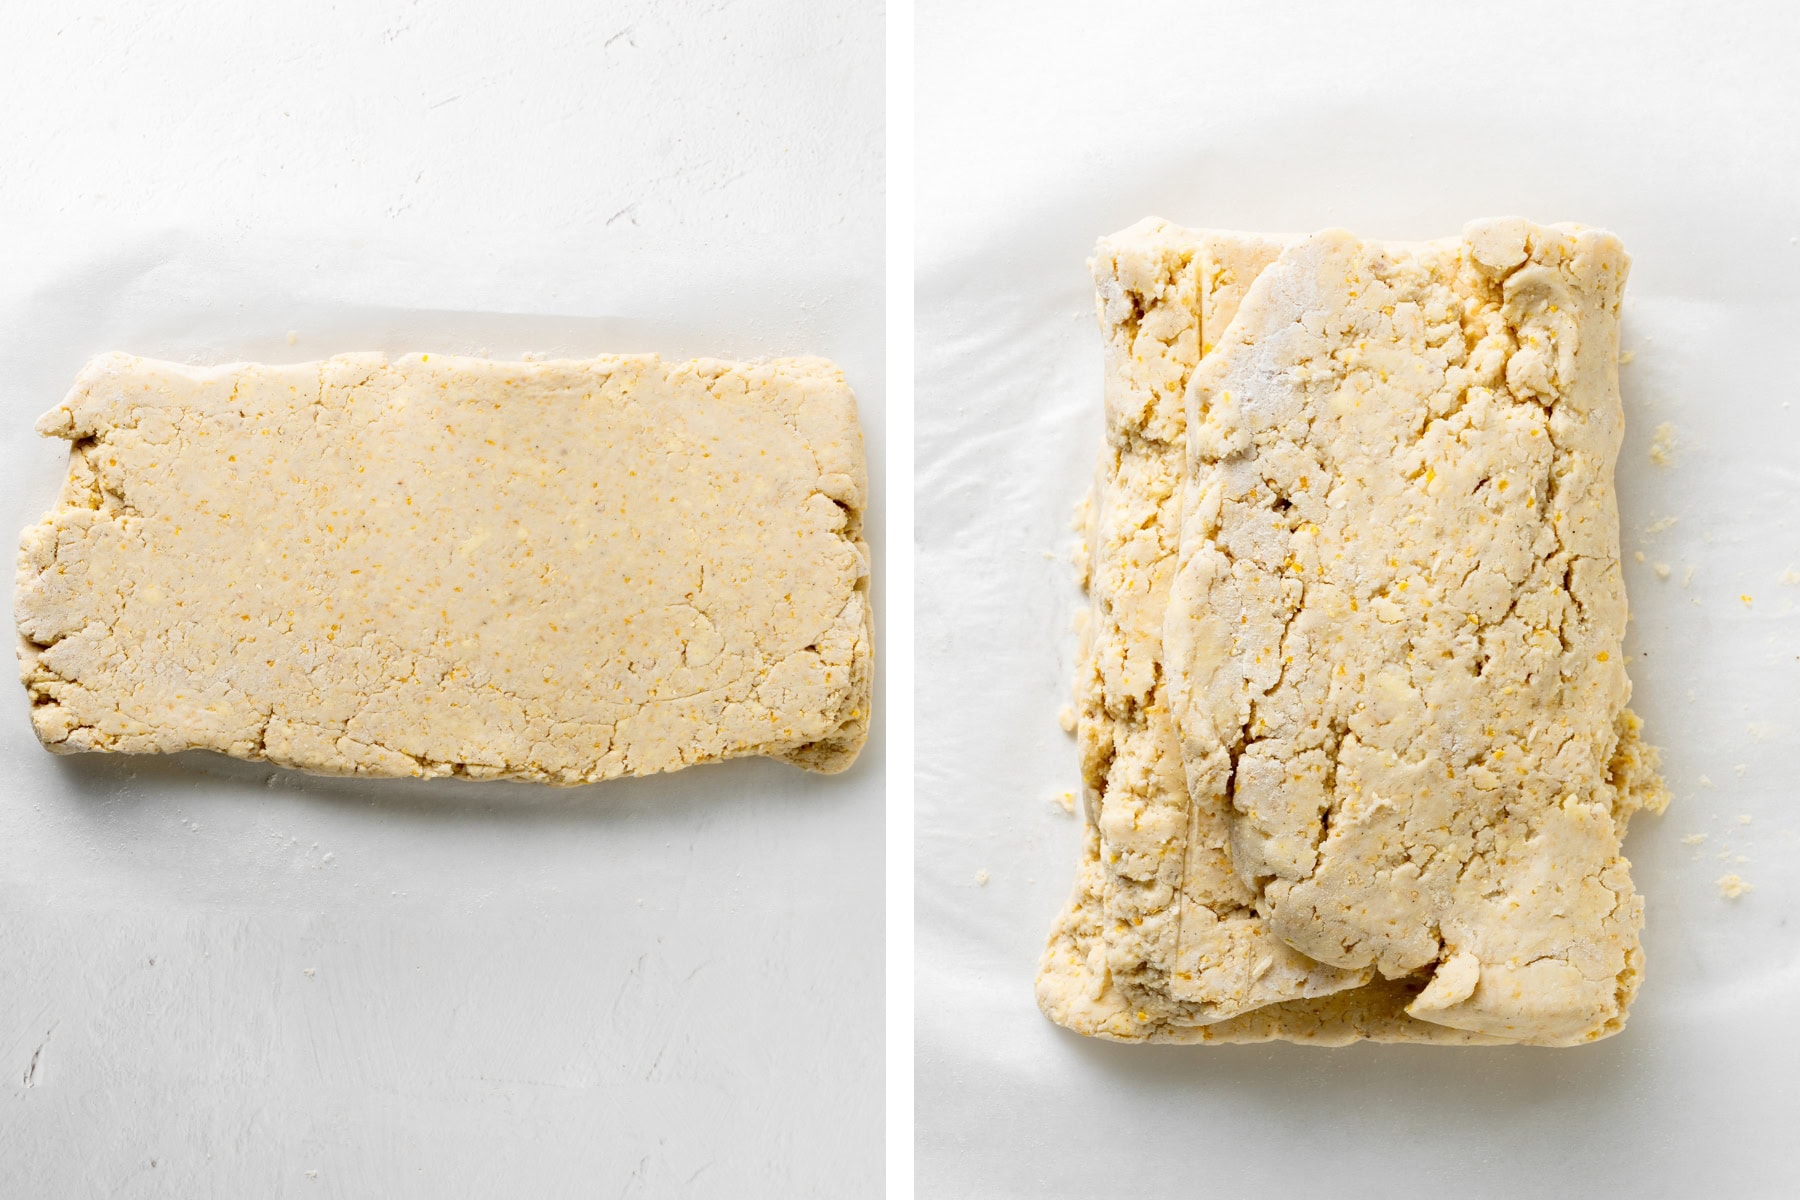
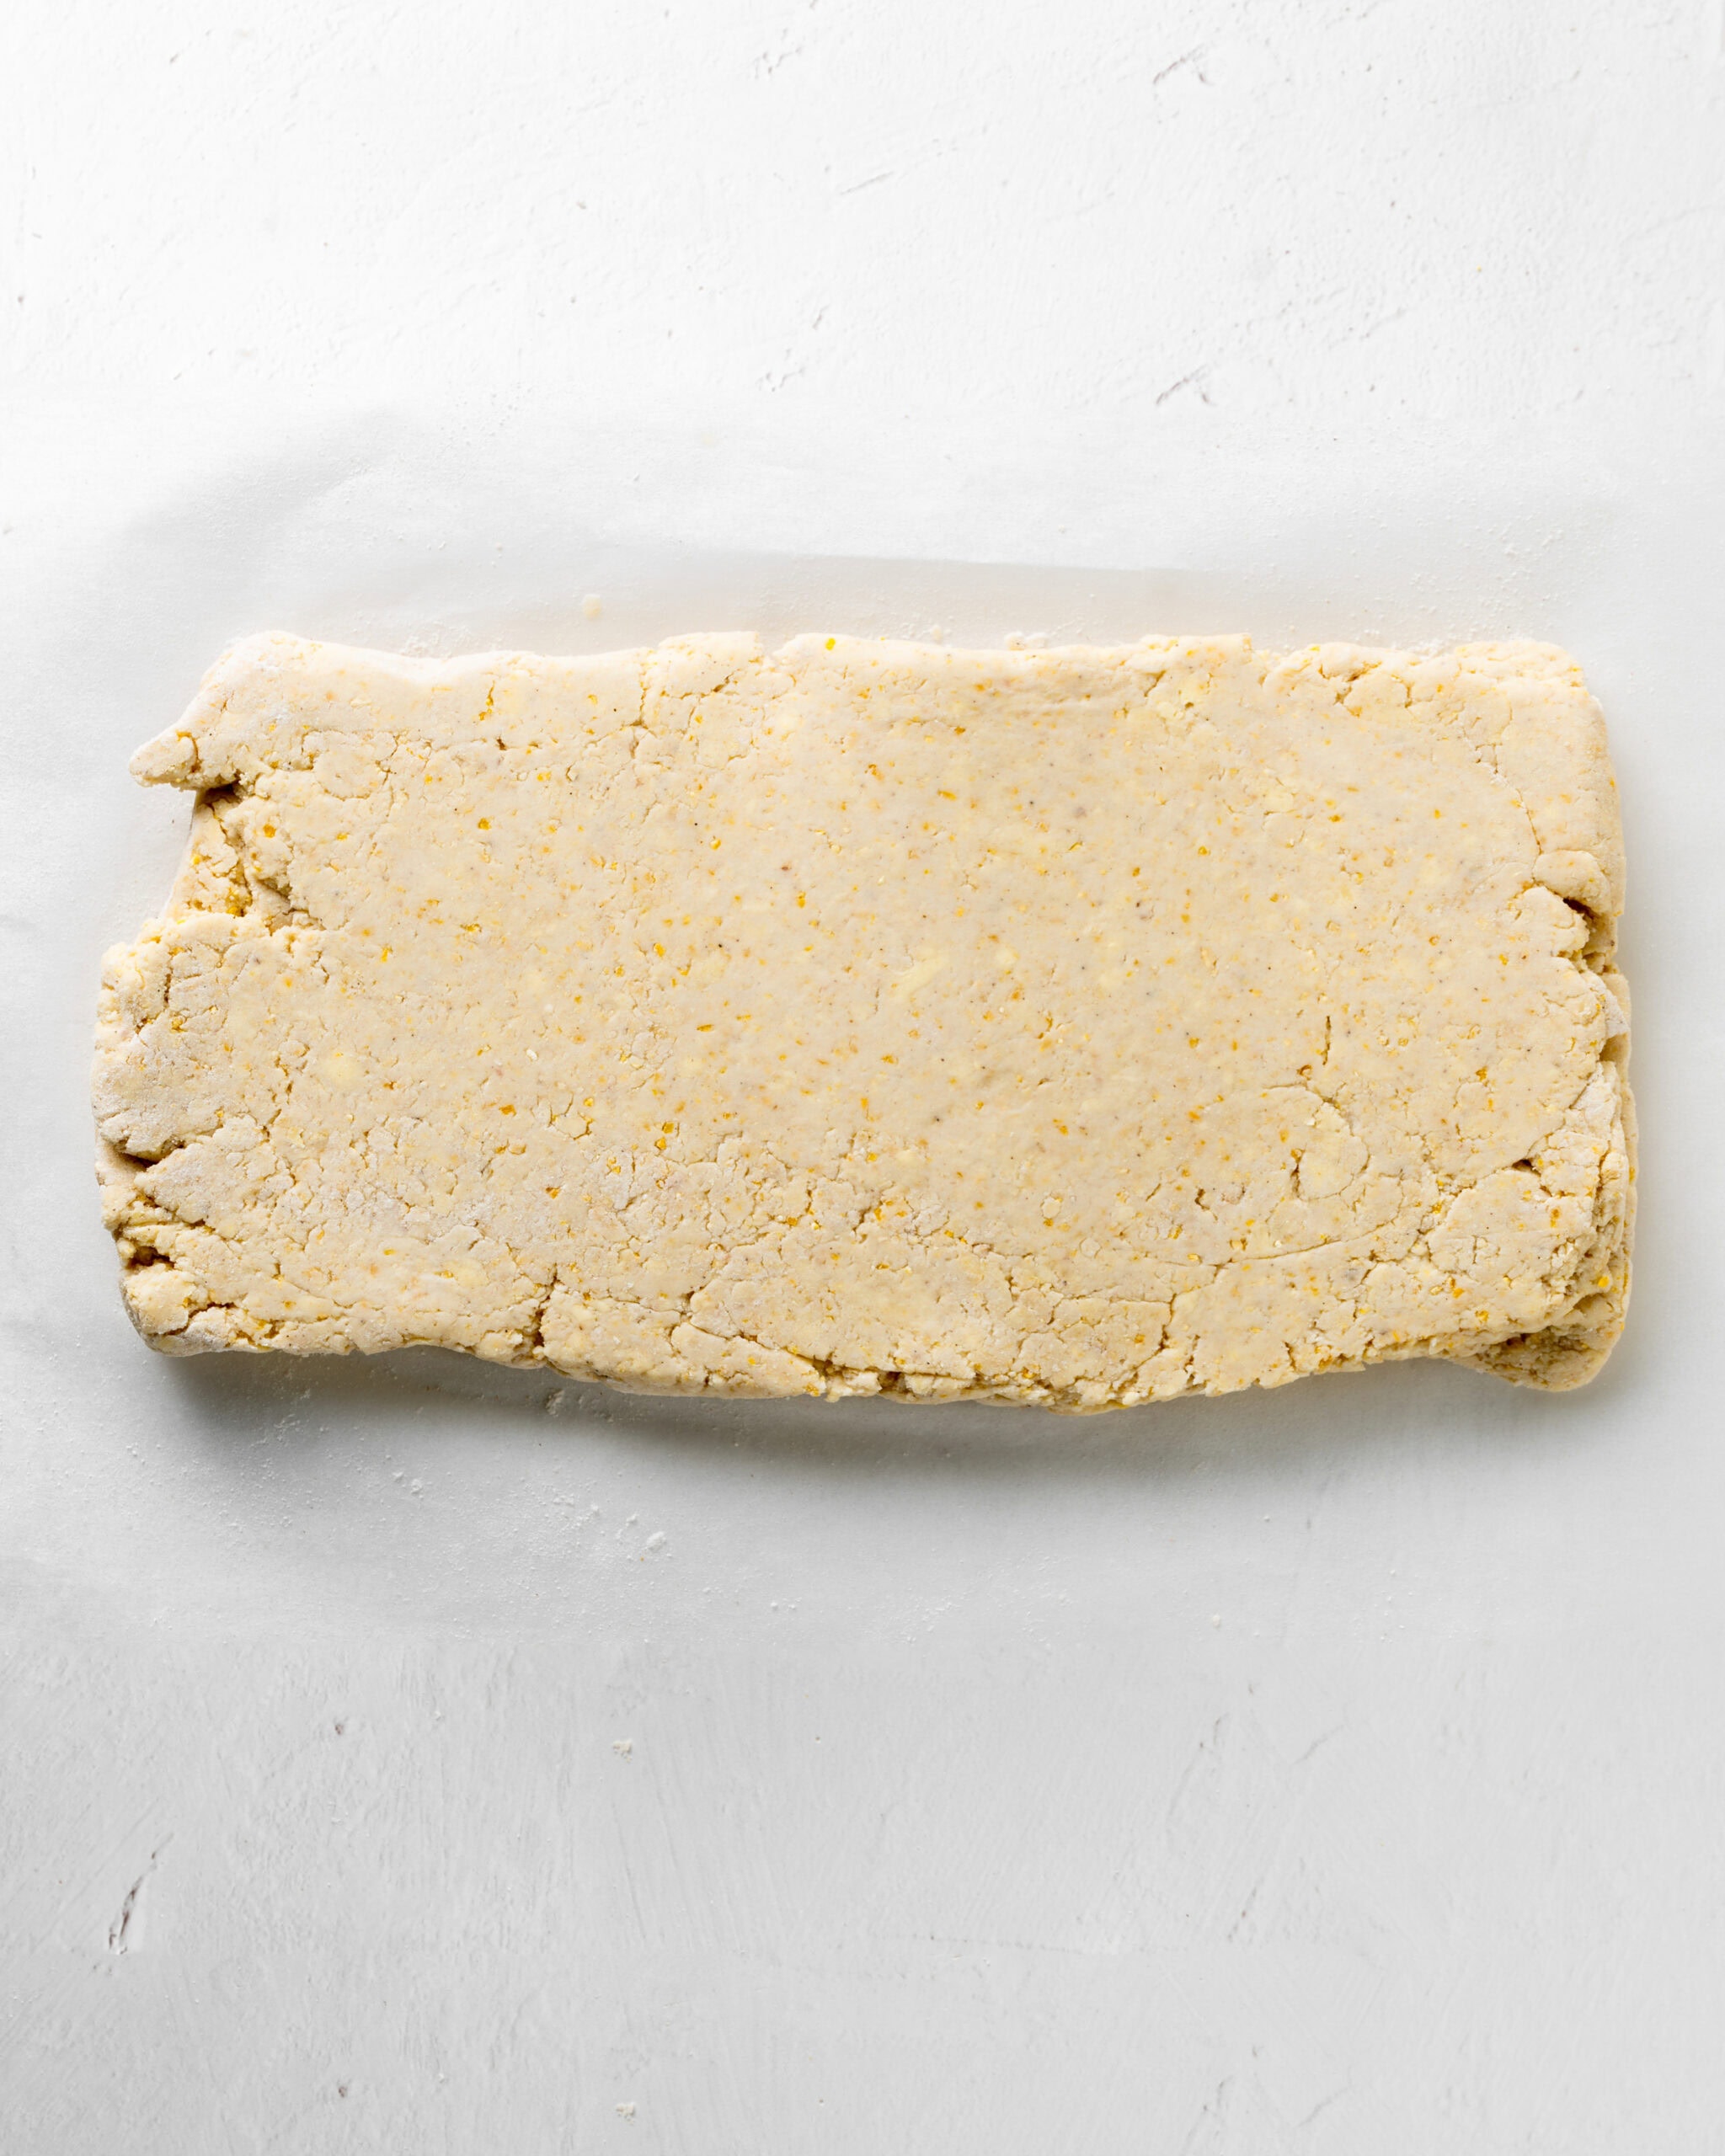
- Step 5: Roll out the dough. Turn the dough out onto a lightly floured surface. Gently pat the dough into a 1-inch-thick rectangle, approximately 7x6 inches.
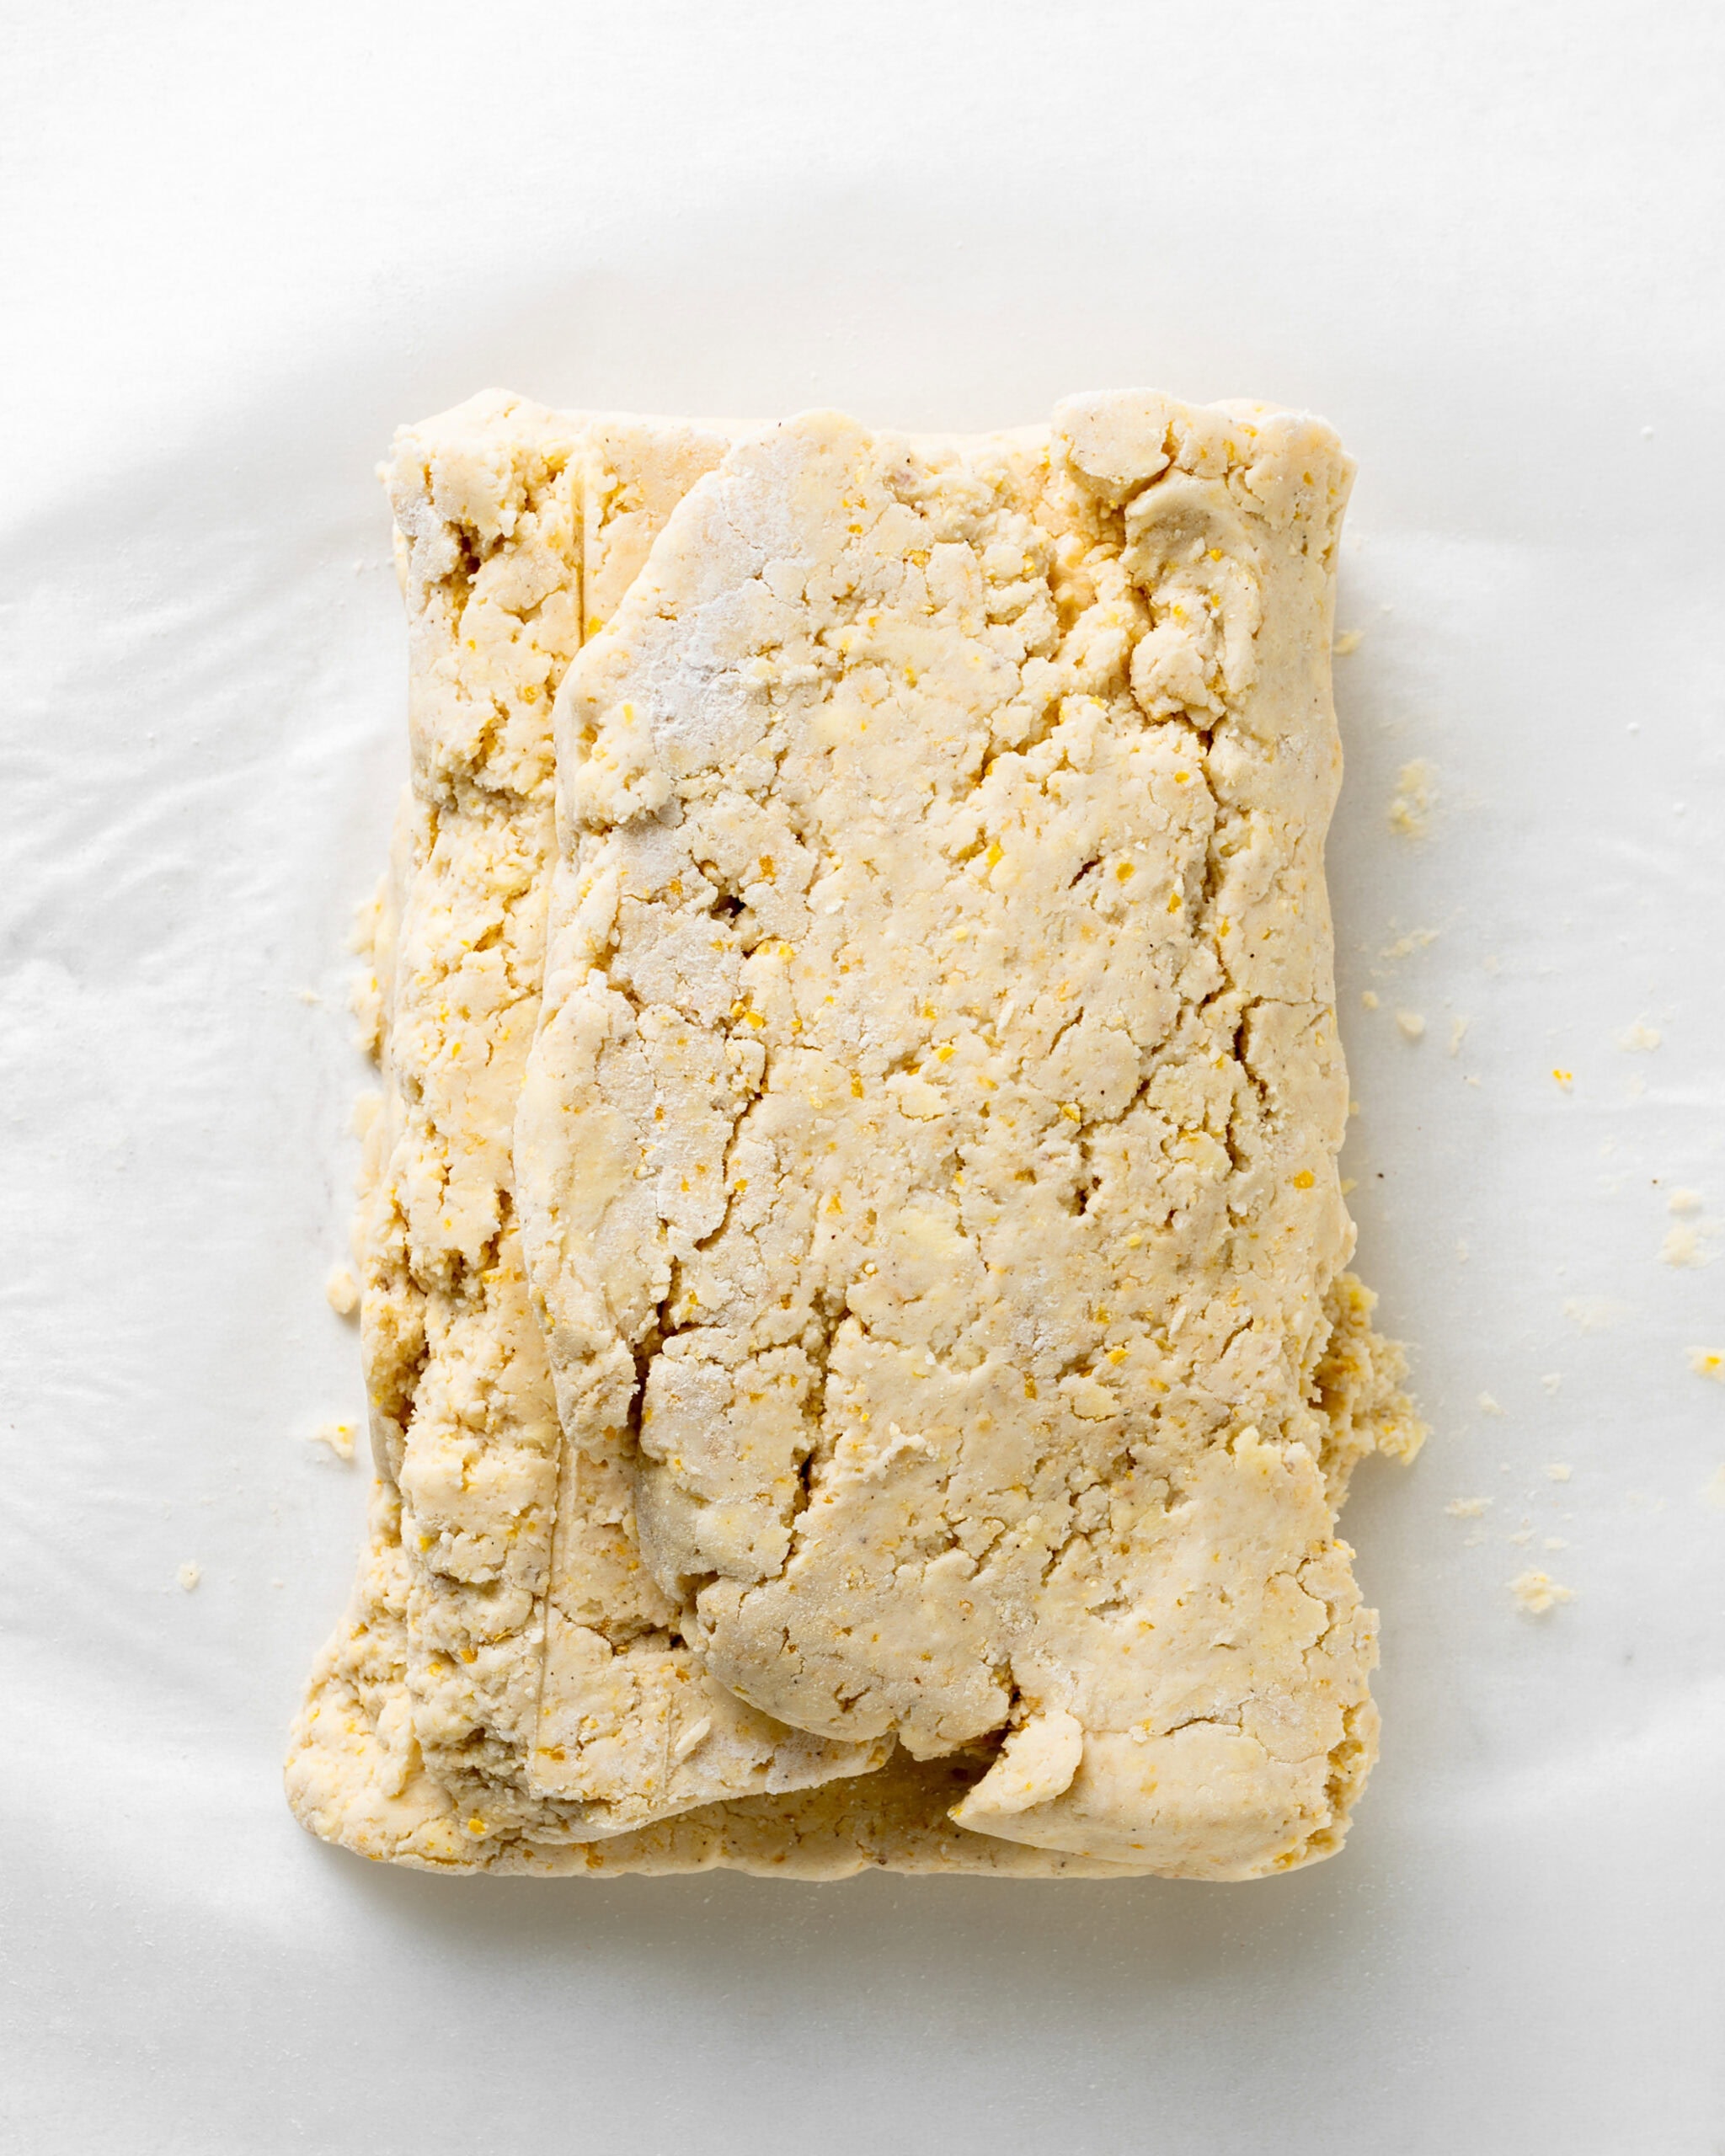
- Step 6: Laminate the dough. To create tender, flaky layers, take one side of the dough and fold it into the center, then fold the opposite side on top of the first, just like folding a letter for an envelope. Turn the dough horizontally (a quarter turn), and gently flatten it back into a rectangle. Repeat this folding process two more times. On the last fold, turn the dough horizontally, then flatten the dough into a ¾-inch-thick rectangle, ready for cutting.
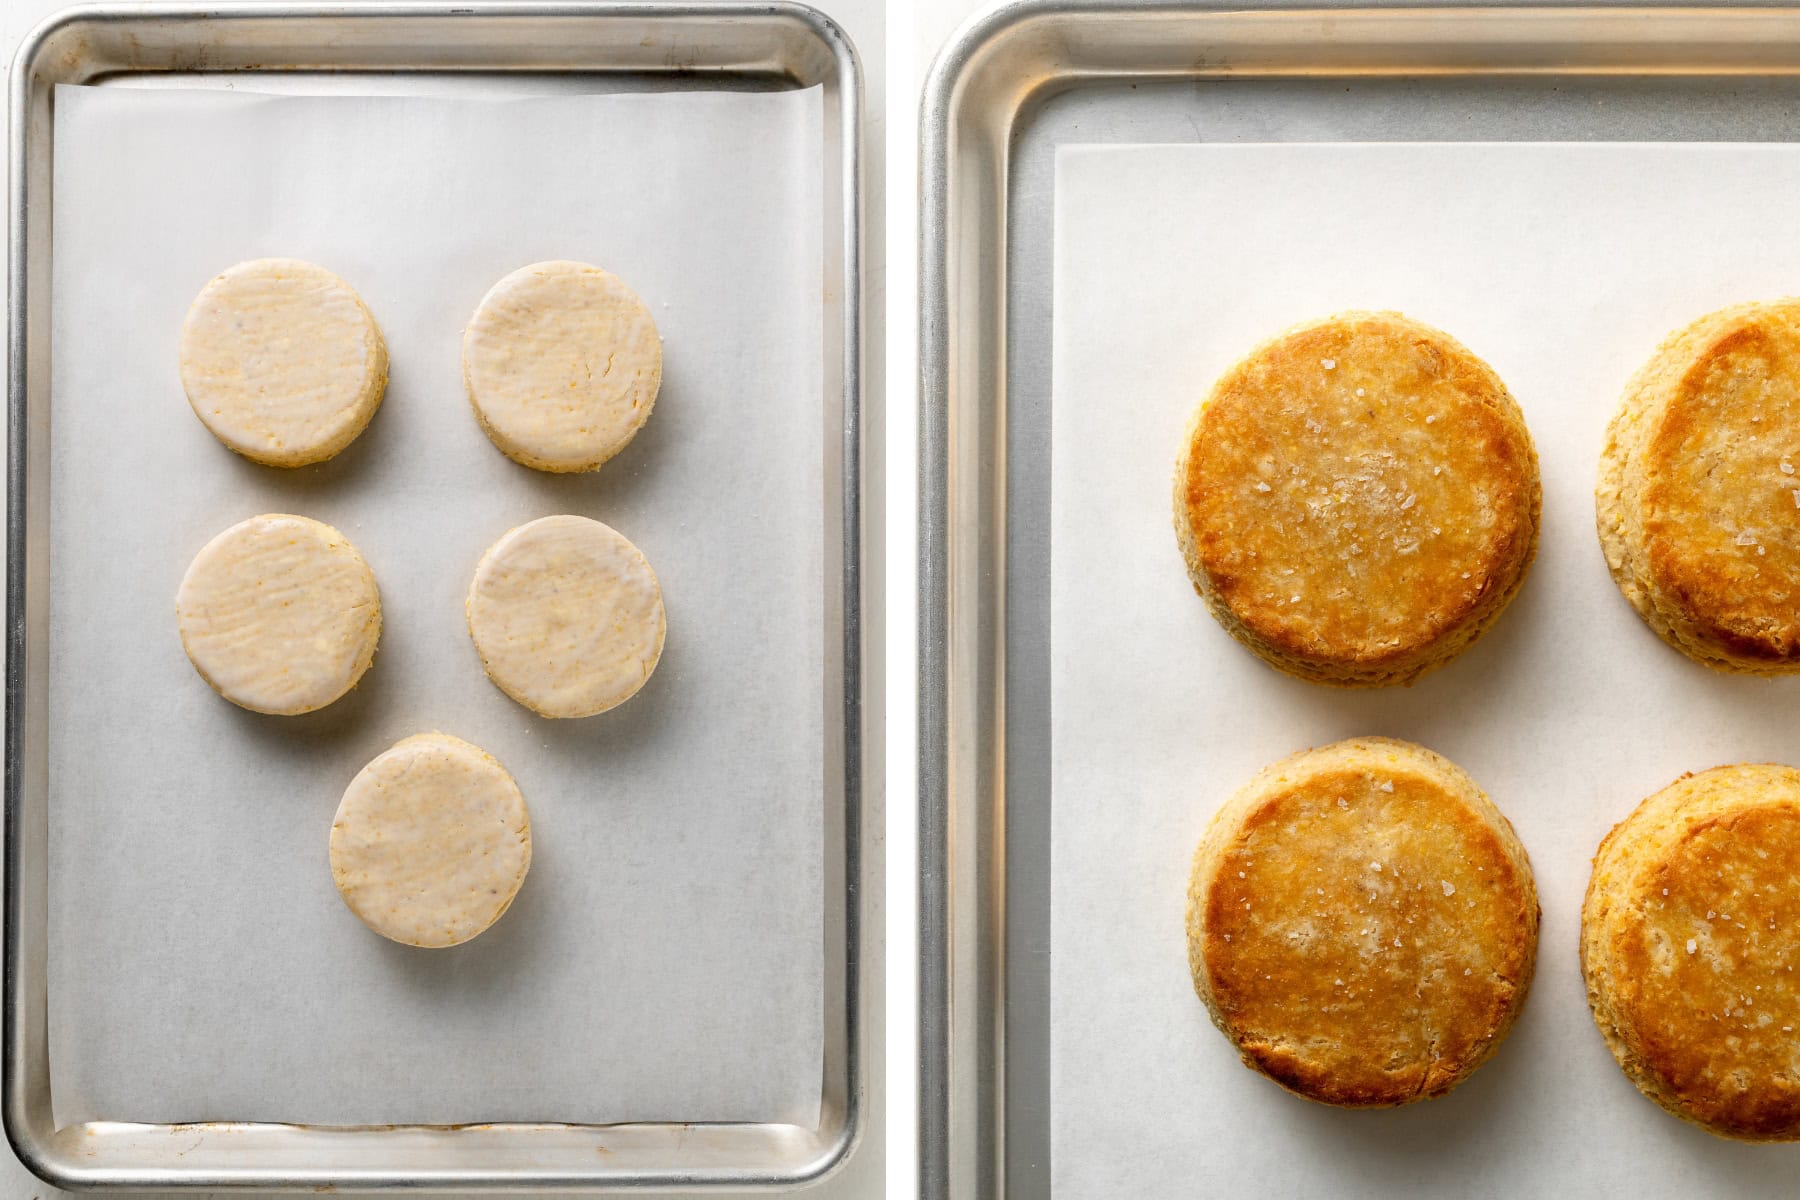
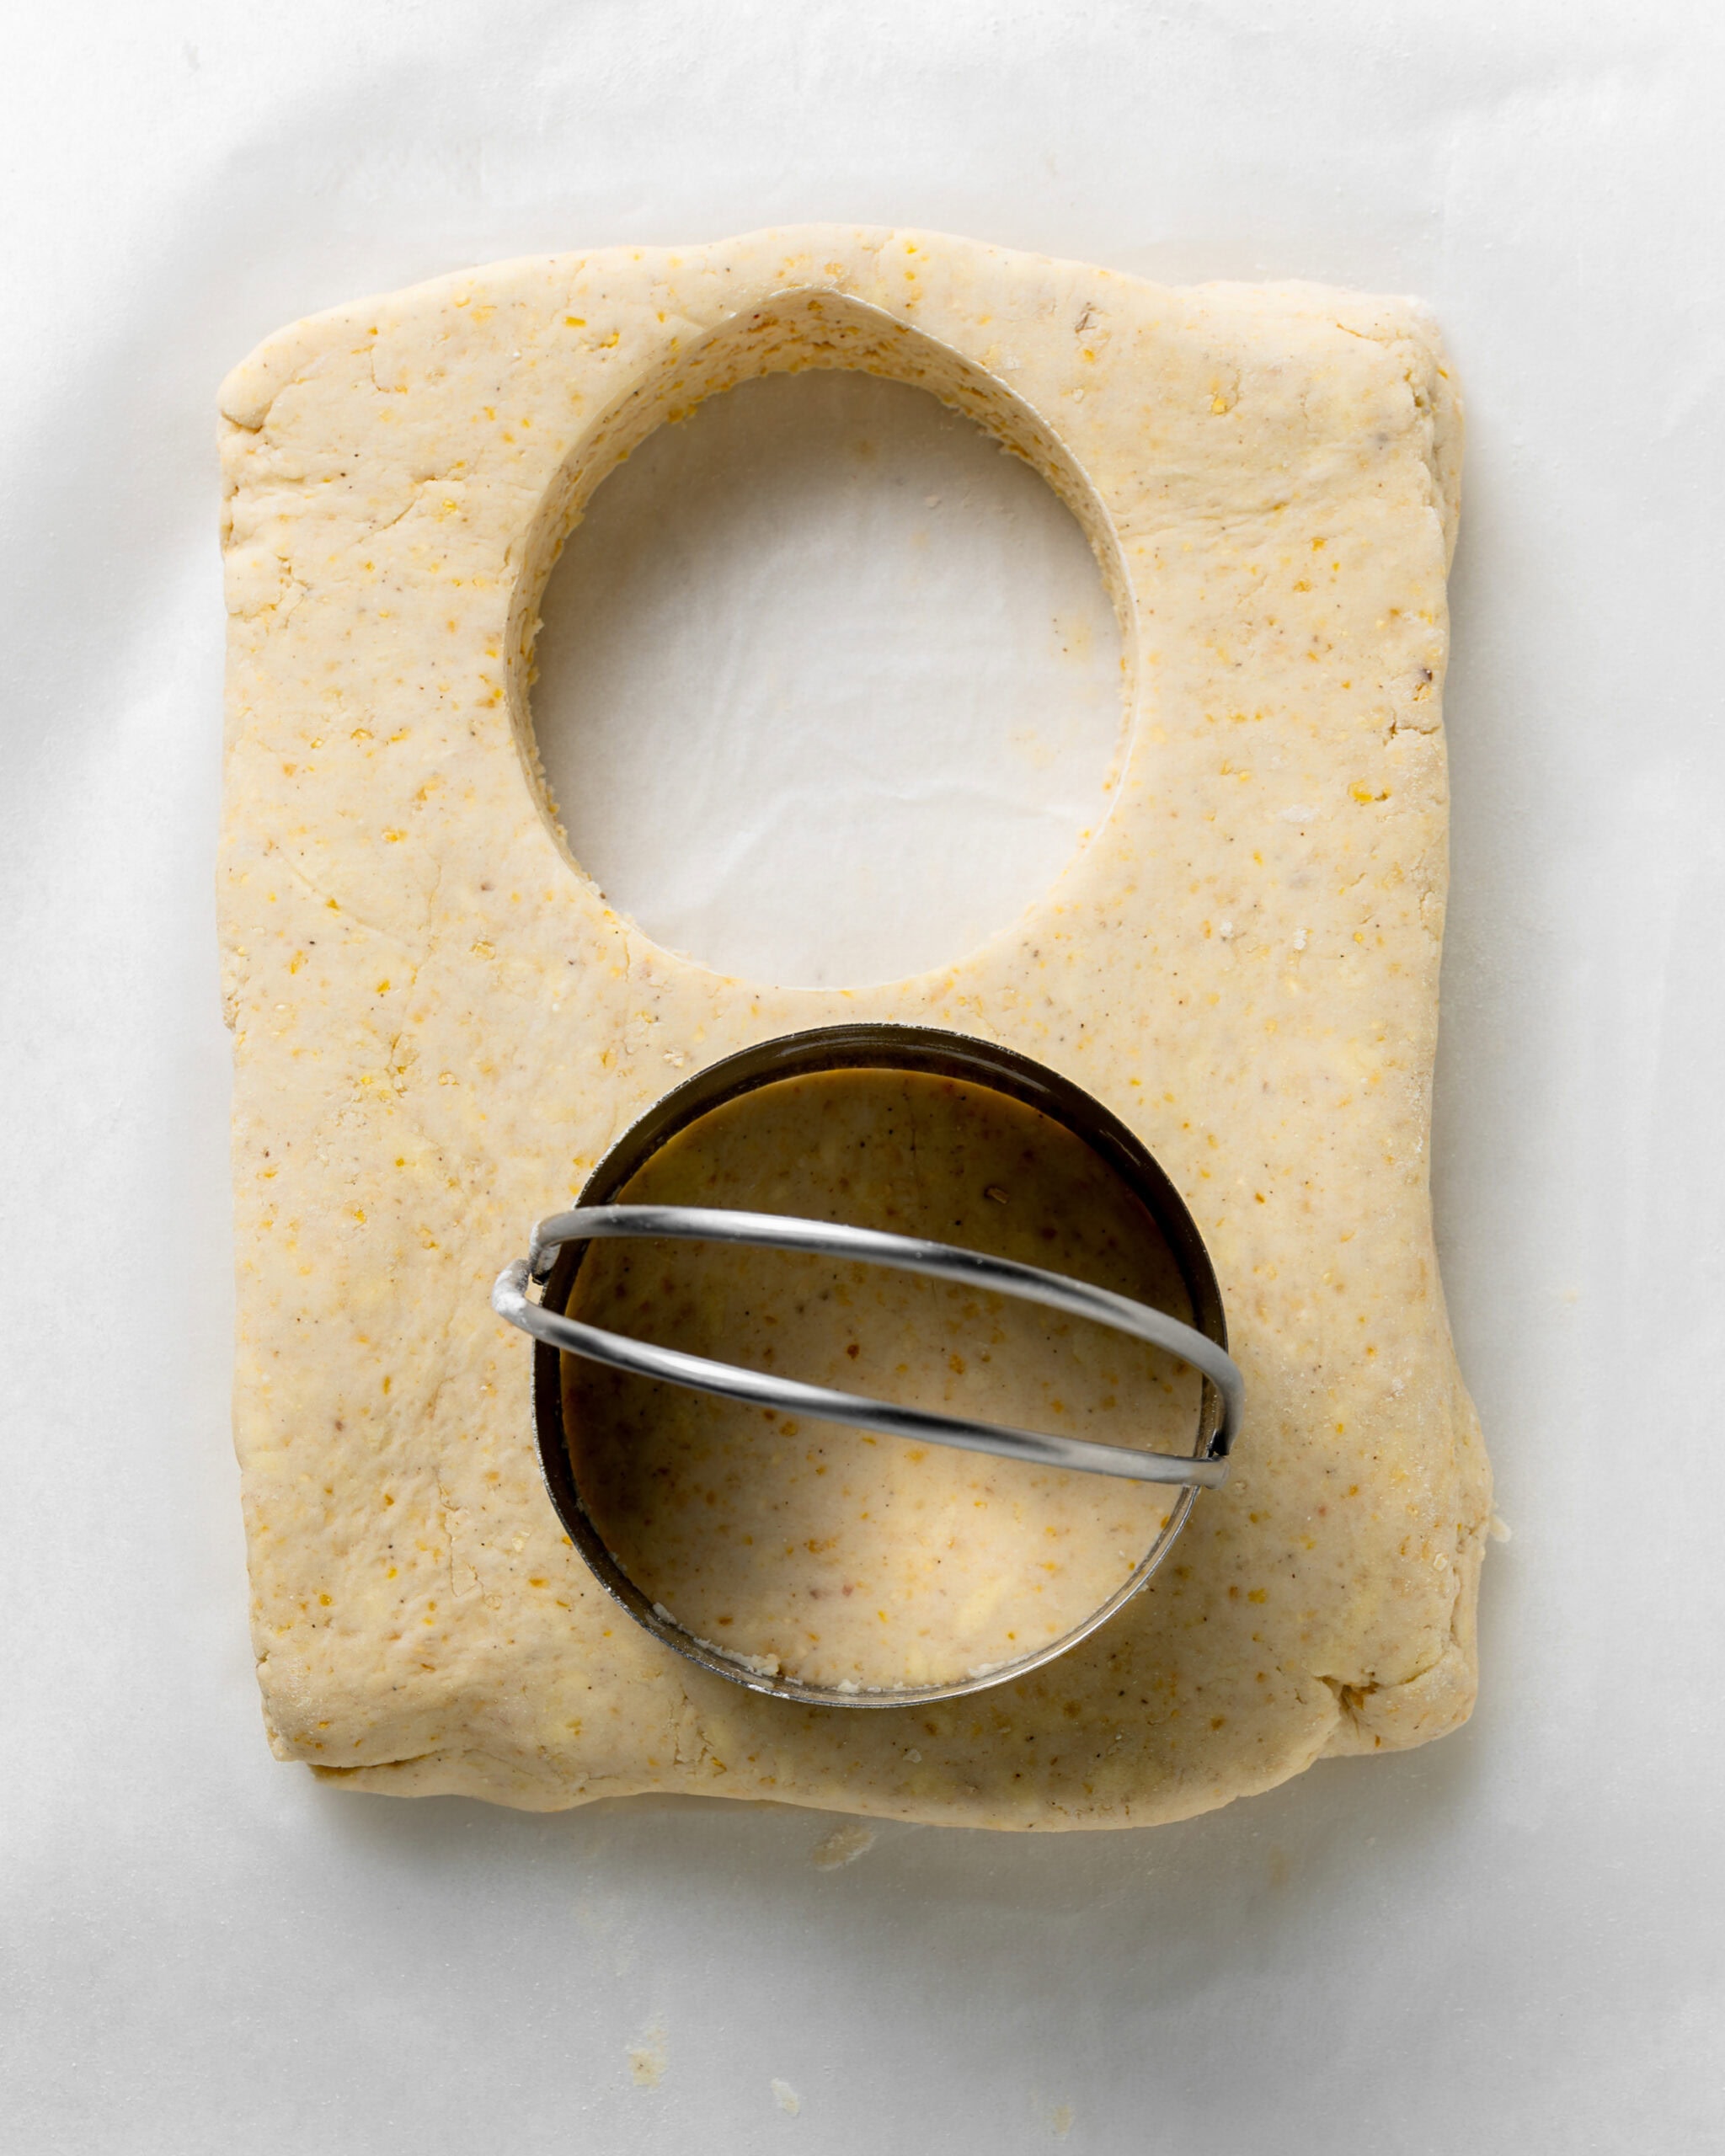
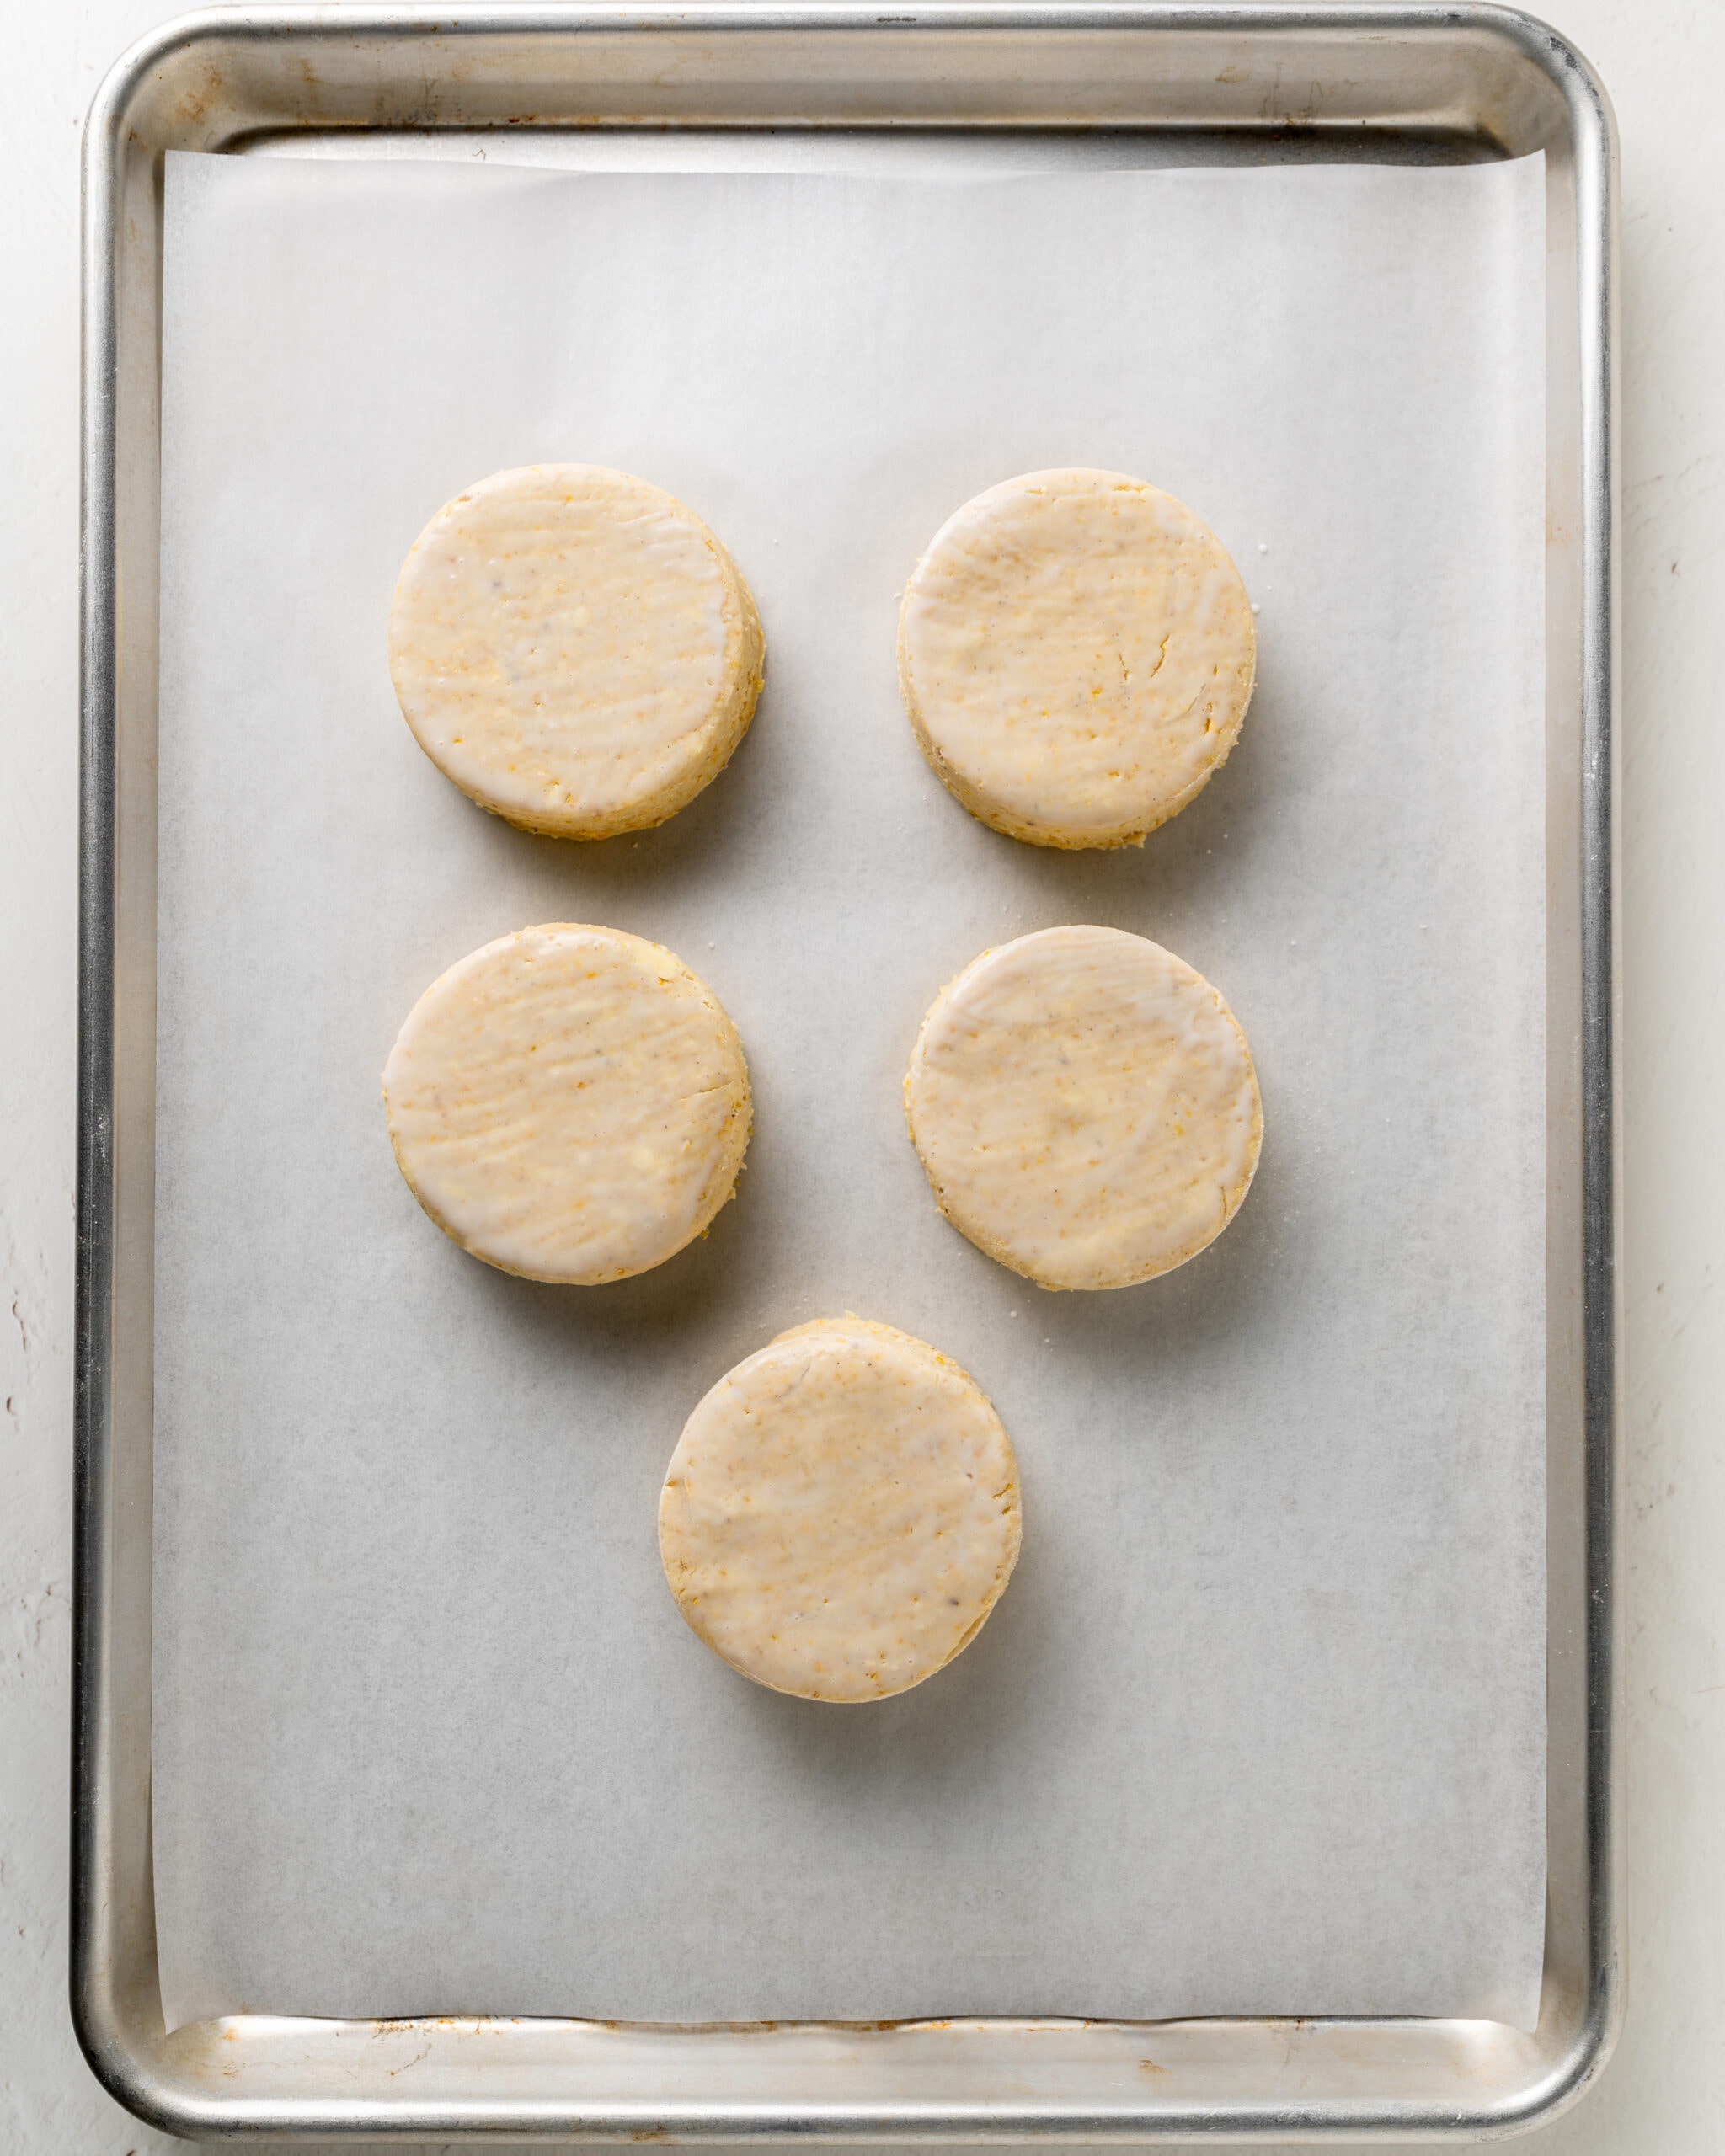
- Step 7: Cut and freeze the biscuits. Use a 2½ to 3-inch round biscuit cutter, pressing straight down and pulling straight up. Do not twist the cutter, as this prevents proper rising. Place biscuits onto a parchment-lined baking sheet and into the freezer for 20 minutes.
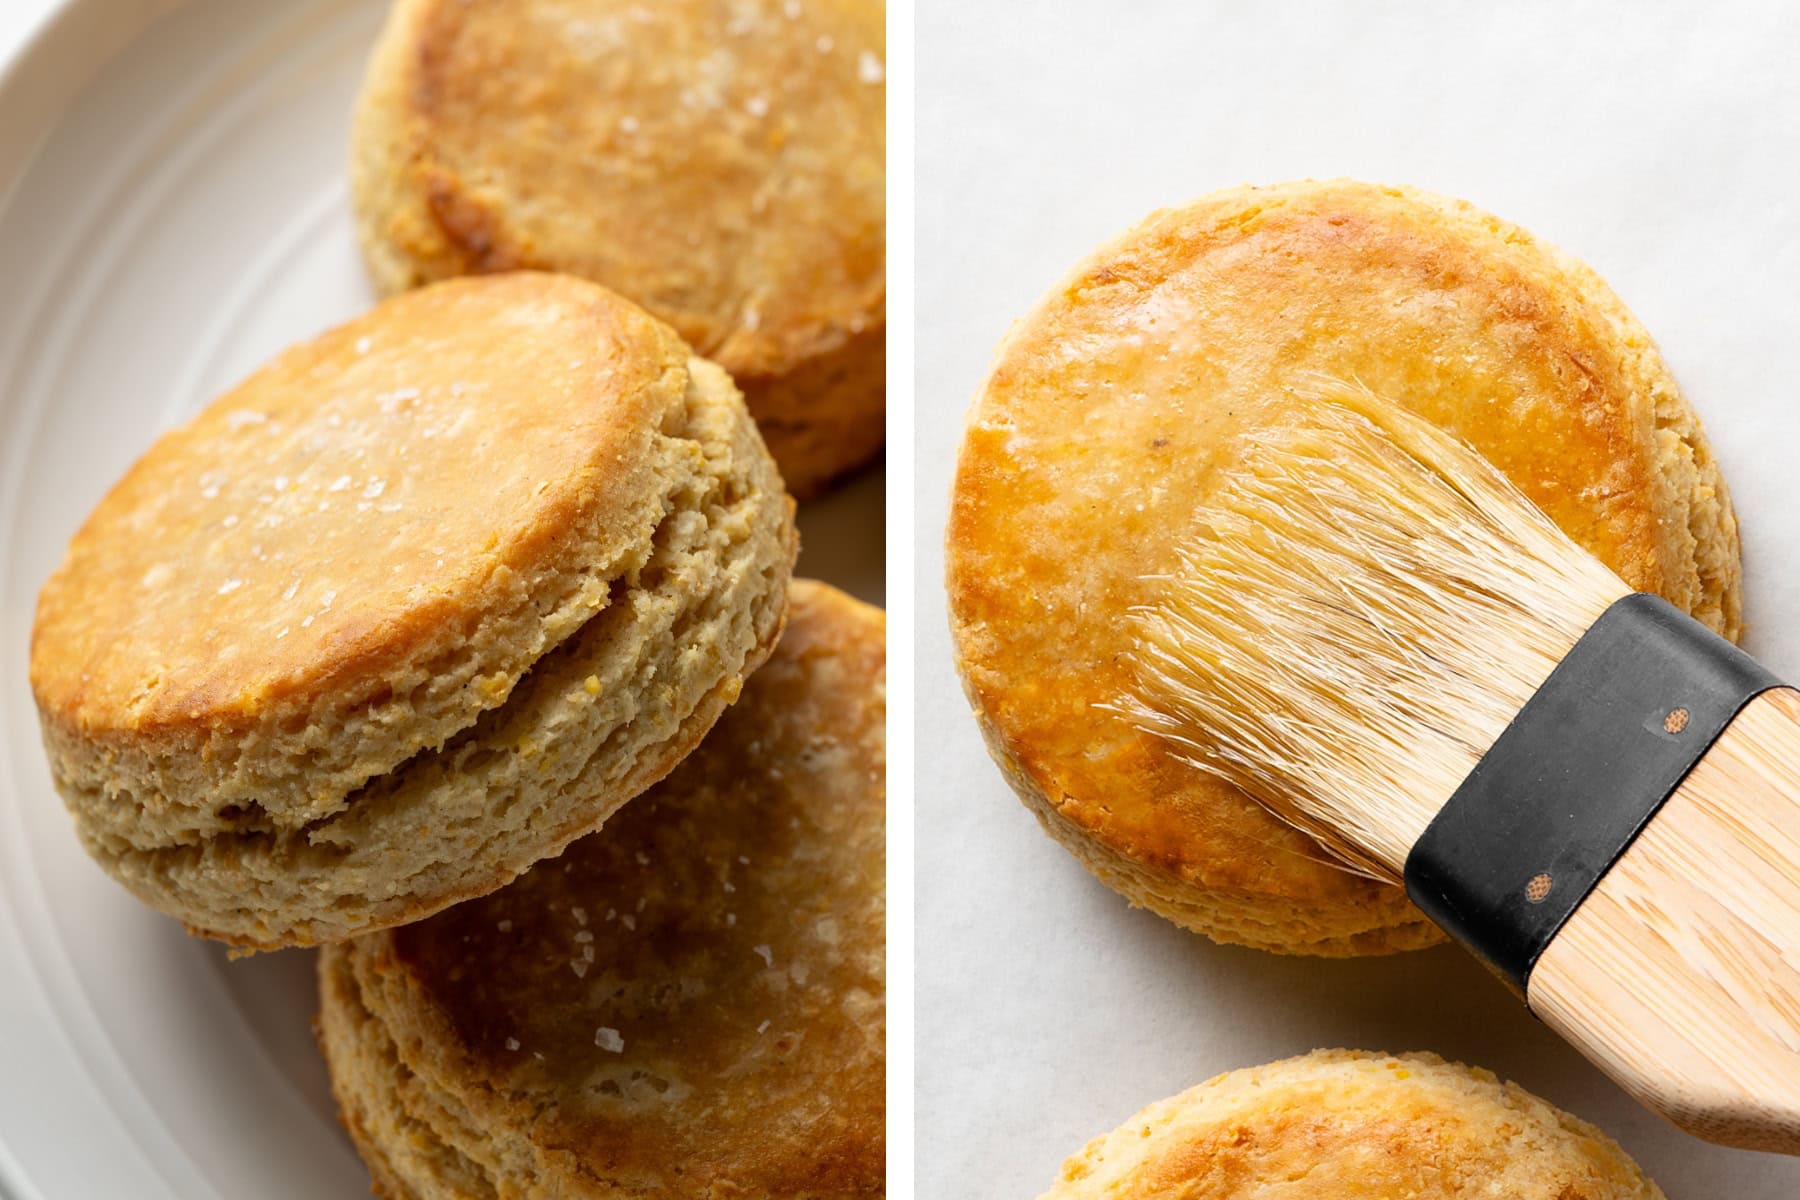
- Step 8: Bake cornmeal buttermilk biscuits. Brush the tops of the biscuit dough with buttermilk and bake in a preheated oven at 425°F for 18-20 minutes until golden brown. Immediately upon removing the biscuits from the oven, brush the hot tops generously with melted butter, then add a pinch of flaky sea salt. Finish with a drizzle of honey and serve warm.
Storage and Freezing Tips
Storage (Baked)
- Biscuits are best enjoyed warm and fresh from the oven! If you have leftovers, they will stay good at room temperature for a few days. To enjoy them again, simply reheat them briefly in the microwave until warm.
Freezing (Unbaked Dough)
This recipe is freezer-friendly!
- Long-Term Storage: Once frozen solid, transfer the biscuits to a freezer-safe bag or an airtight container. They will keep well for up to three months.
- Baking from Frozen: There is no need to thaw! Simply place the frozen biscuits on a baking sheet and bake at 425°F. Add an extra 2 to 3 minutes to the usual baking time, or until they reach 190°F.
More Biscuit Recipes
- Gluten-Free Buttermilk Biscuits
- Gluten-Free Pumpkin Biscuits with Sage and Rosemary
- Gluten-Free Biscuits and Gravy
I hope you love this cornmeal biscuit recipe as much as I do! If you make it, I’d love to hear how it turned out in the comment box below. Your review will help other readers in the community.
Recipe
Cornmeal Biscuits with Buttermilk (Gluten-Free)
Ingredients
- 2 cups (272) gluten-free flour (Bob's Red Mill Gluten Free 1 to 1 Baking Flour)
- 6 tablespoons (57g) medium grind cornmeal
- 1 tablespoon baking powder
- ½ teaspoon baking soda
- 1 teaspoon salt
- 1 teaspoon garlic powder
- 8 tablespoons (113g) frozen butter, see notes
- 1 cup (240ml) buttermilk
- 1 tablespoon (21g) honey
Instructions
- Combine Dry Ingredients (Food Processor). Place the gluten-free flour, cornmeal, baking powder, baking soda, garlic powder, and salt into the food processor bowl. Pulse the mixture until all ingredients are just combined and evenly distributed.Combine Dry Ingredients (Bowl Method)If you don't have a food processor, whisk the gluten-free flour, cornmeal, baking powder, baking soda, garlic powder, and salt together in a large mixing bowl. Whisk for about 30 seconds to ensure the leavening agents and spices are evenly distributed throughout the flour mixture.

- Add the cold butter (Food Processor). Pulse the cubed frozen butter into the flour until coarse crumbs form. Transfer the mixture to a large mixing bowl.Add the cold butter (Bowl Method). Add the cubed, cold butter to the dry mixture. Using a pastry blender, two knives, or your fingertips, quickly cut the butter into the flour until the mixture resembles coarse crumbs. Work quickly to keep the butter as cold as possible.
- Add the wet ingredients. Pour the buttermilk over the flour mixture and add the honey.
- Bring the dough together. Mix gently with a rubber spatula until the dough is just combined.
- Roll out the dough. Turn the dough out onto a lightly floured surface. With floured hands, knead the dough a few times to bring it all together. Gently pat the dough into a 1-inch-thick rectangle, approximately 7x6 inches.
- Laminate the dough. To create tender, flaky layers, take one side of the dough and fold it into the center, then fold the opposite side on top of the first, just like folding a letter for an envelope. Turn the dough horizontally (a quarter turn), and gently flatten it back into a rectangle. Repeat this folding process two more times. On the last fold, turn the dough horizontally, then flatten the dough into a ¾-inch-thick rectangle, ready for cutting.
- Cut the biscuits. Using a 2½ to 3-inch round biscuit cutter, press straight down into the dough and pull straight up. It is essential not to twist the cutter, as this will crimp the edges of the dough and prevent your biscuits from rising properly. Be sure to clean and re-flour the cutter between each cut.Gather any dough scraps and gently re-roll them into another rectangle, maintaining a thickness of about ¾ to 1 inch. Continue cutting biscuits until all the dough is used. Depending on the size of your cutter, you should yield between 5 and 8 biscuits.
- Freeze the biscuits. Place the biscuits on a parchment-lined baking sheet, and put them into the freezer for 20 minutes. While the biscuits are chilling, preheat the oven to 425°F.
- Bake the biscuits. Once ready to bake, remove the biscuits directly from the freezer. Brush the tops with extra buttermilk, taking care to avoid letting any drip down the sides, which can hinder a clean rise. Bake for 18 to 20 minutes (in my oven, 18 minutes is perfect), or until they are golden brown and the internal temperature reaches 190°F. Immediately upon removing them from the oven, brush the hot tops generously with melted butter and sprinkle with flaky sea salt. Serve them warm and enjoy!
Notes
- Grate or Dice: Cut the stick of cold butter into cubes, or use a box grater to quickly grate it.
- Freeze: Place the prepared butter in the freezer for a minimum of 20 minutes. This ensures the butter is frozen solid, which is the key to creating those buttery, flaky layers!


Comments
No Comments