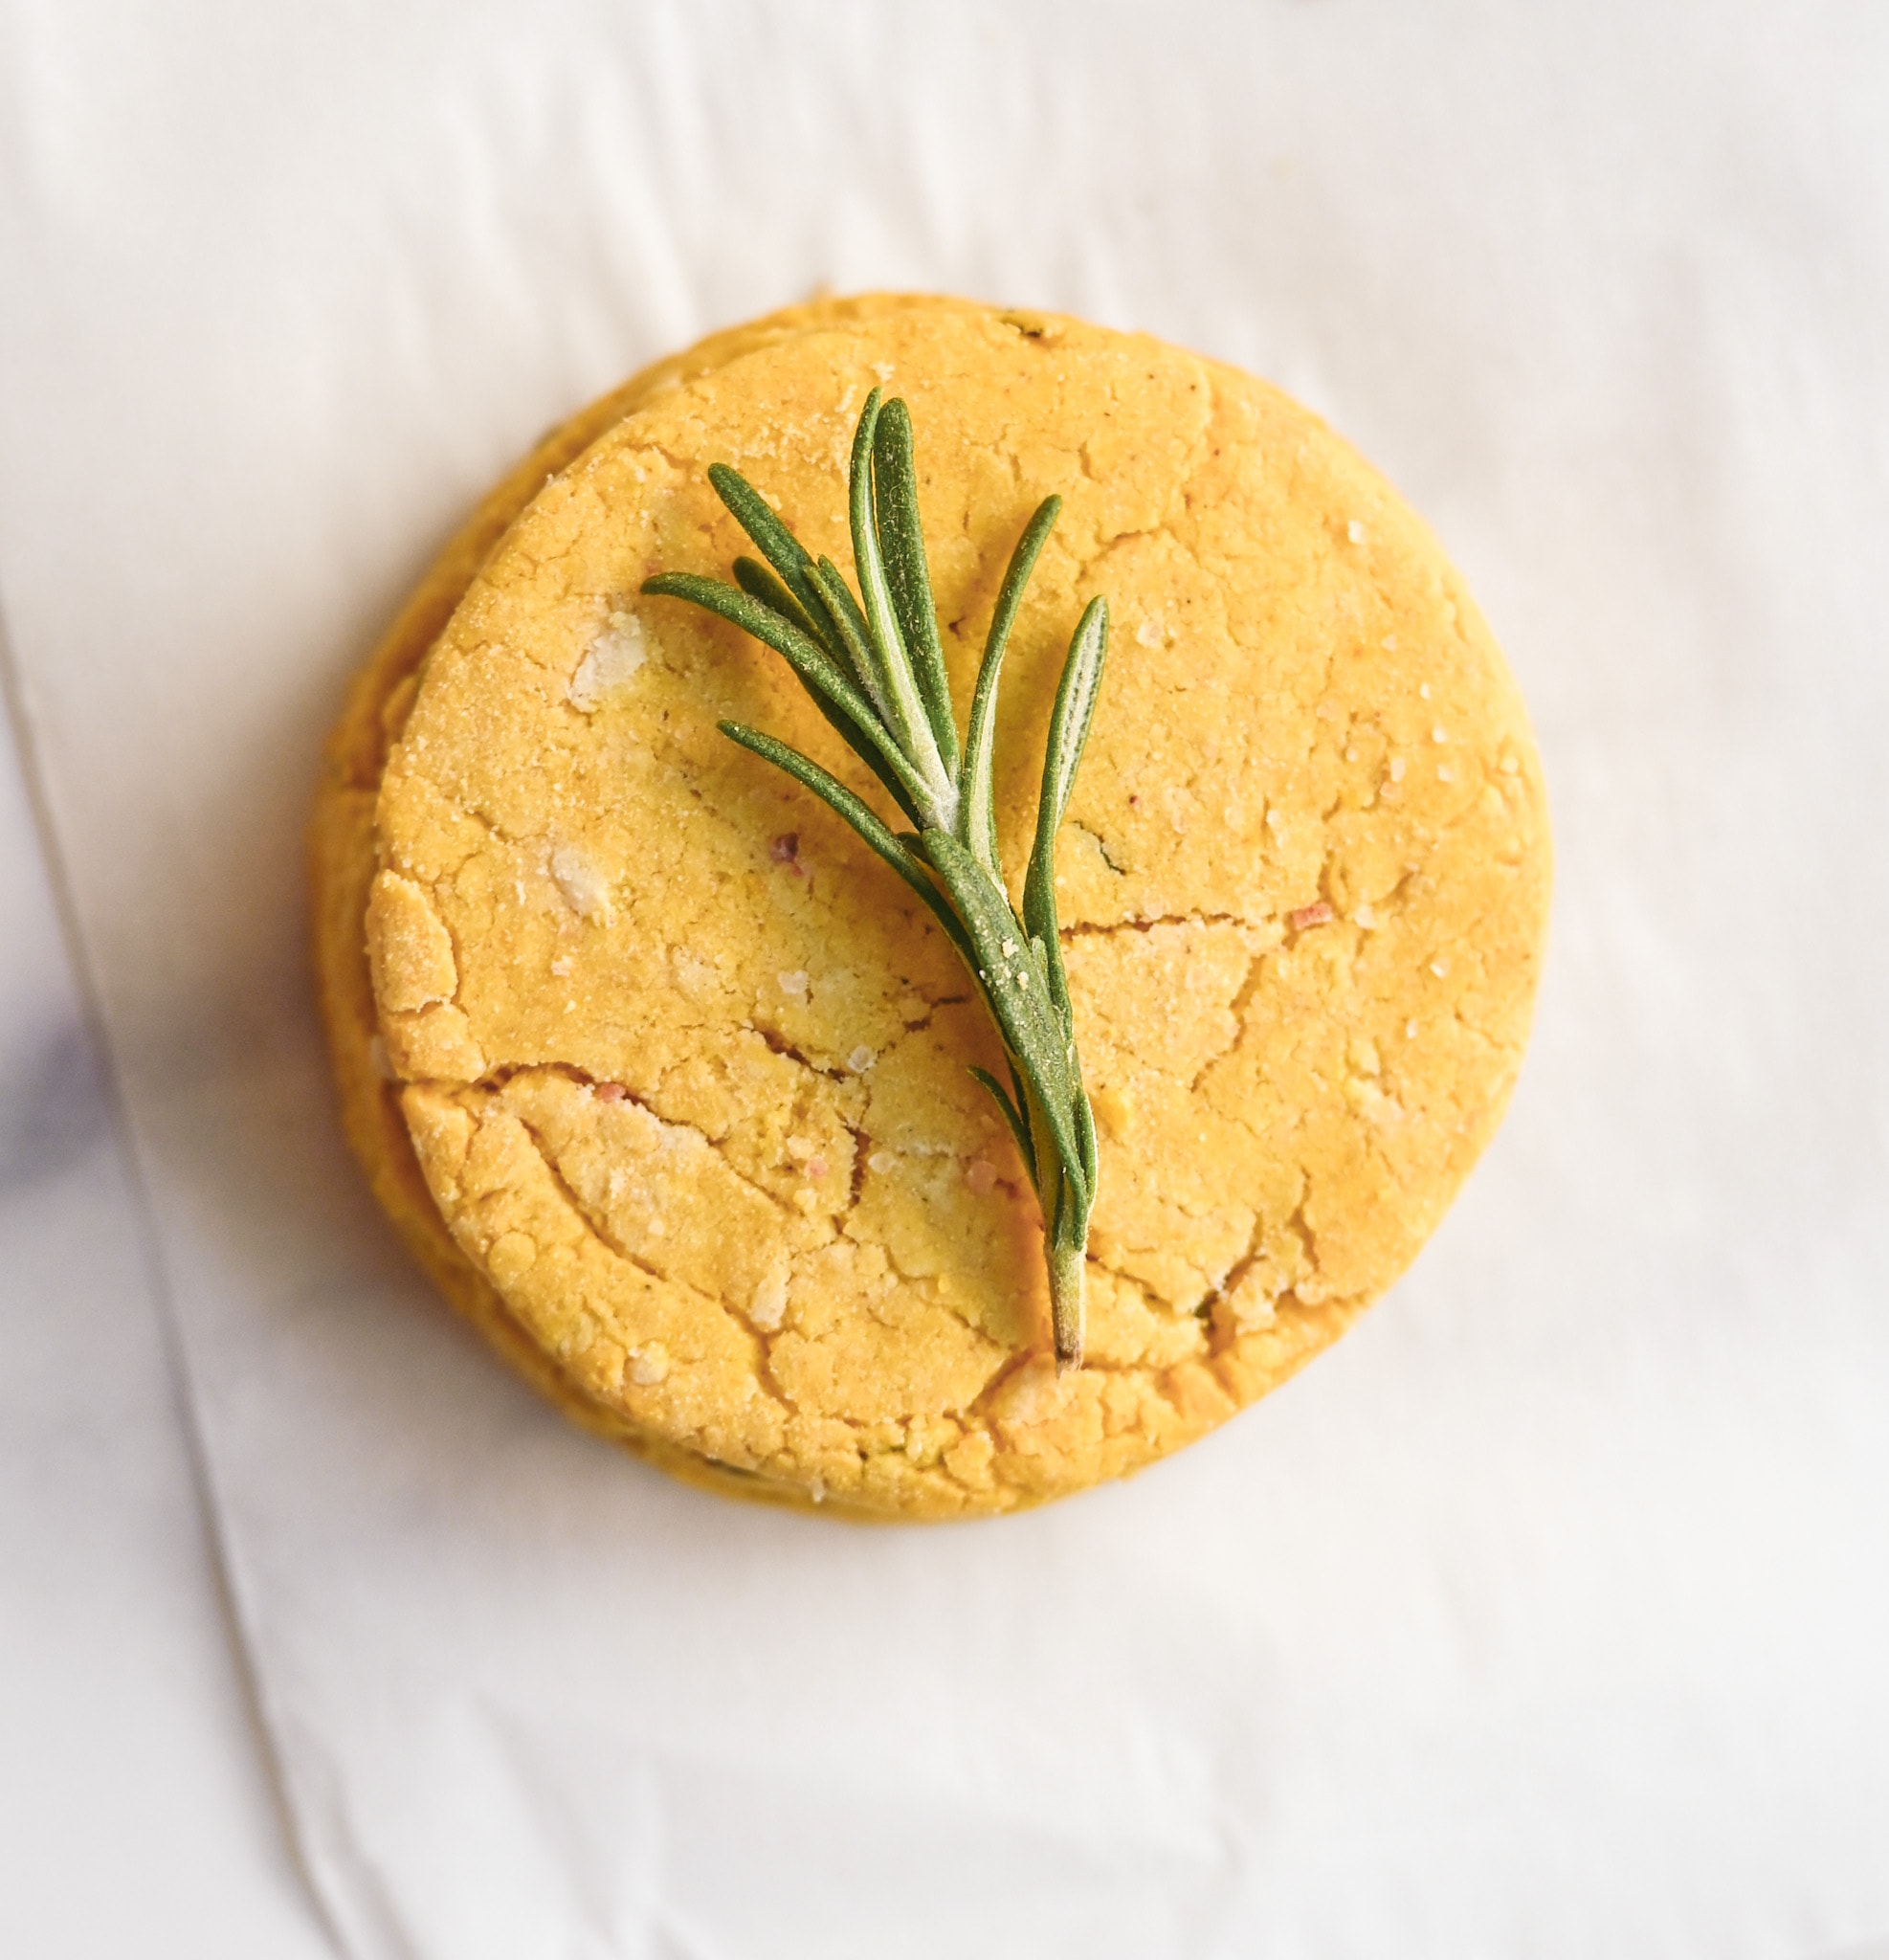
These Gluten-free Pumpkin Rosemary Biscuits are easy to make and perfect for Fall!
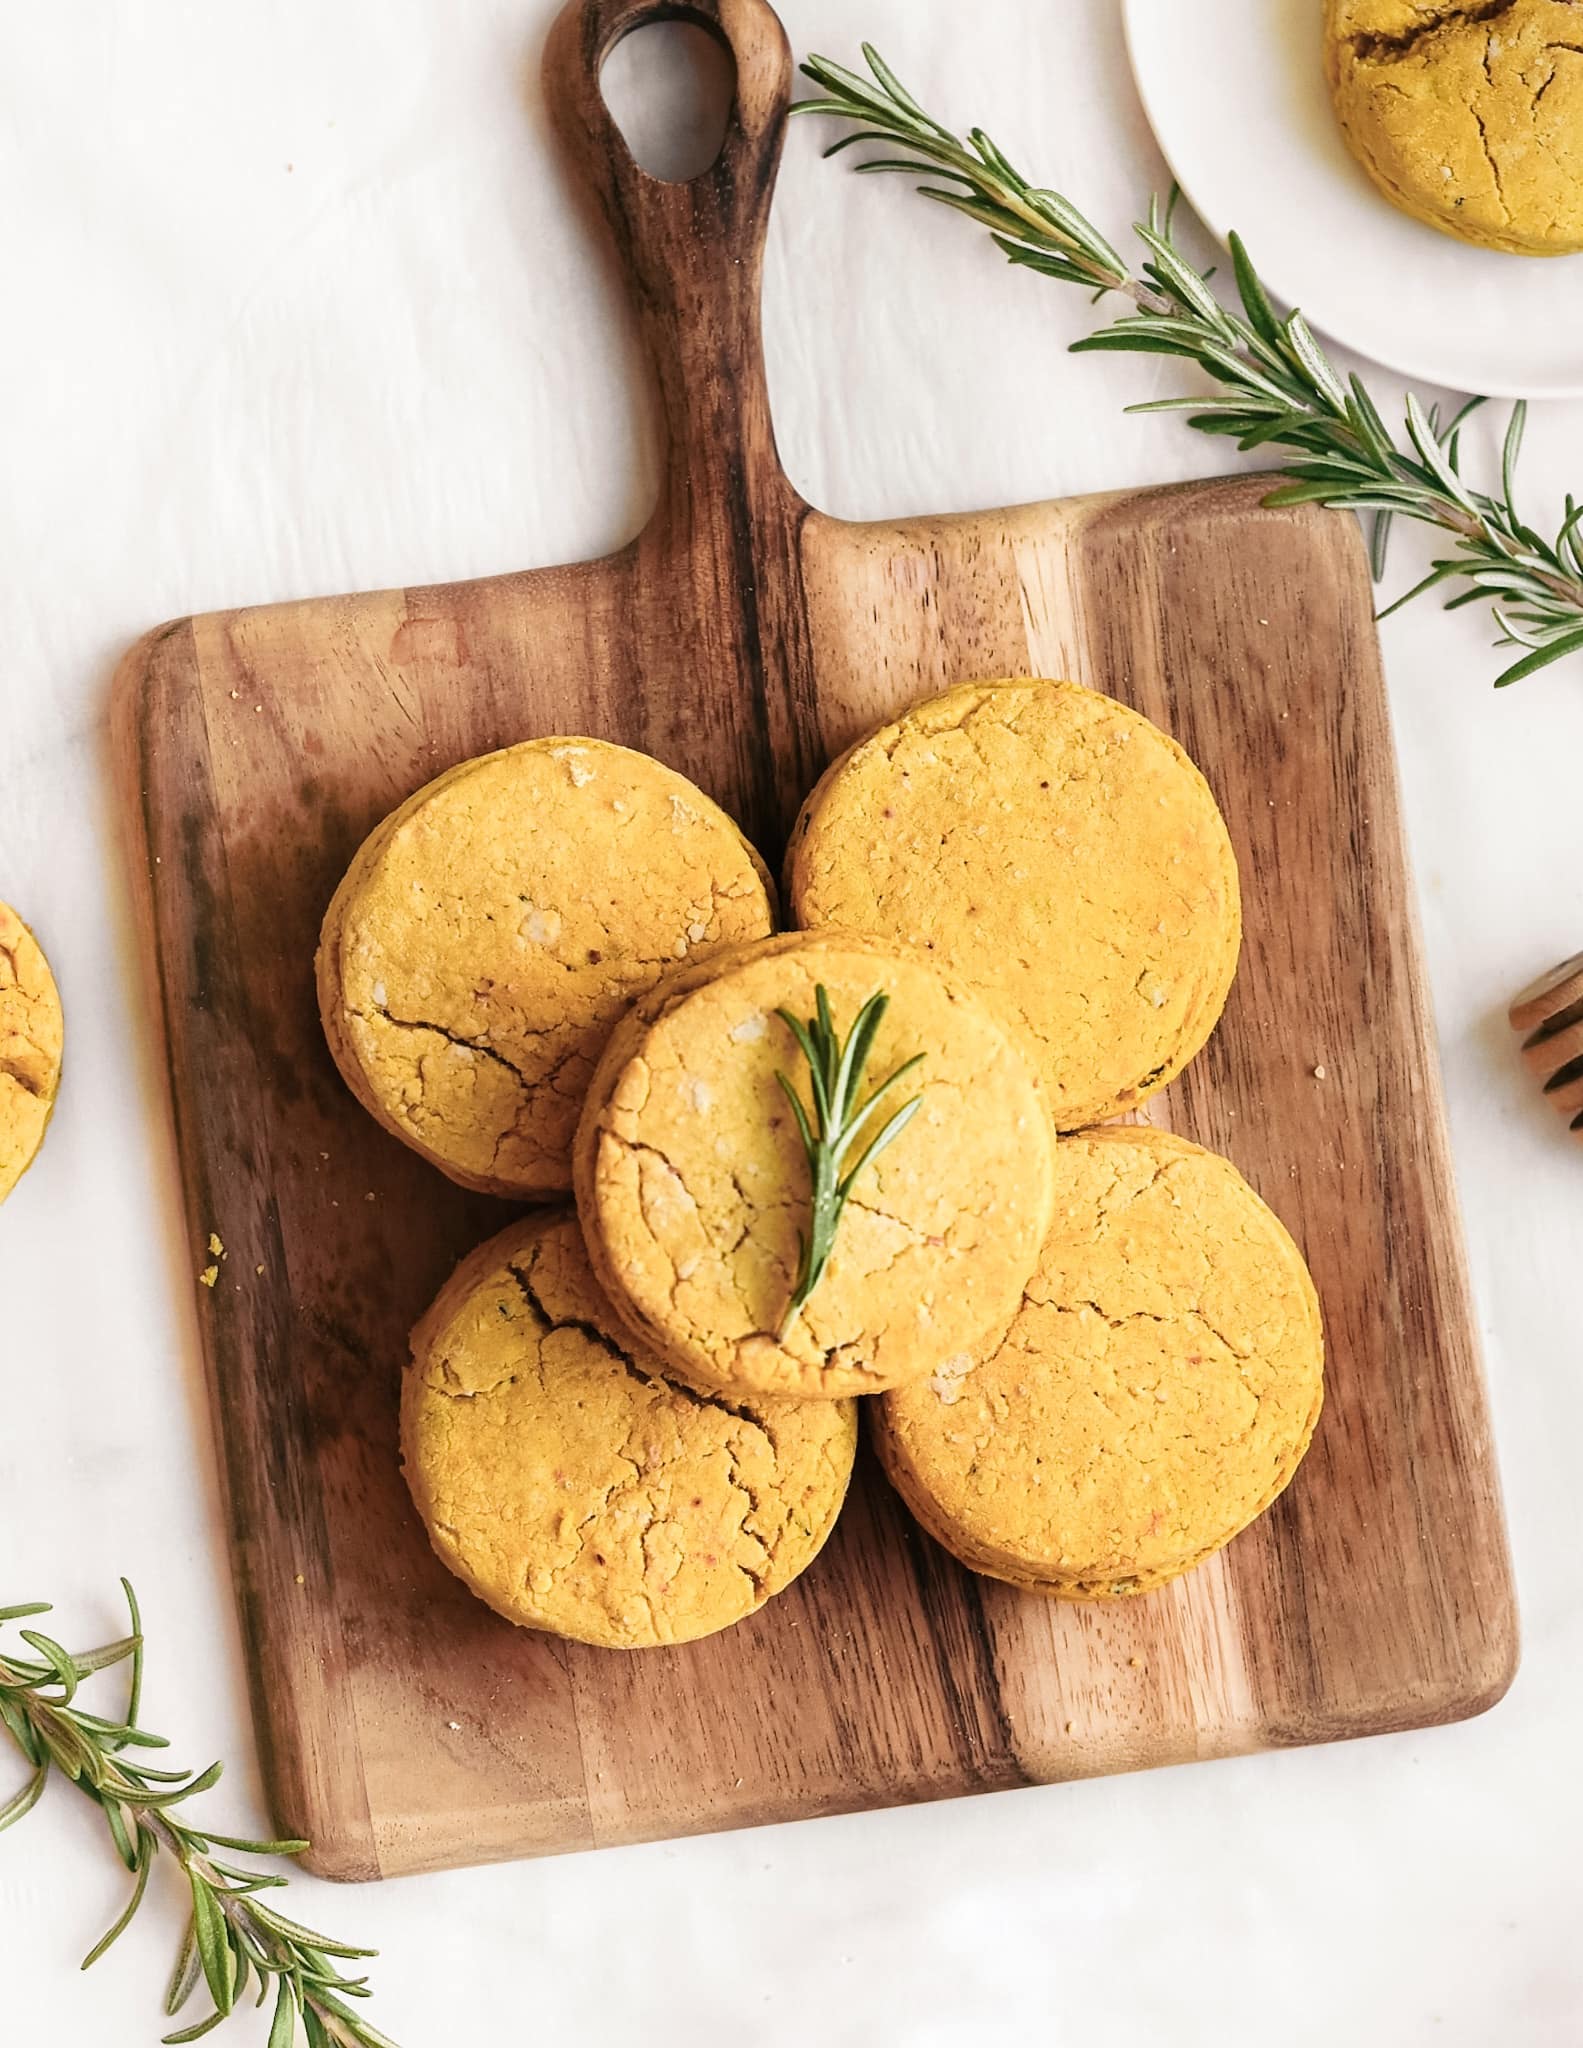
These soft and fluffy gluten-free biscuits are perfect during the cooler months. These herb-flavored biscuits have a subtle hint of pumpkin flavor which makes them versatile for both savory and sweet dishes. I love to use this recipe for biscuits and gravy, homemade soup, chili, and Thanksgiving dinner.
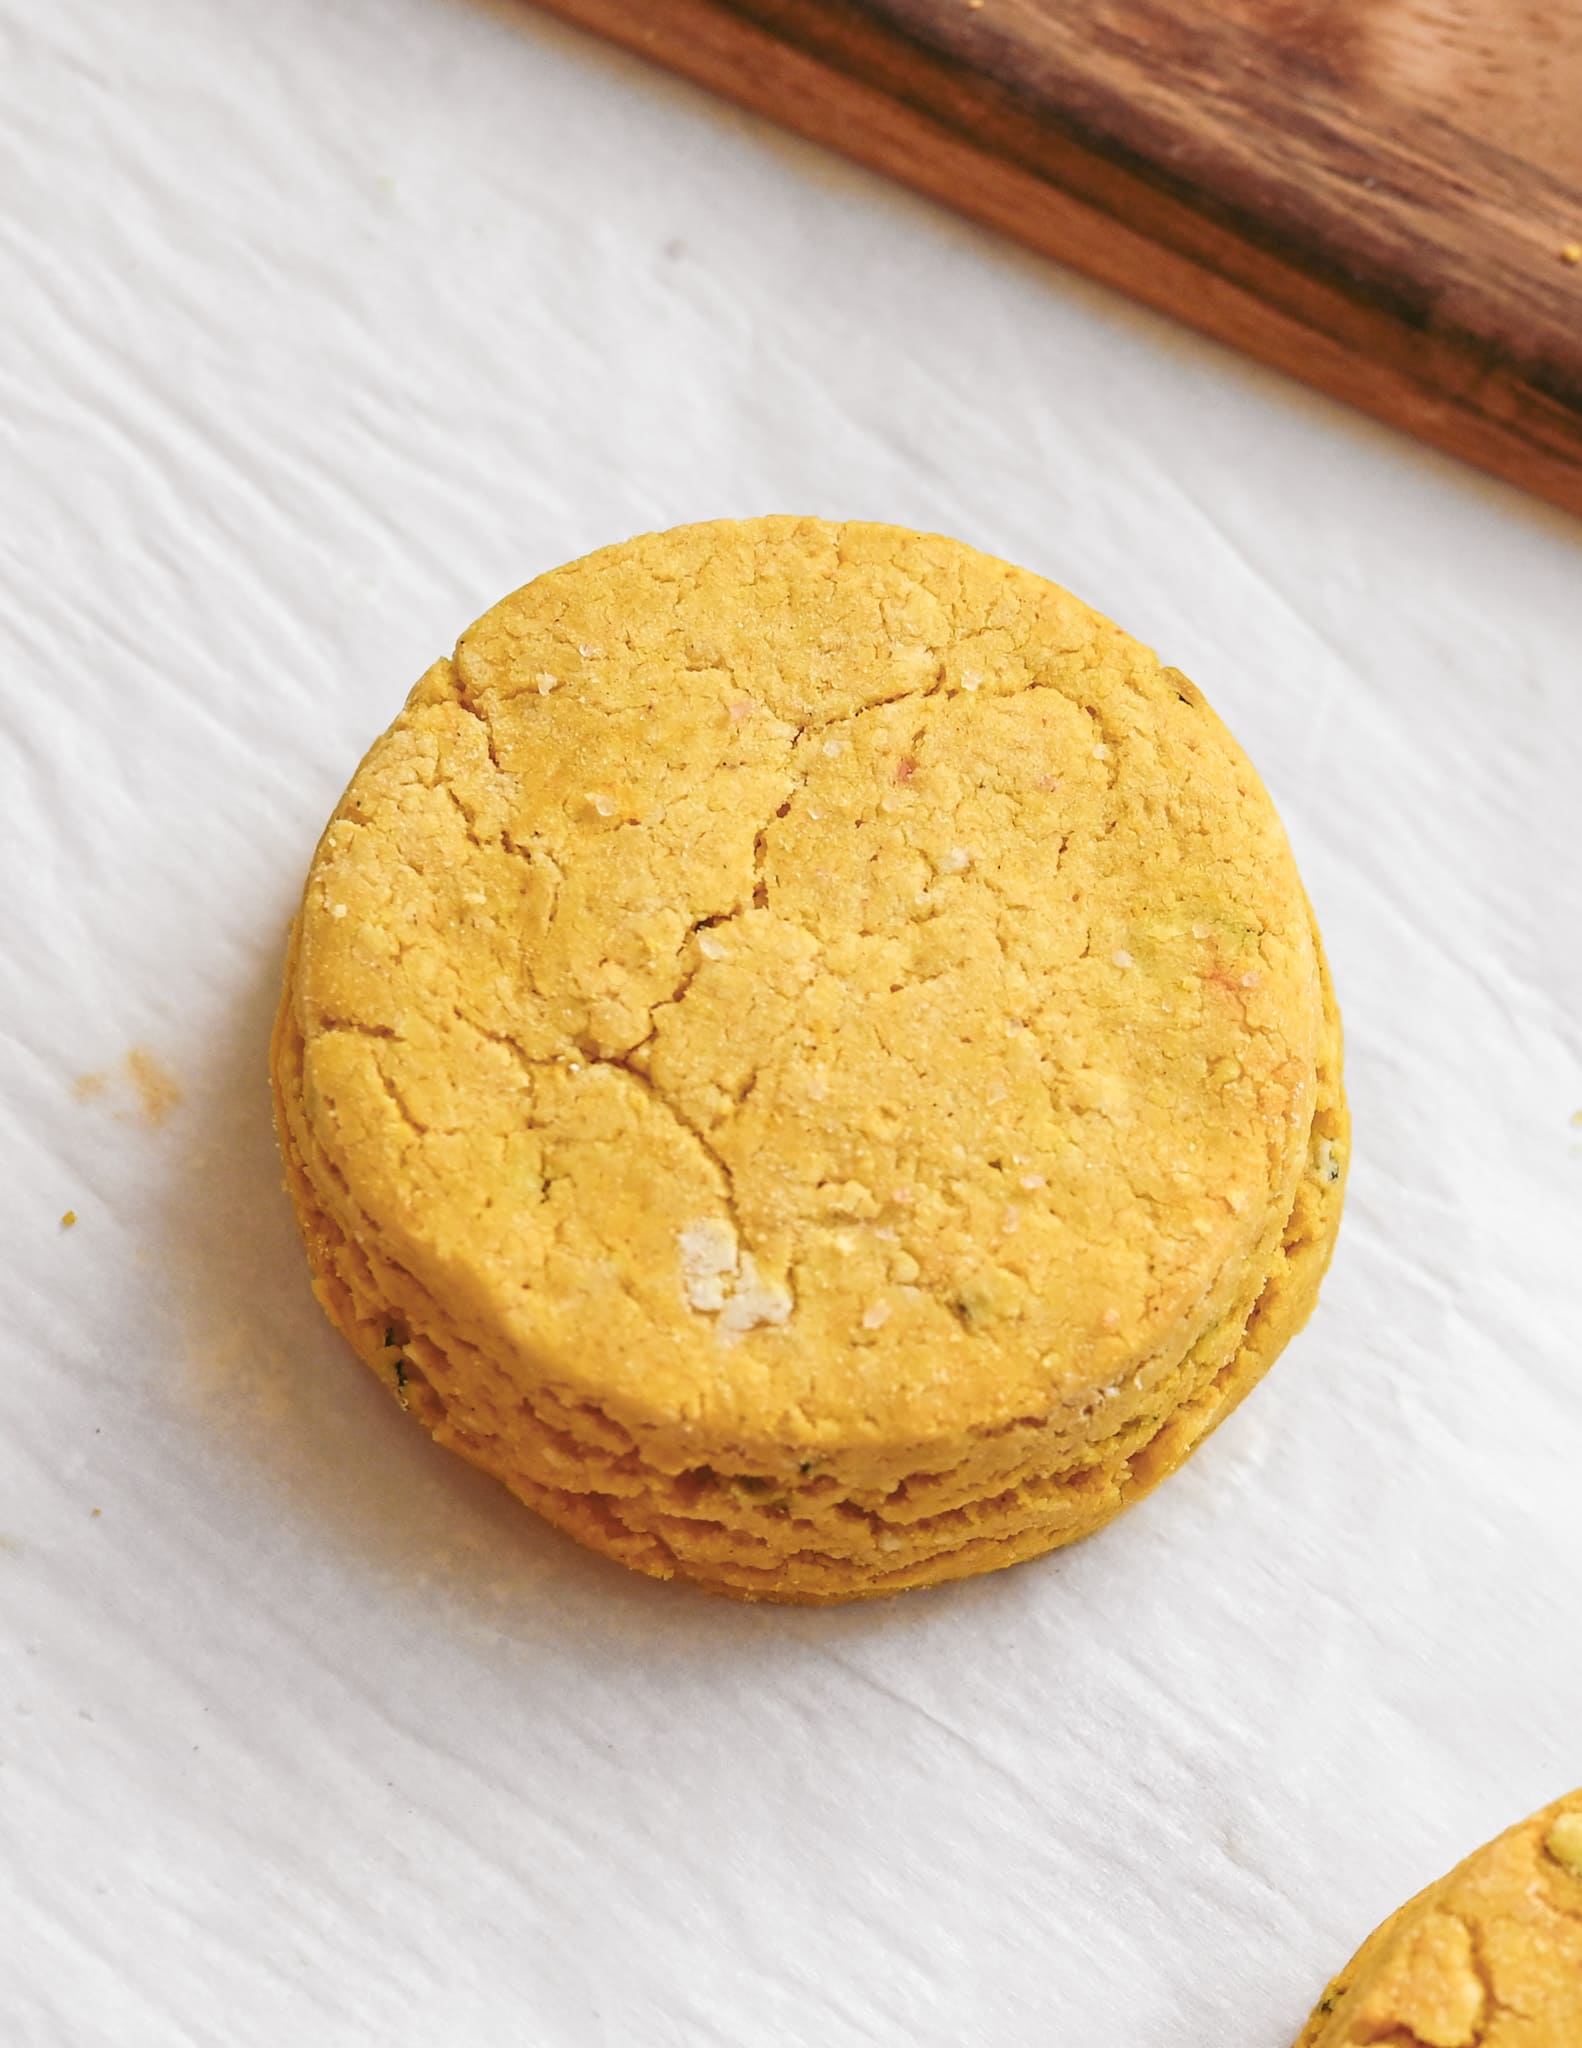
Gluten-Free Rosemary Pumpkin Biscuit Ingredients
This gluten-free biscuit recipe makes 8 medium-sized biscuits, perfect for the holidays and entertaining. Doubling this recipe is not advised, you will want to make two separate batches.
- Gluten-Free Flour Blend: The flours used in this recipe include Bob’s Red Mill Gluten-Free 1:1 Baking Flour, Almond Flour, and Arrowroot Flour. For those with nut allergies, you can substitute the almond flour for more 1 to 1 baking flour.
- Yogurt: You can use any greek yogurt or plain dairy-free yogurt in this recipe. I’ve tried both almond milk and coconut milk yogurt with great success.
- Pumpkin Puree: Look for a can of pumpkin puree, not pumpkin pie filling.
- Unsalted Butter: Vegan butter or solid coconut oil can be used as a dairy-free option.
- Honey: Substitute with pure maple syrup for a vegan option.
- Lemon Juice: Lemon juice is an acid that reacts with the baking soda, helping the biscuits to rise.
- Baking Soda: Helps the biscuits to rise.
- Baking Powder: Helps the biscuits to rise and soften. Make sure to look for labeled gluten-free baking powder.
- Fresh Rosemary: Fresh rosemary is the key ingredient to really bring out all the flavors in this recipe.
- Garlic Powder: This helps bring a lot of flavor to the biscuits.
- Salt: Helps to enhance the flavor of the other ingredients.
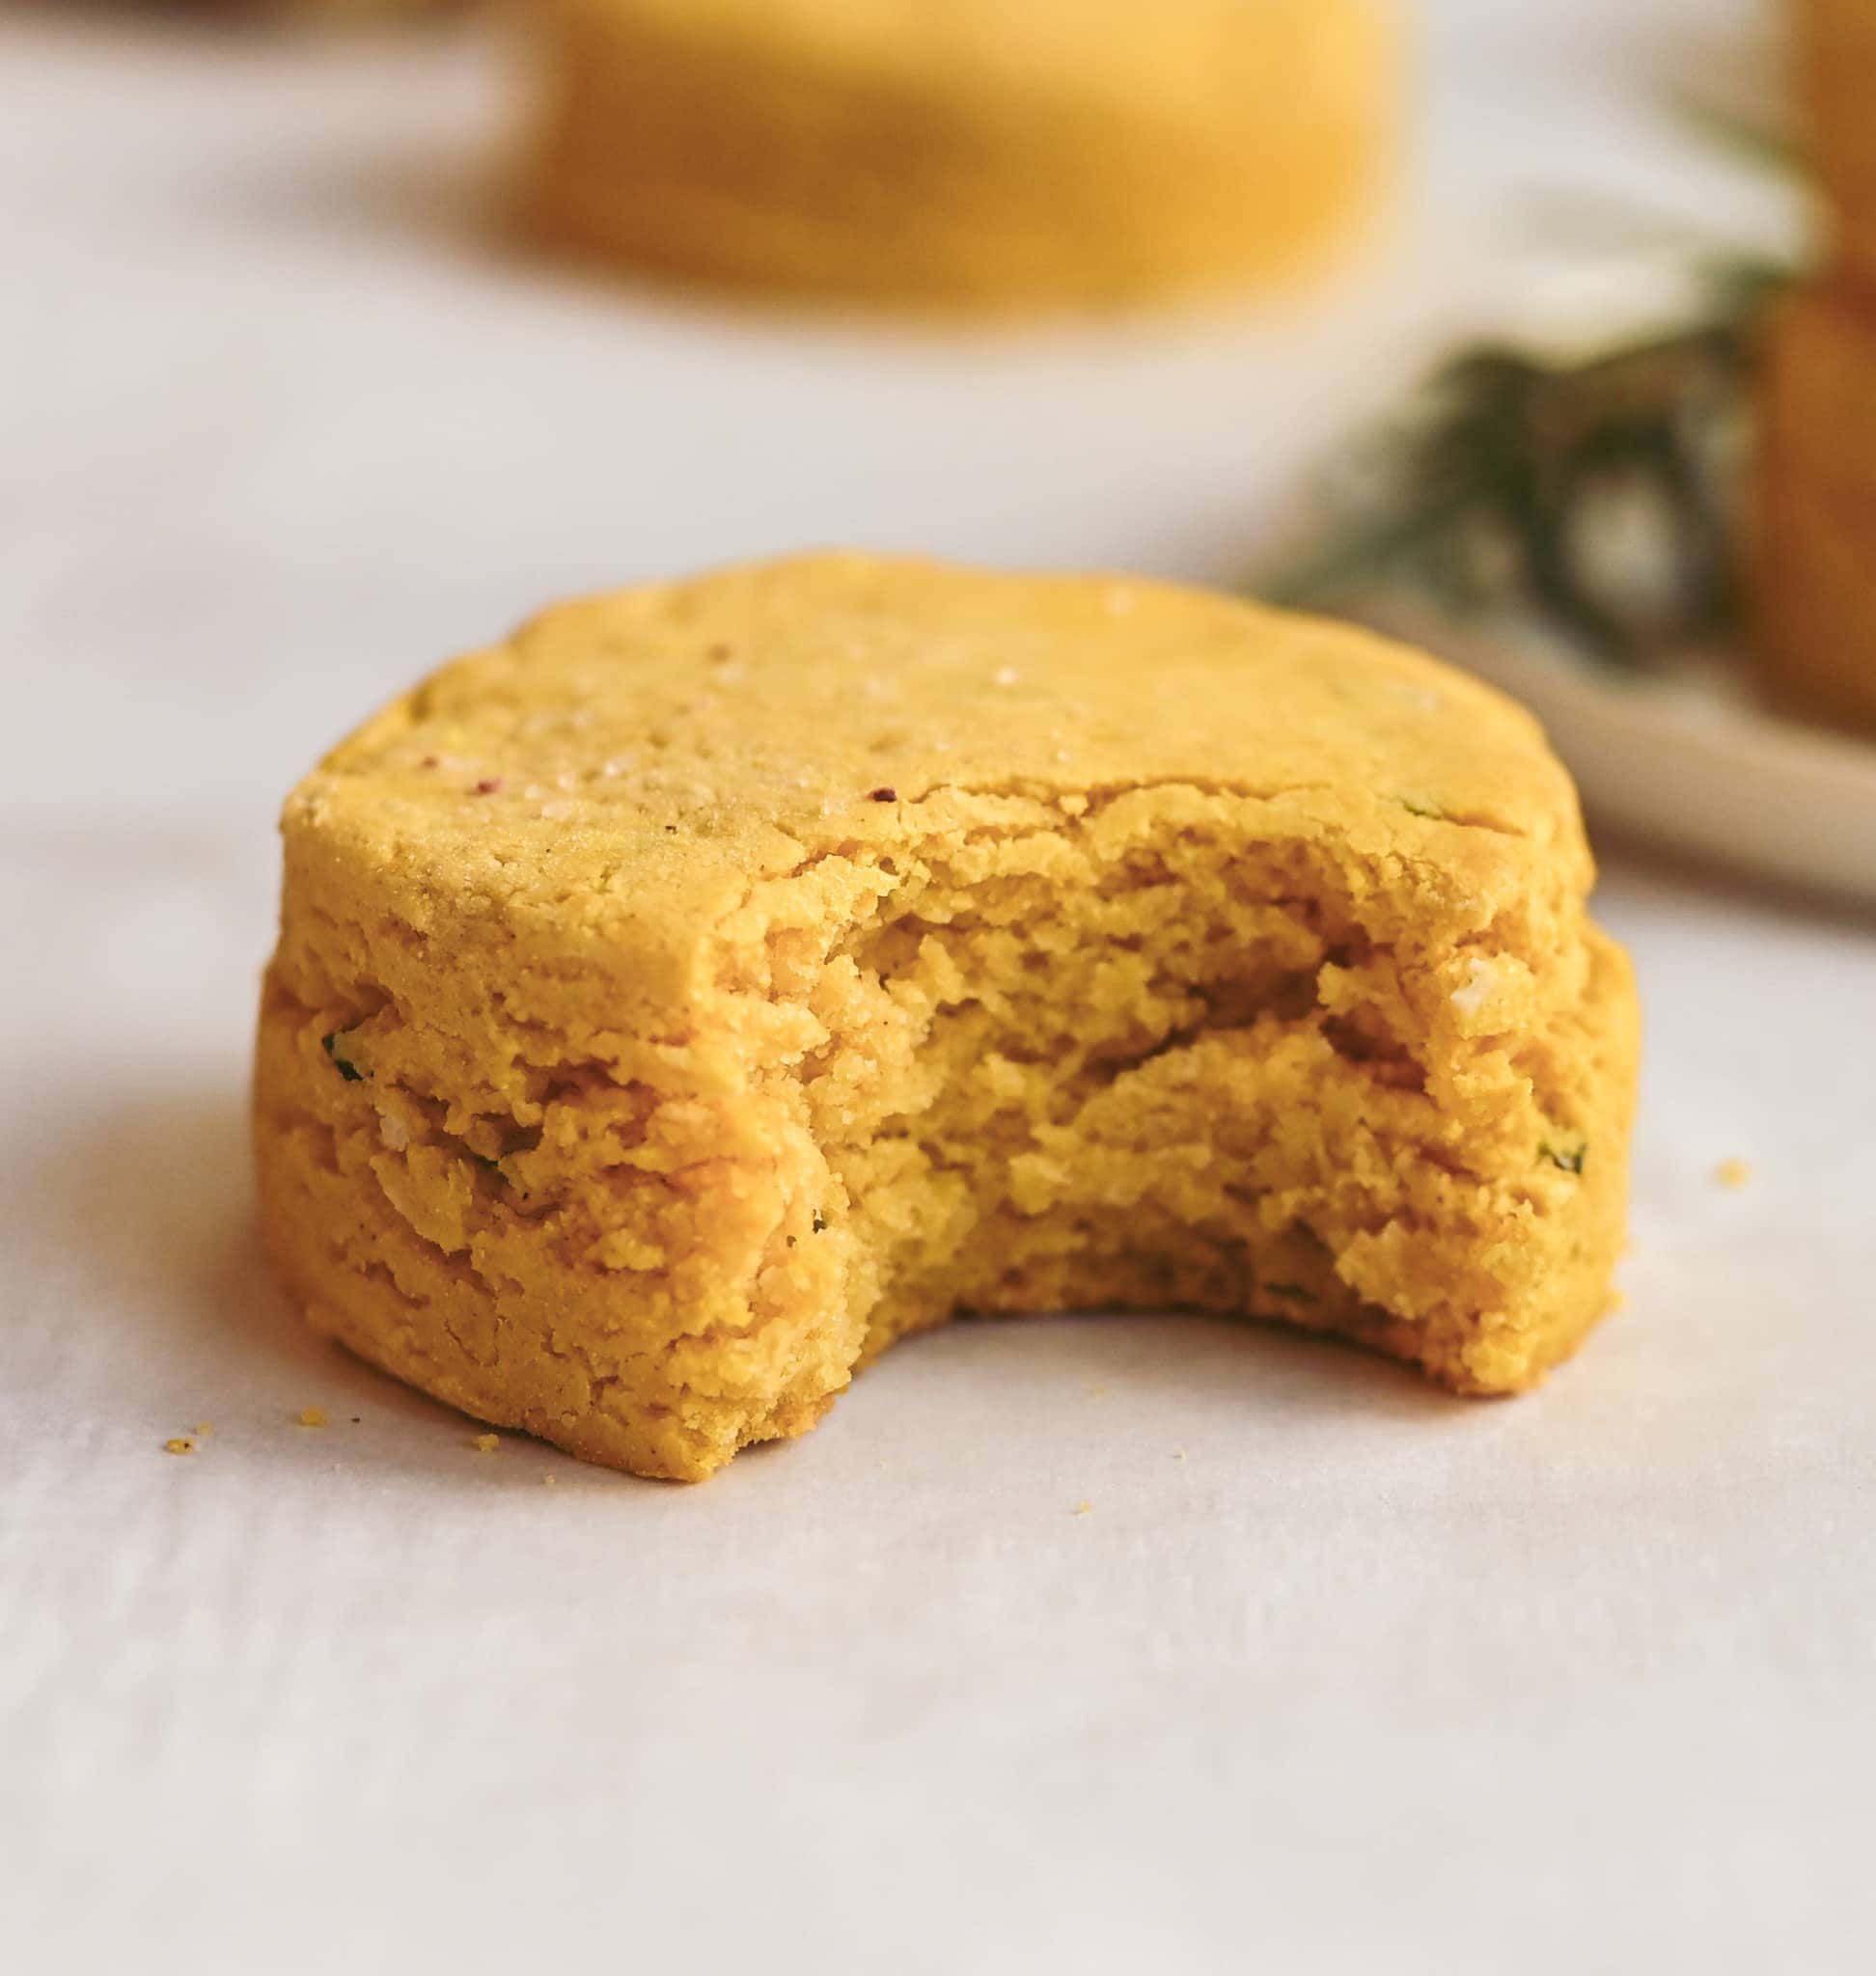
How To Make Gluten-Free Pumpkin Biscuits
These gluten-free pumpkin biscuits are easy to make with only a handful of simple ingredients.
- Preheat the oven to 375°. Line a large baking sheet with parchment paper, or aluminum foil and set it aside.
- In a large mixing bowl, whisk together the dry ingredients: gluten-free flour, almond flour, arrowroot powder, baking powder, baking soda, finely chopped rosemary, salt, and garlic powder.
- Add the cold butter to the dry ingredients, using a pastry cutter or fork, cut the butter into the flour until a crumb-like texture is formed.
- In a separate bowl add the wet ingredients: yogurt, lemon juice, honey, and pumpkin. Stir until well combined.
- Pour the wet ingredients over the flour mixture, stirring until a large ball of dough forms. Do not overmix the dough or the biscuits will be tough.
- On a lightly floured surface, form the dough into a circle. With a rolling pin, roll out the dough to about 1-inch thick, and 7-inches in diameter. Using a 2- inch round biscuit cutter, cut out the biscuits. Gently fold the excess dough over itself and creating another round circle with your hands, molding the sides. Measure again 1-inch thick and cut the biscuits. Repeat until all the dough is used.
- Place the biscuits onto the lined baking sheet, about ½ an inch apart. Brush the tops of the biscuits with two teaspoons of melted coconut oil or butter, and a pinch of salt.
- Bake in the oven for 14-16 minutes, or until the bottom of the biscuits is golden brown.
- Remove the hot pumpkin biscuits from the oven, and transfer them to a cooling rack for 10 minutes before serving.
- Store leftover biscuits in an airtight container at room temperature for up to 3 days.
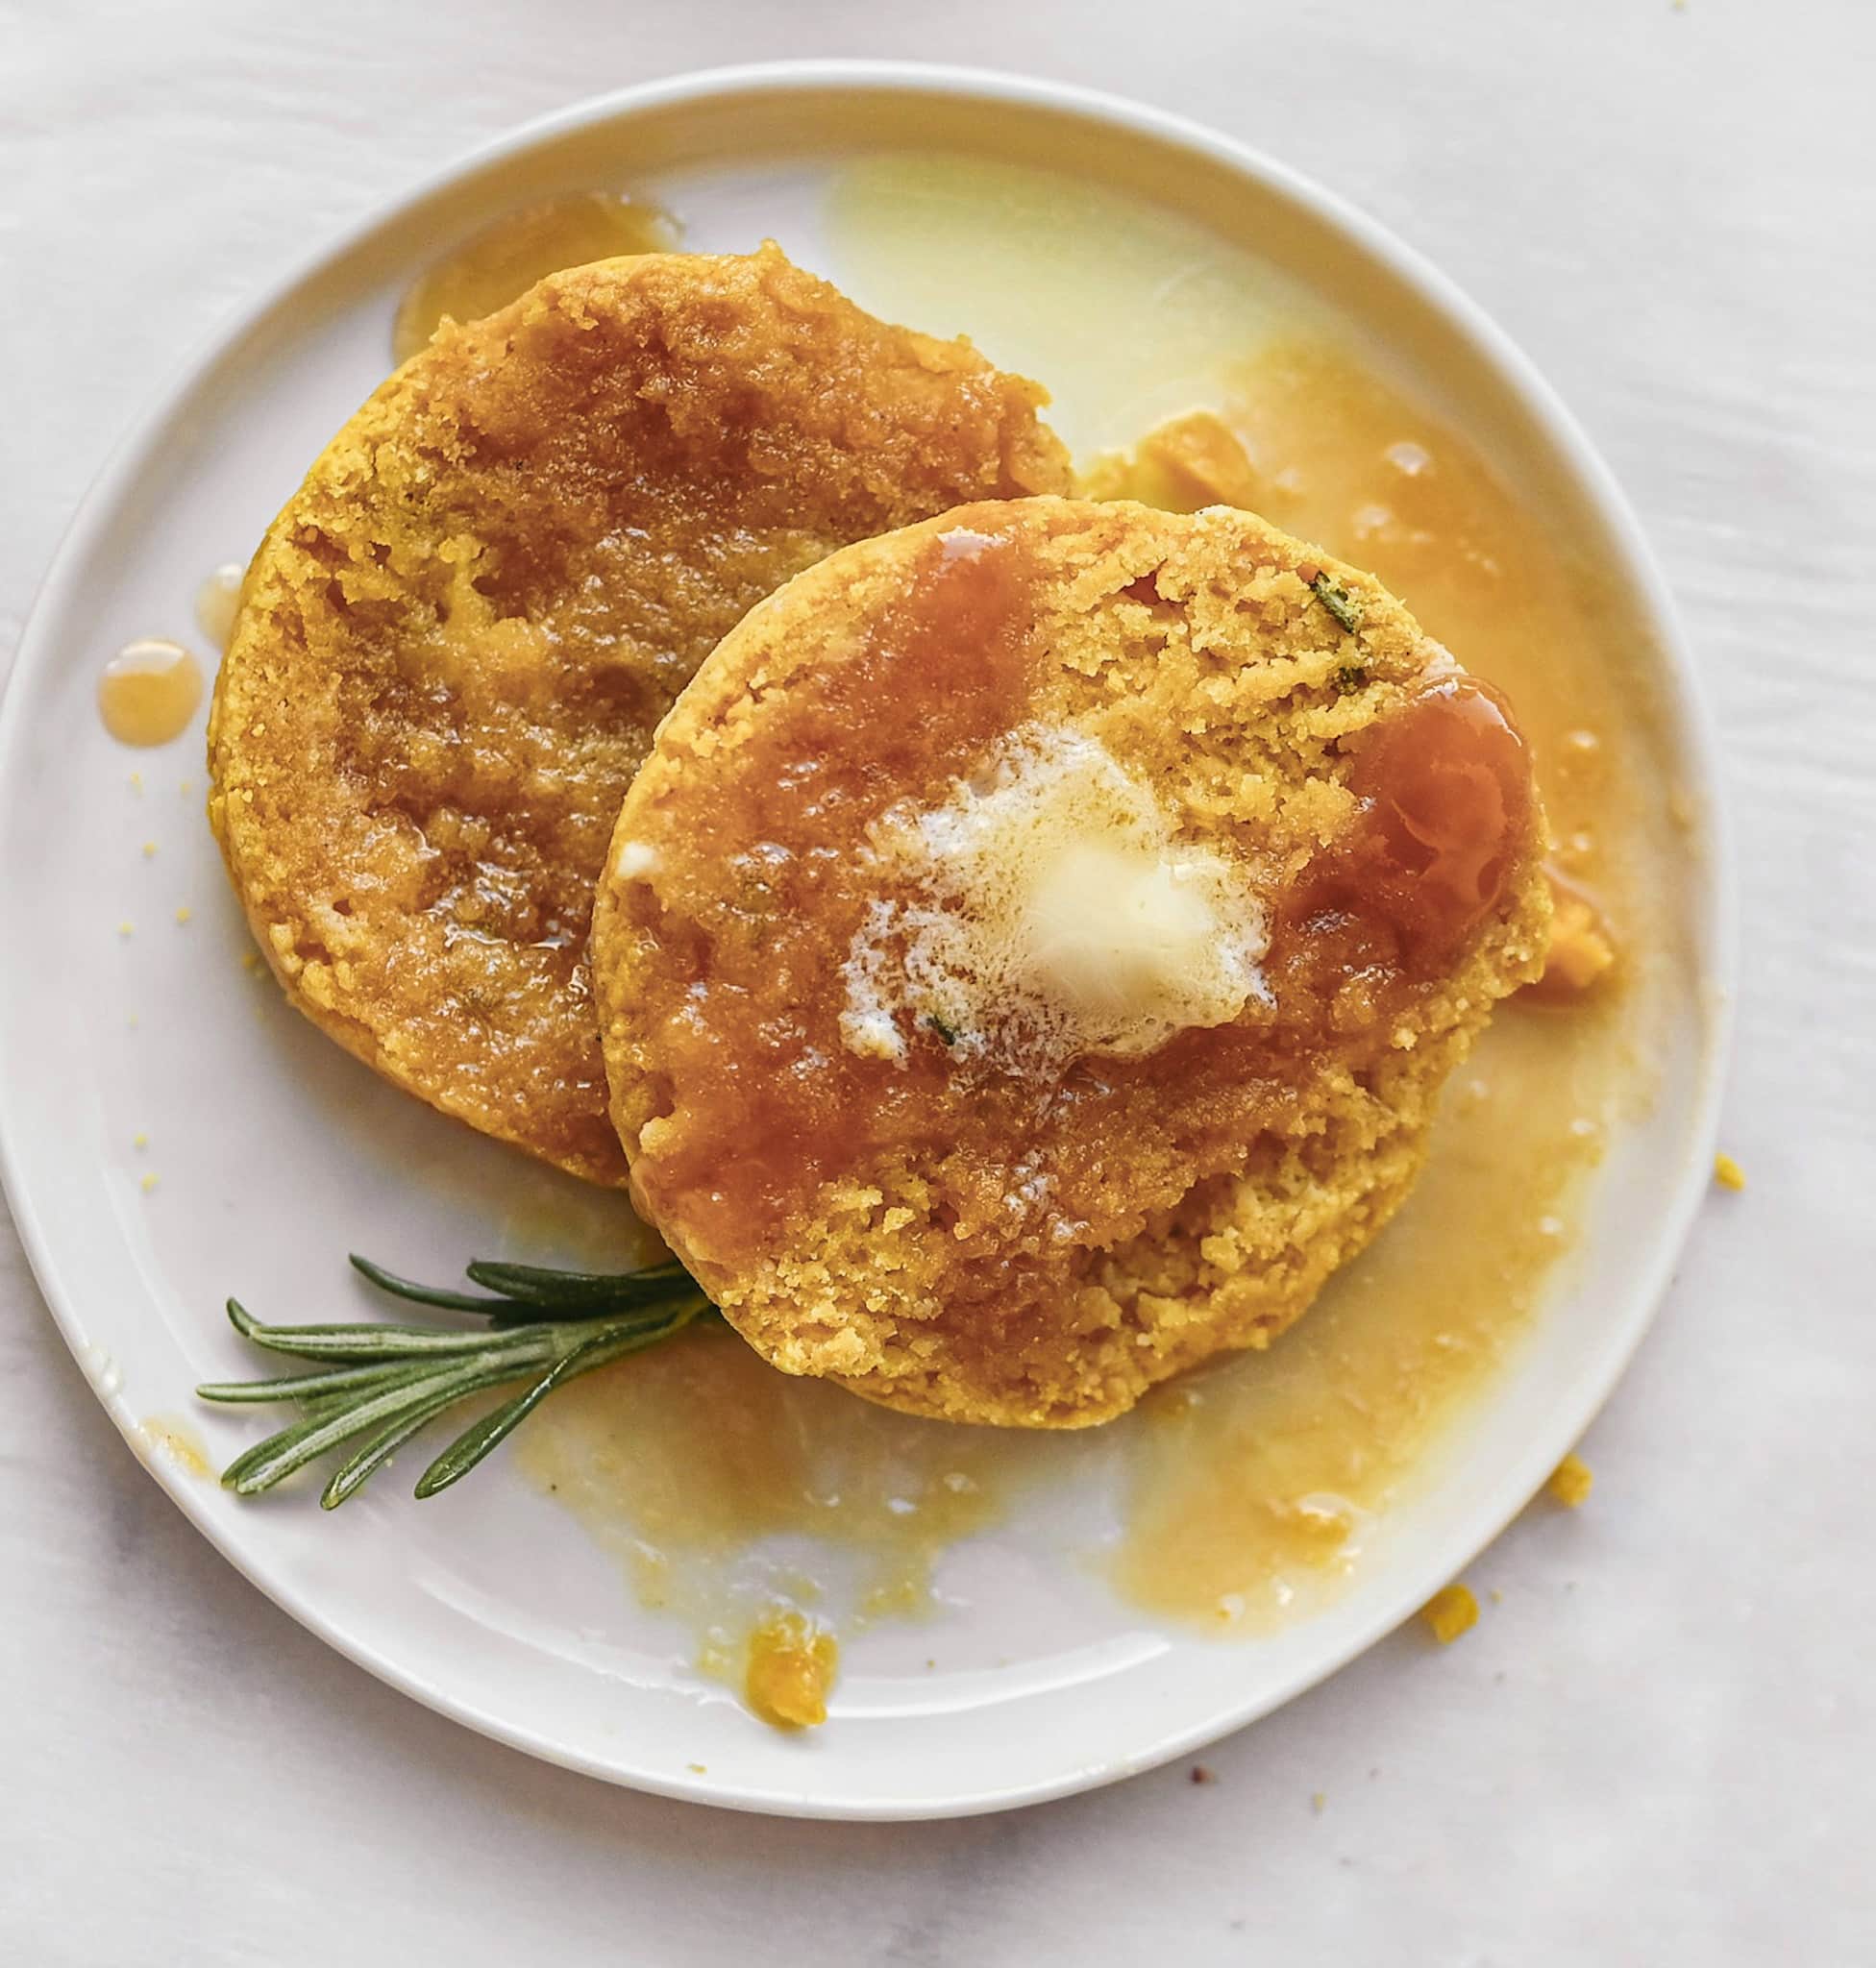
Three Tips for the Best Gluten-Free Pumpkin Biscuits
- Dip the biscuit butter in gluten-free flour prior to cutting. This will help the biscuit dough not to stick to the cutter.
- Do not twist the biscuit cutter when cutting to avoid crimping the edges of the biscuit. This will result in flat biscuits. Reform the dough scraps into a dough round and cut out more biscuits.
- You can use a food processor instead of a large bowl. Add the dry ingredients and cold butter to the food processor. Pulse the butter/flour mixture into coarse bread-like crumbs. Add the wet ingredients to the dry ingredients. Pulse until the pumpkin biscuit dough forms into a ball.
Looking For More Fall Recipes? Check Out These Links Below
- Gluten-Free Pumpkin Rosemary Biscuits & Gravy
- Gluten-Free Pumpkin Spice Bread
- Pumpkin Bundt Cake (Gluten-Free)
- Gluten-Free Zuppa Toscana Soup (Dairy-Free)
- Gluten-Free Sweet Potato Chili
Recipe
Gluten-Free Pumpkin Rosemary Biscuits
Ingredients
WET INGREDIENTS
- 6 tablespoons cold unsalted butter, or coconut oil (solid)
- ½ cup plain dairy-free yogurt
- ½ cup pumpkin puree
- 1 tablespoon lemon juice, freshly squeezed
- 1 tablespoon honey
DRY INGREDIENTS
- 1¾ cups gluten-free flour (238g)
- ¼ cup almond flour
- ¼ cup arrowroot flour
- 1 tablespoon baking powder
- ½ teaspoon baking soda
- 2 teaspoons fresh rosemary (chopped finely)
- ½ teaspoon garlic powder
- ½ teaspoon salt
BRUSH THE TOPS OF THE BISCUITS
- 2 teaspoons coconut oil, ghee, or butter
- pinch of salt
Instructions
- Preheat the oven to 375°. Line a large baking sheet with parchment paper, or aluminum foil and set it aside.
- In a large mixing bowl, whisk together the dry ingredients.
- Add the cold butter to the dry ingredients. Using a pastry cutter or fork, cut the butter into the flour until a crumb-like texture is formed.
- In a separate bowl mix together the wet ingredients: yogurt, lemon juice, honey, and pumpkin.
- Pour the wet ingredients over the flour mixture, stirring until a large ball of dough forms. Do not overmix the dough or the biscuits will be tough.
- On a lightly floured surface, form the dough into a circle. With a rolling pin, roll out the dough to about 1-inch thick, and 7-inches in diameter. Using a 2 inch round biscuit cutter, cut out the biscuits. Gently fold the excess dough over itself and creating another round circle with your hands, molding the sides. Measure again 1-inch thick and cut the biscuits. Repeat until all the dough is used.
- Place the biscuits onto the lined baking sheet, about ½ an inch apart. Brush the tops of the biscuits with two teaspoons of melted coconut oil or butter, and a pinch of salt.
- Bake in the oven for 14-16 minutes, or until the bottom of the biscuits is golden brown.
- Remove the hot pumpkin biscuits from the oven, and transfer them to a cooling rack for 10 minutes before serving.
- Store leftover biscuits in an airtight container at room temperature for up to 3 days.

Comments
No Comments