Learn how to make the ultimate savory gluten-free cheddar and chive scones. These scones are buttery, flaky, and cheesy—never dry! Discover our secret for a soft texture and perfect rise.
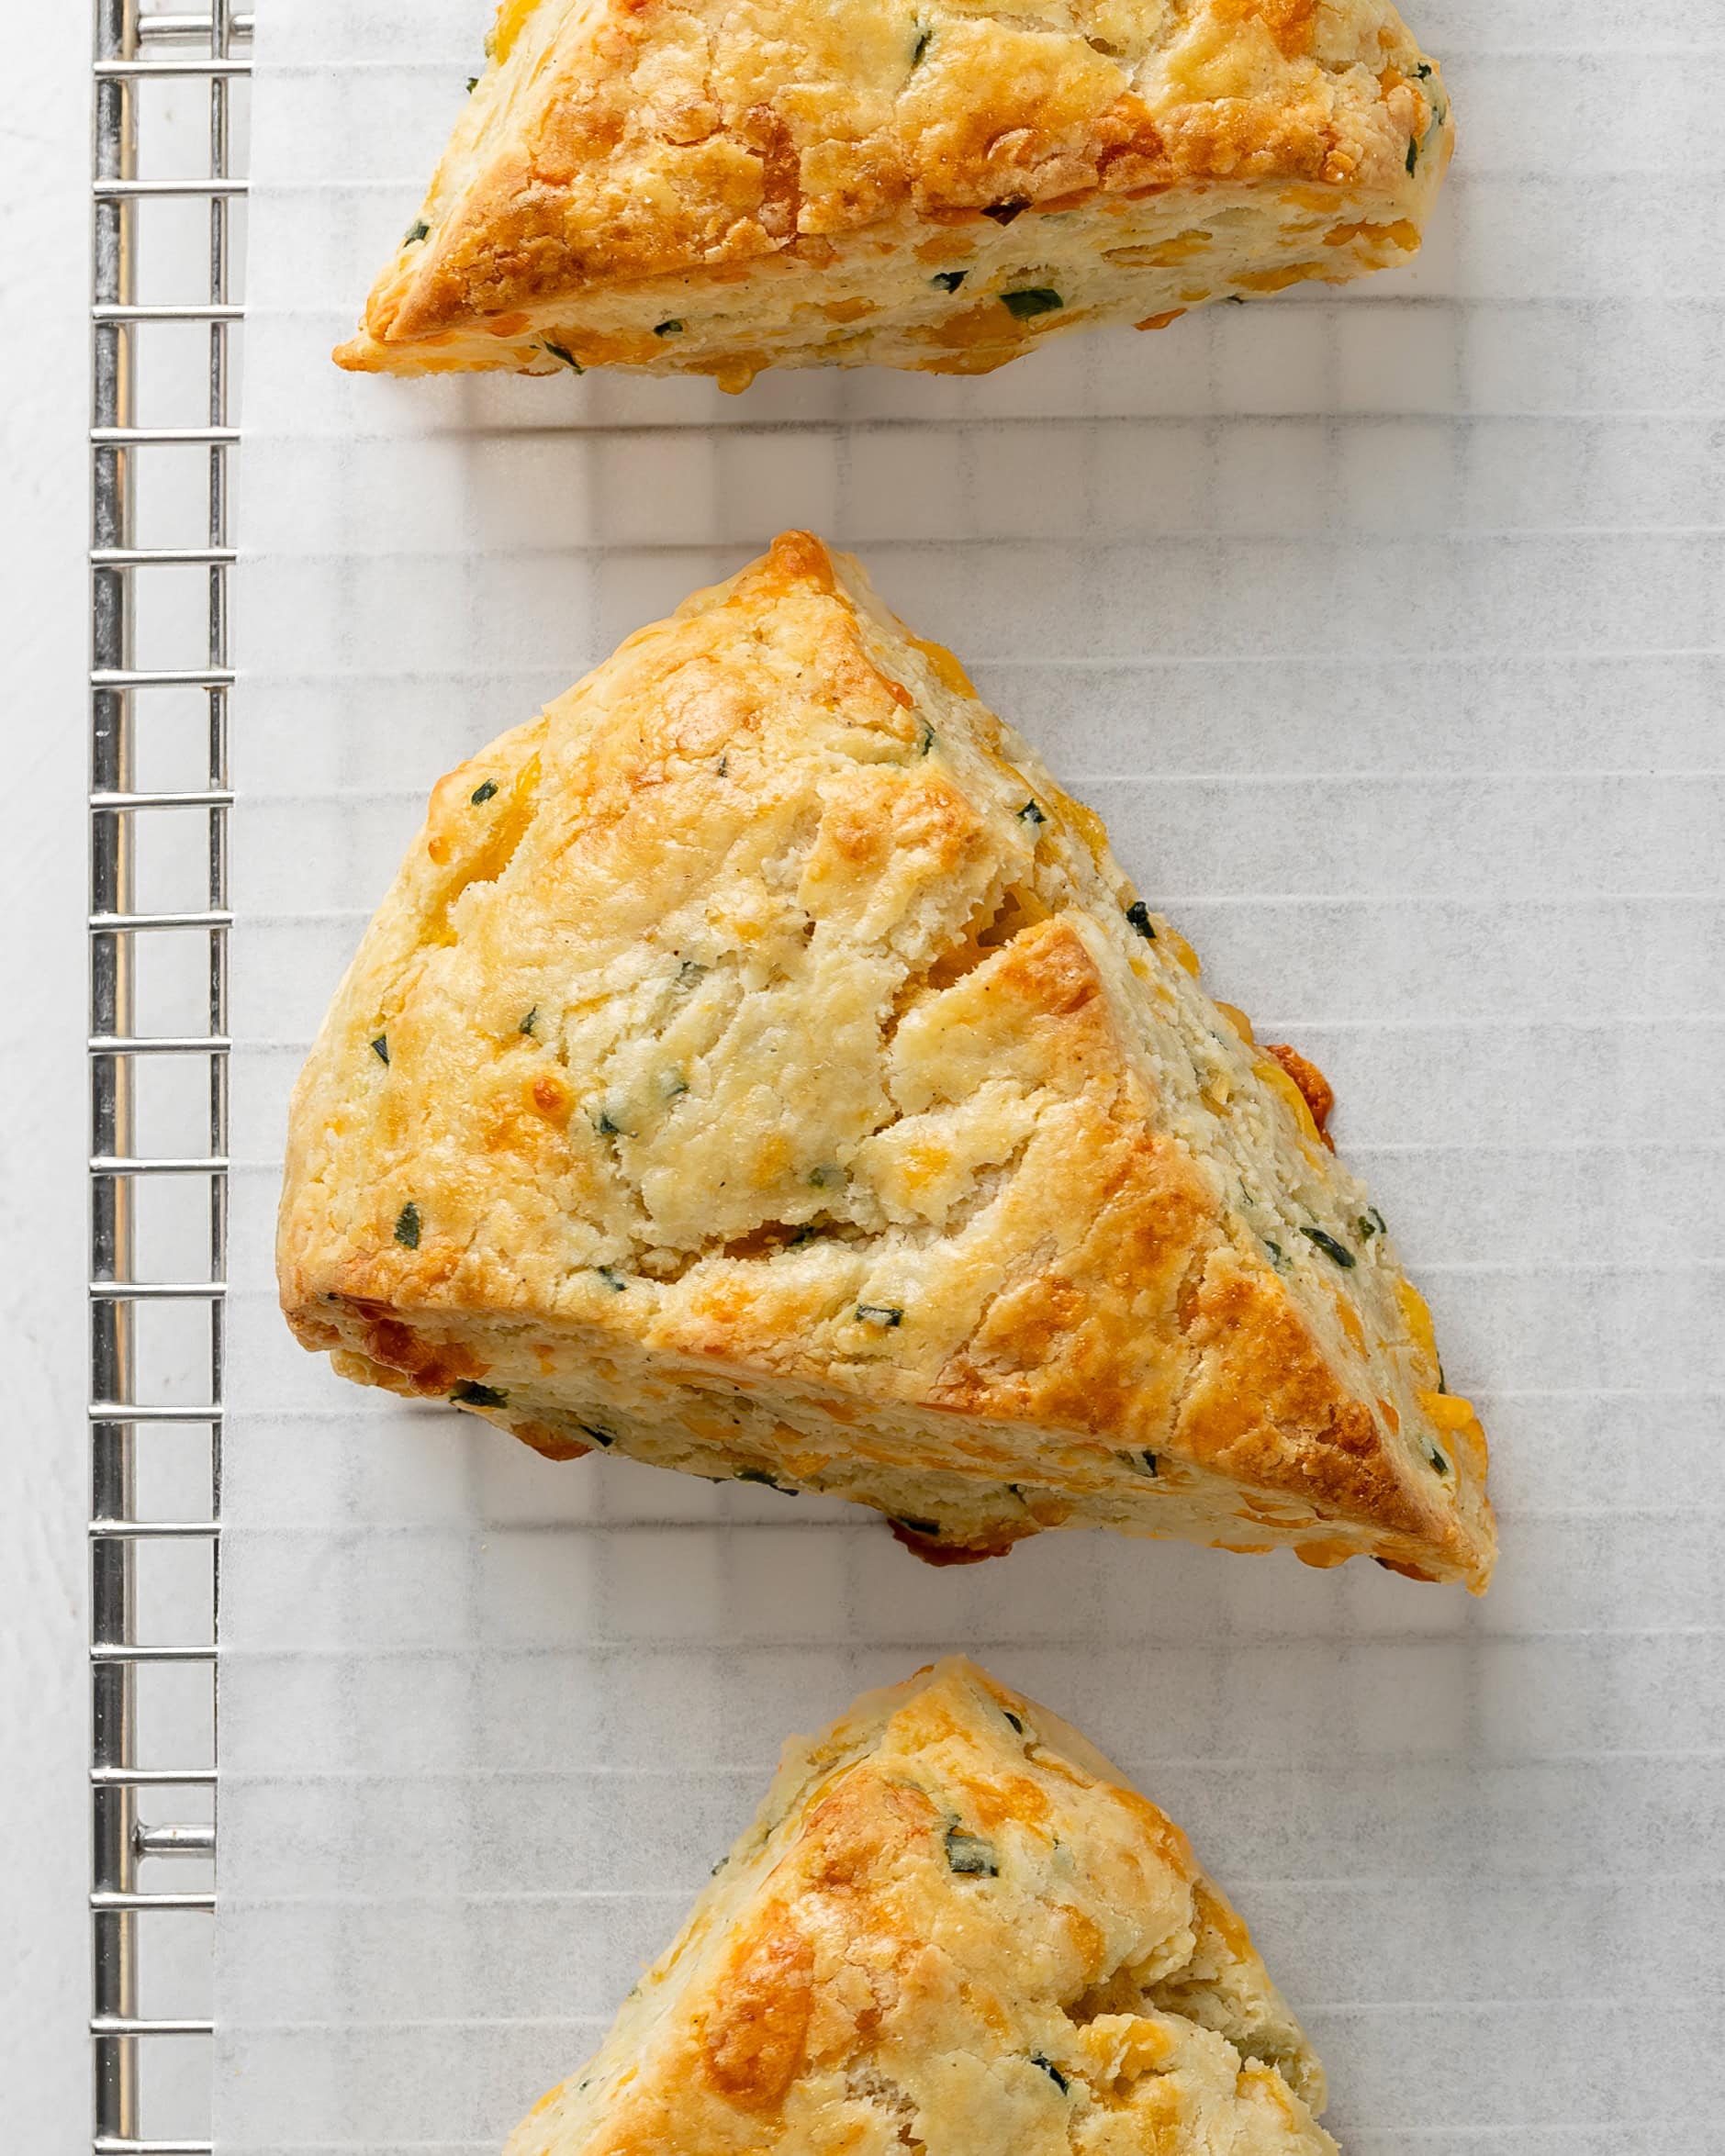
Flaky Gluten-Free Cheddar and Chive Scones (Savory & Moist)
It’s no secret that we’re big fans of scones in this household—from our cranberry orange and classic plain to blueberry and decadent chocolate chip. These Gluten-Free Cheddar and Chive Scones add a delicious savory twist to our collection, and they might just be our new favorite.
The Secret to the Perfect Scones
In this post, I’m showing you exactly how to laminate your dough for that ultra-soft, flaky texture we all crave.
We’re also breaking down our secret weapon: sour cream. While most recipes stick to buttermilk, we’re leveling up. By combining high-fat heavy cream with tangy sour cream, we aren’t just adding moisture—we’re building a deep, rich flavor profile that sets these apart.
The Two-Step Chill Method
To get that bakery-style texture, we use two essential chilling phases:
- The Fridge Rest: This gives the gluten-free flour enough time to fully absorb the moisture, ensuring your scones aren't gritty.
- The Freezer Chill: Just like making world-class biscuits, we pop the cut scones into the freezer before baking.
Why the freezer? When that ice-cold butter hits the hot oven, it releases a burst of steam. This creates the air pockets responsible for those gorgeous flaky layers and a perfectly crisp exterior.
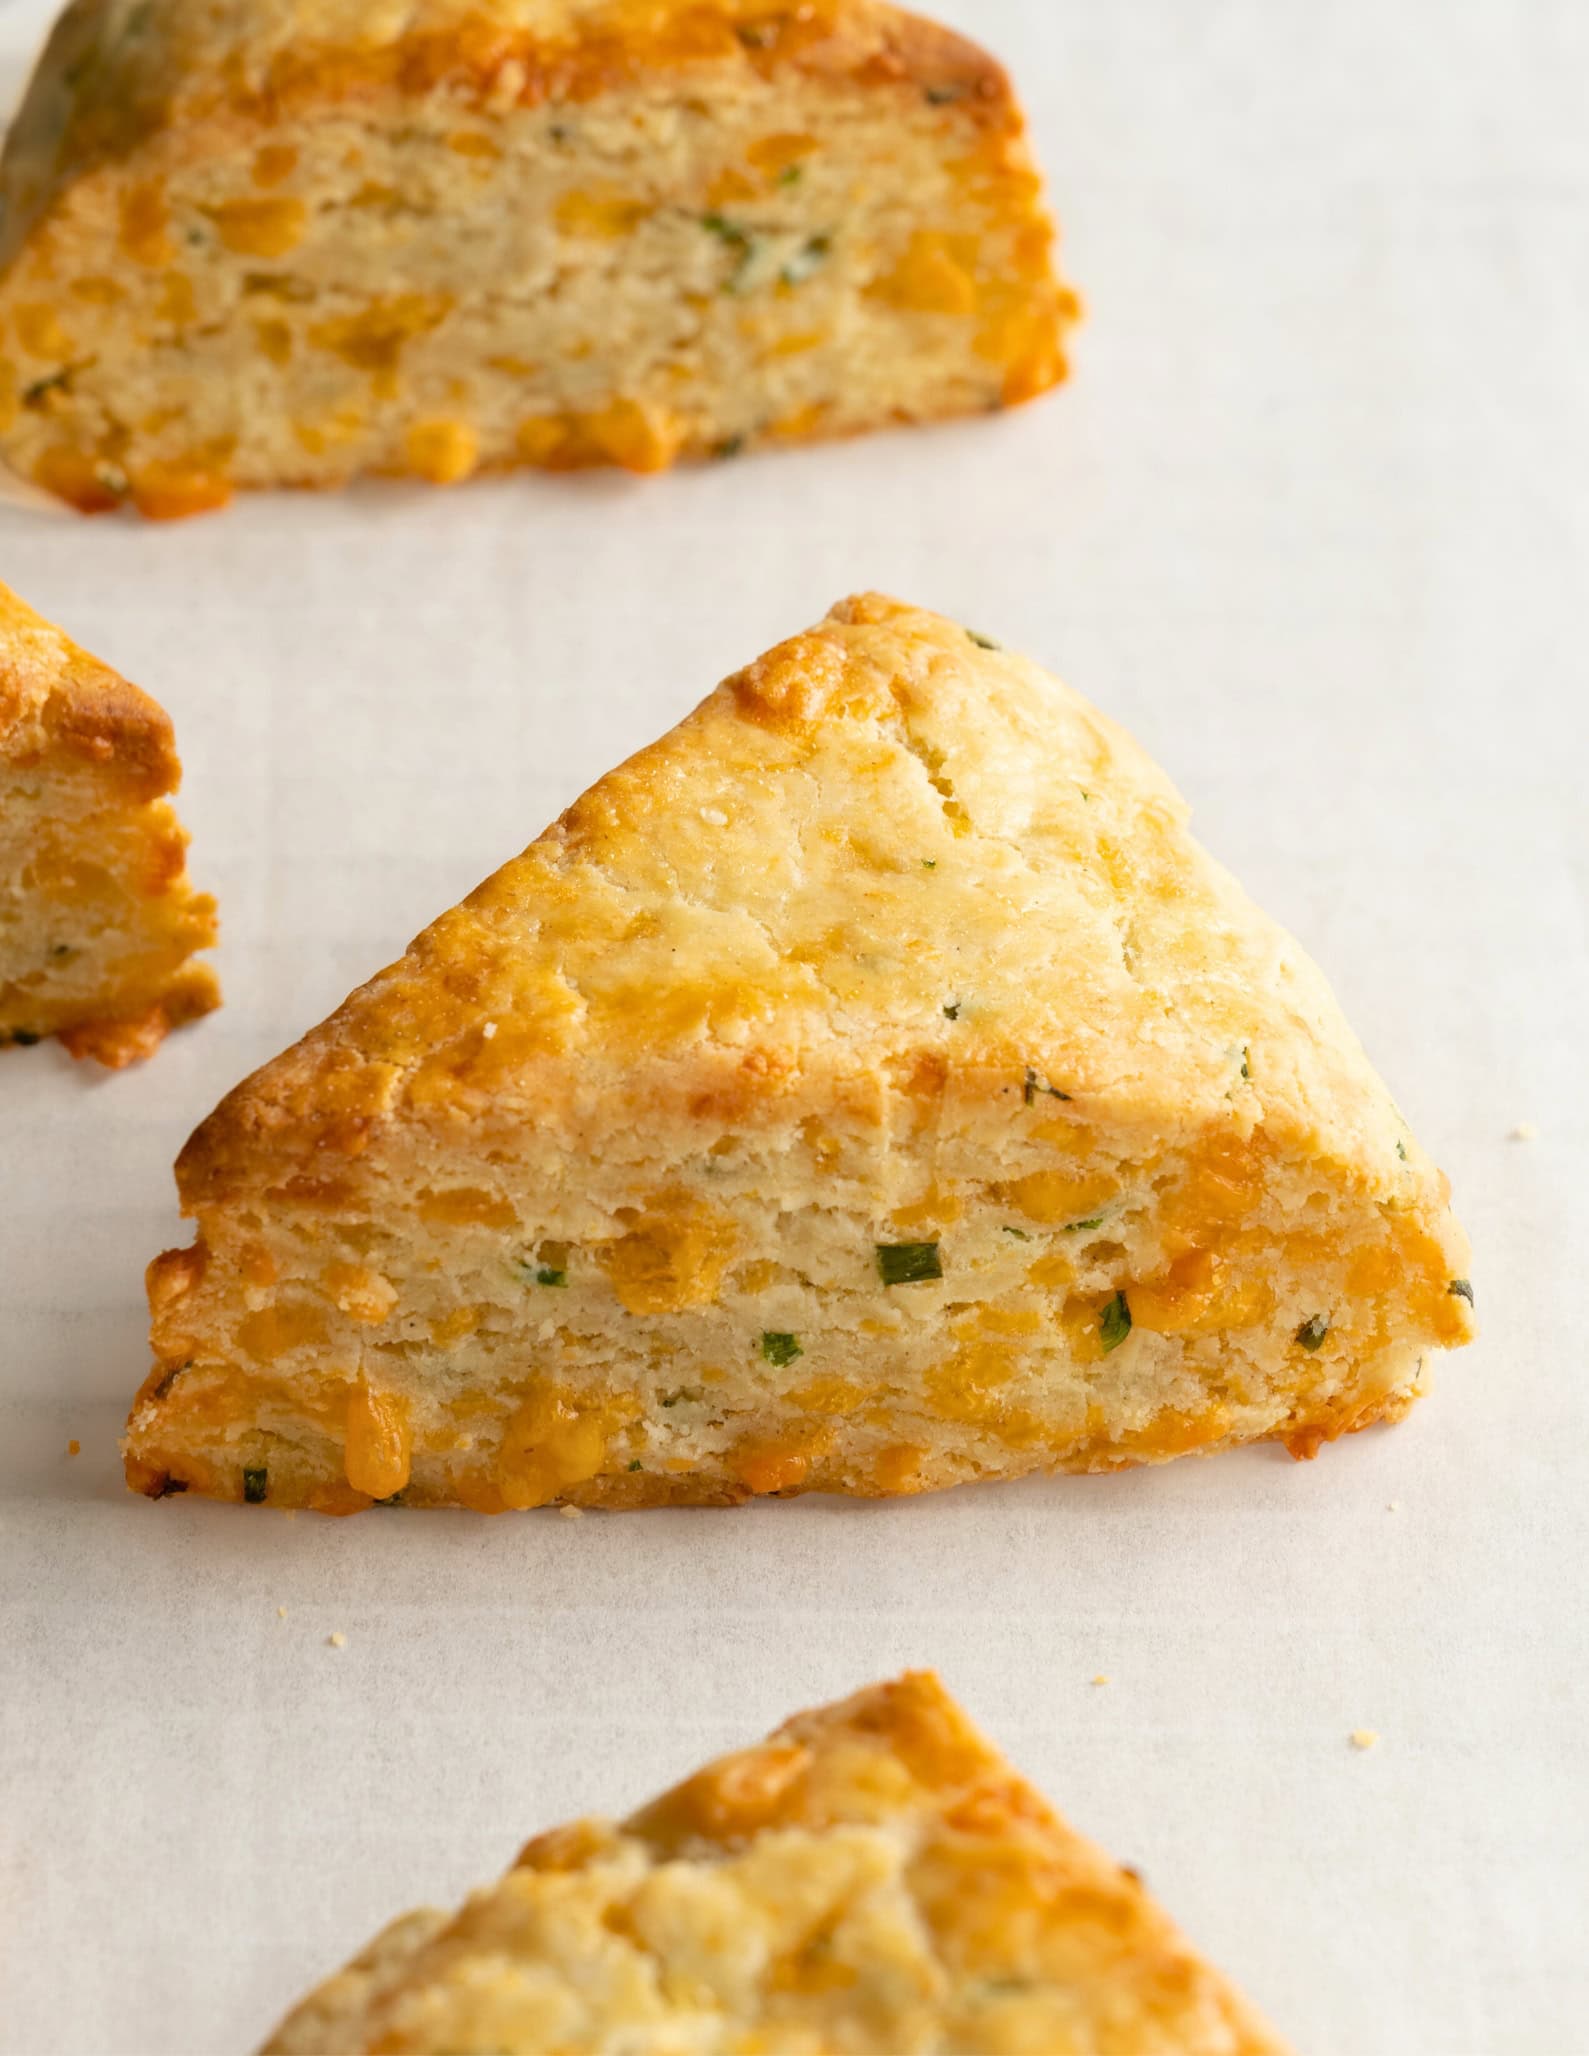
The Result: A scone that is flavorful, moist, and incredibly tender.
Ingredients & Notes
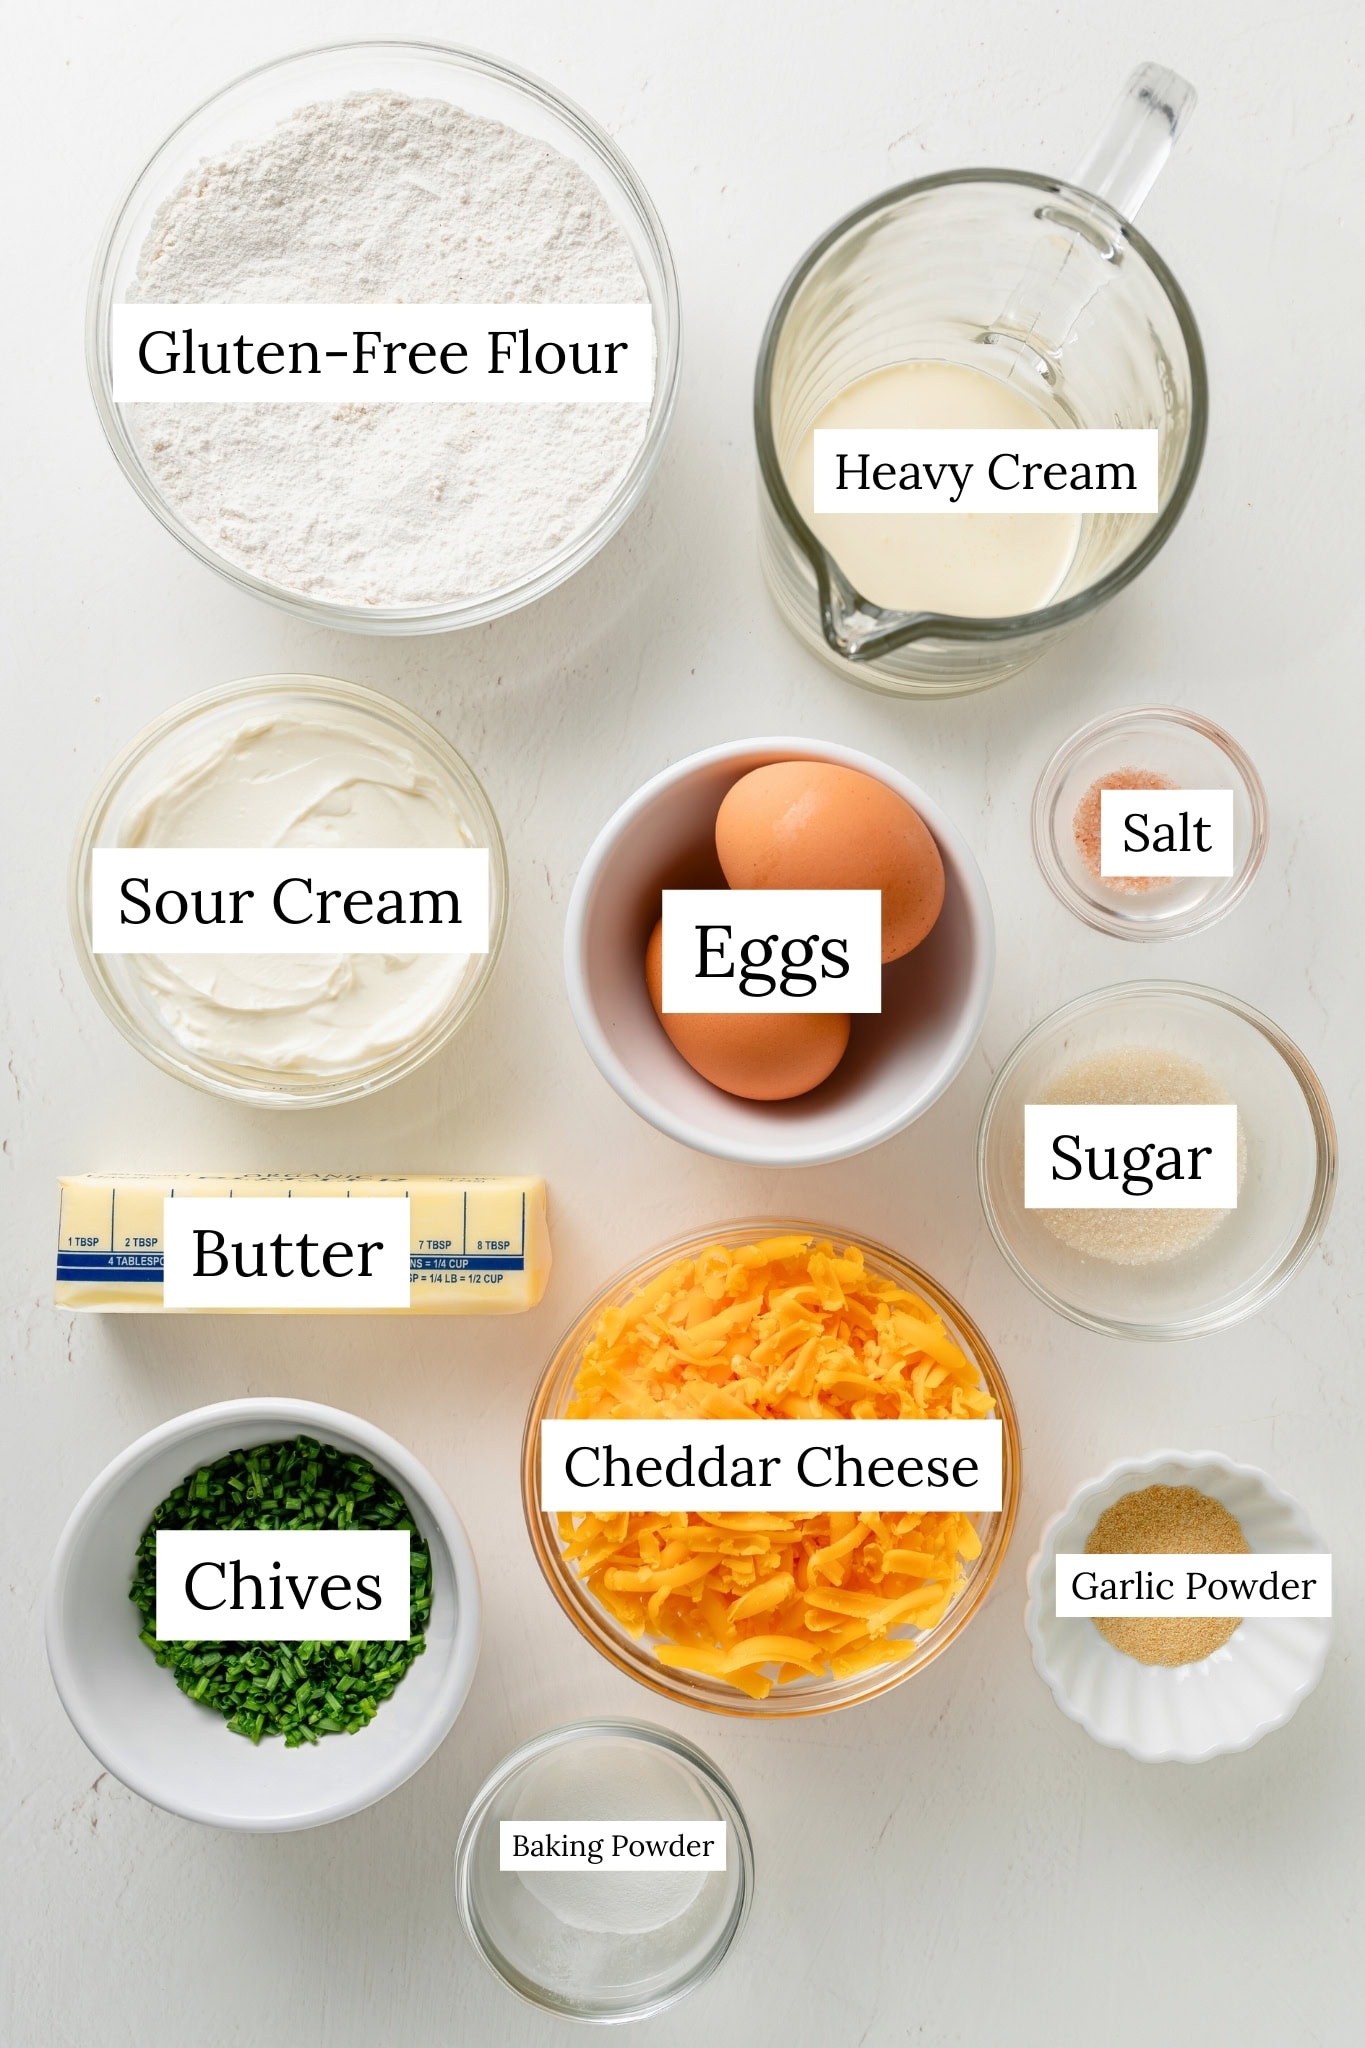
- Gluten-Free Flour: We love using Bob’s Red Mill Gluten-Free 1 to 1 Baking Flour for this recipe.
- Baking Powder: A generous tablespoon of baking powder is crucial. It acts as a powerful leavening agent, guaranteeing your scones will rise beautifully and achieve a light, airy crumb.
- Sour Cream & Heavy Cream: This duo adds a pleasant tang and richness to the scones. These ingredients also provide the moisture and structure needed to help the scones maintain their shape during baking.
- Sugar: A touch of sugar balances the salt and brings the savory flavors to the forefront.
- Garlic Powder & Salt: This duo provides instant umami. The garlic powder adds a concentrated savory "kick" that permeates the dough, while the salt enhances every flavor, making the cheddar and chive truly pop.
- Cheese and Herbs: For the best flavor, we recommend using sharp cheddar cheese and fresh chives.
- Butter: Cold butter is key!
- Eggs: You'll use one large egg with a splash of cream to create an egg wash. This helps the scones achieve golden brown tops.
The full list of ingredients and instructions can be found in the recipe card below.
How to Make Gluten-Free Cheddar and Chive Scones
Make The Gluten Free Scone Dough
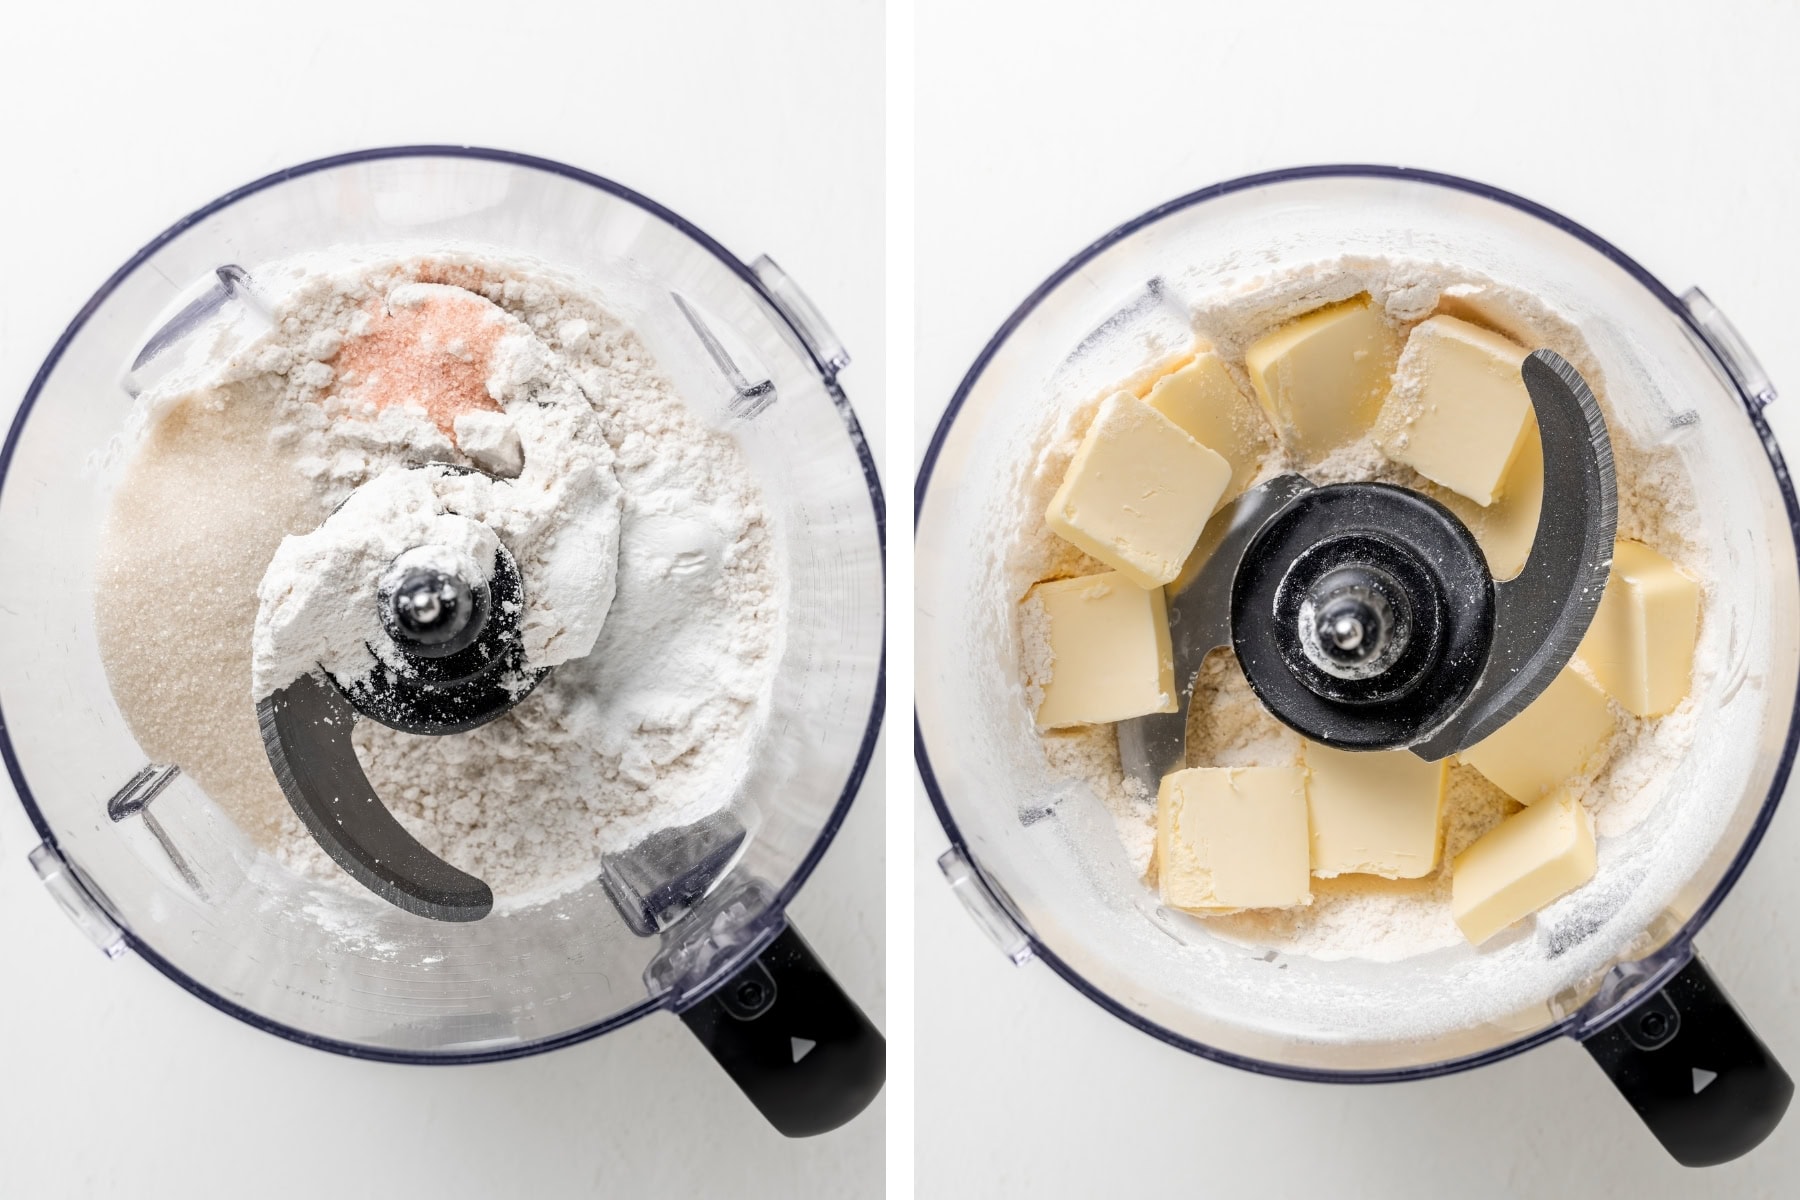
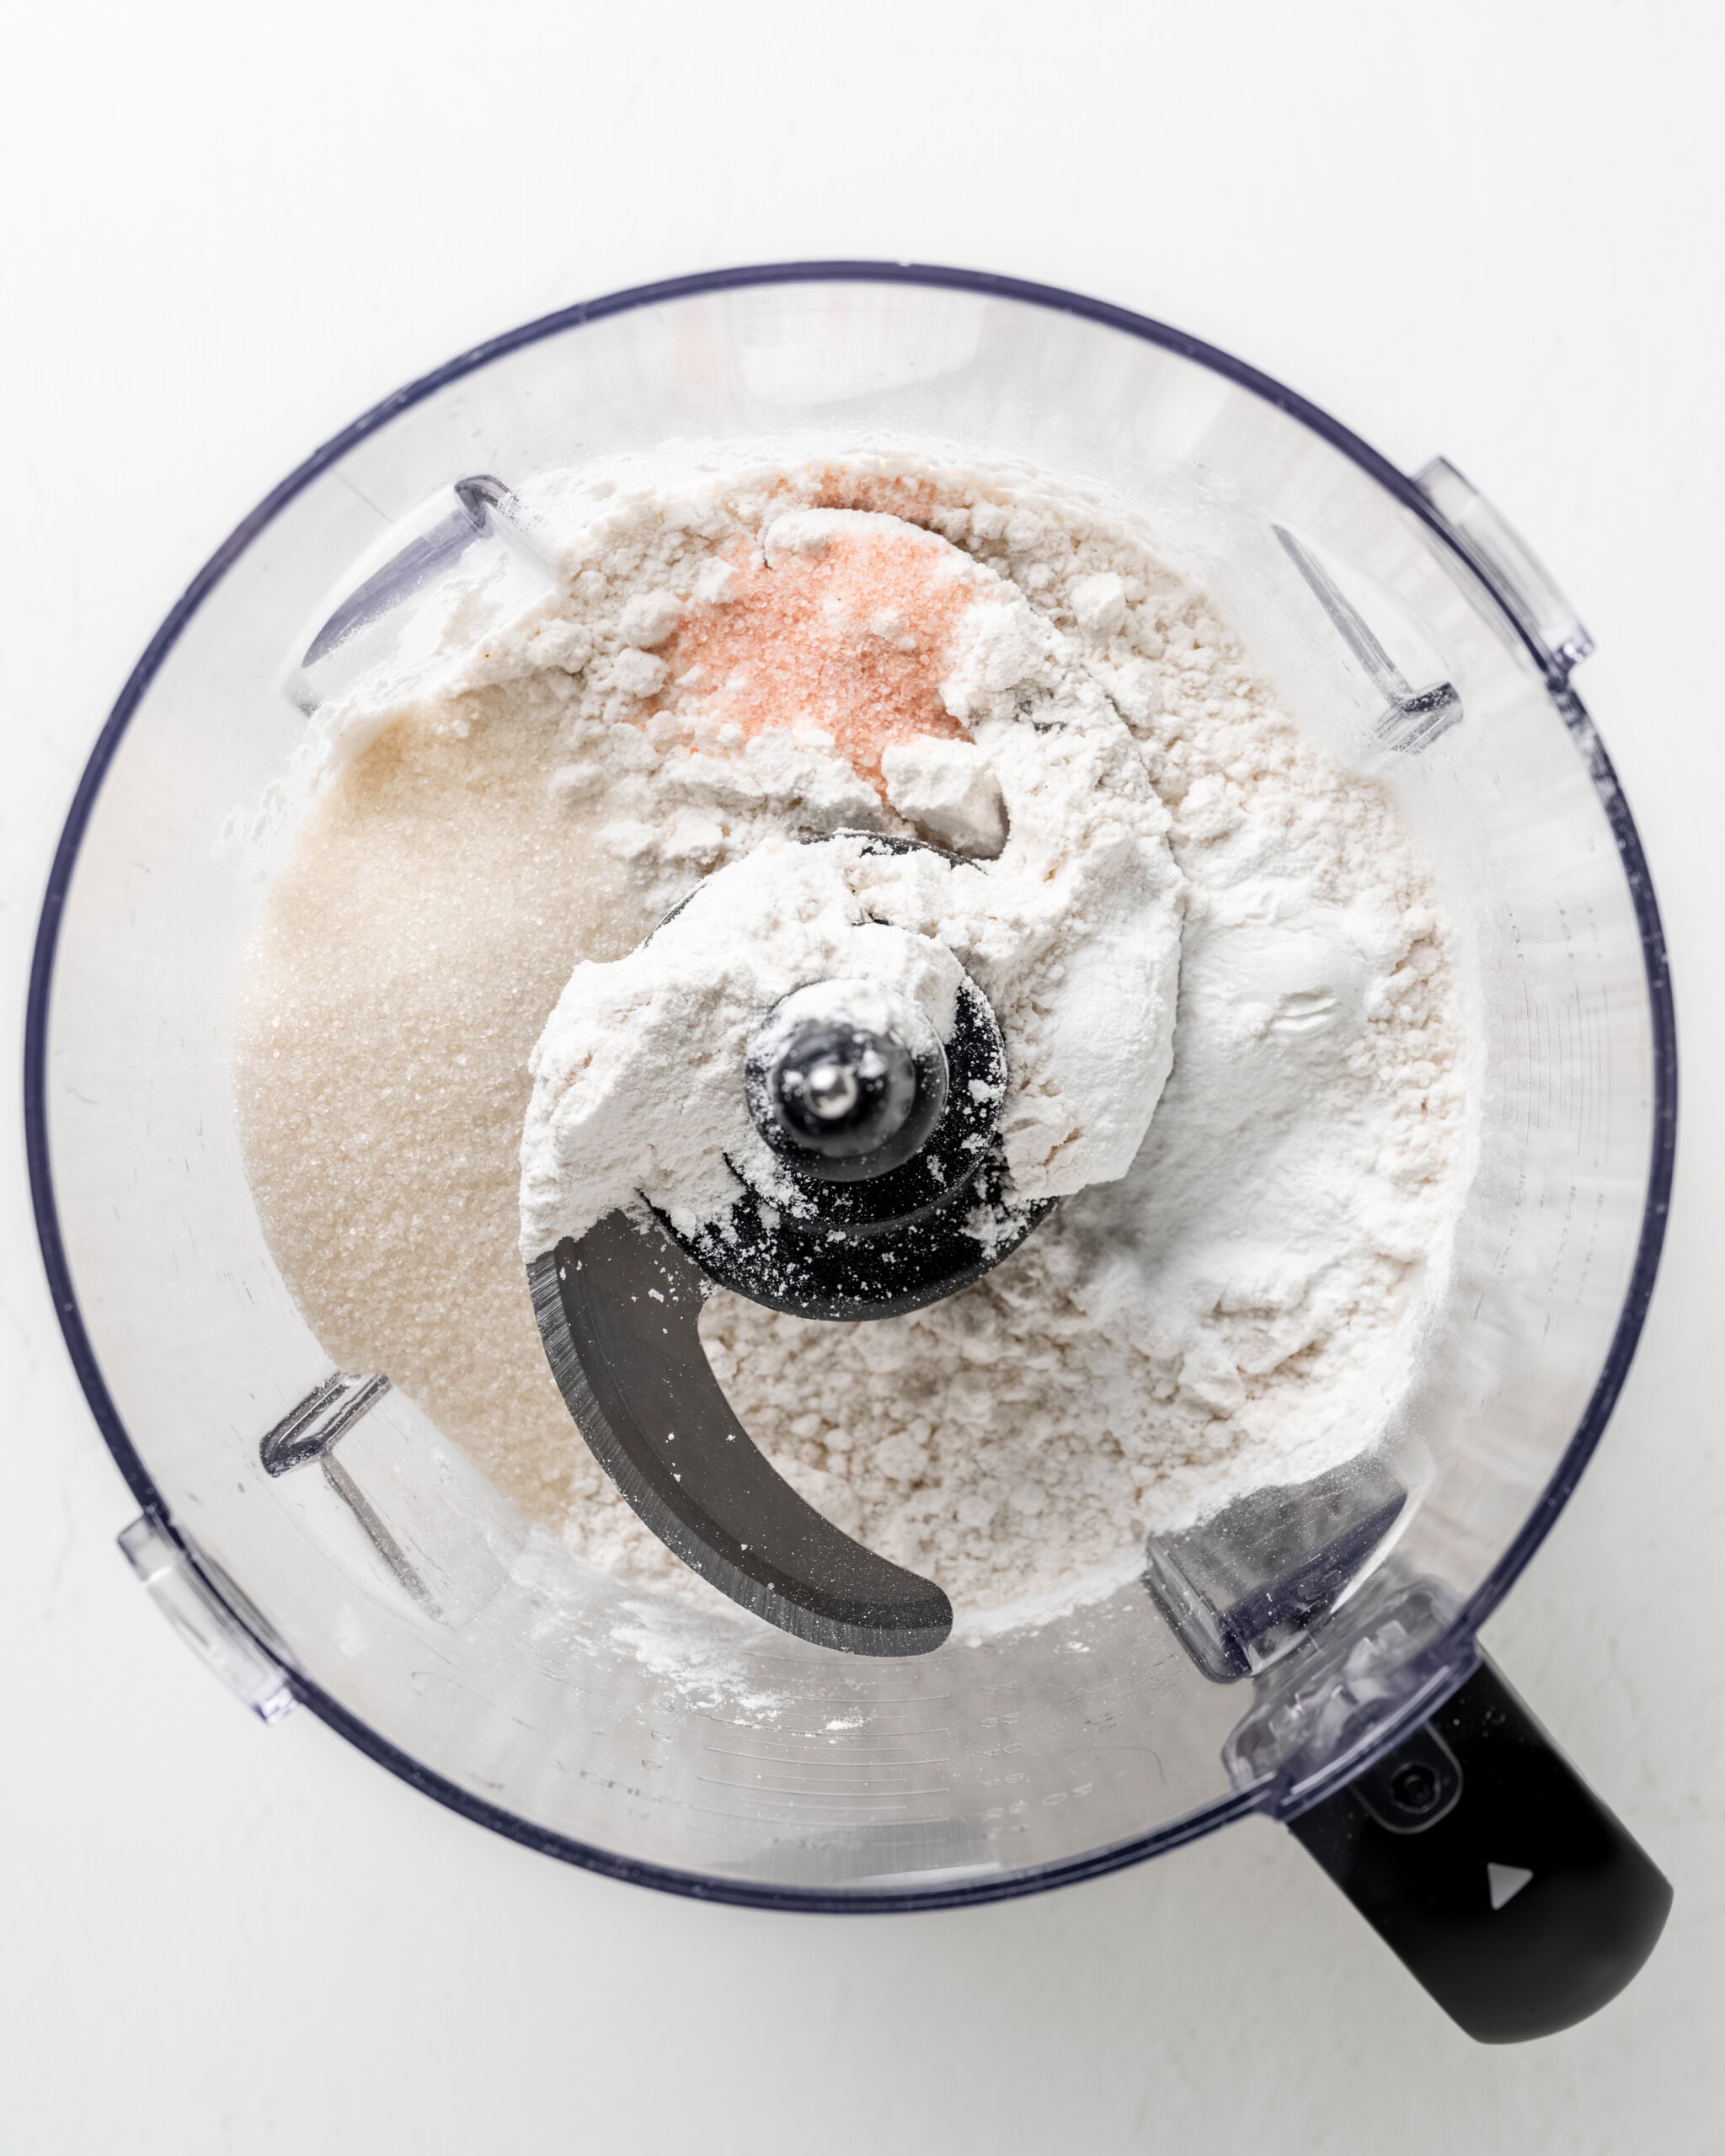
Step 1: Combine dry ingredients. Whisk the dry ingredients together in a large bowl, or pulse a few times in a food processor to combine.
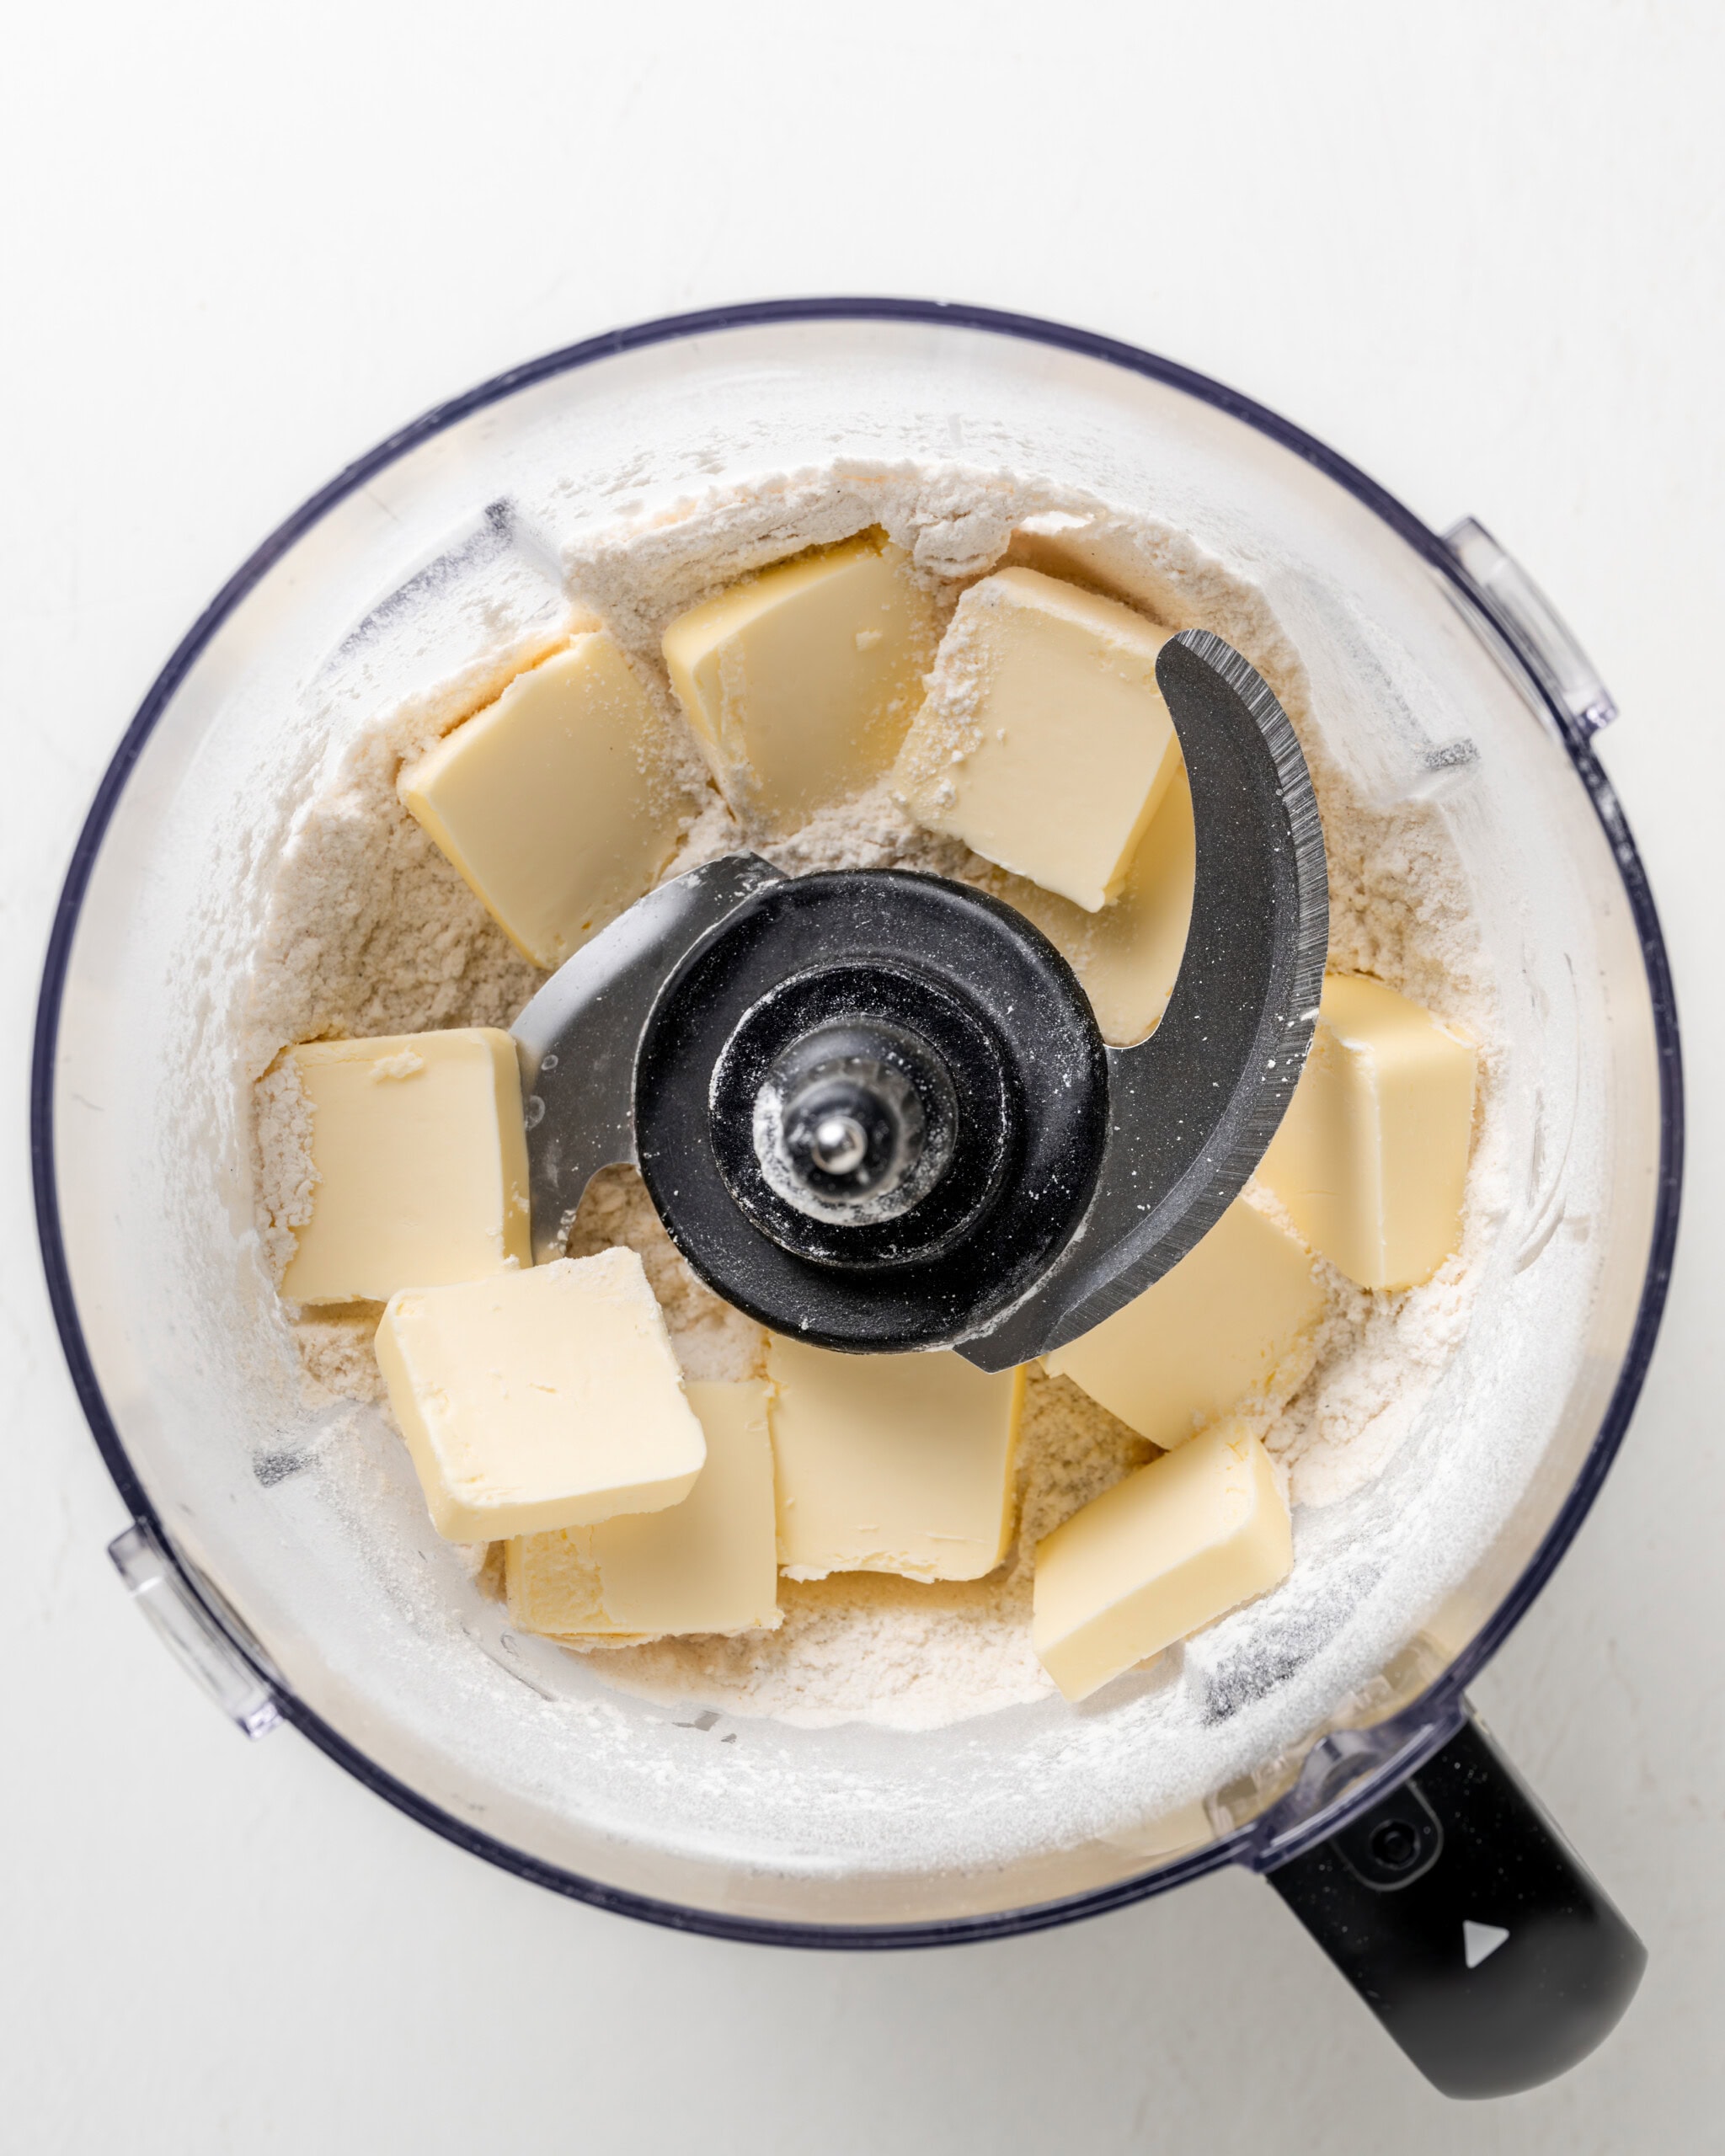
Step 2: Cut in frozen butter. Grate the frozen butter into the flour and quickly cut it in with a pastry blender (or forks) until coarse crumbs form. If using a food processor, pulse diced frozen butter until the mixture reaches a coarse, crumbly texture.
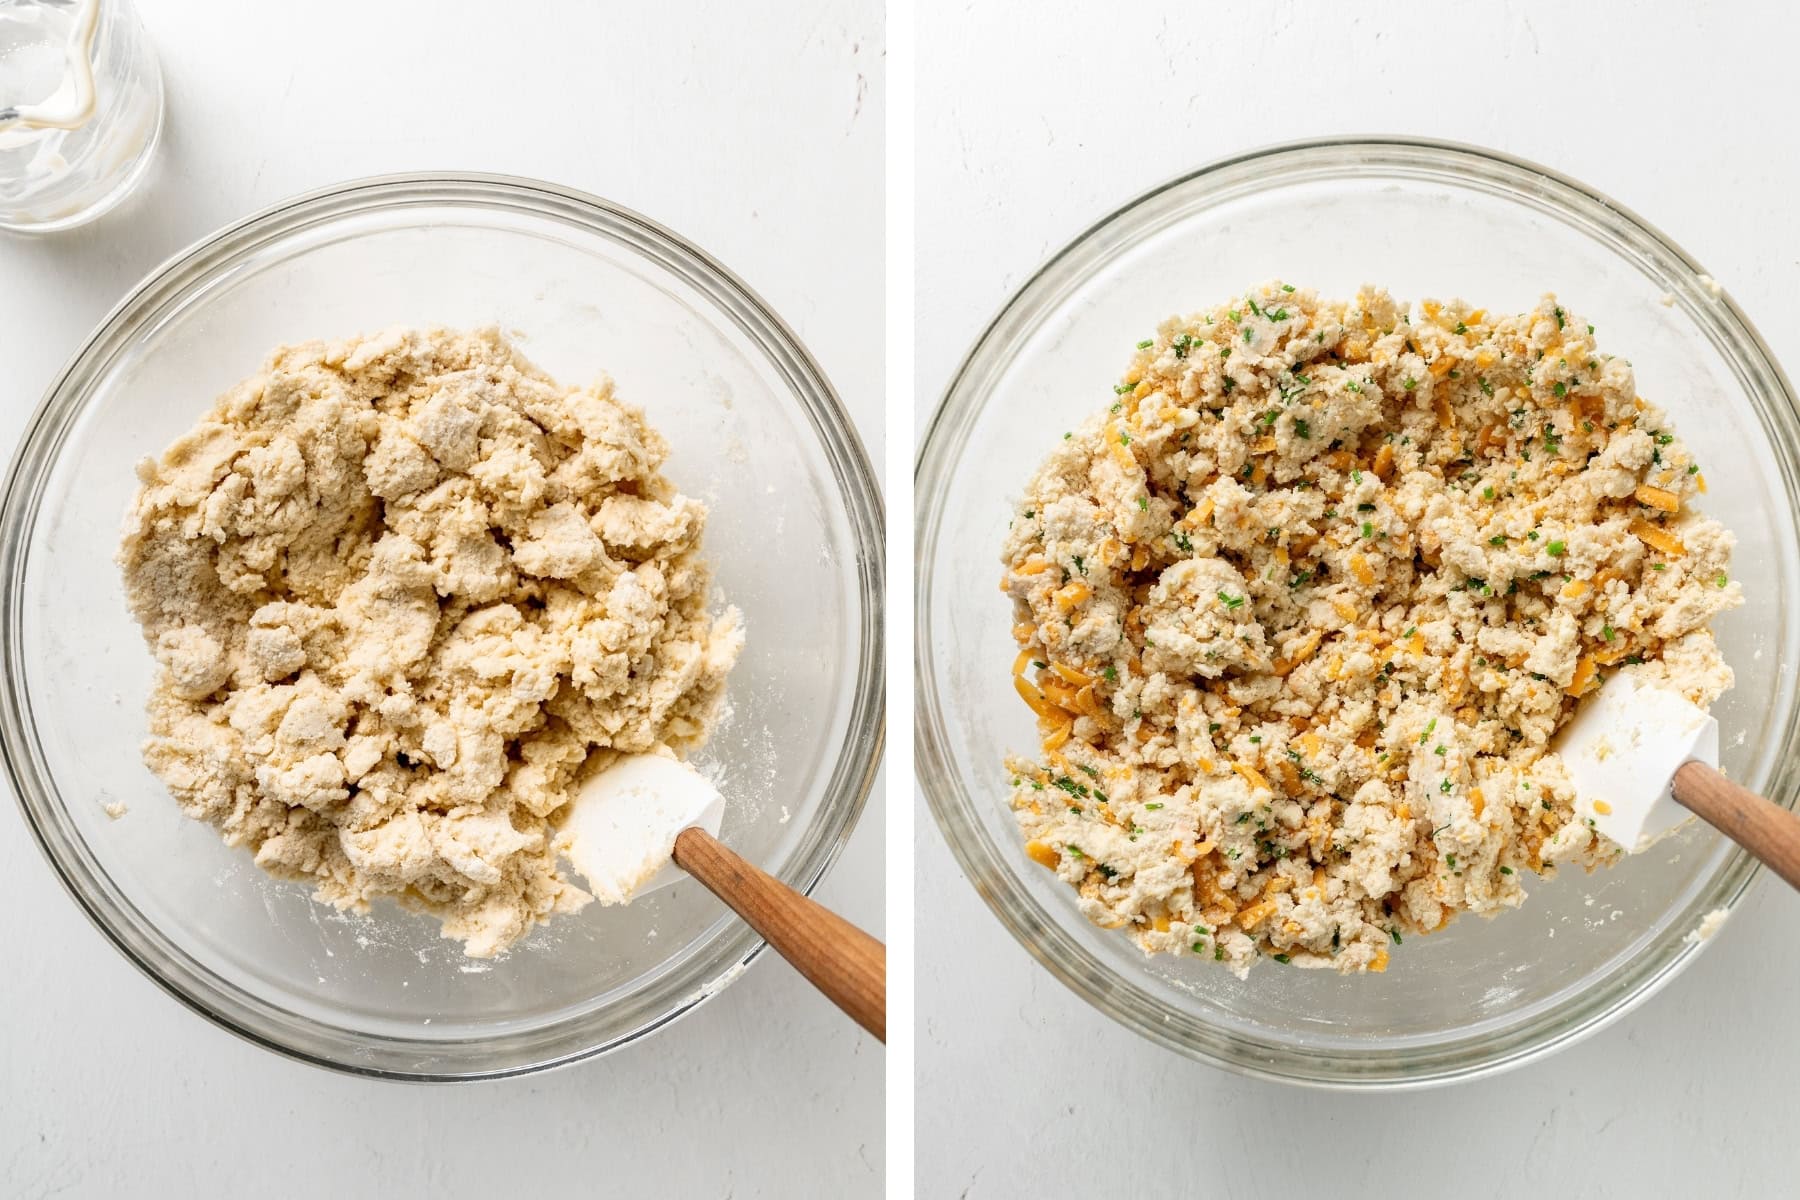
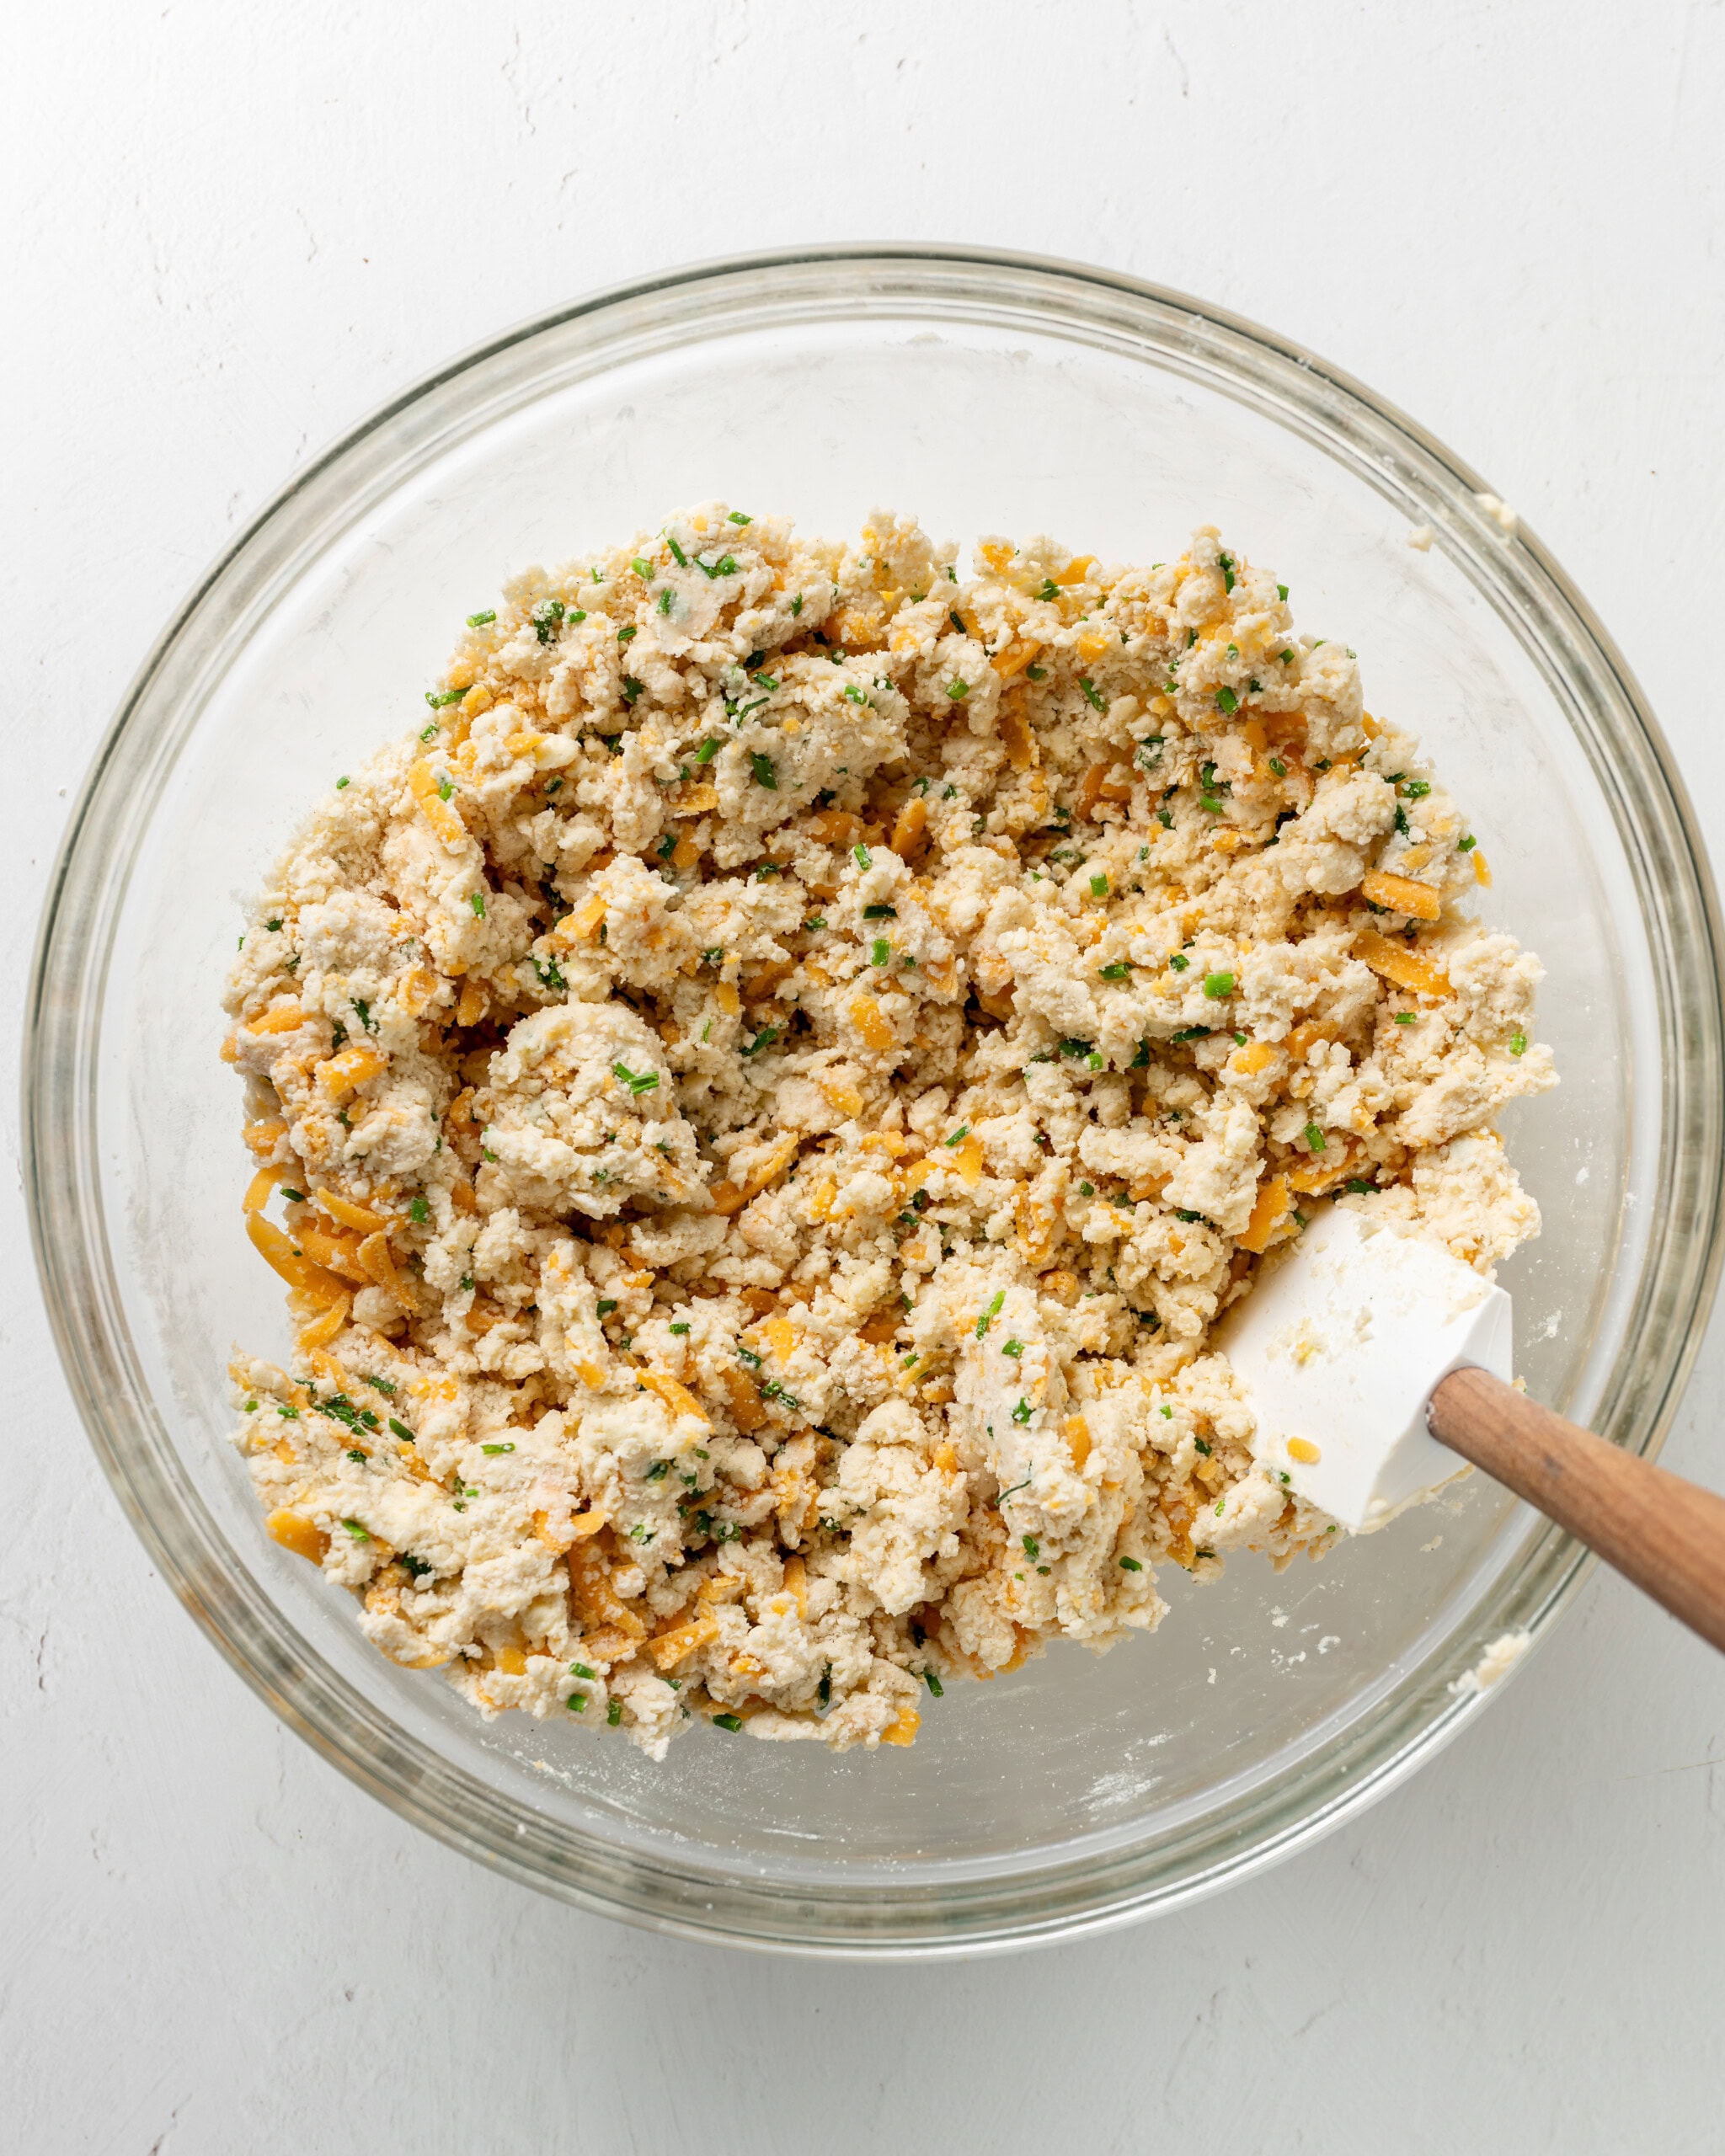
Step 3: Combine wet and dry. Transfer the dry mixture to a large bowl if needed, and make a well in the center. Pour in the sour cream mixture and stir until the dough just comes together.
Step 4: Fold in mix-ins. Gently fold in the sharp cheddar and chives until evenly distributed.
Laminate and Shape the Dough
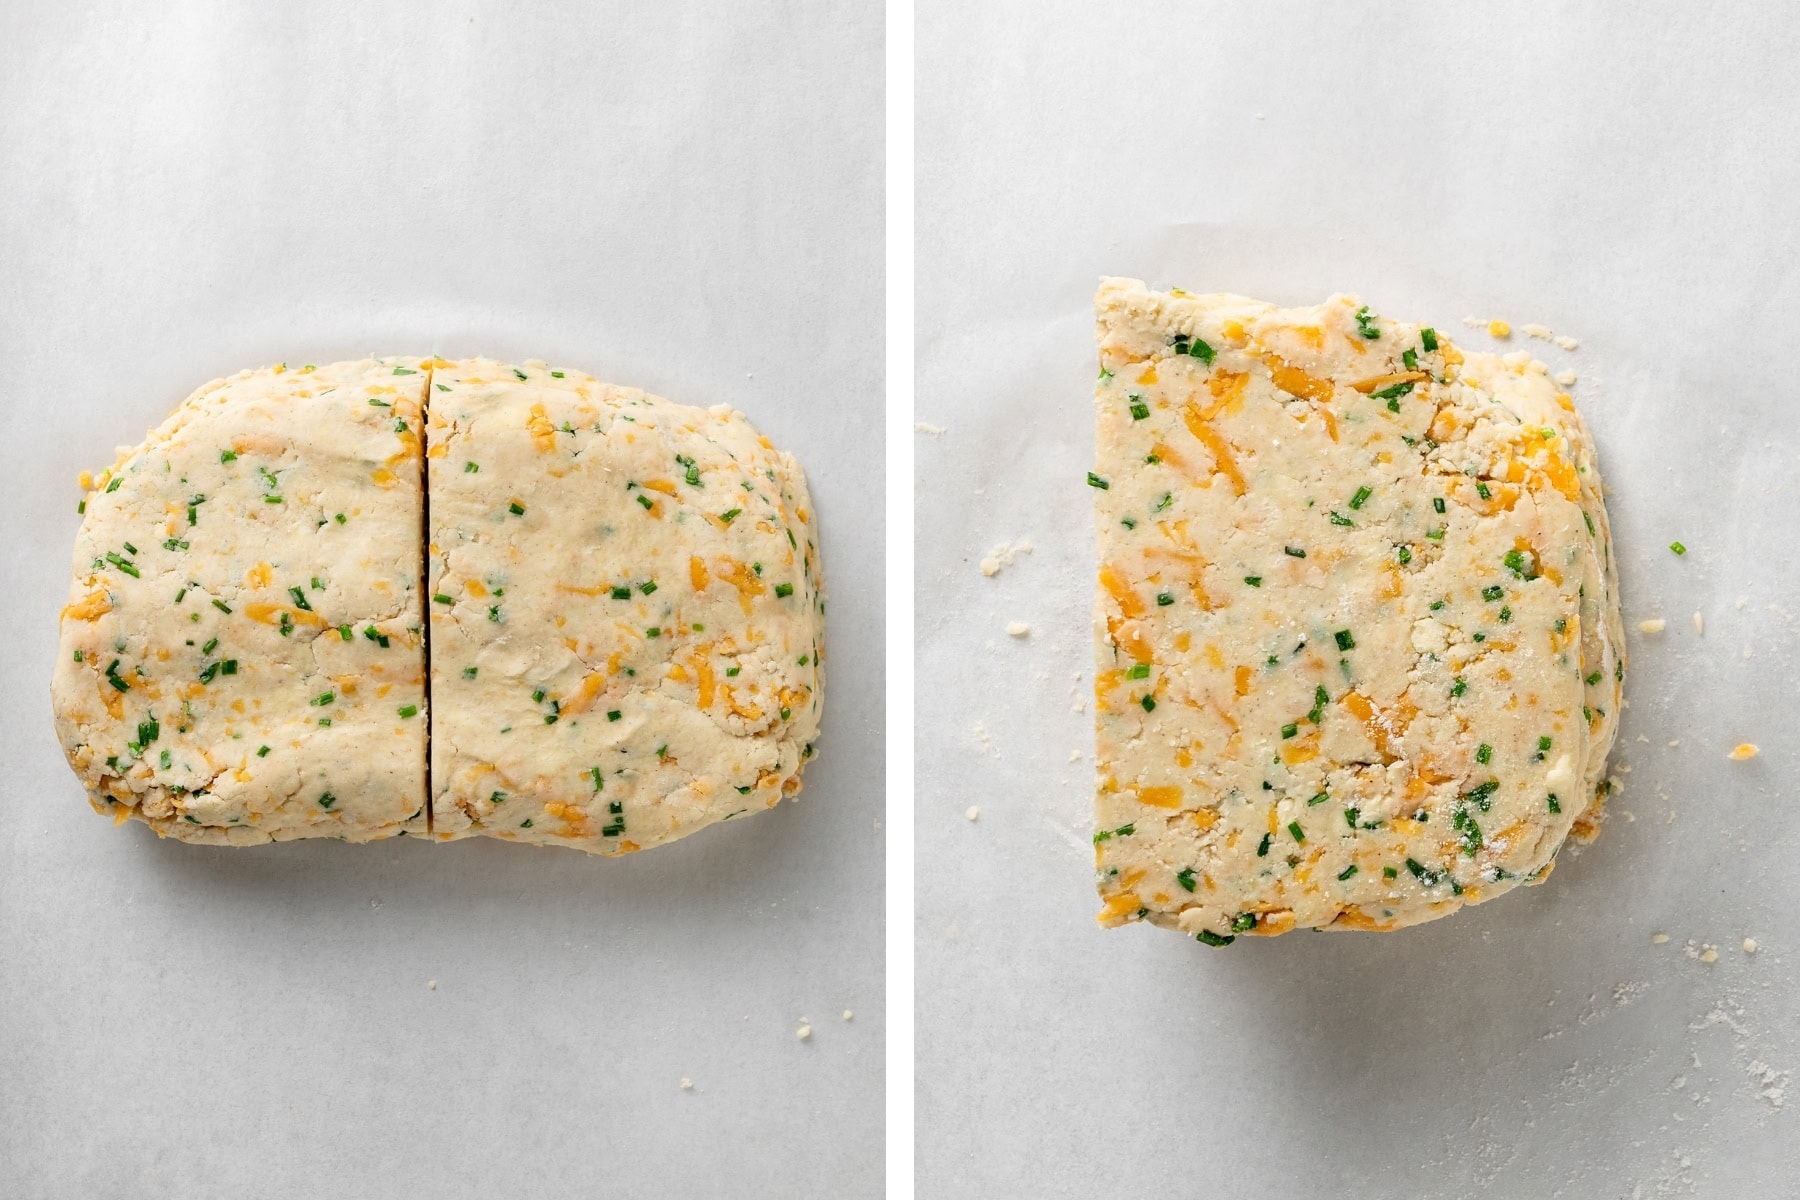
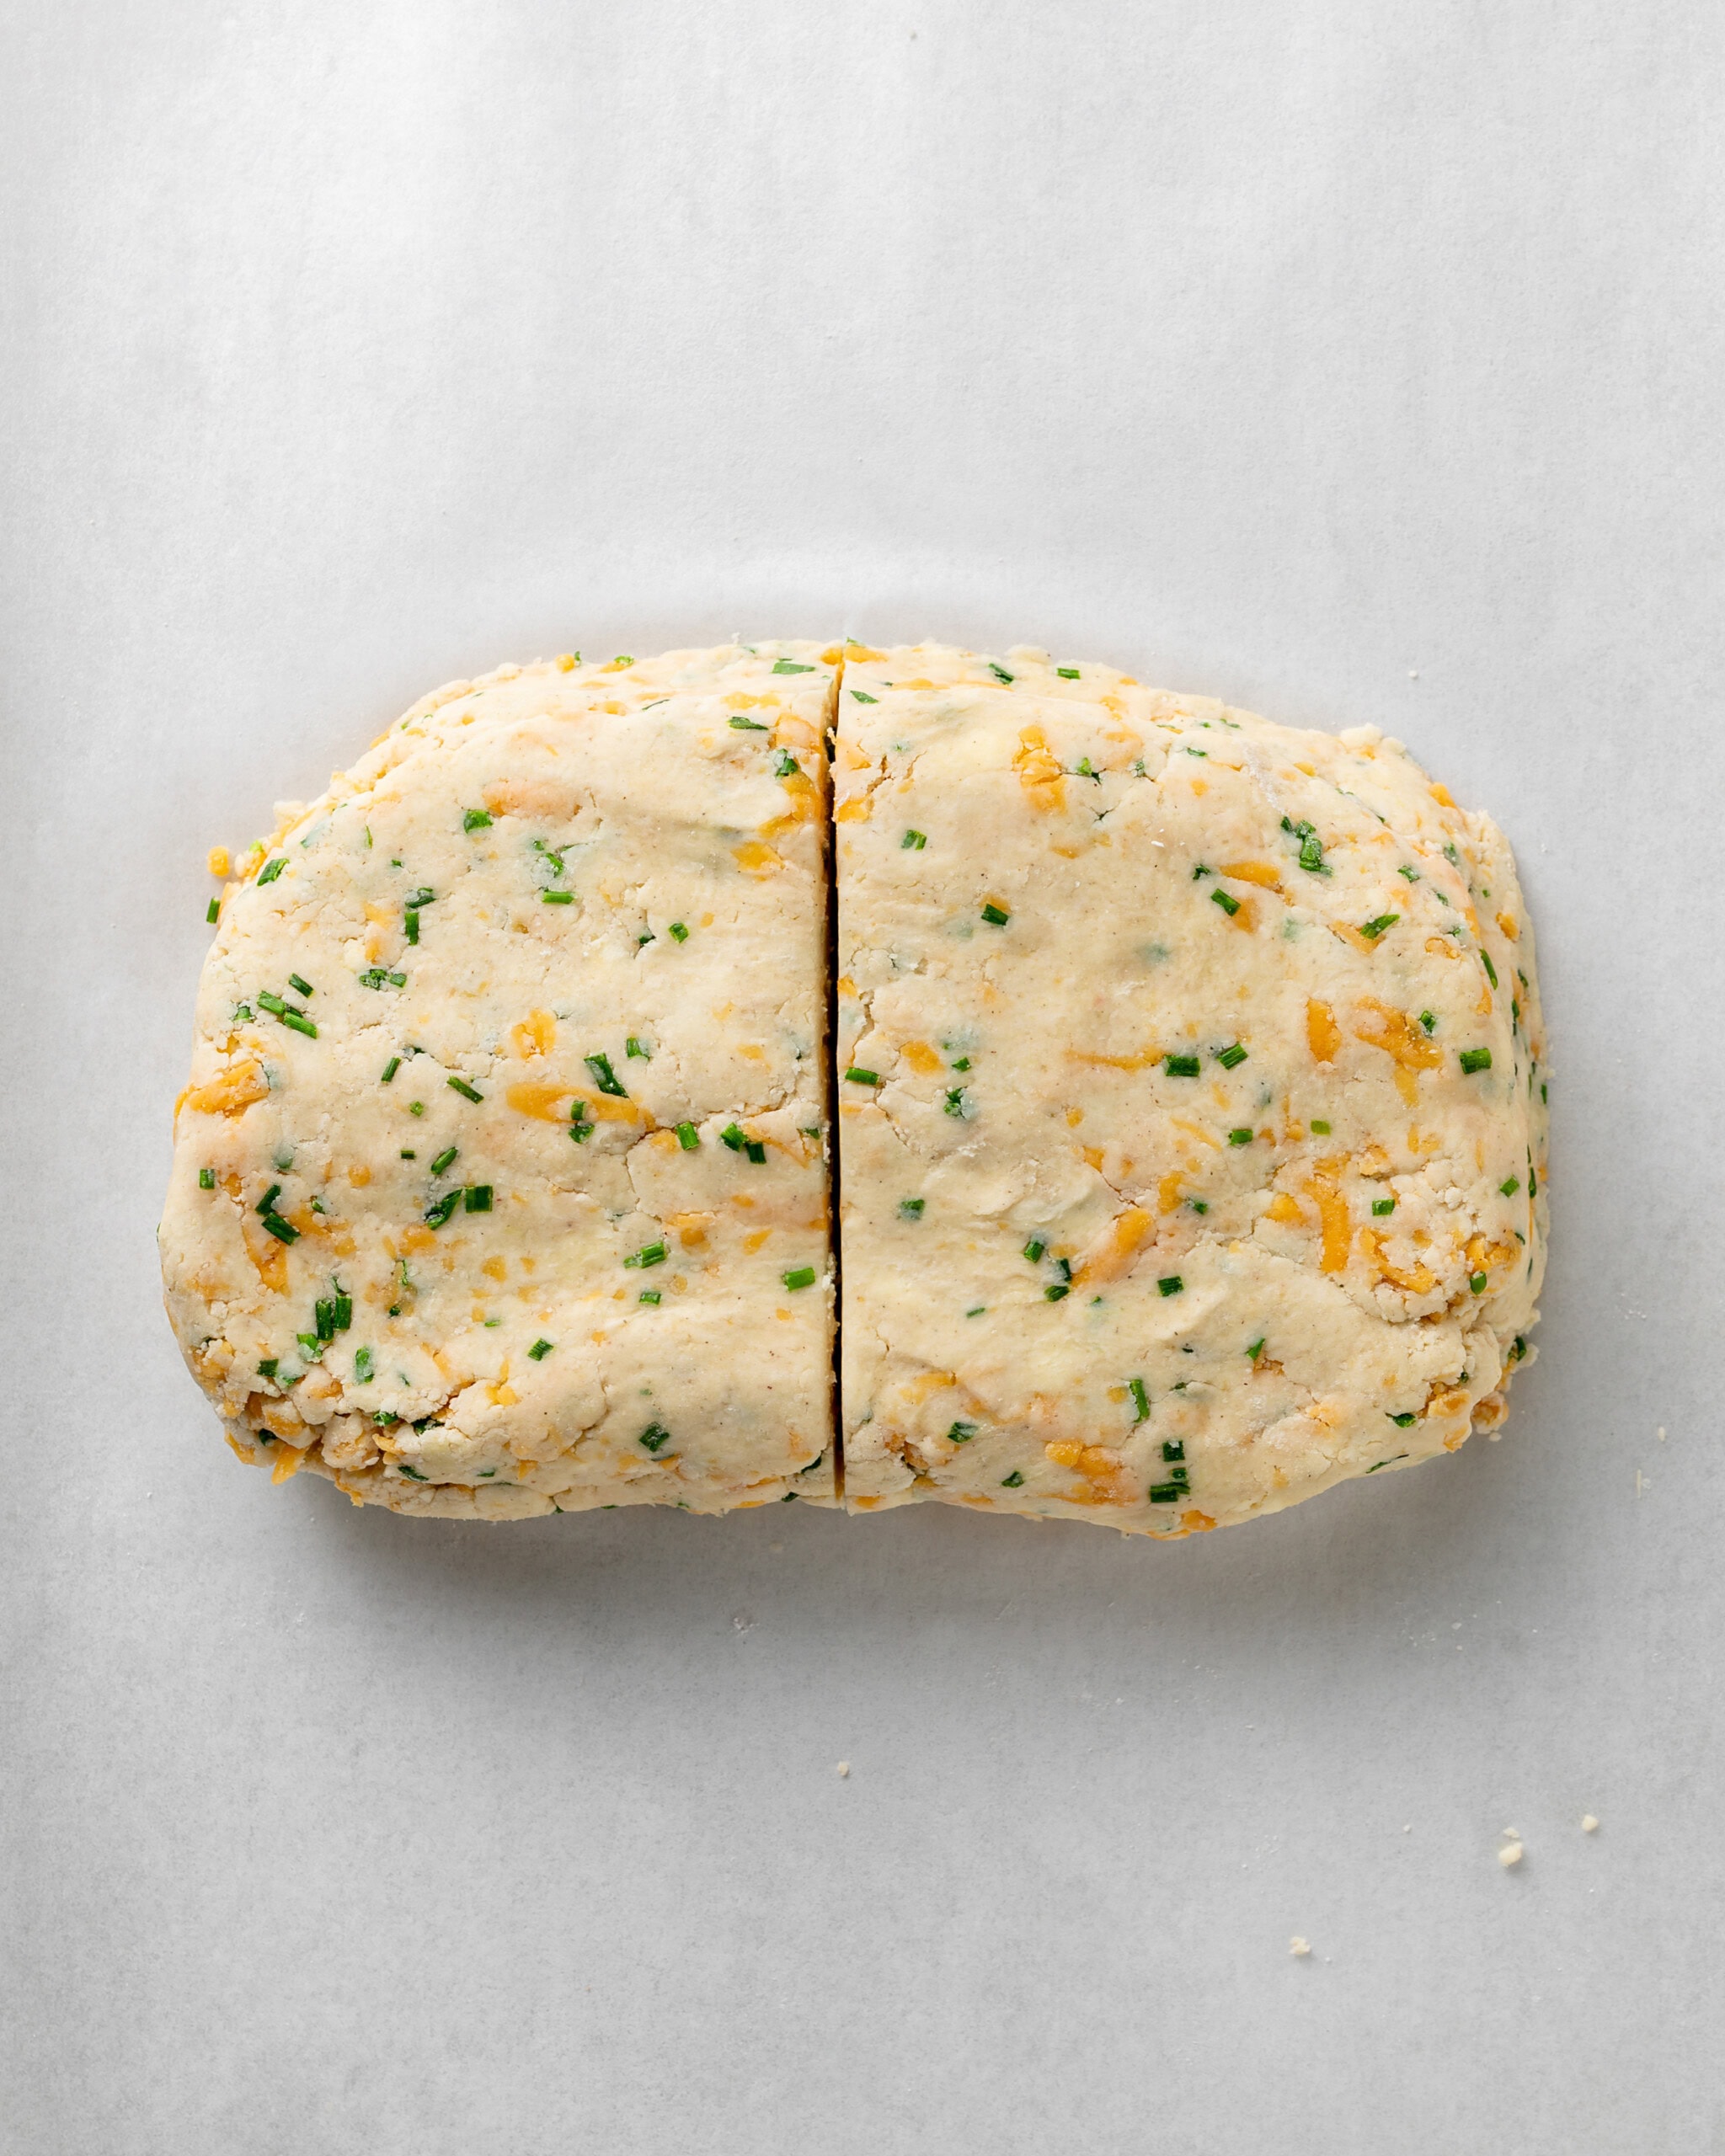
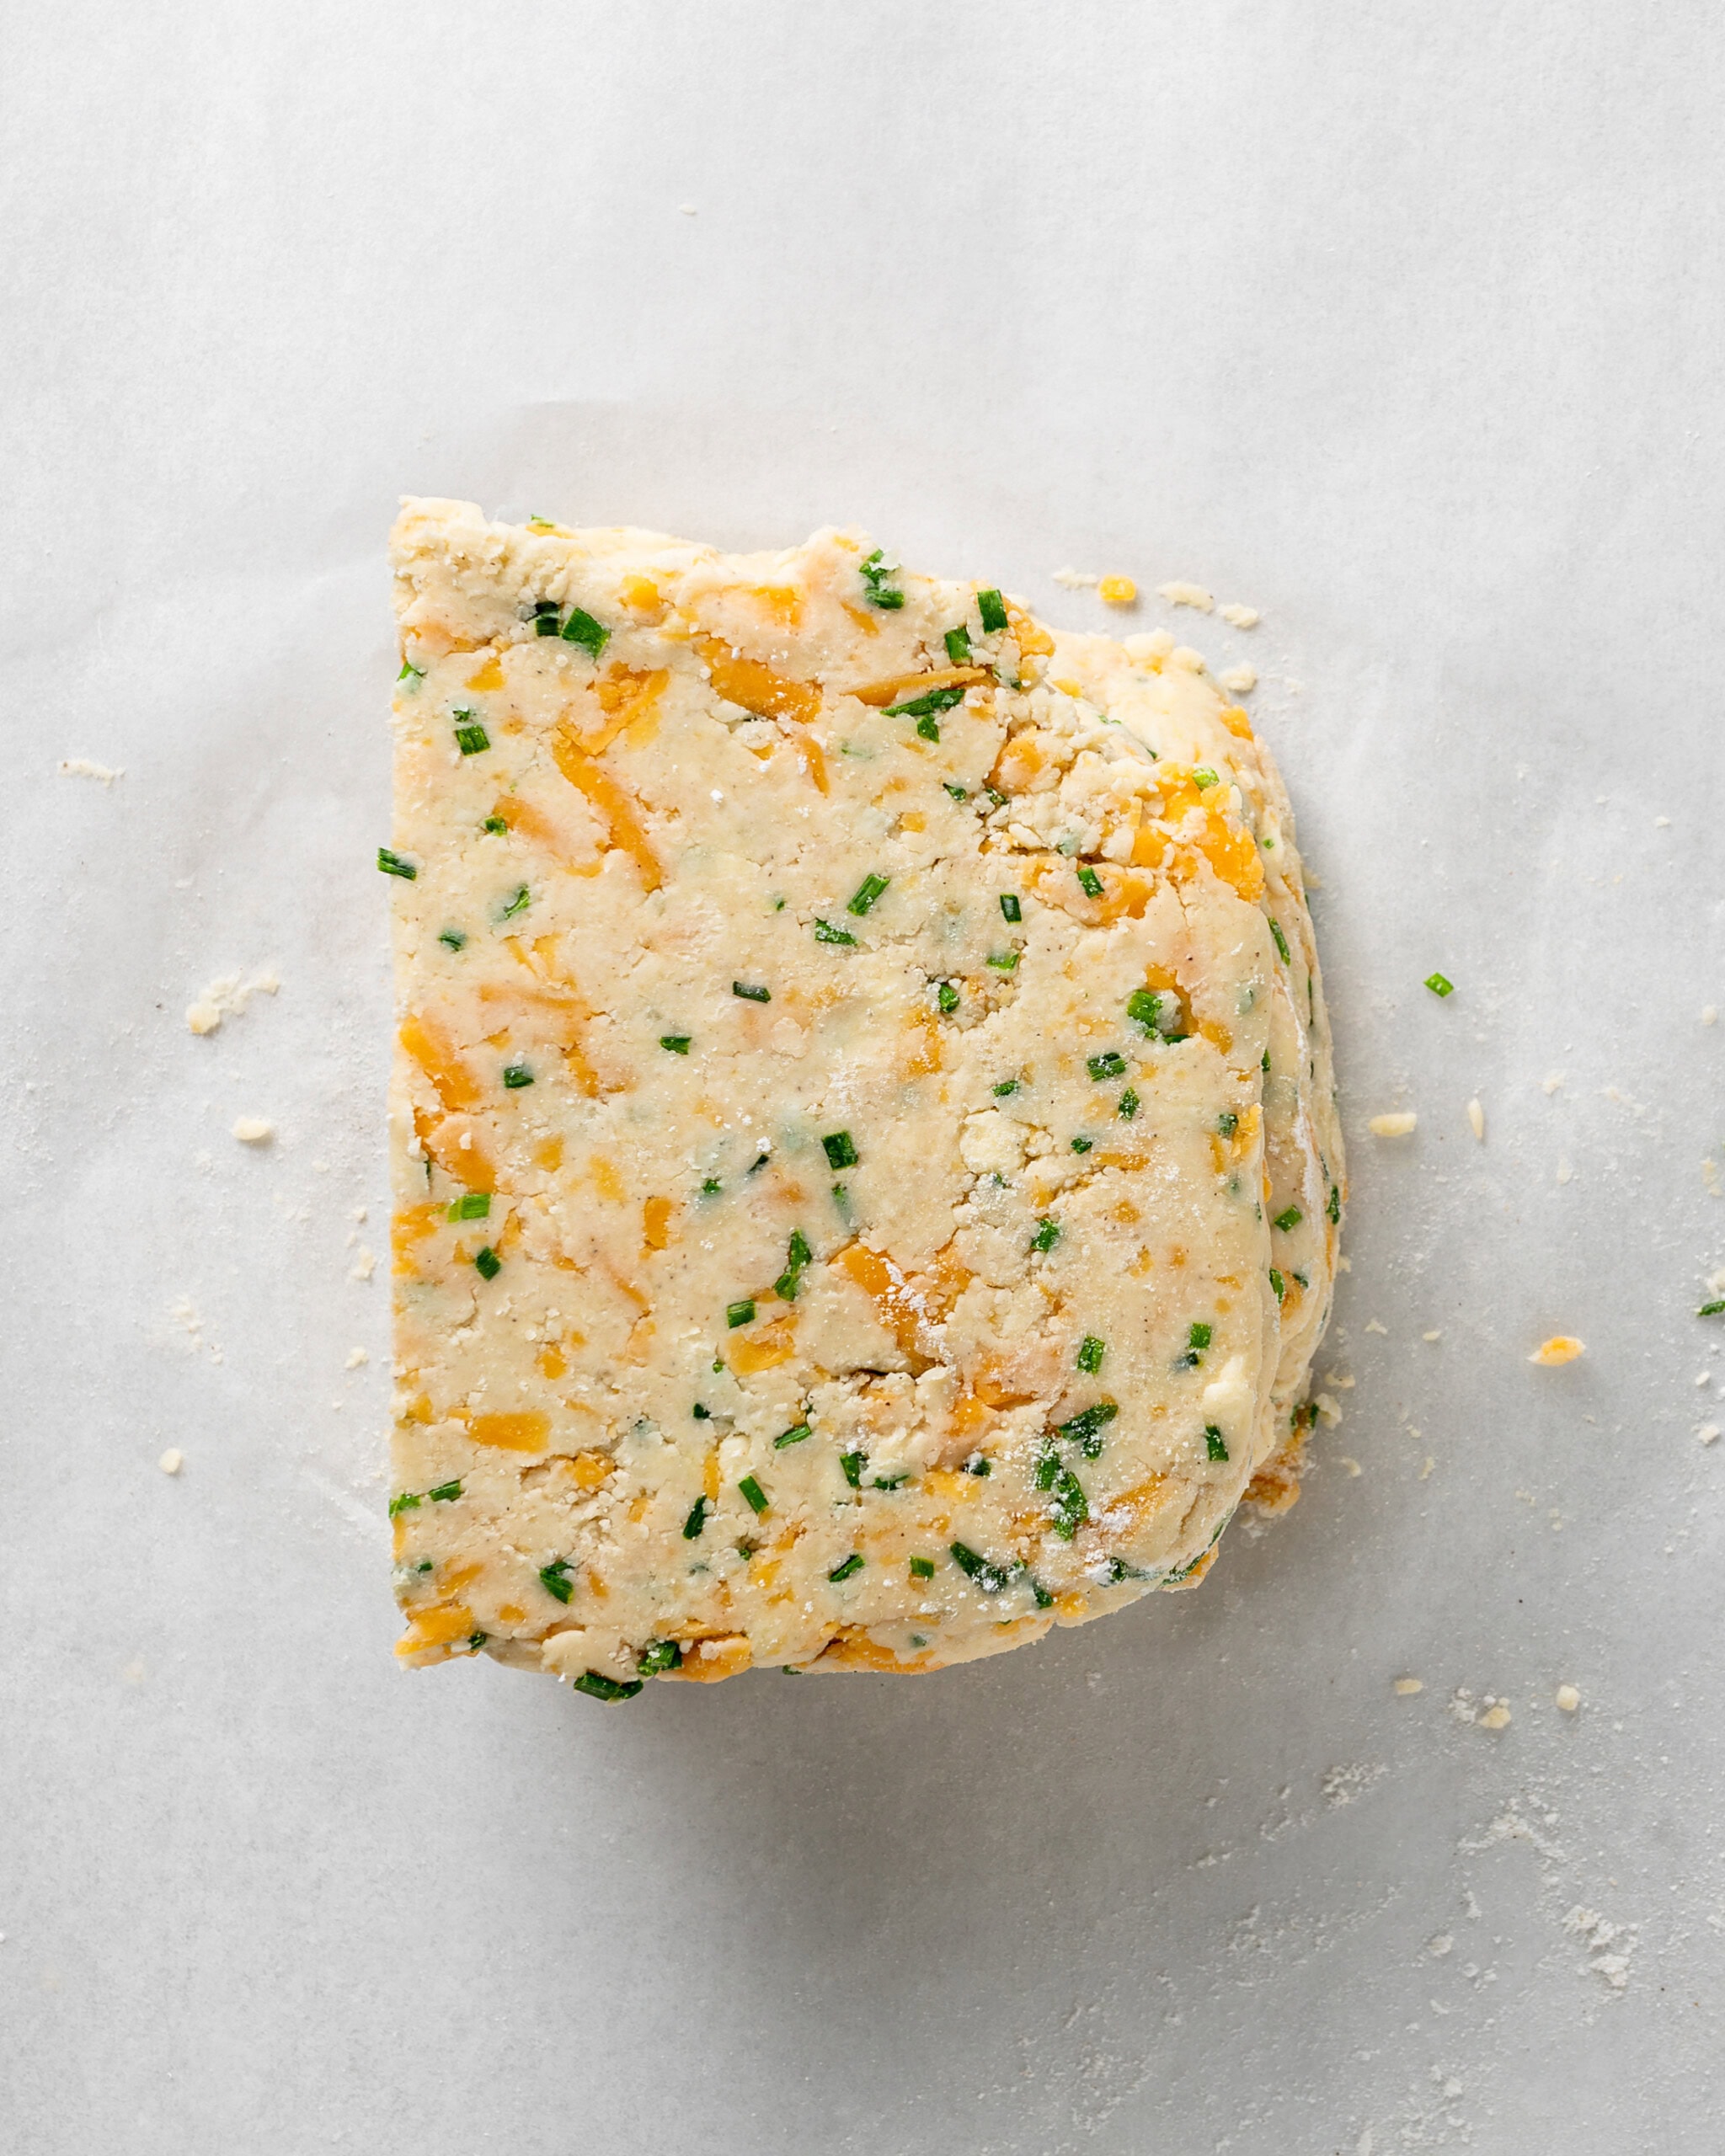
Step 5: Turn out and shape. On a lightly floured surface, gently knead the dough until it comes together. Pat it into a 7x5-inch rectangle, then cut the rectangle in half vertically using a bench scraper or knife.
Step 6: Stack and laminate. Stack one half of the dough on top of the other, lining up the sides. Gently press down to flatten, then turn the dough 90 degrees. Repeat this cutting and stacking process two more times (for a total of three repetitions) to create those signature flaky layers.
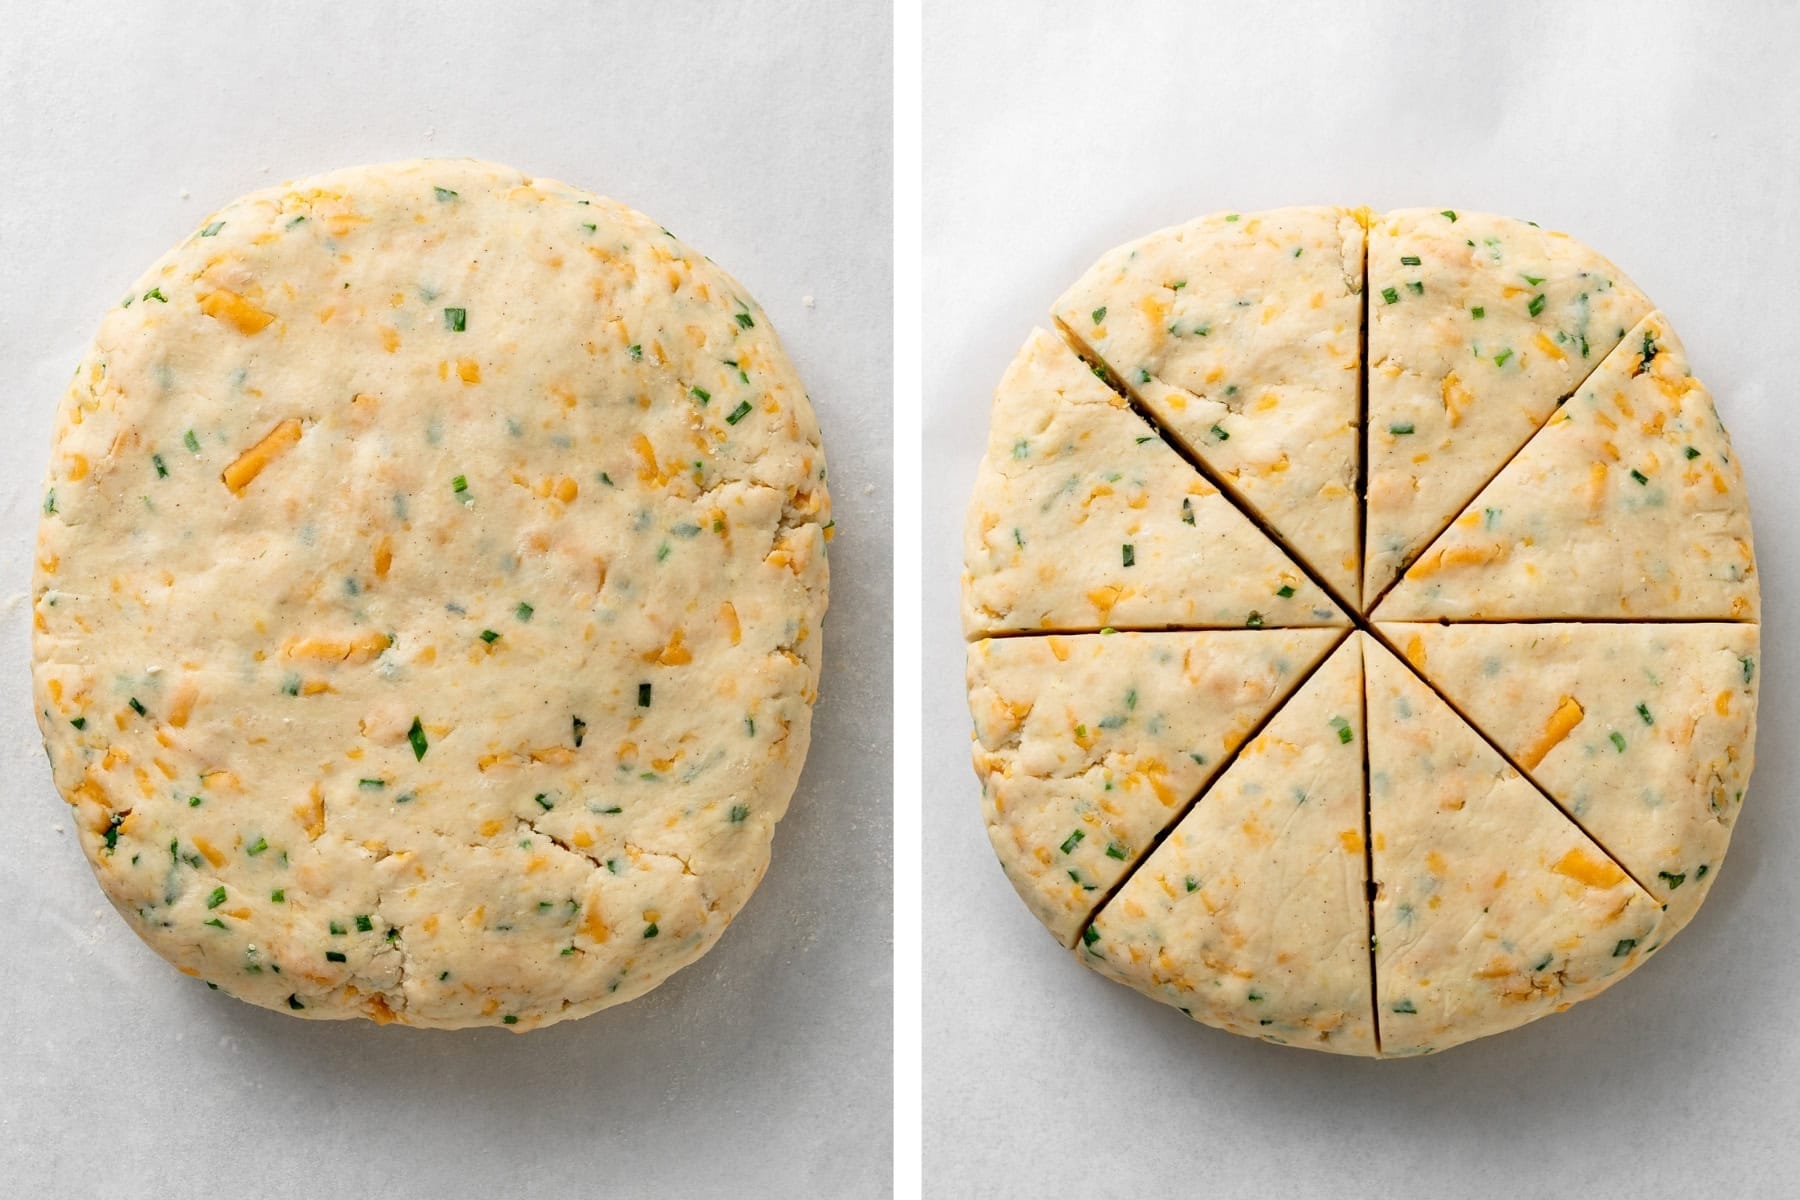
Step 7: Shape into a disk and refrigerate. Using your hands, shape the dough into a 7-inch disk, about 1 inch thick. Wrap the disk in plastic wrap and refrigerate for 30 minutes.
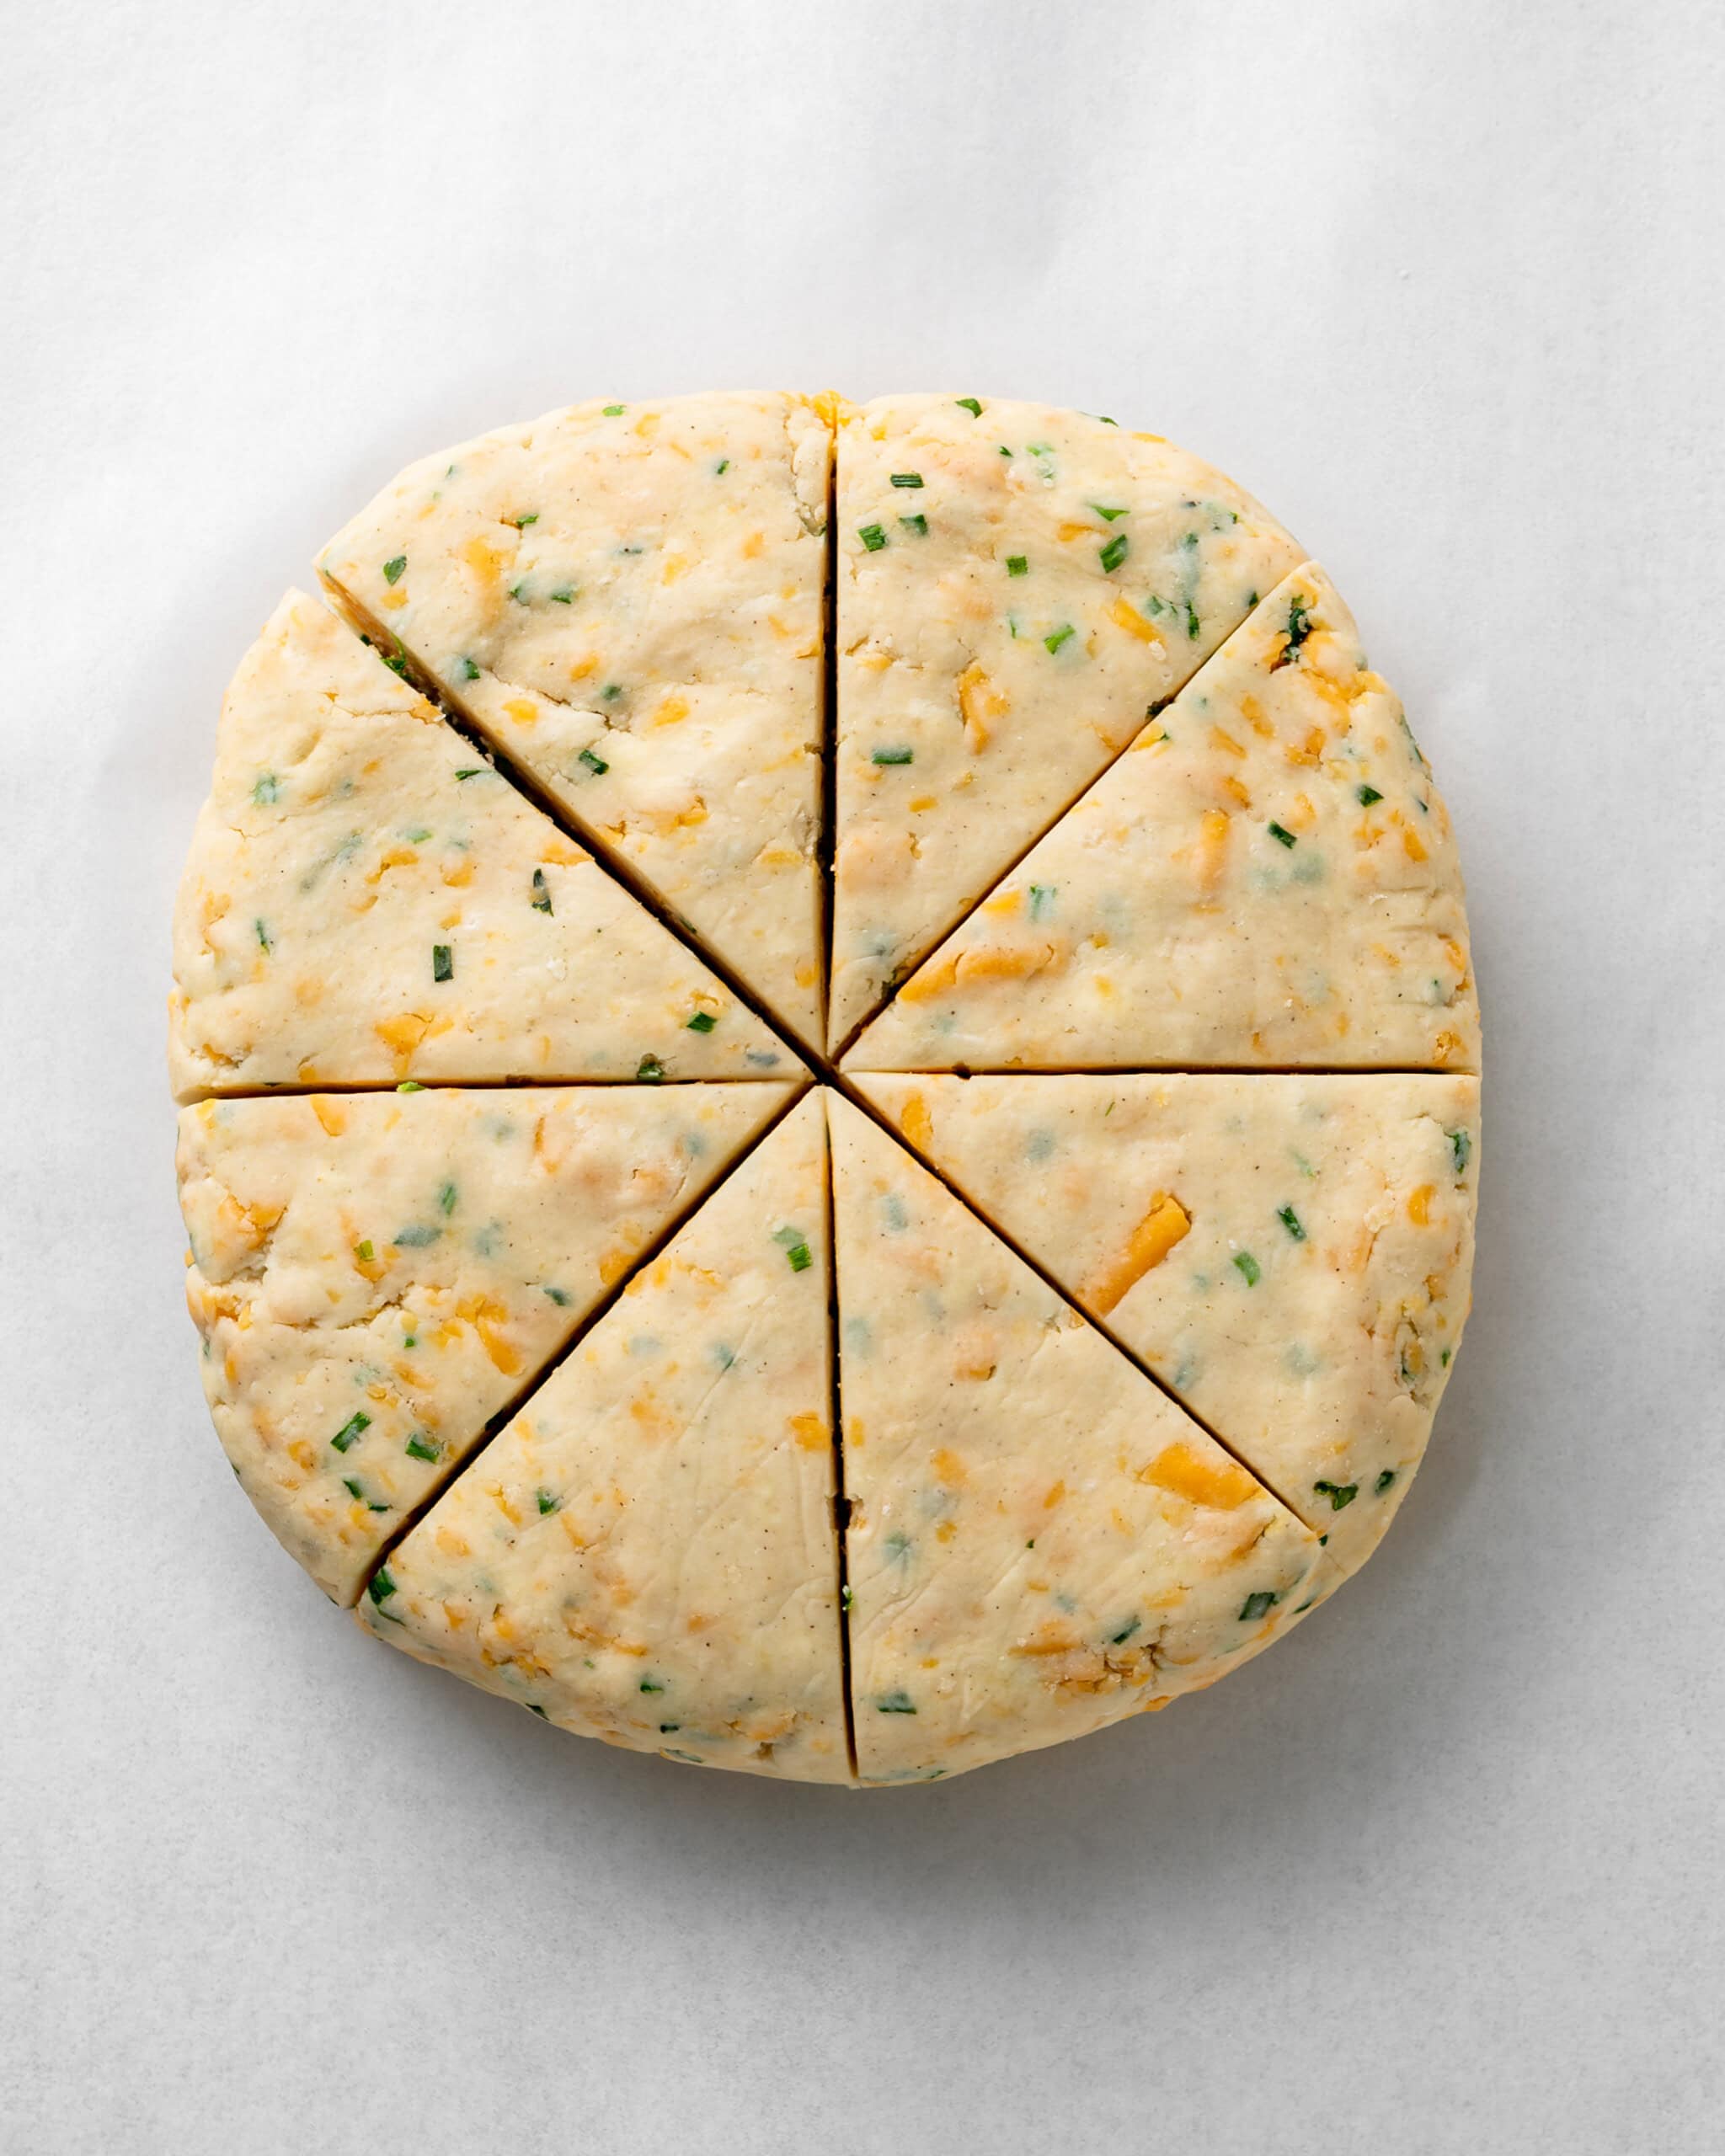
Step 8: Final chill and cut. After chilling for 30 minutes, cut the dough into 8 triangular wedges with a sharp knife. Place the wedges on a parchment-lined baking sheet, spacing them equally apart, and freeze for another 30 minutes.
Prepare for Baking
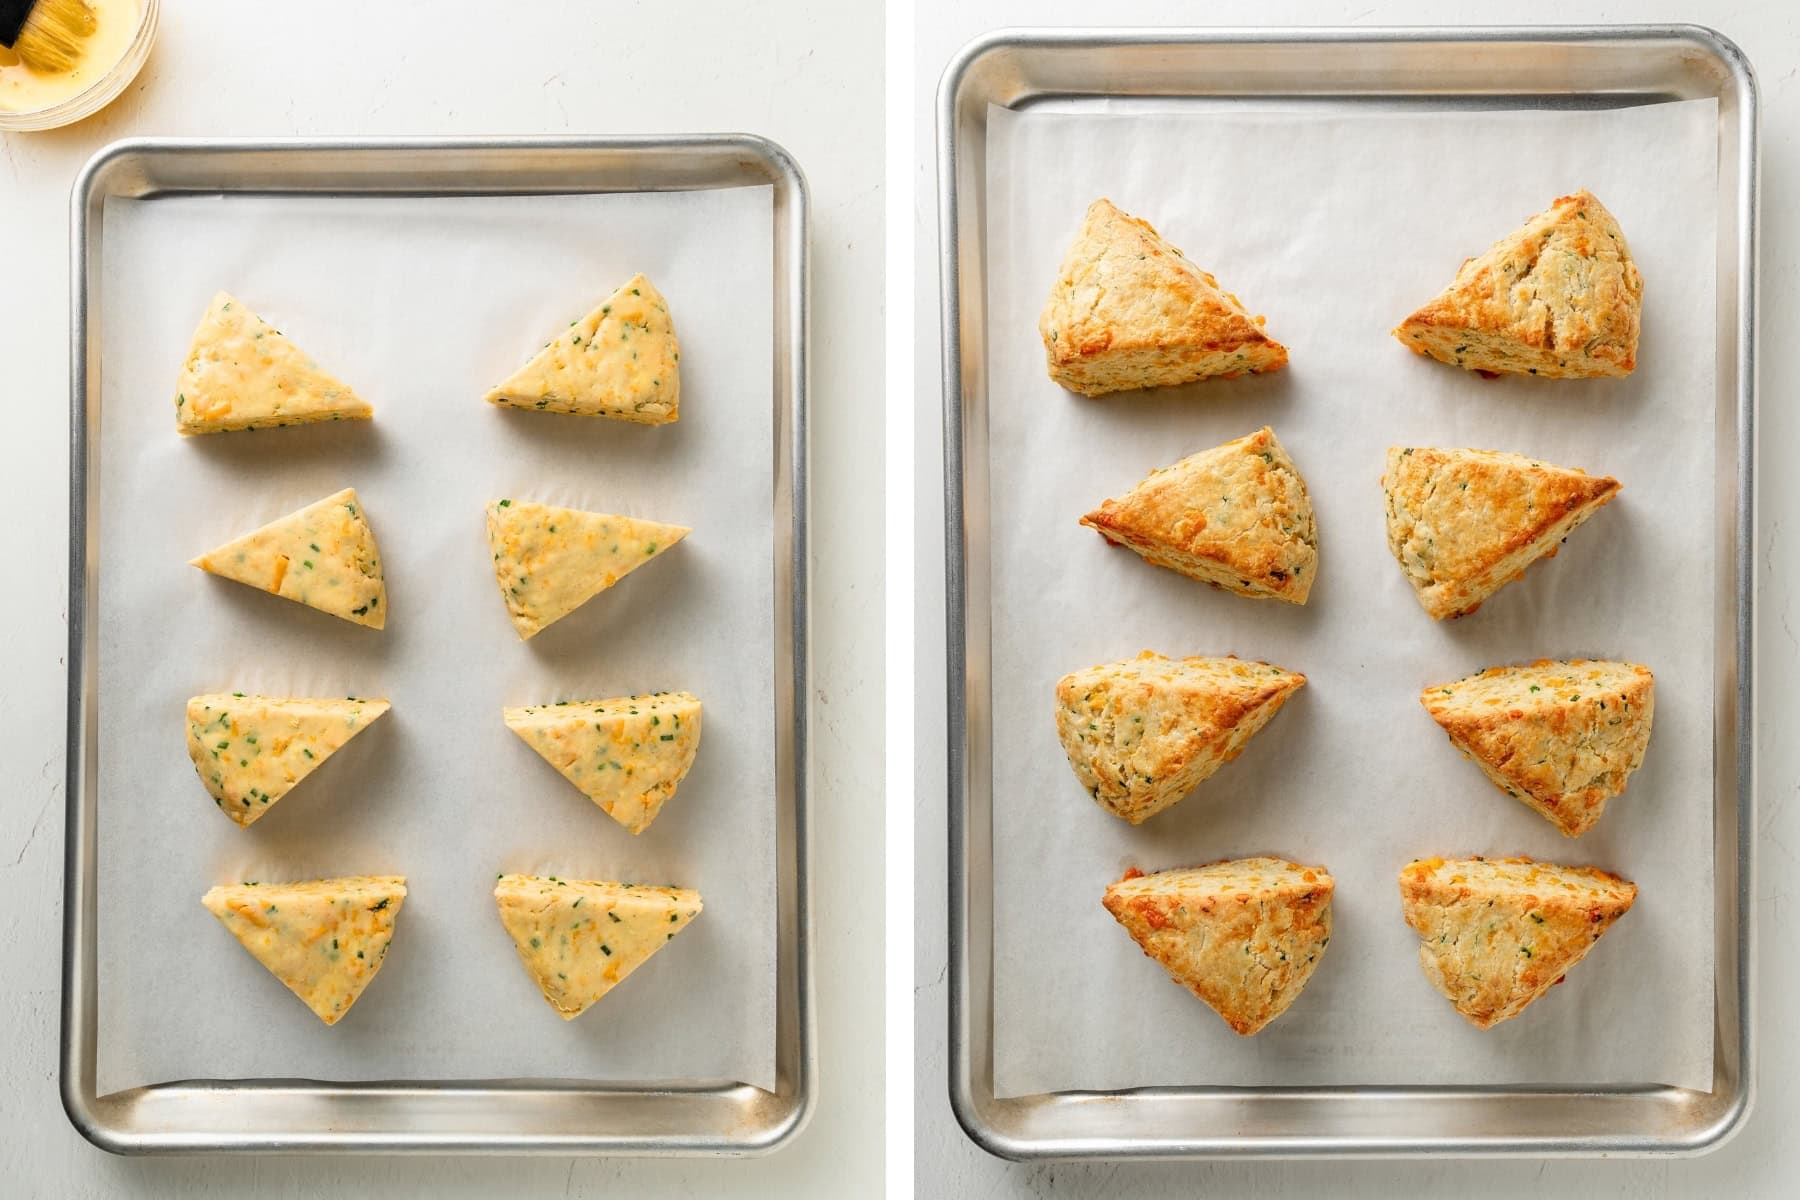
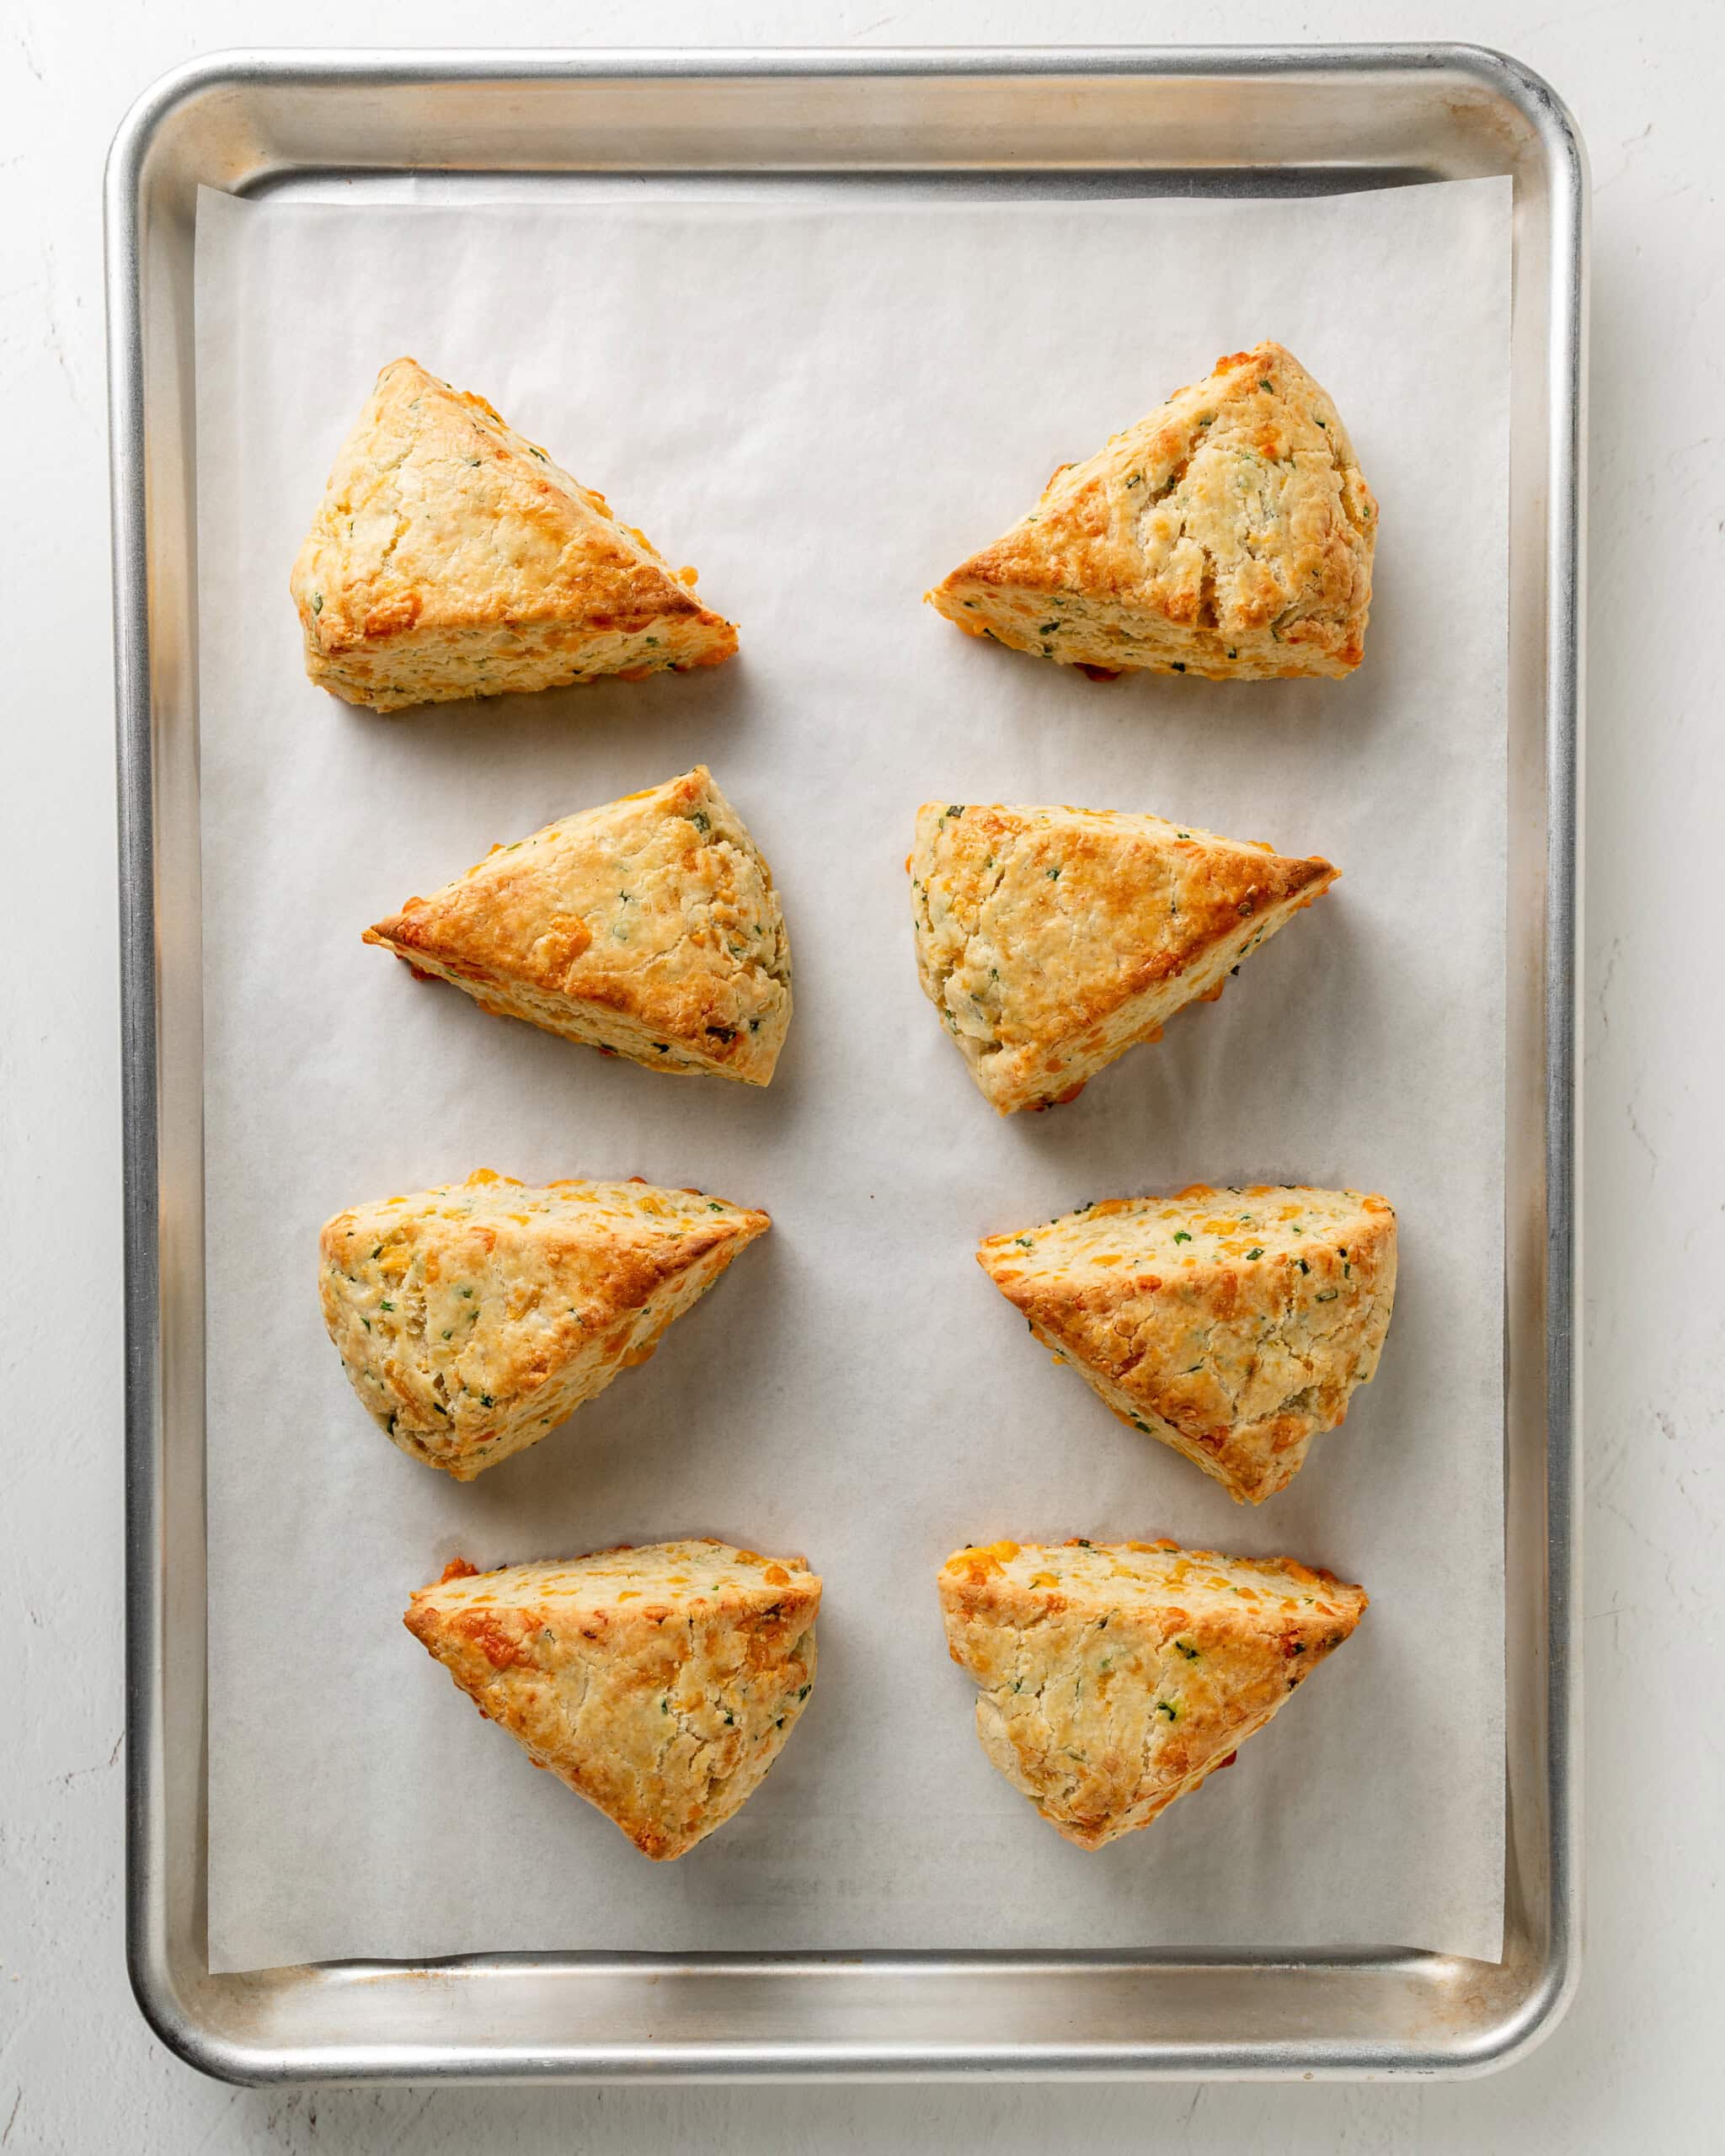
Step 9: Egg wash and finish. In a small bowl, whisk together one egg and a tablespoon of heavy cream. Brush the tops of the scones with the egg wash for a rich, golden-brown finish.
Step 10: Bake. Place the baking sheet in the preheated oven at 400°F and bake for 20 minutes, or until the scones are beautifully golden brown.
Storage Instructions
Baked Scones (1–2 Days): Scones are best enjoyed fresh and warm. Wrap individual cooled scones in plastic wrap and store them in an airtight container at room temperature. To reheat, microwave for 8–12 seconds until warm.
Freezing Unbaked Scones (Up to 3 Months): For the freshest results, freeze the unbaked dough wedges.
- Place cut wedges on a parchment-lined sheet and freeze for 30 minutes until firm.
- Transfer to a freezer-safe bag or airtight container.
- To Bake: No need to thaw! Bake directly from frozen, brush with egg wash, and add 2–3 extra minutes to the bake time.
Freezing Baked Scones (Up to 2 Months)
- Allow the scones to cool completely to room temperature before wrapping each individually in plastic wrap. Store the wrapped scones in an airtight container or freezer-safe bag.
- To Serve: Remove the plastic wrap before thawing on a plate for about 3 hours. Taking the wrap off immediately prevents trapped moisture from making the scones sticky as they reach room temperature.
More Gluten-Free Scone Recipes
- Gluten-Free Scones (Plain)
- Gluten-Free Blueberry Scones
- Gluten-Free Chocolate Chip Scones
- Gluten-Free Cranberry Orange Scones
I hope you love this gluten-free cheddar and chive scone recipe as much as I do! If you make it, I’d love to hear how it turned out in the comment box below. Your review will help other readers in the community.
Recipe

Gluten-Free Cheddar Cheese and Chive Scones
Ingredients
Cheddar Chive Scones
- 2 cups (272g) Gluten-Free Flour, (Bob's Red Mill 1:1 Baking Flour)
- 1 tablespoon (12g) granulated sugar
- 1 tablespoon baking powder
- 1 teaspoon garlic powder
- ¾ teaspoon salt
- 8 tablespoons (113g) frozen unsalted butter (see notes)
- 8 tablespoons (120g) sour cream
- ¼ cup (60ml) heavy cream
- 1 large egg
- 1 cup (4 ounces) sharp cheddar cheese
- ¼ cup fresh chives, chopped
Egg Wash
- 1 large egg
- ½ tablespoon heavy cream
Instructions
- Combine dry ingredients. Whisk the dry ingredients together in a large bowl, or pulse a few times in a food processor to combine.

- Cut in frozen butter. Grate the frozen butter into the flour and quickly cut it in with a pastry blender (or forks) until coarse crumbs form. If using a food processor, pulse the diced frozen butter until the mixture reaches a coarse, crumbly texture, then transfer the mixture to a large bowl.
- Combine wet and dry. Next, make a well in the center of your dry ingredients. In a separate bowl, whisk together the heavy cream, sour cream, and one large egg. Pour that wet mixture right into the well and stir with a rubber spatula until the dough comes together. You’re looking for a slightly shaggy texture that still holds its shape when you pinch it.
- Fold in mix-ins. Gently fold in the sharp cheddar cheese and chives until they are evenly distributed throughout the shaggy dough.
- Turn out the dough. On a lightly floured surface, gently knead the dough until it comes together. Pat it into a 7x5-inch rectangle, then cut it in half vertically with a bench scraper or knife.
- Laminate. Stack one half of the dough directly on top of the other, lining up the sides as best as you can. Rotate the dough 90 degrees, then gently press it down to flatten it back into a 7x5-inch rectangle.Repeat this cutting and stacking process two more times (for a total of three stacks). This simple repetition is exactly how you build those signature flaky layers!
- Shape into a disk and refrigerate. After that final stack, use your hands to shape the dough into a 7-inch disk, about 1 inch thick. Wrap the disk tightly in plastic wrap and let it chill in the refrigerator for 30 minutes. This gives the dough time to relax and ensures your layers stay perfectly defined.
- Final chill and cut. After chilling for 30 minutes, cut the dough into eight wedges using a sharp knife. Press straight down and lift back up without sawing to preserve the layers, wiping the blade clean between each cut. Arrange the wedges evenly on a parchment-lined baking sheet and place them in the freezer for 30 minutes. While they chill, preheat your oven to 400°F.
- Egg wash and finish. After 30 minutes, pull your scones from the freezer. In a small bowl, whisk together one egg and half a tablespoon of heavy cream. Lightly brush the tops with the egg wash for that gorgeous, golden-brown finish.Pro tip: Be careful to keep the egg wash on the tops only! If it drips down the sides, it can actually 'glue' the layers together and keep them from rising evenly
- Bake and cool. Slide the baking sheet into your preheated 400°F oven and bake for 20 minutes, or until the scones are a beautiful golden brown.To make sure they're perfectly done, you can insert a toothpick into the center (it should come out clean) or use an instant-read thermometer to check that the internal temperature has reached at least 190°F.Once they’re out of the oven, move them to a wire rack to cool for at least 20 minutes before diving in. I know it’s hard to wait, but this cooling time is essential for the crumb to set perfectly!


Comments
No Comments