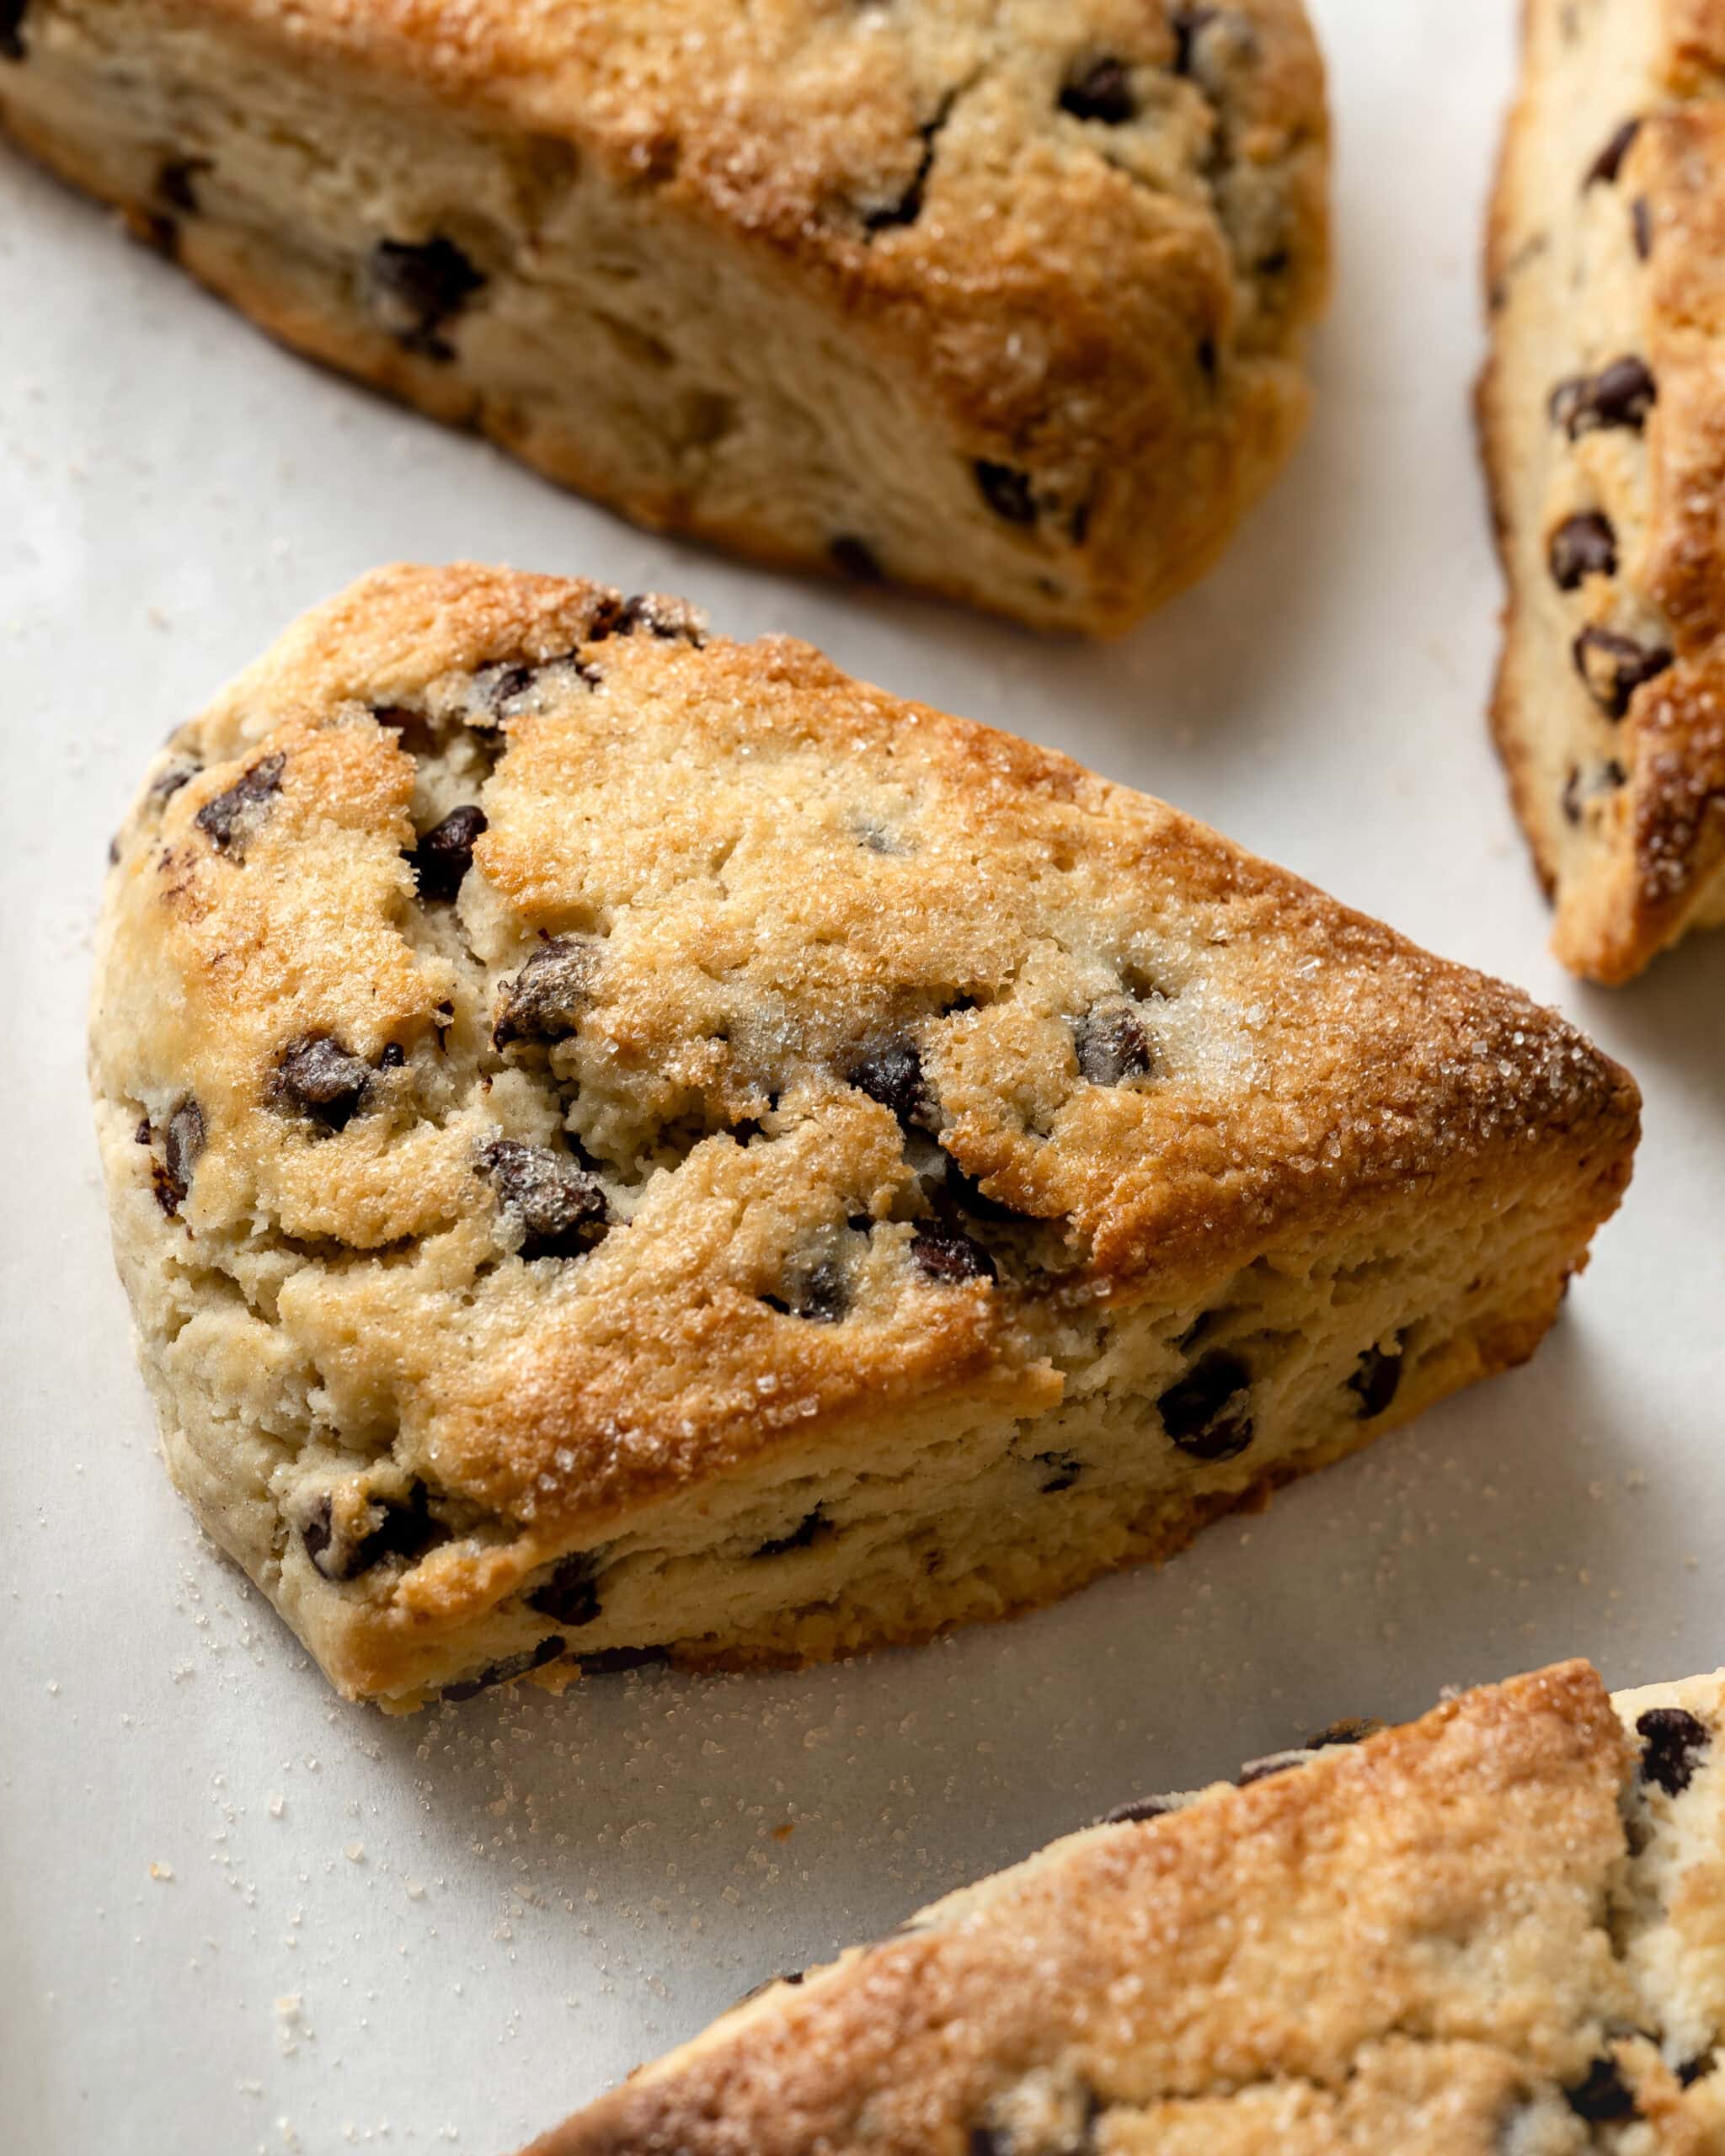
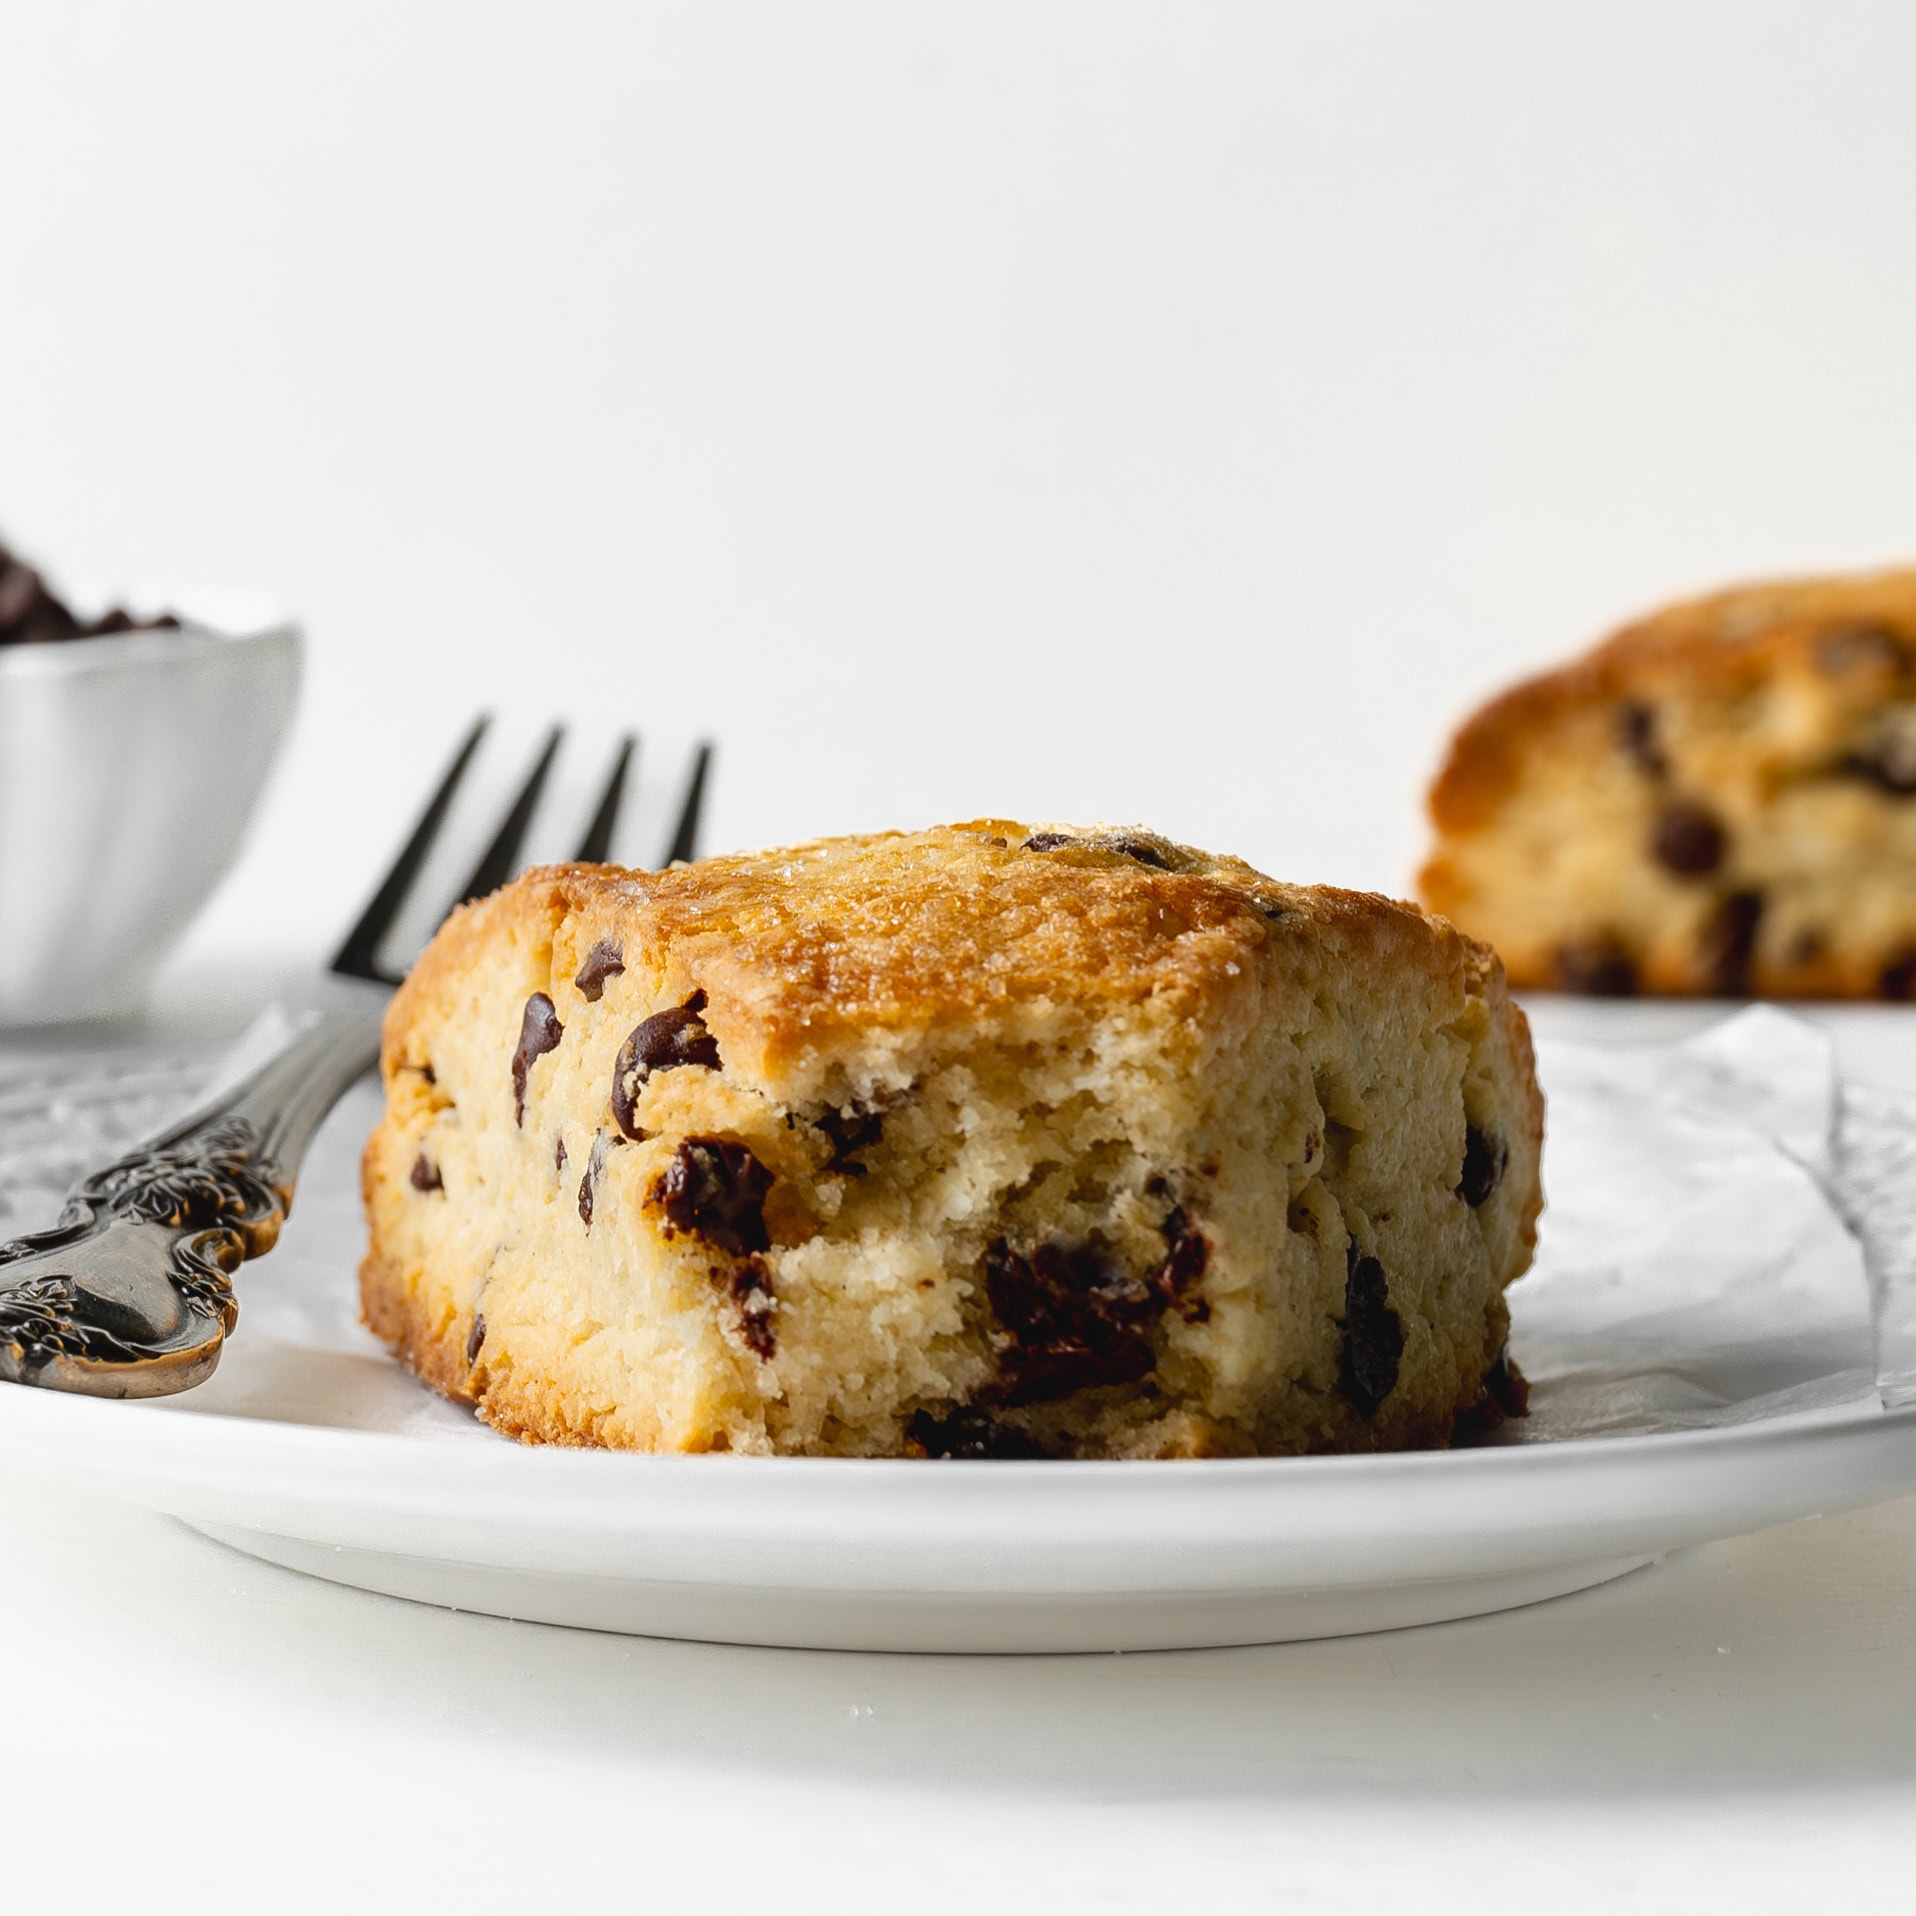
These gluten-free chocolate chip scones are pure perfection, with a tender crumb, a crisp golden exterior, and warm, gooey pockets of melted chocolate chips in every bite.

Why You'll Love These Gluten Free Chocolate Chip Scones
These gluten-free chocolate chip scones are a truly decadent treat! We use my master gluten-free scone recipe as a base to create this rich, chocolatey variation. Here's why you will love this gluten-free chocolate chip scone recipe:
- Perfectly Sweet: These rich chocolate scones have just the right amount of sweetness, making them a treat you can enjoy any time of day.
- Light & Fluffy: The texture is everything you could want in a scone—tender, light, and wonderfully fluffy.
Gluten Free Chocolate Chip Scone Ingredients
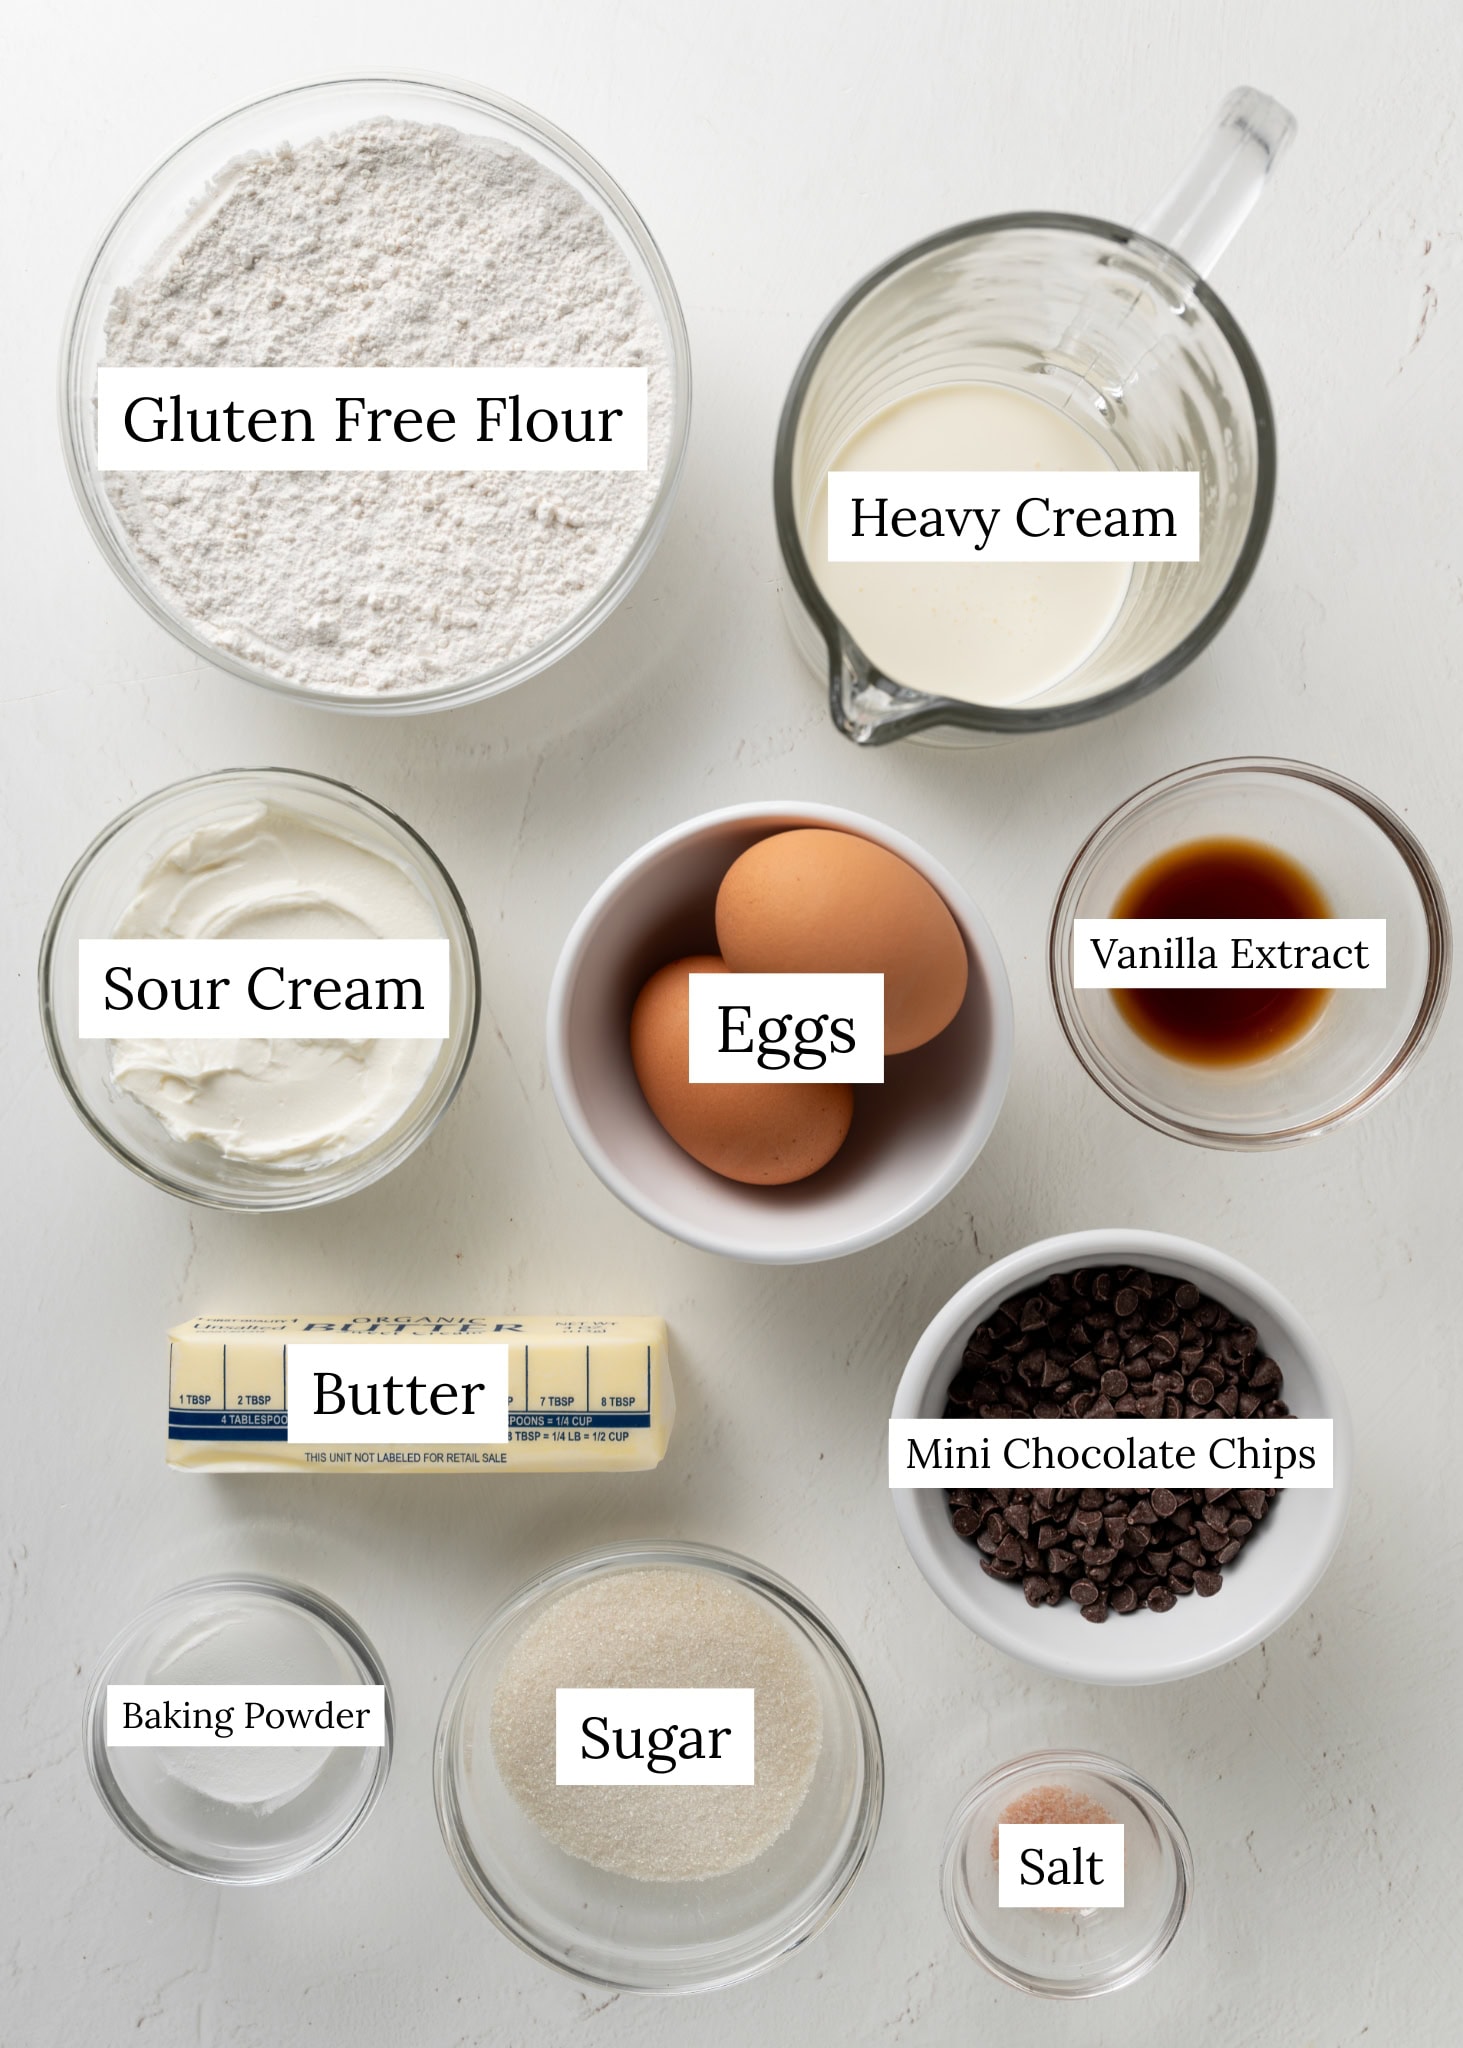
Ingredient Notes
Here are a few notes on some of the key ingredients to make this gluten-free chocolate chip scone recipe. See the recipe card below for exact measurements.
- Gluten-Free Flour: For a tender crumb and the best overall texture, choose a high-quality gluten-free flour blend with xanthan gum, like Bob’s Red Mill Gluten-Free 1:1 Baking Flour.
- Baking Powder: To guarantee your scones rise beautifully and have a light, airy crumb, a generous tablespoon of baking powder is crucial, as it acts as a powerful leavening agent.
- Sour Cream & Heavy Whipping Cream: For a pleasant tang and a rich flavor, we'll be using sour cream and heavy cream. These ingredients are crucial for tender scones and help them hold their shape perfectly as they bake.
- Frozen Unsalted Butter: This is the most crucial element for creating flaky, high-rising scones. As the very cold butter melts in the hot oven, it releases steam. This steam creates distinct air pockets, resulting in those perfect flaky layers and a wonderfully crisp exterior.
- Mini Chocolate Chips: I recommend using mini semi-sweet chocolate chips for the best flavor and texture. I've found that using dark chocolate chips makes the scones a little too bitter.
Find the printable recipe card with full instructions and measurements below.
How To Make Gluten Free Chocolate Chip Scones
Here's an overview of how to make this recipe. For complete instructions, you can jump to the recipe card.
Make The Scone Dough
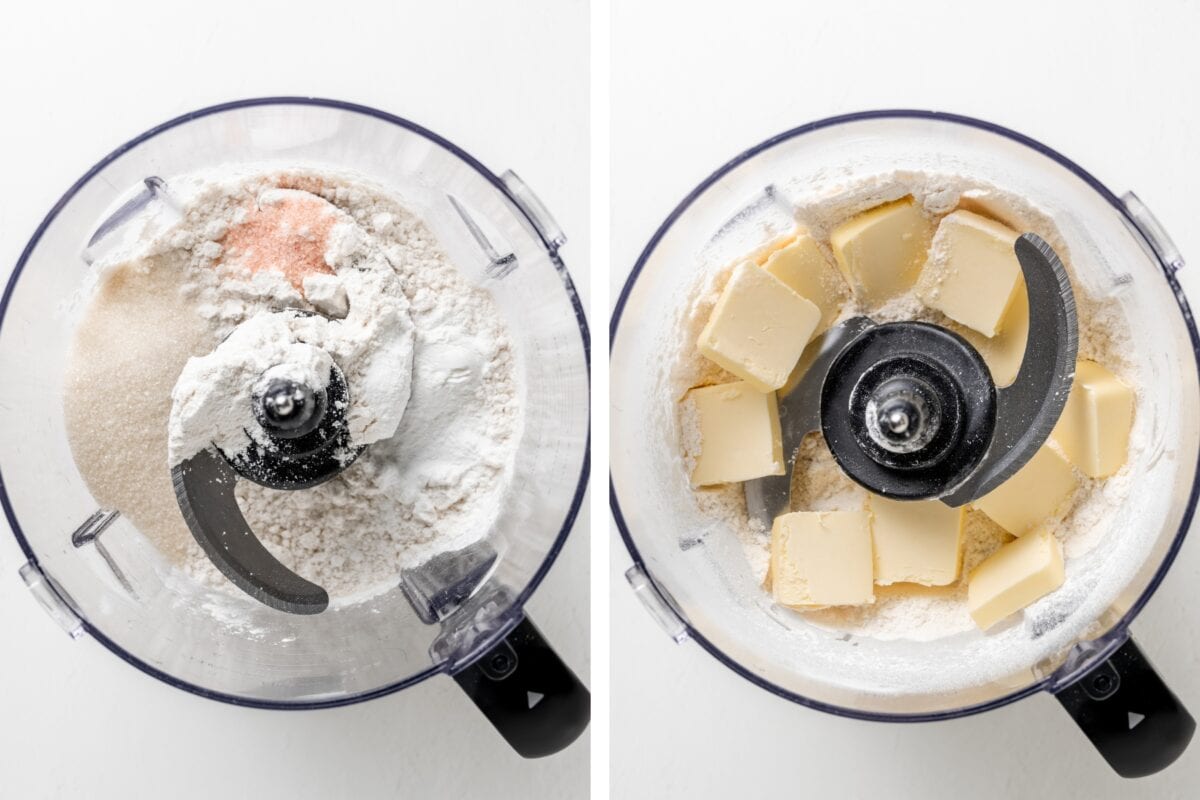
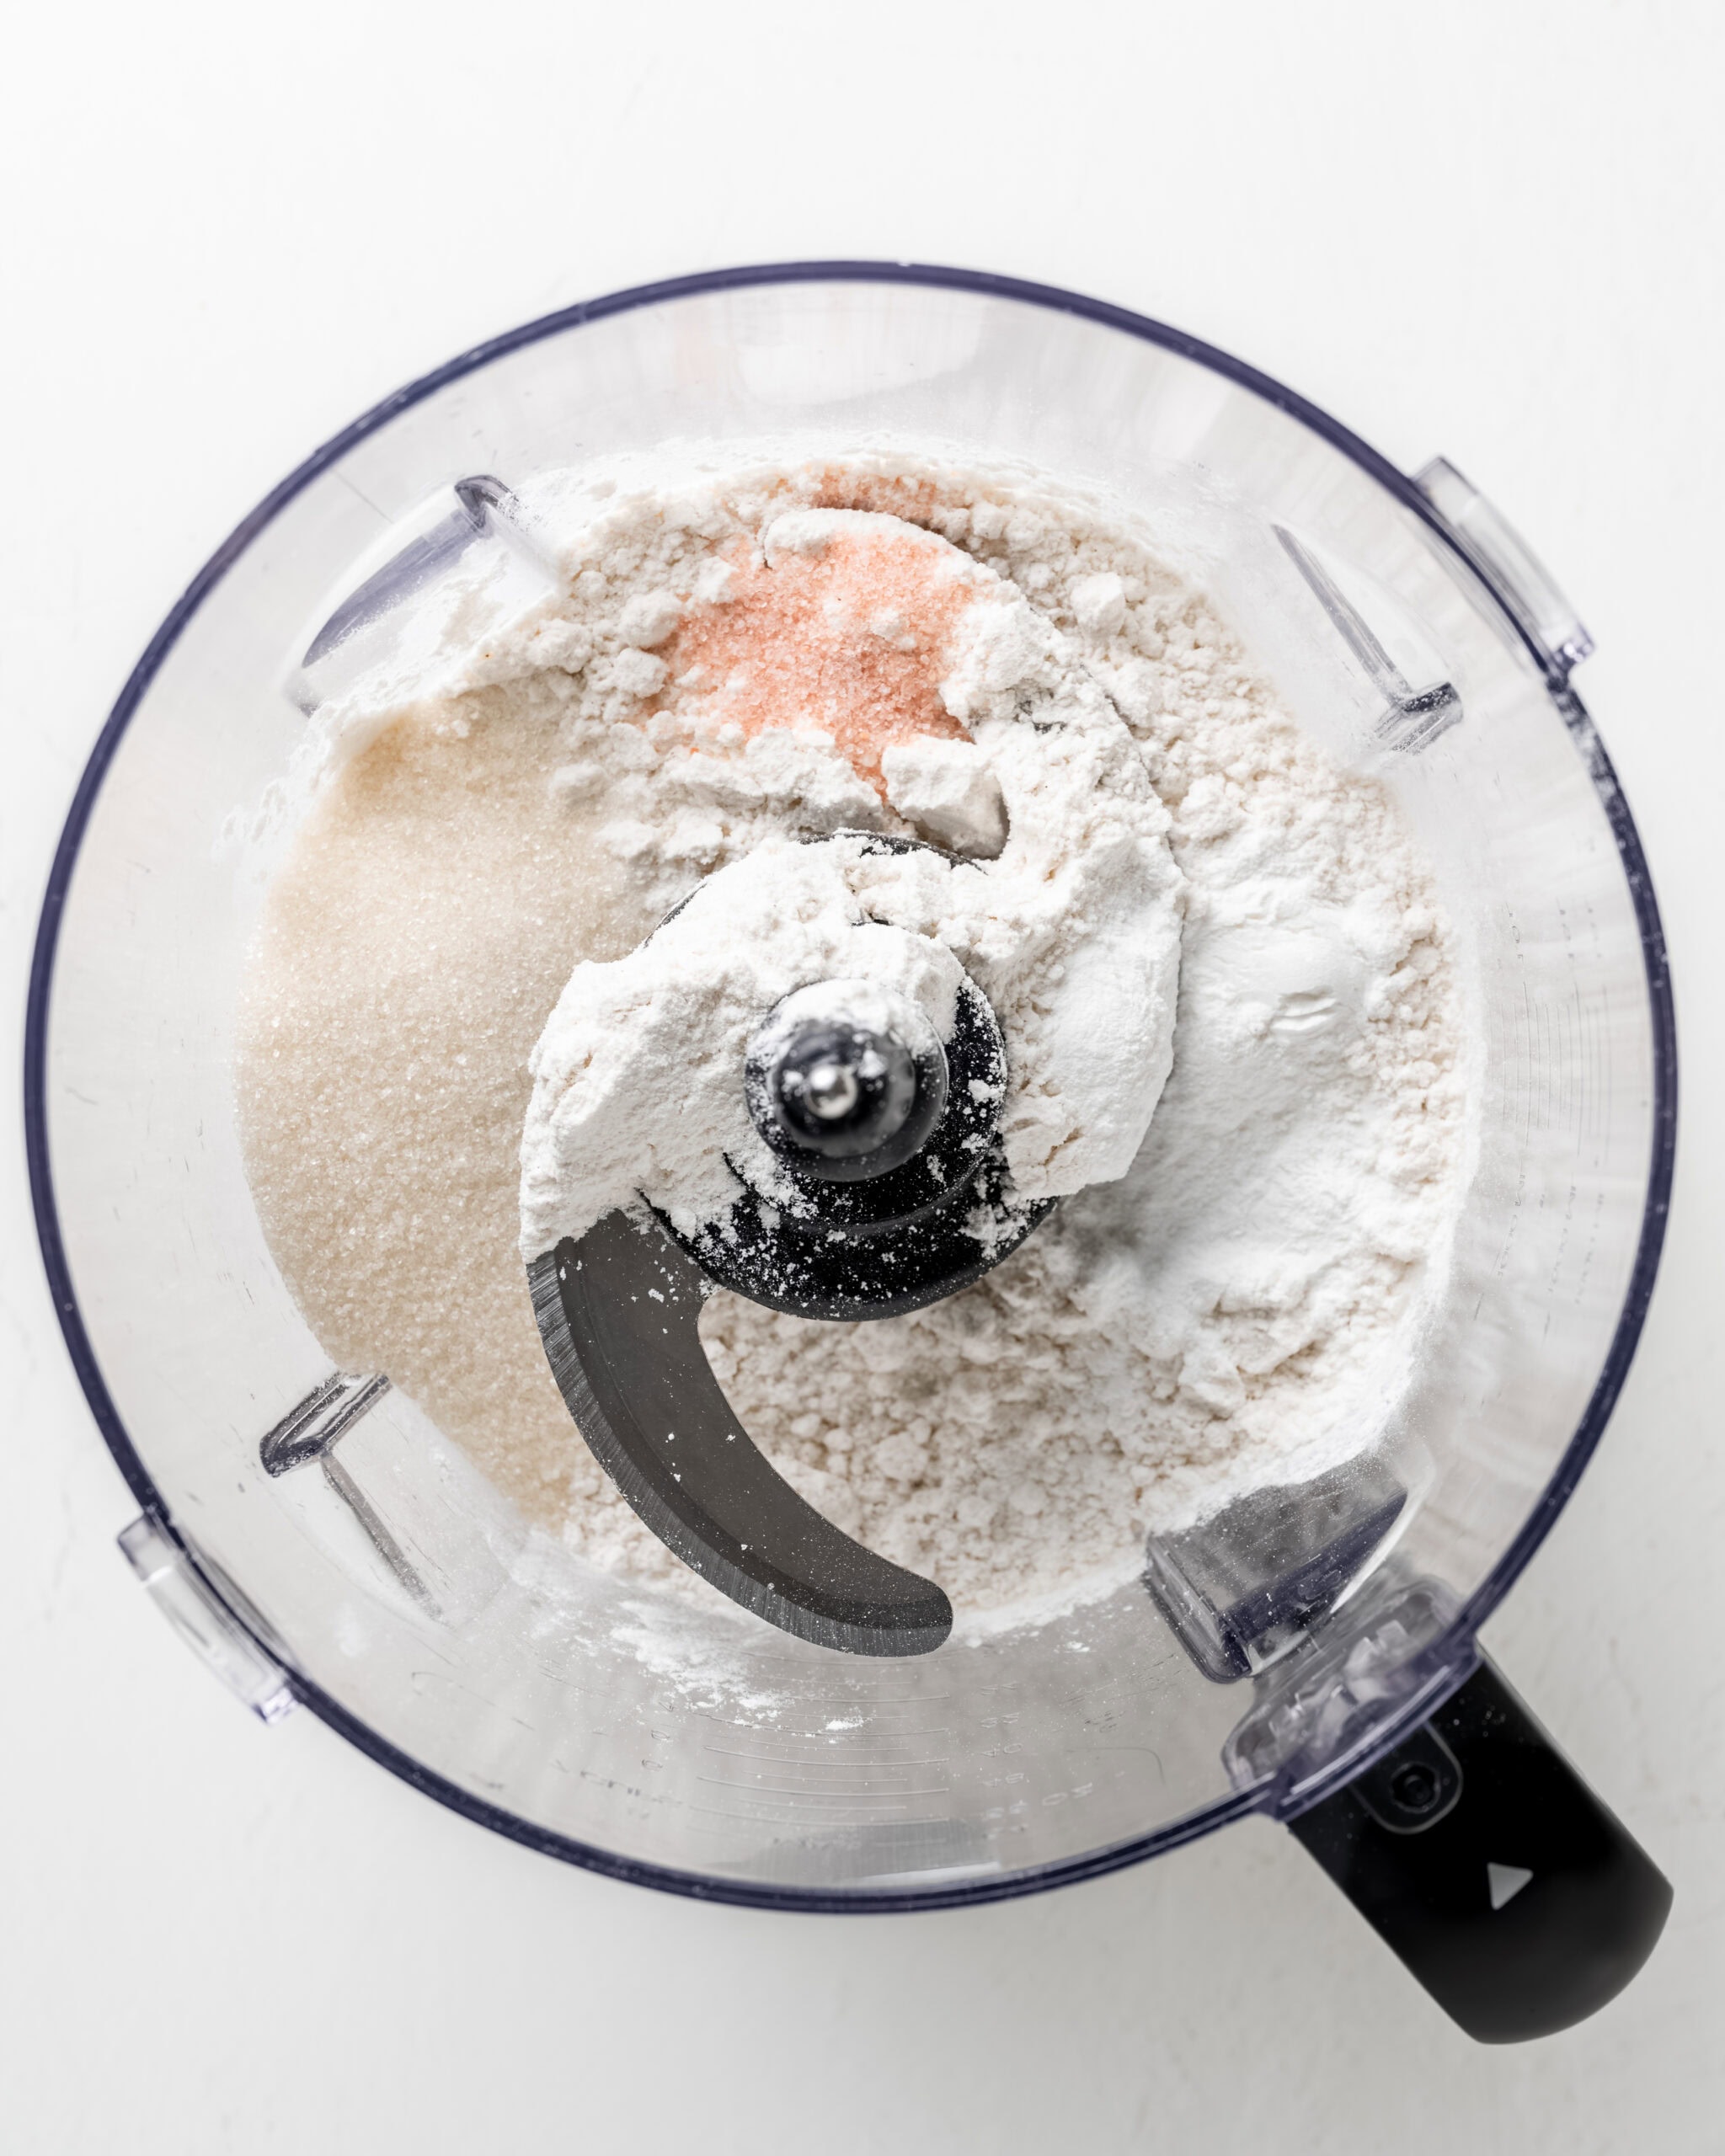
- Step 1: Combine the dry ingredients. Add the dry ingredients to a large bowl or a food processor. Whisk or pulse a few times to combine.
- Step 2: Add the frozen butter. Grate the frozen butter into the flour mixture and quickly cut it in with a pastry blender or two forks until coarse crumbs form; or, if using a food processor, dice the frozen butter and pulse it until coarse crumbs form, then transfer the dry mixture to a large mixing bowl.
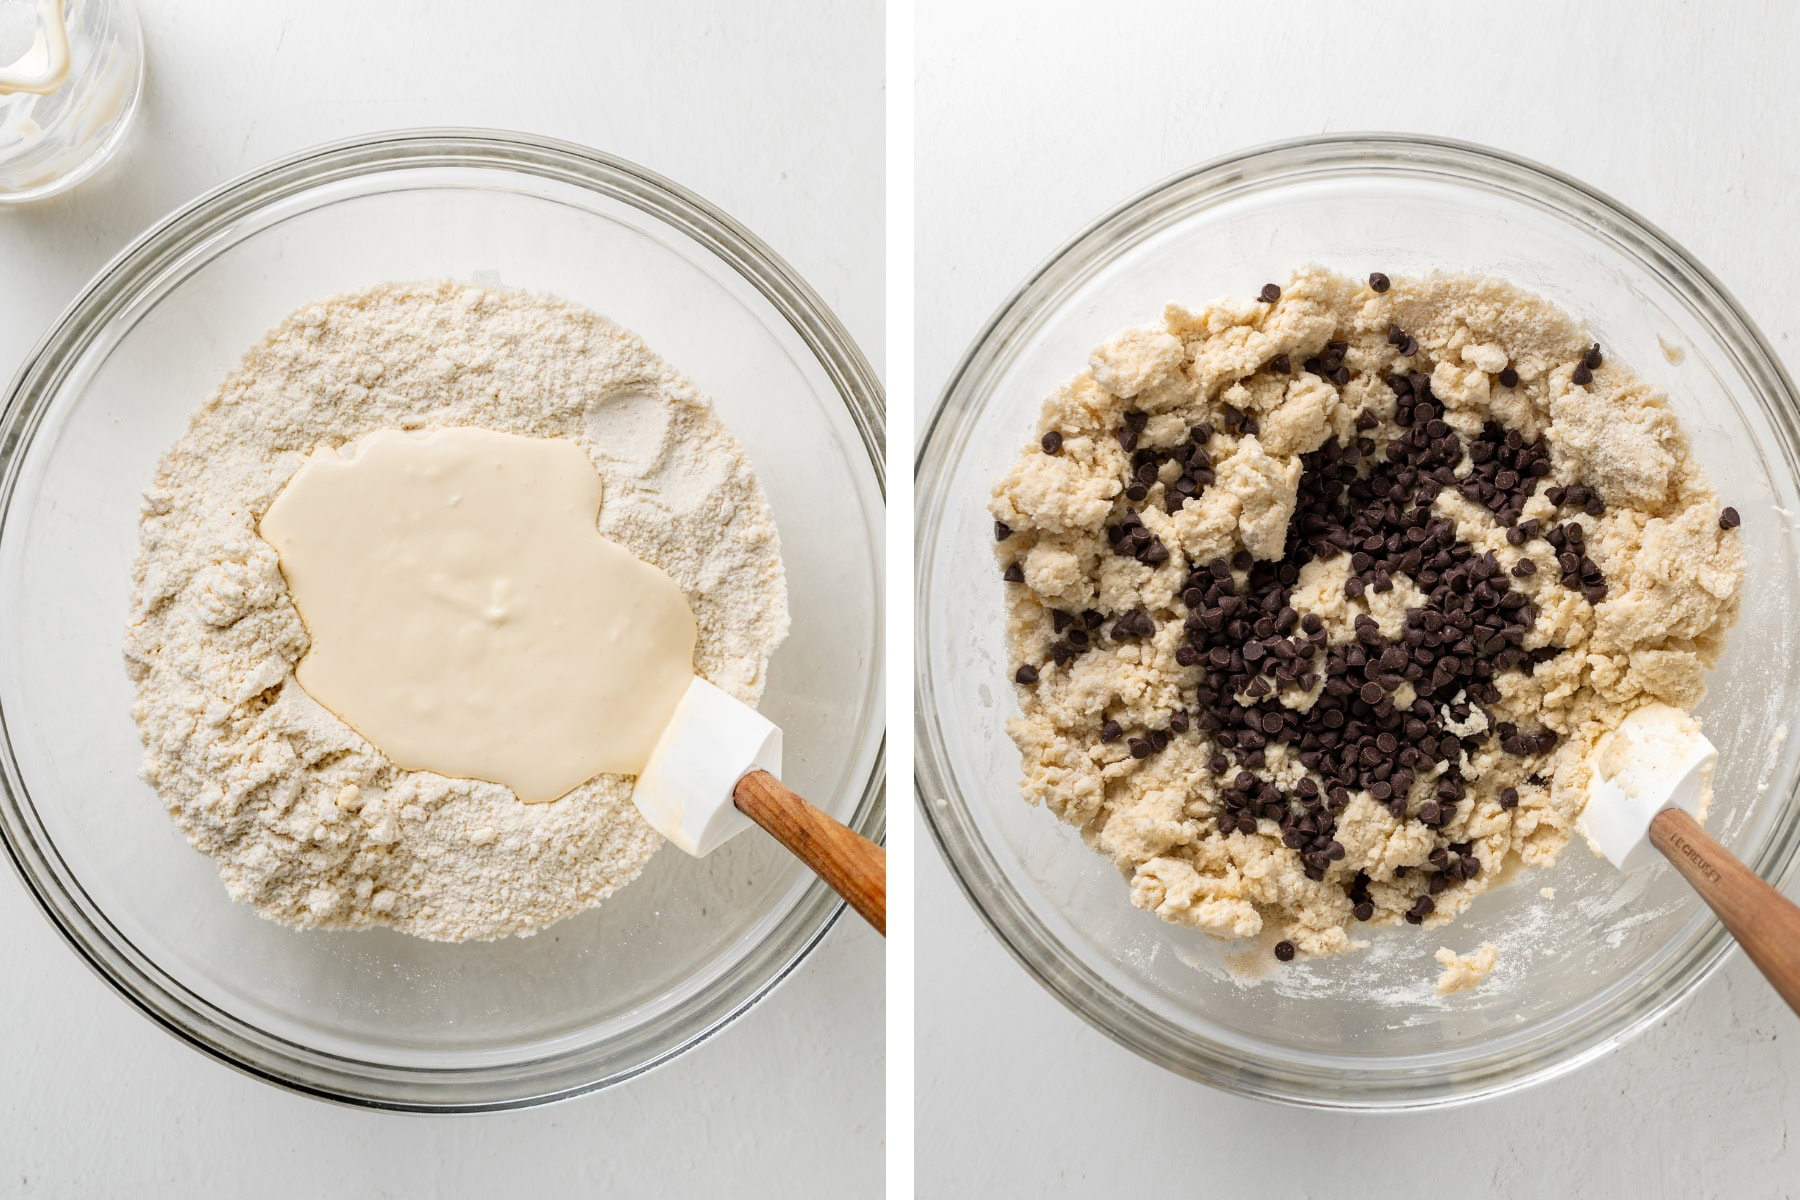
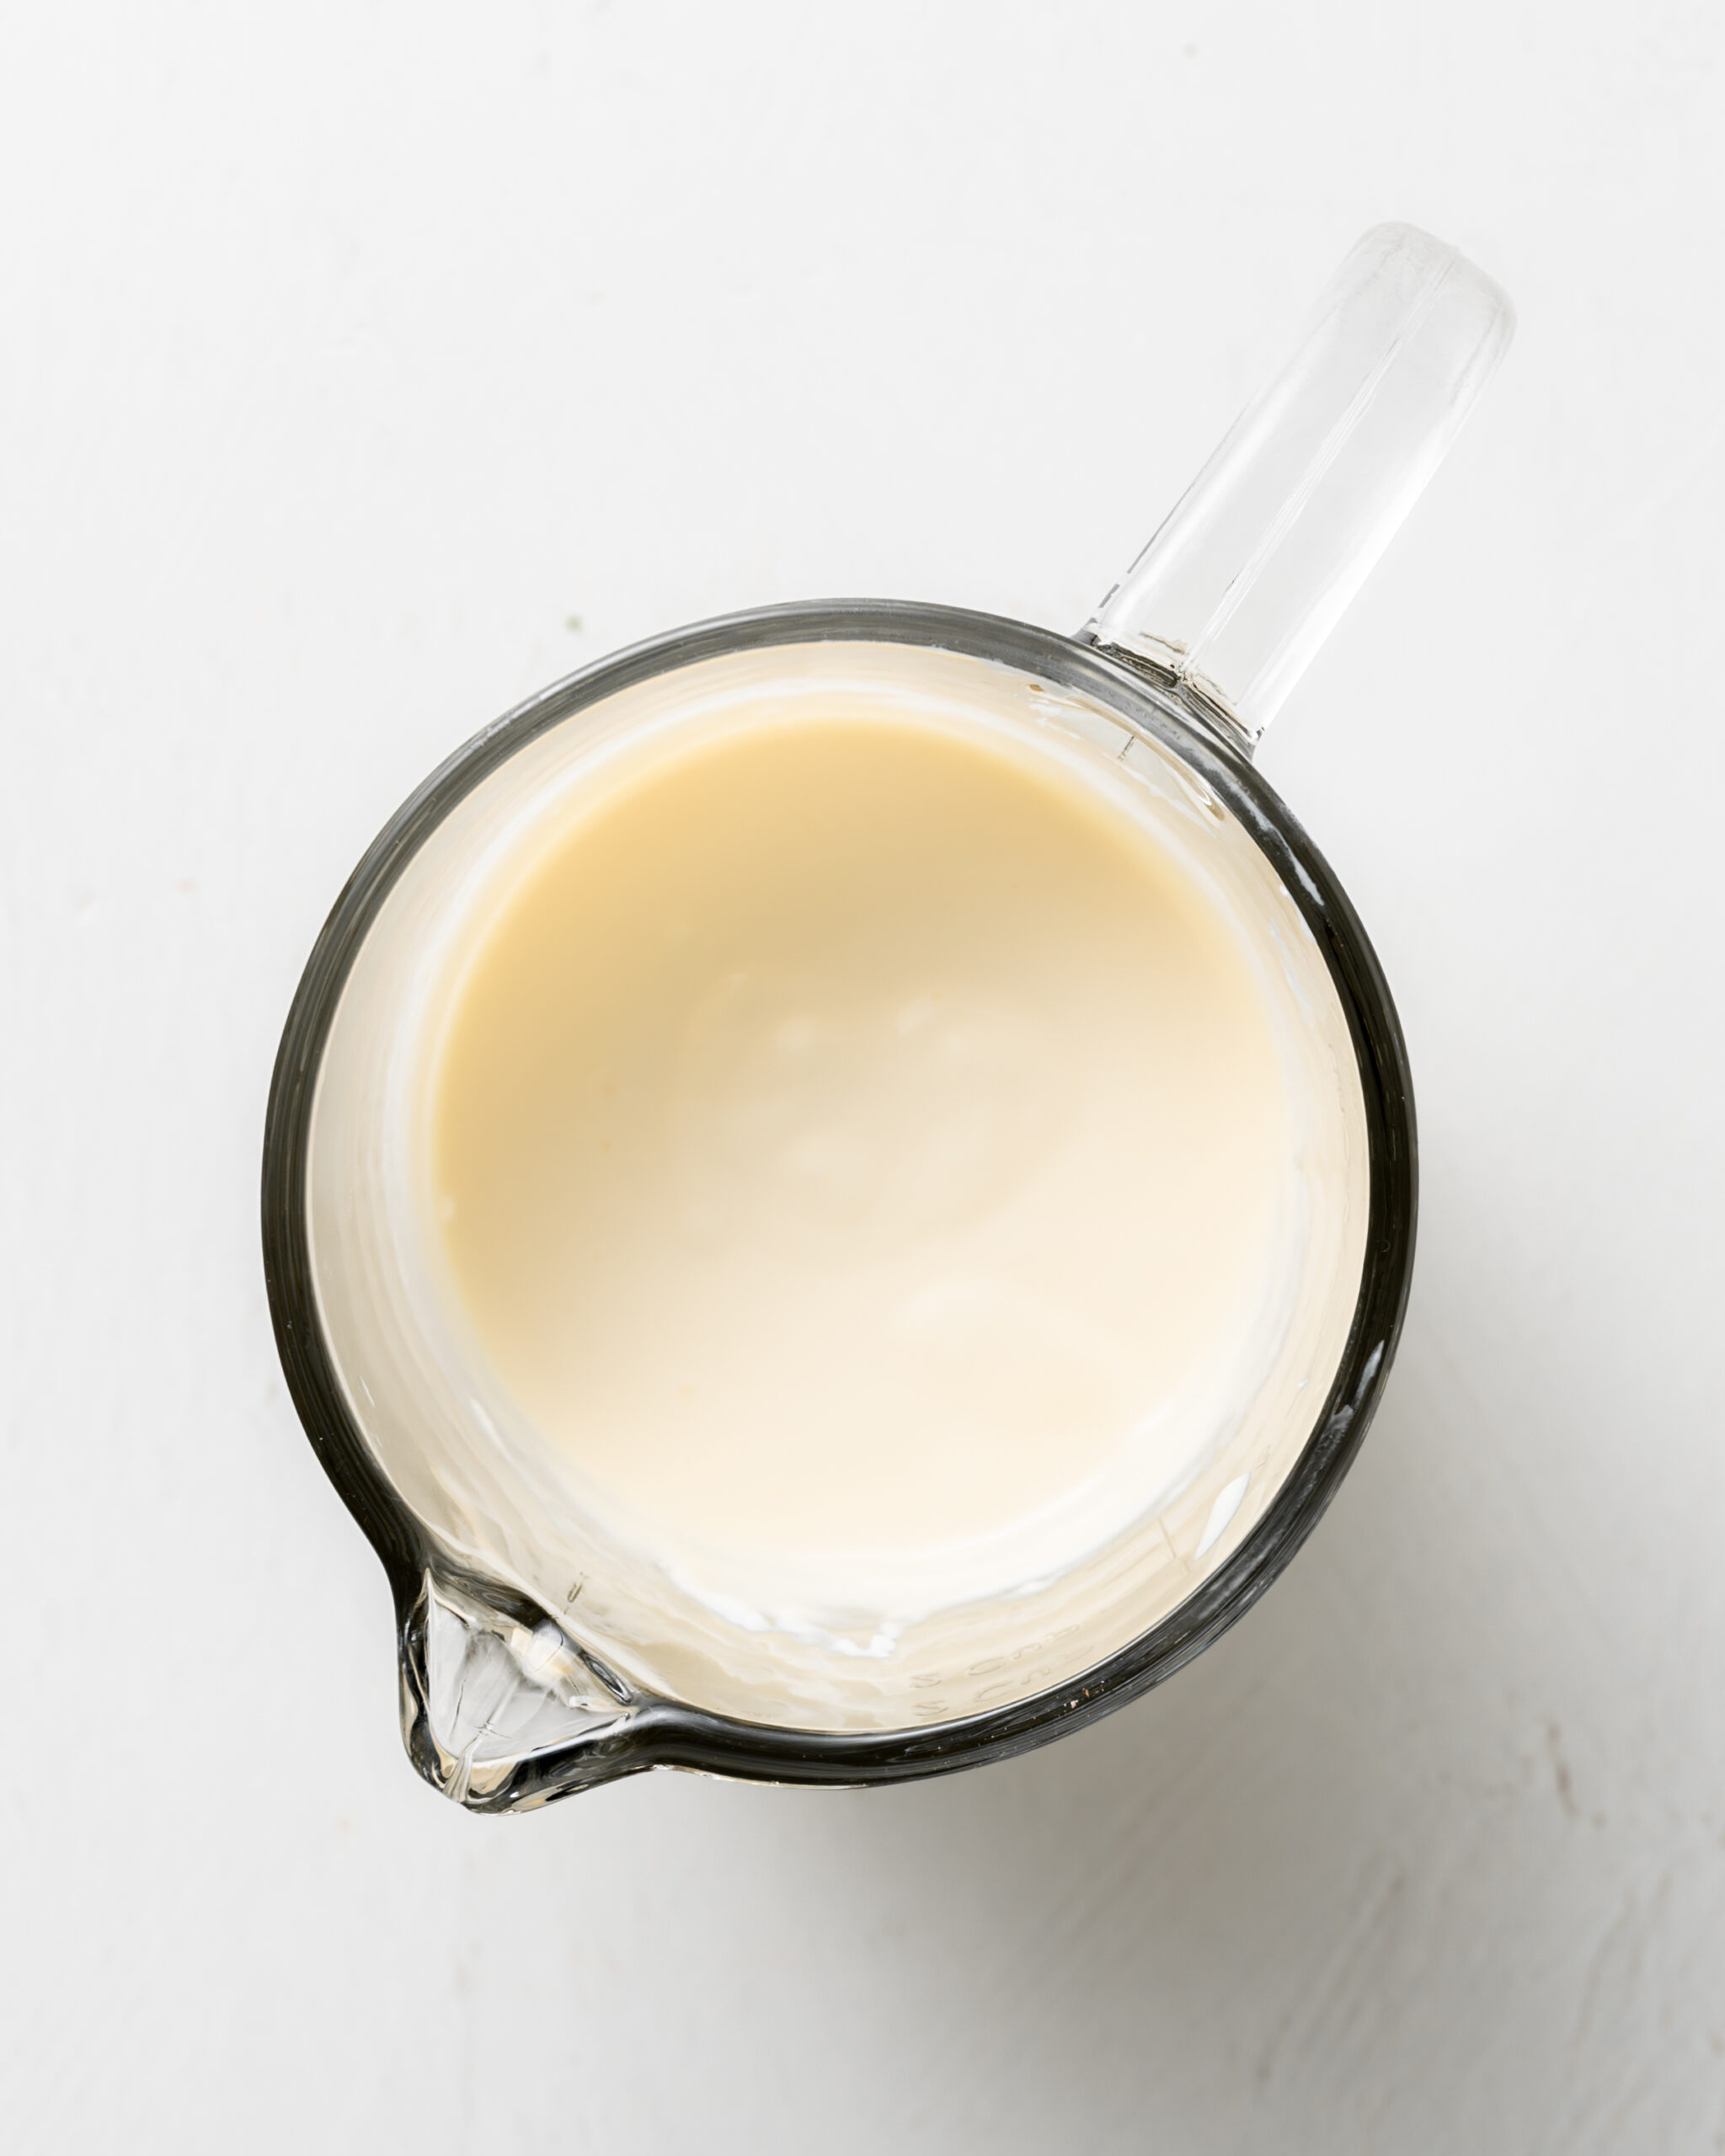
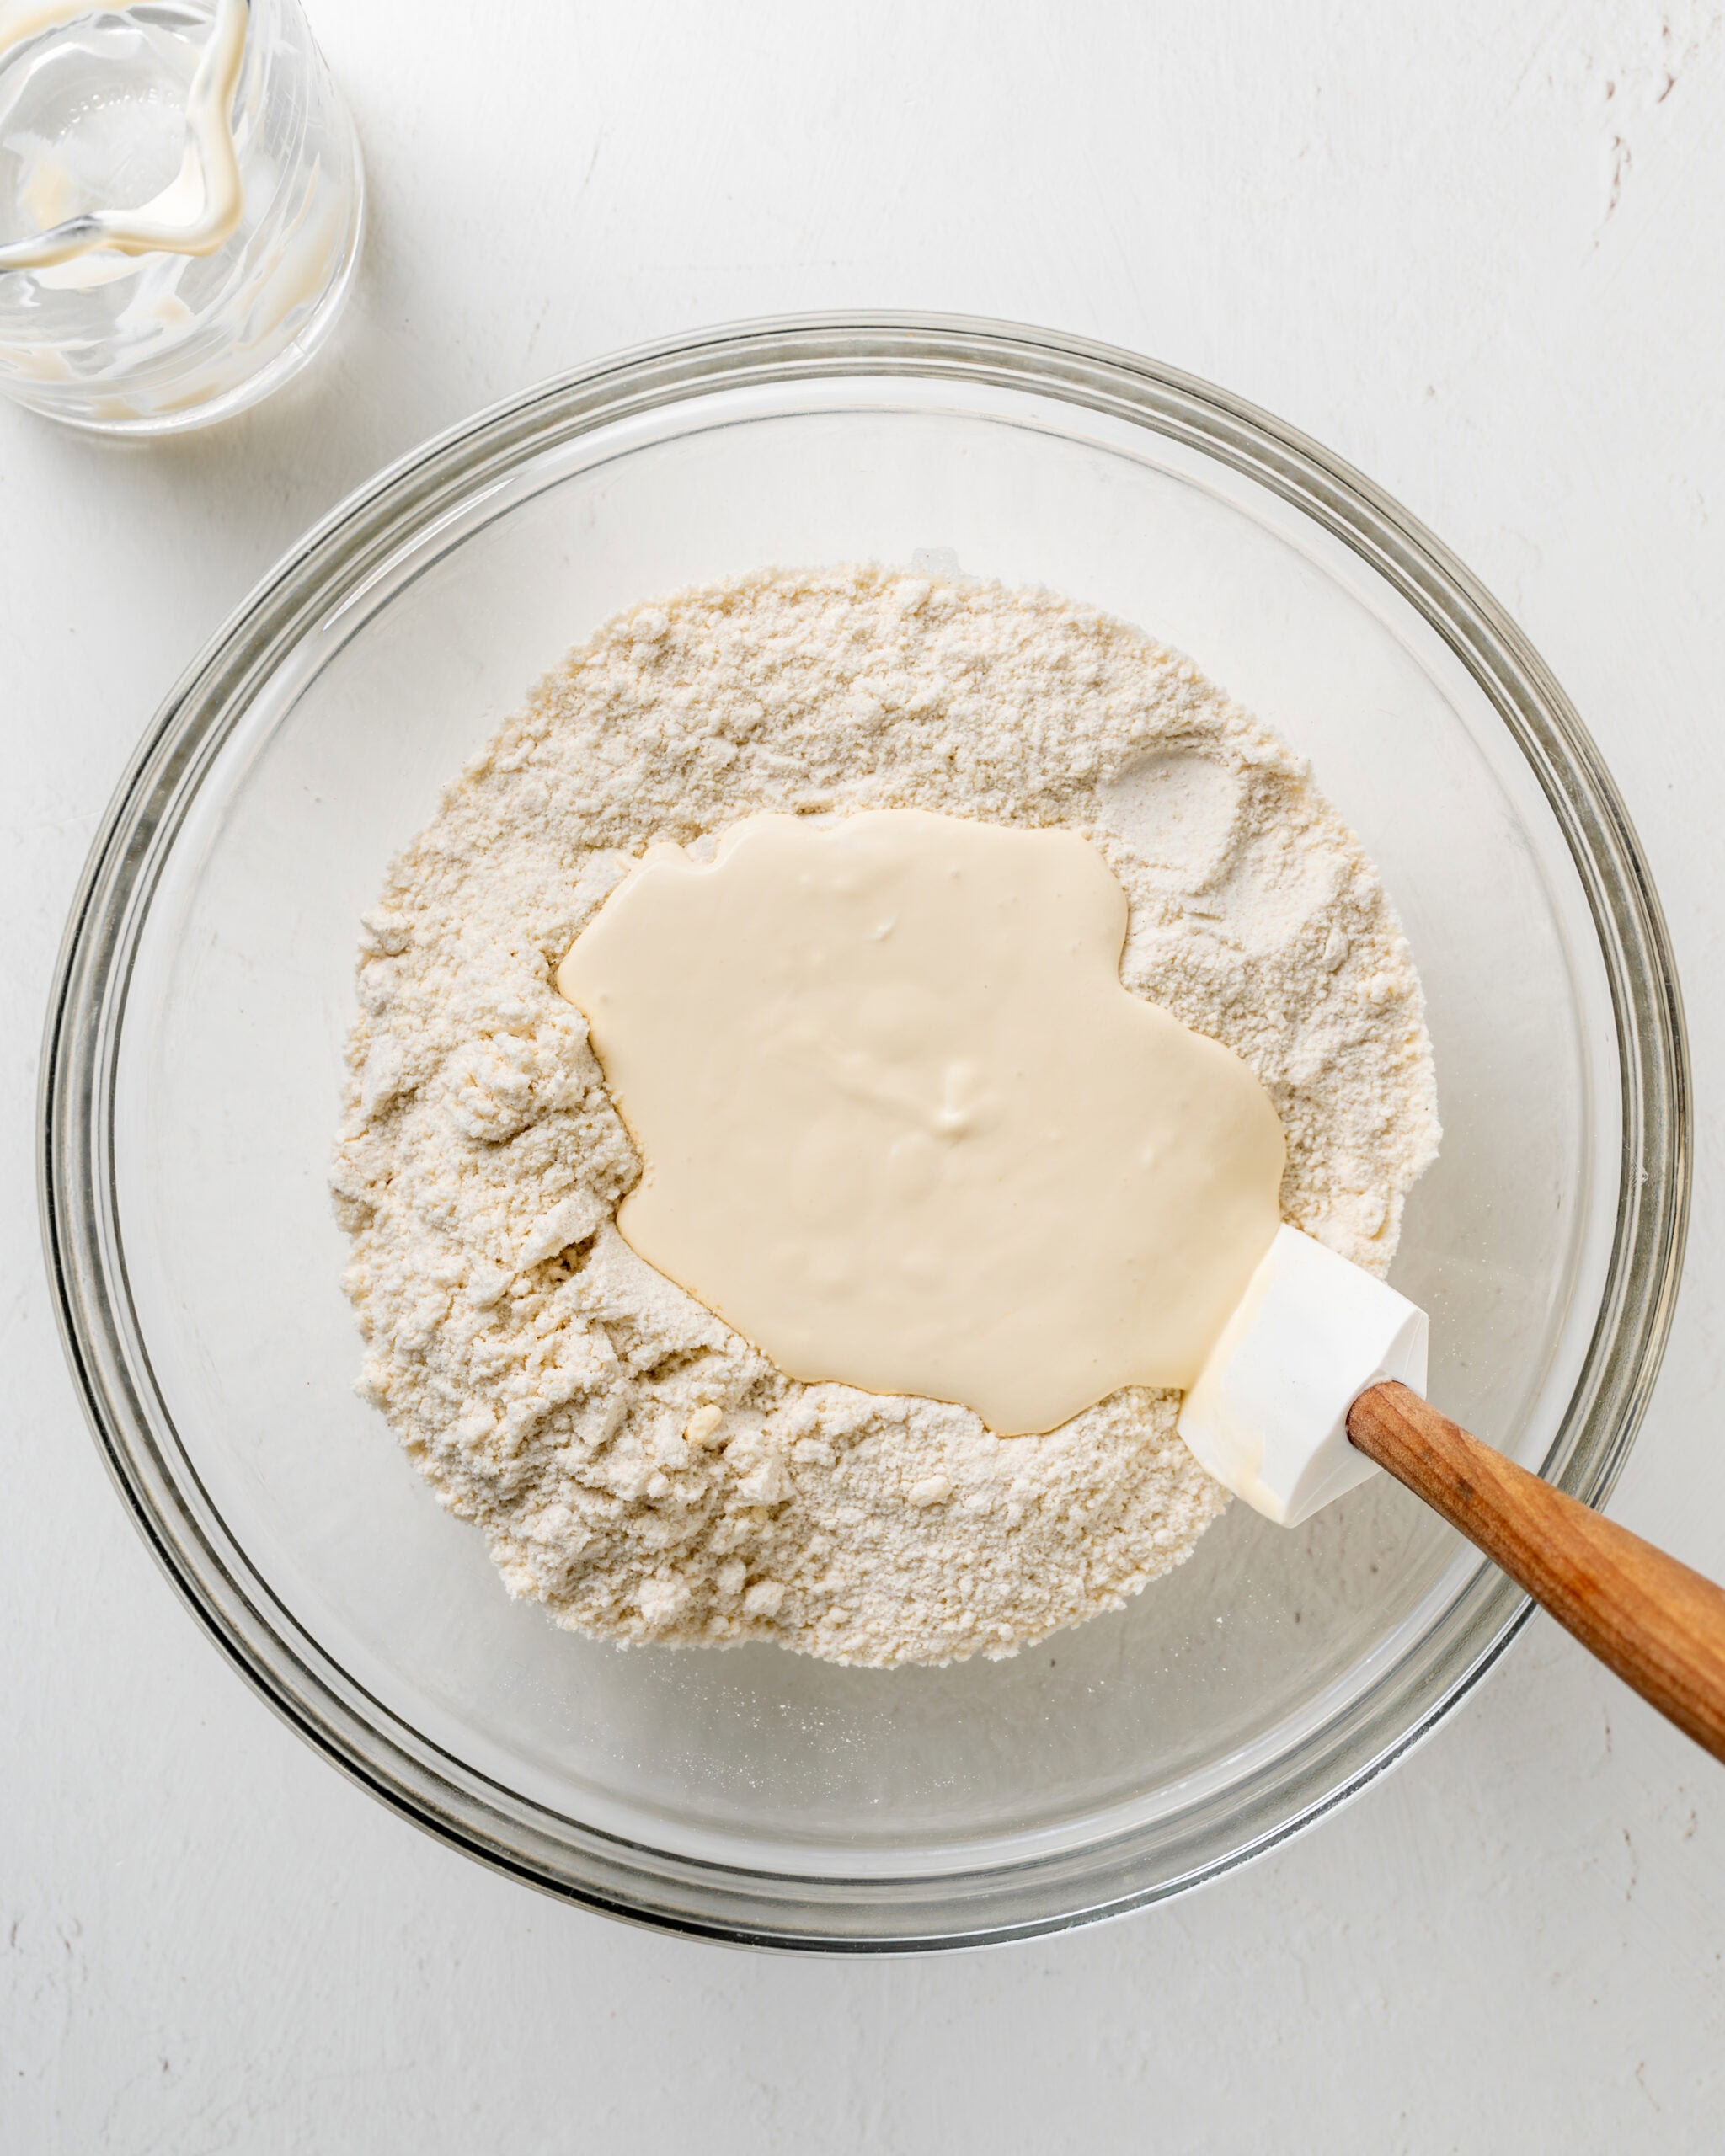
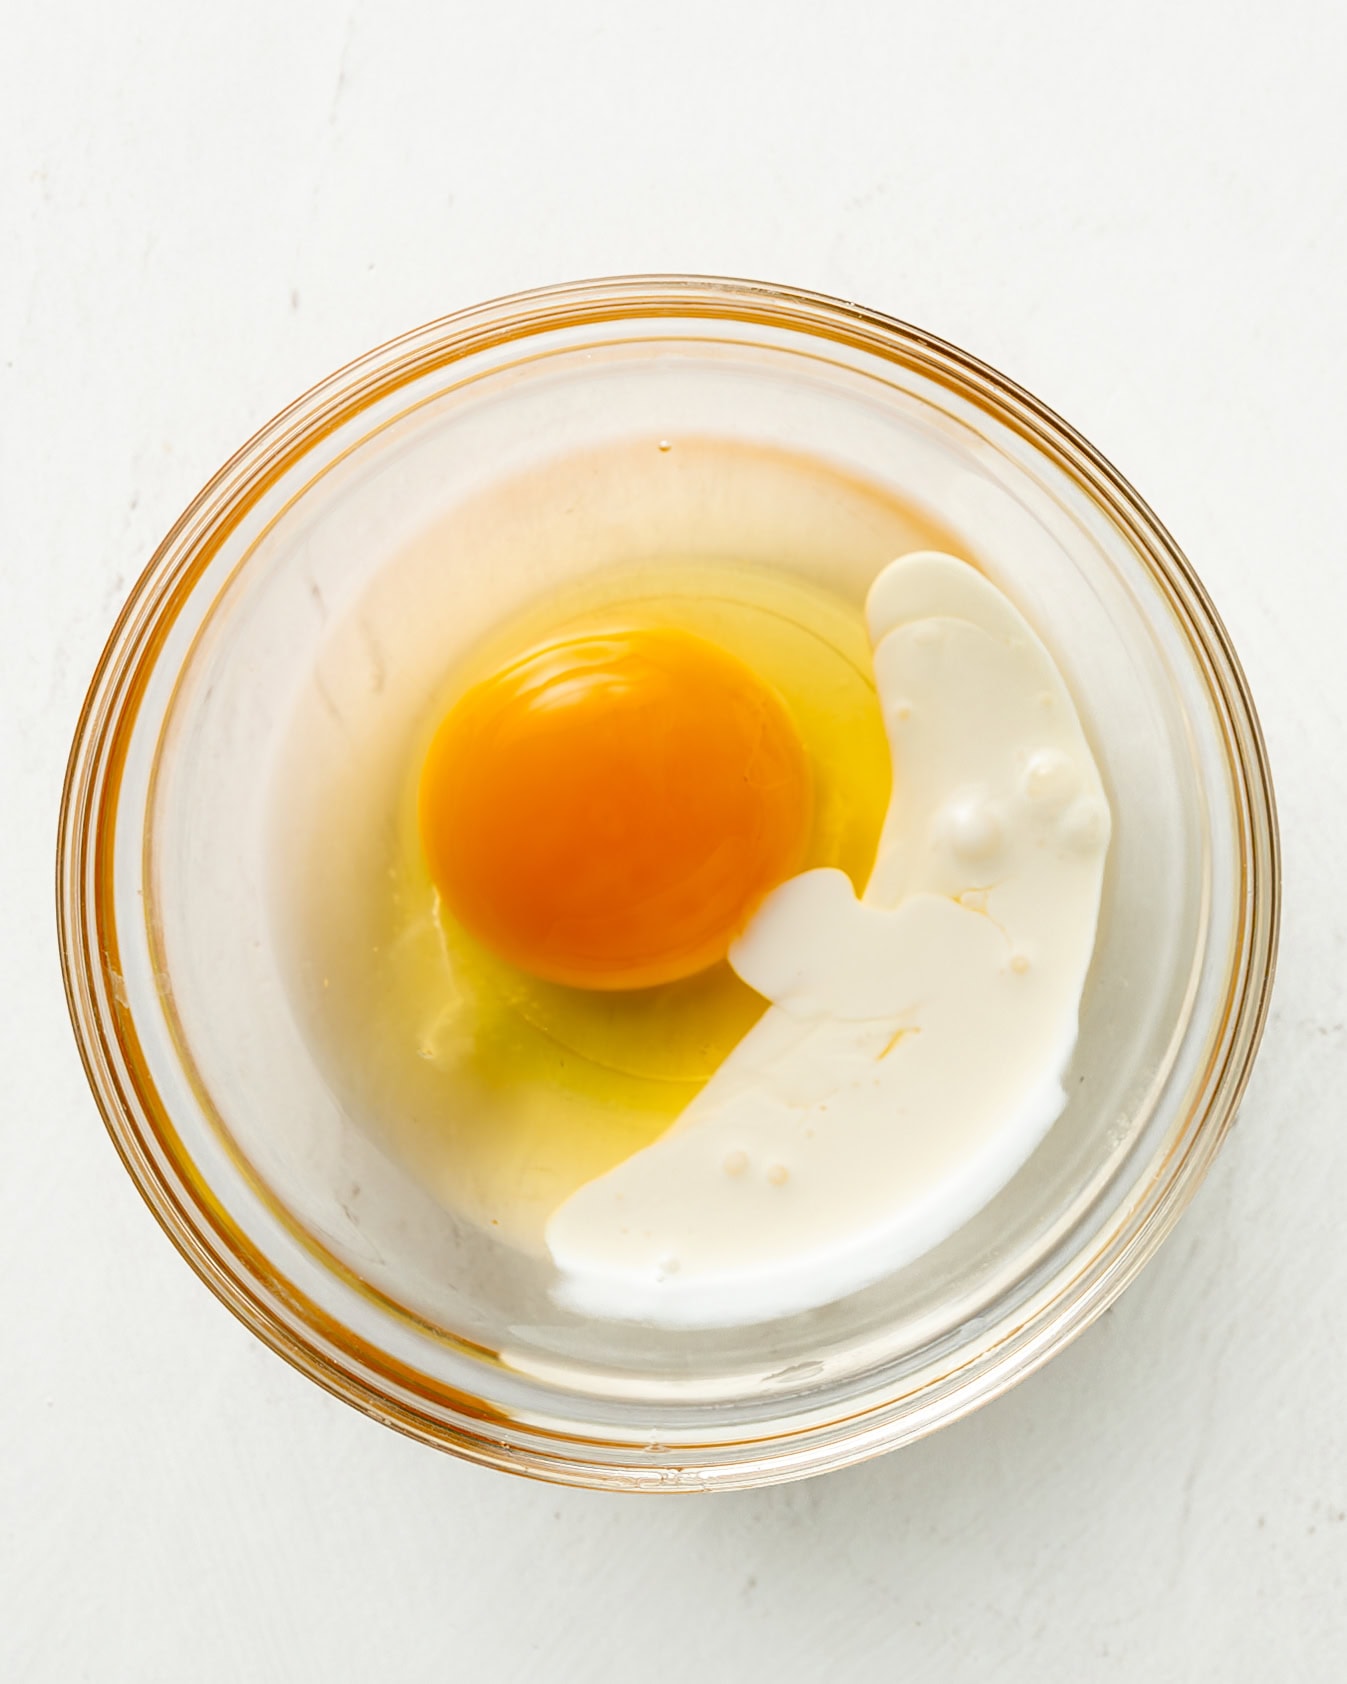
- Step 3: Combine the dry and wet ingredients. In a separate bowl, whisk together the sour cream, heavy cream, large egg, and vanilla extract. Pour this mixture into the flour and butter mixture.
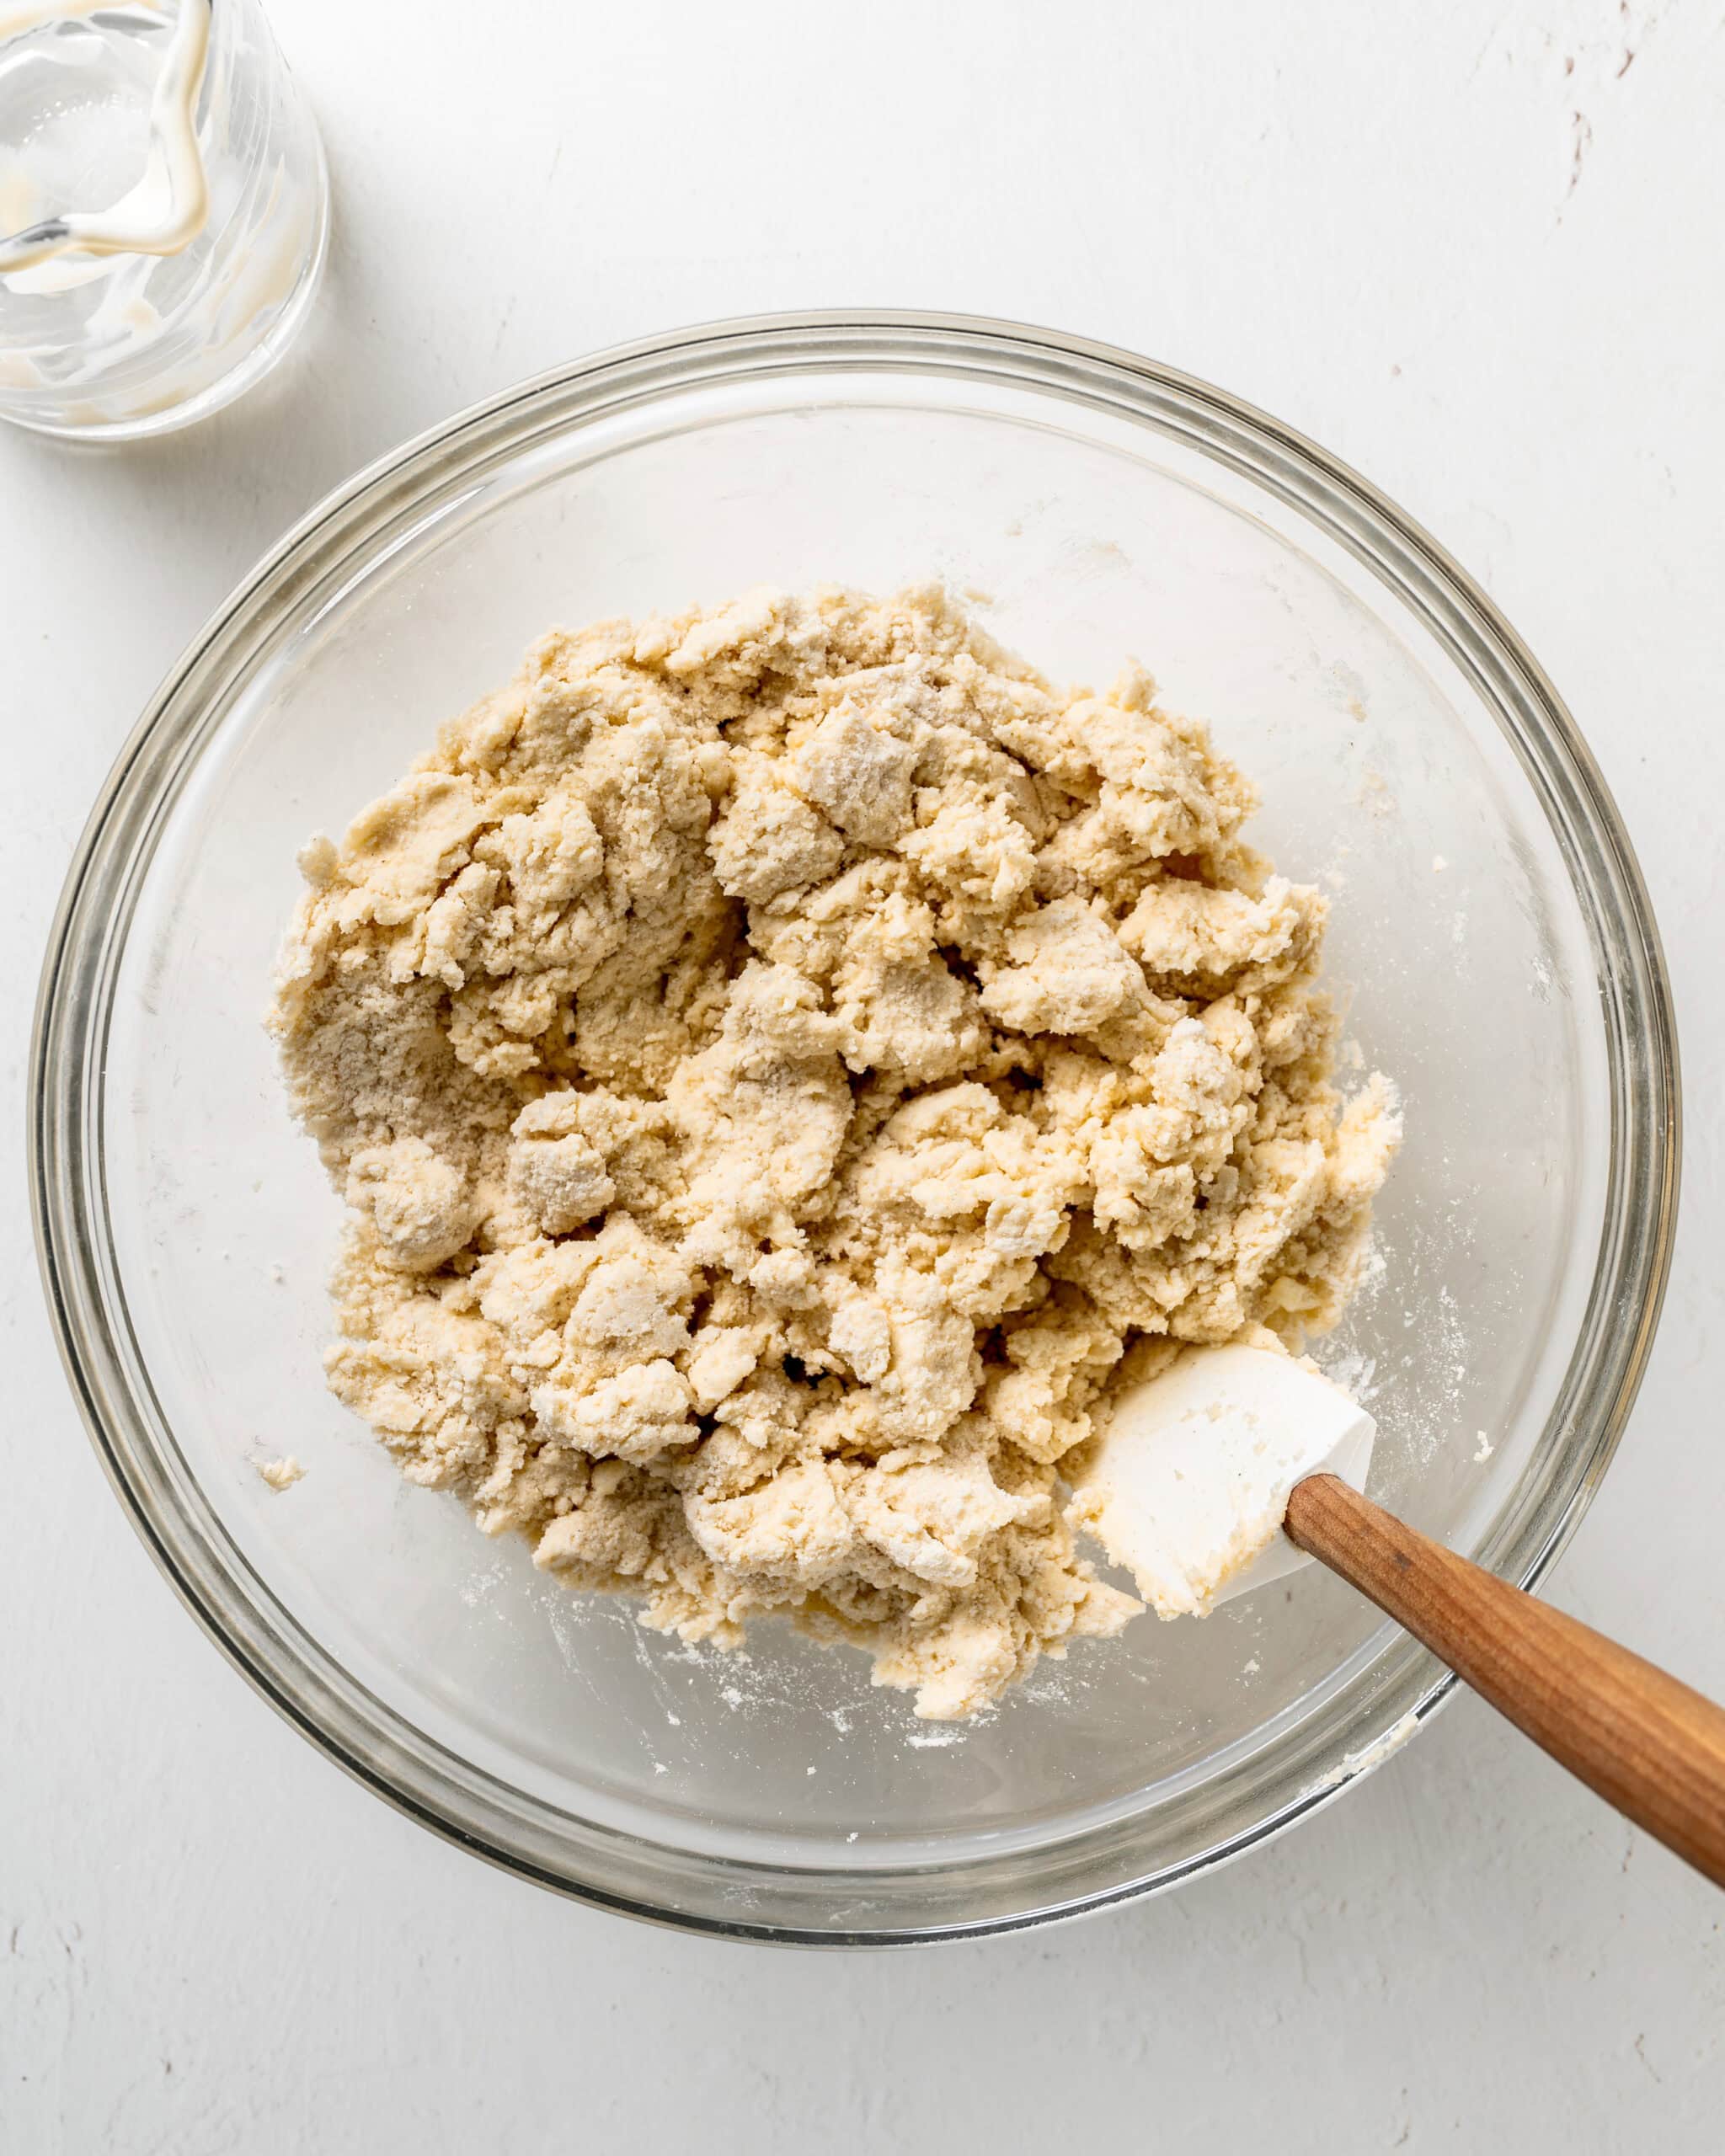
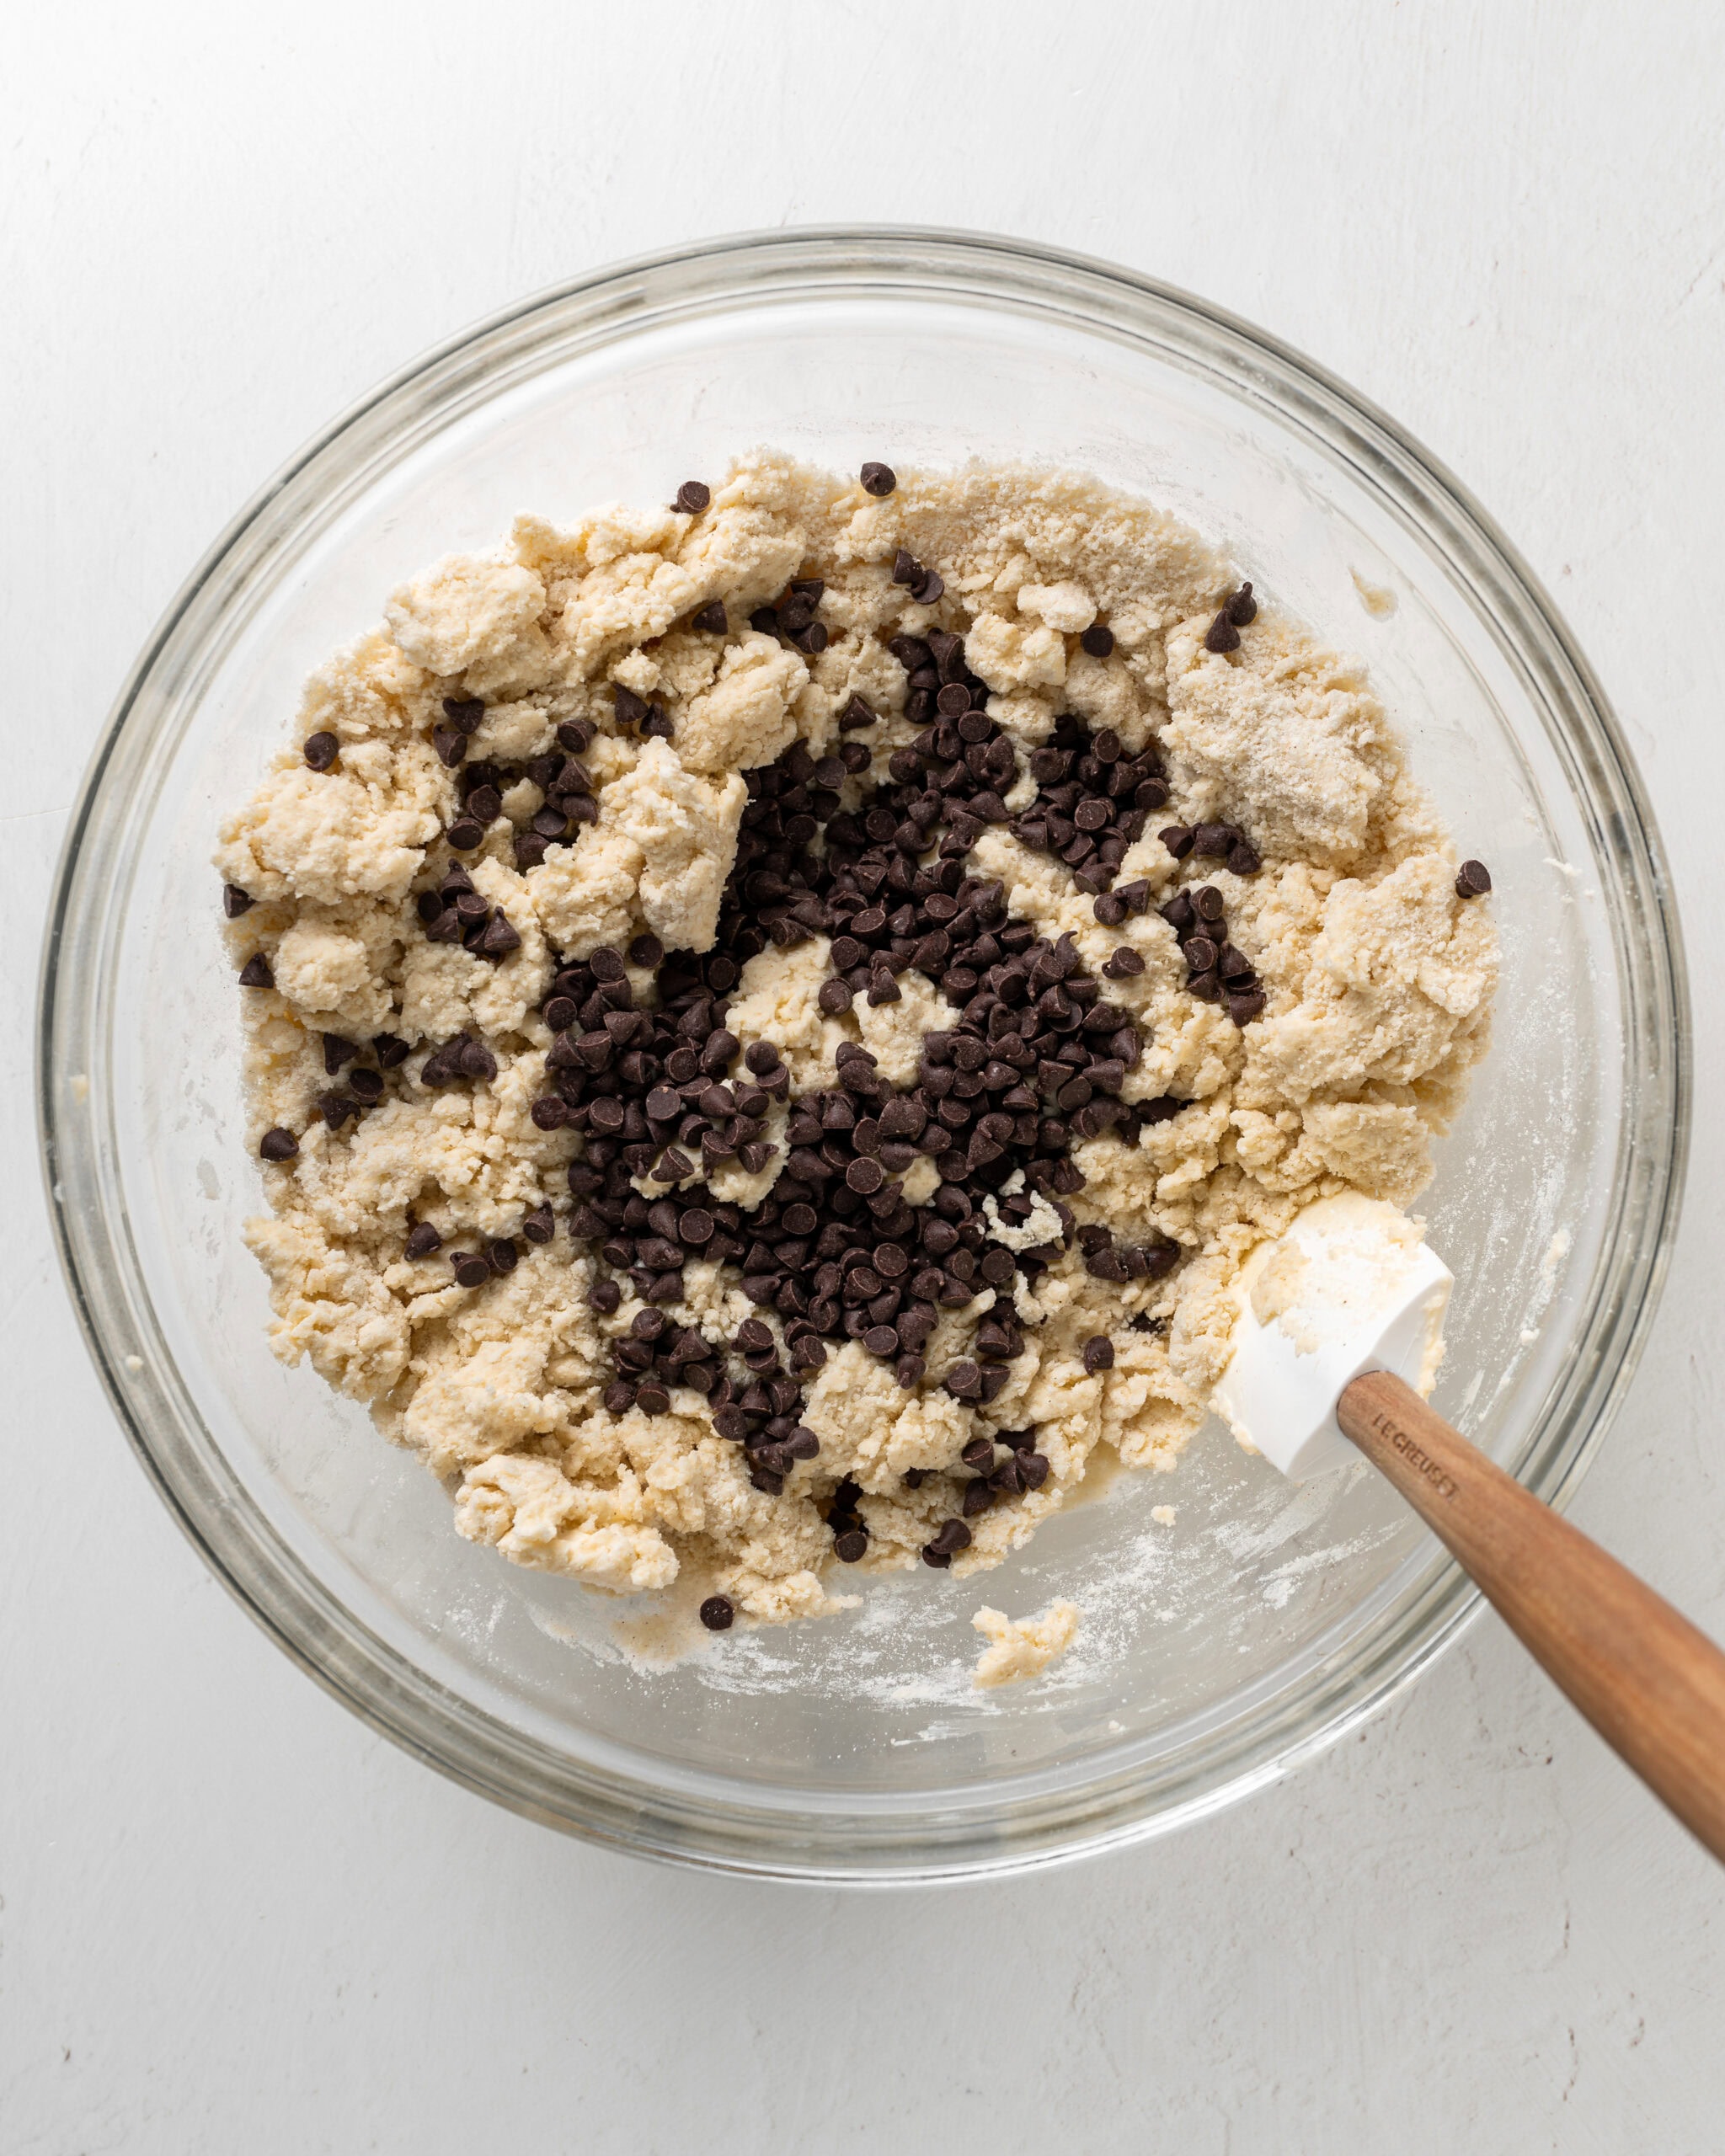
- Step 4: Stir together. Using a rubber spatula, stir the dough until it just comes together. Gently fold in the mini chocolate chips. The finished dough will still look crumbly and shaggy, but should hold together when you pinch a piece between your fingers.
Laminate The Scone Dough
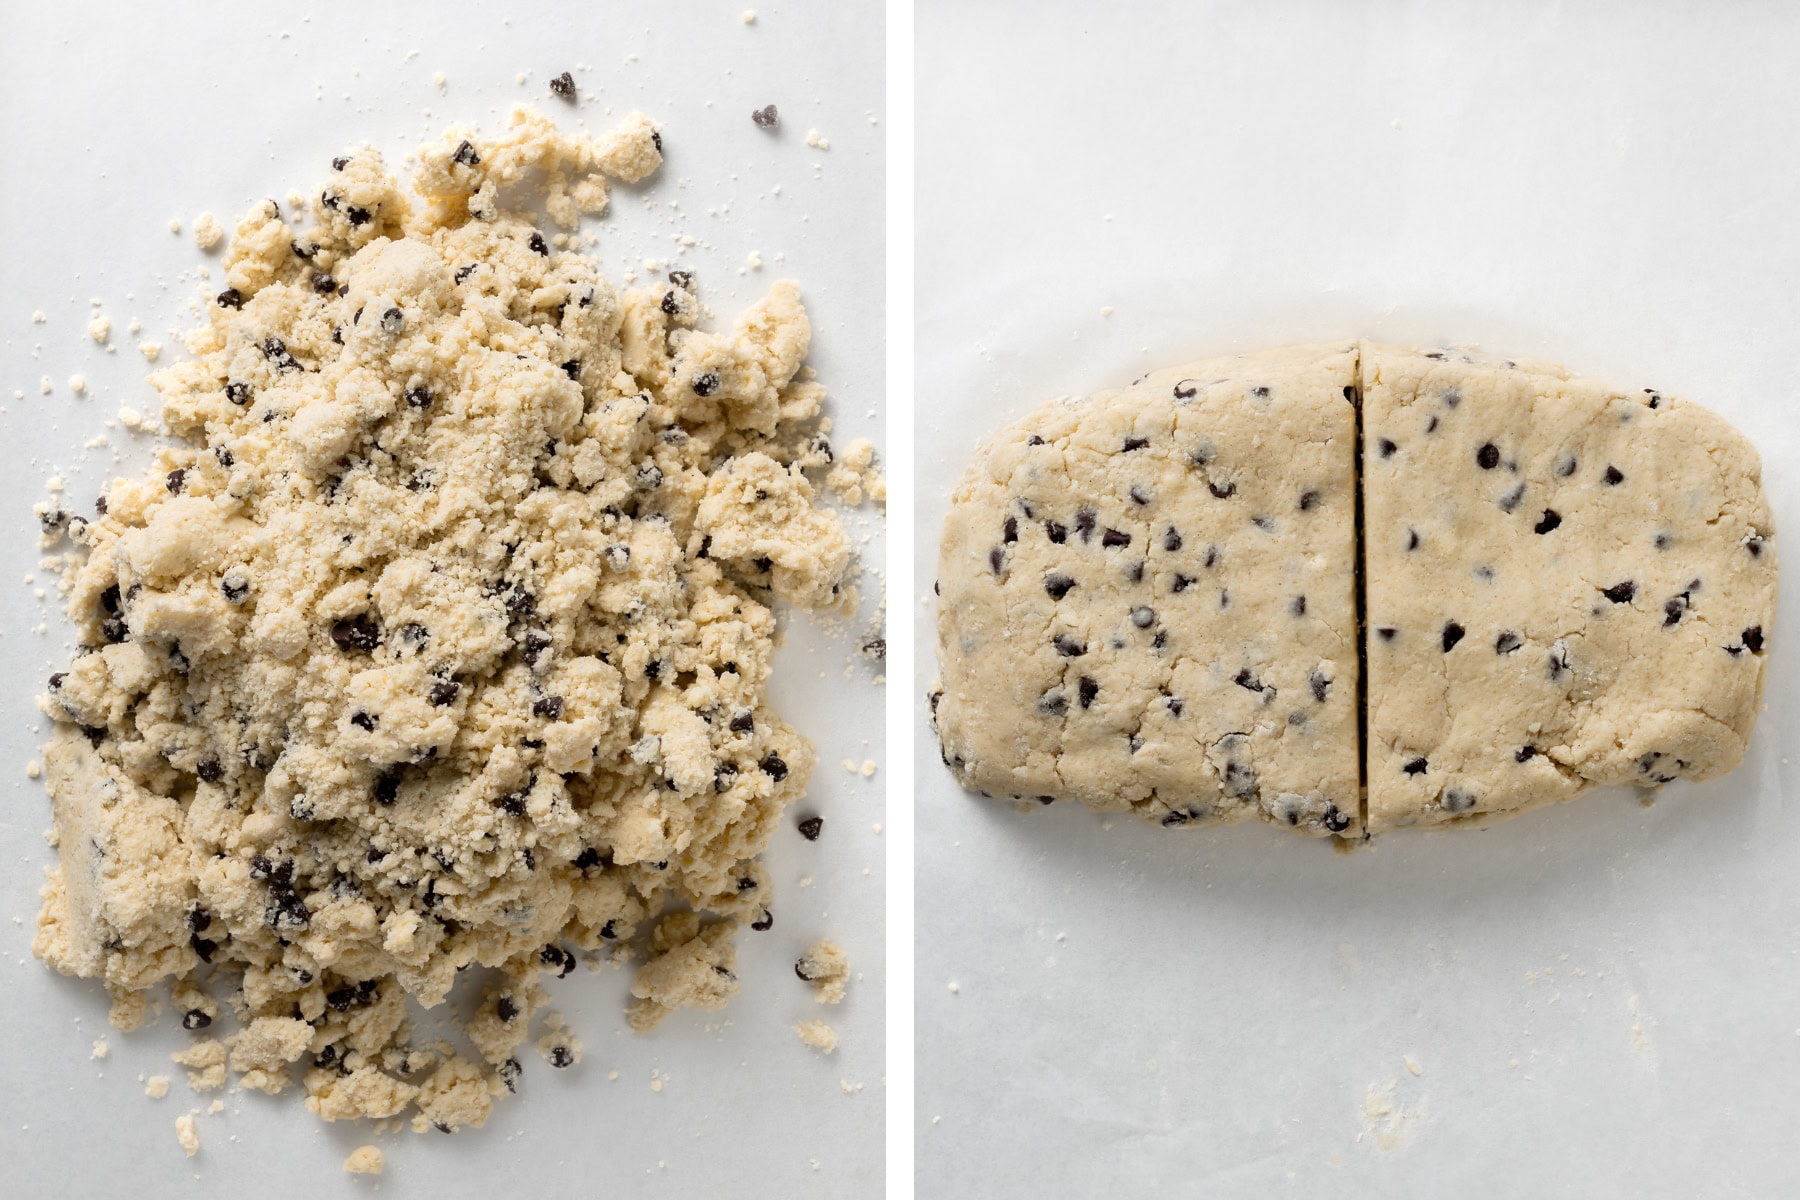
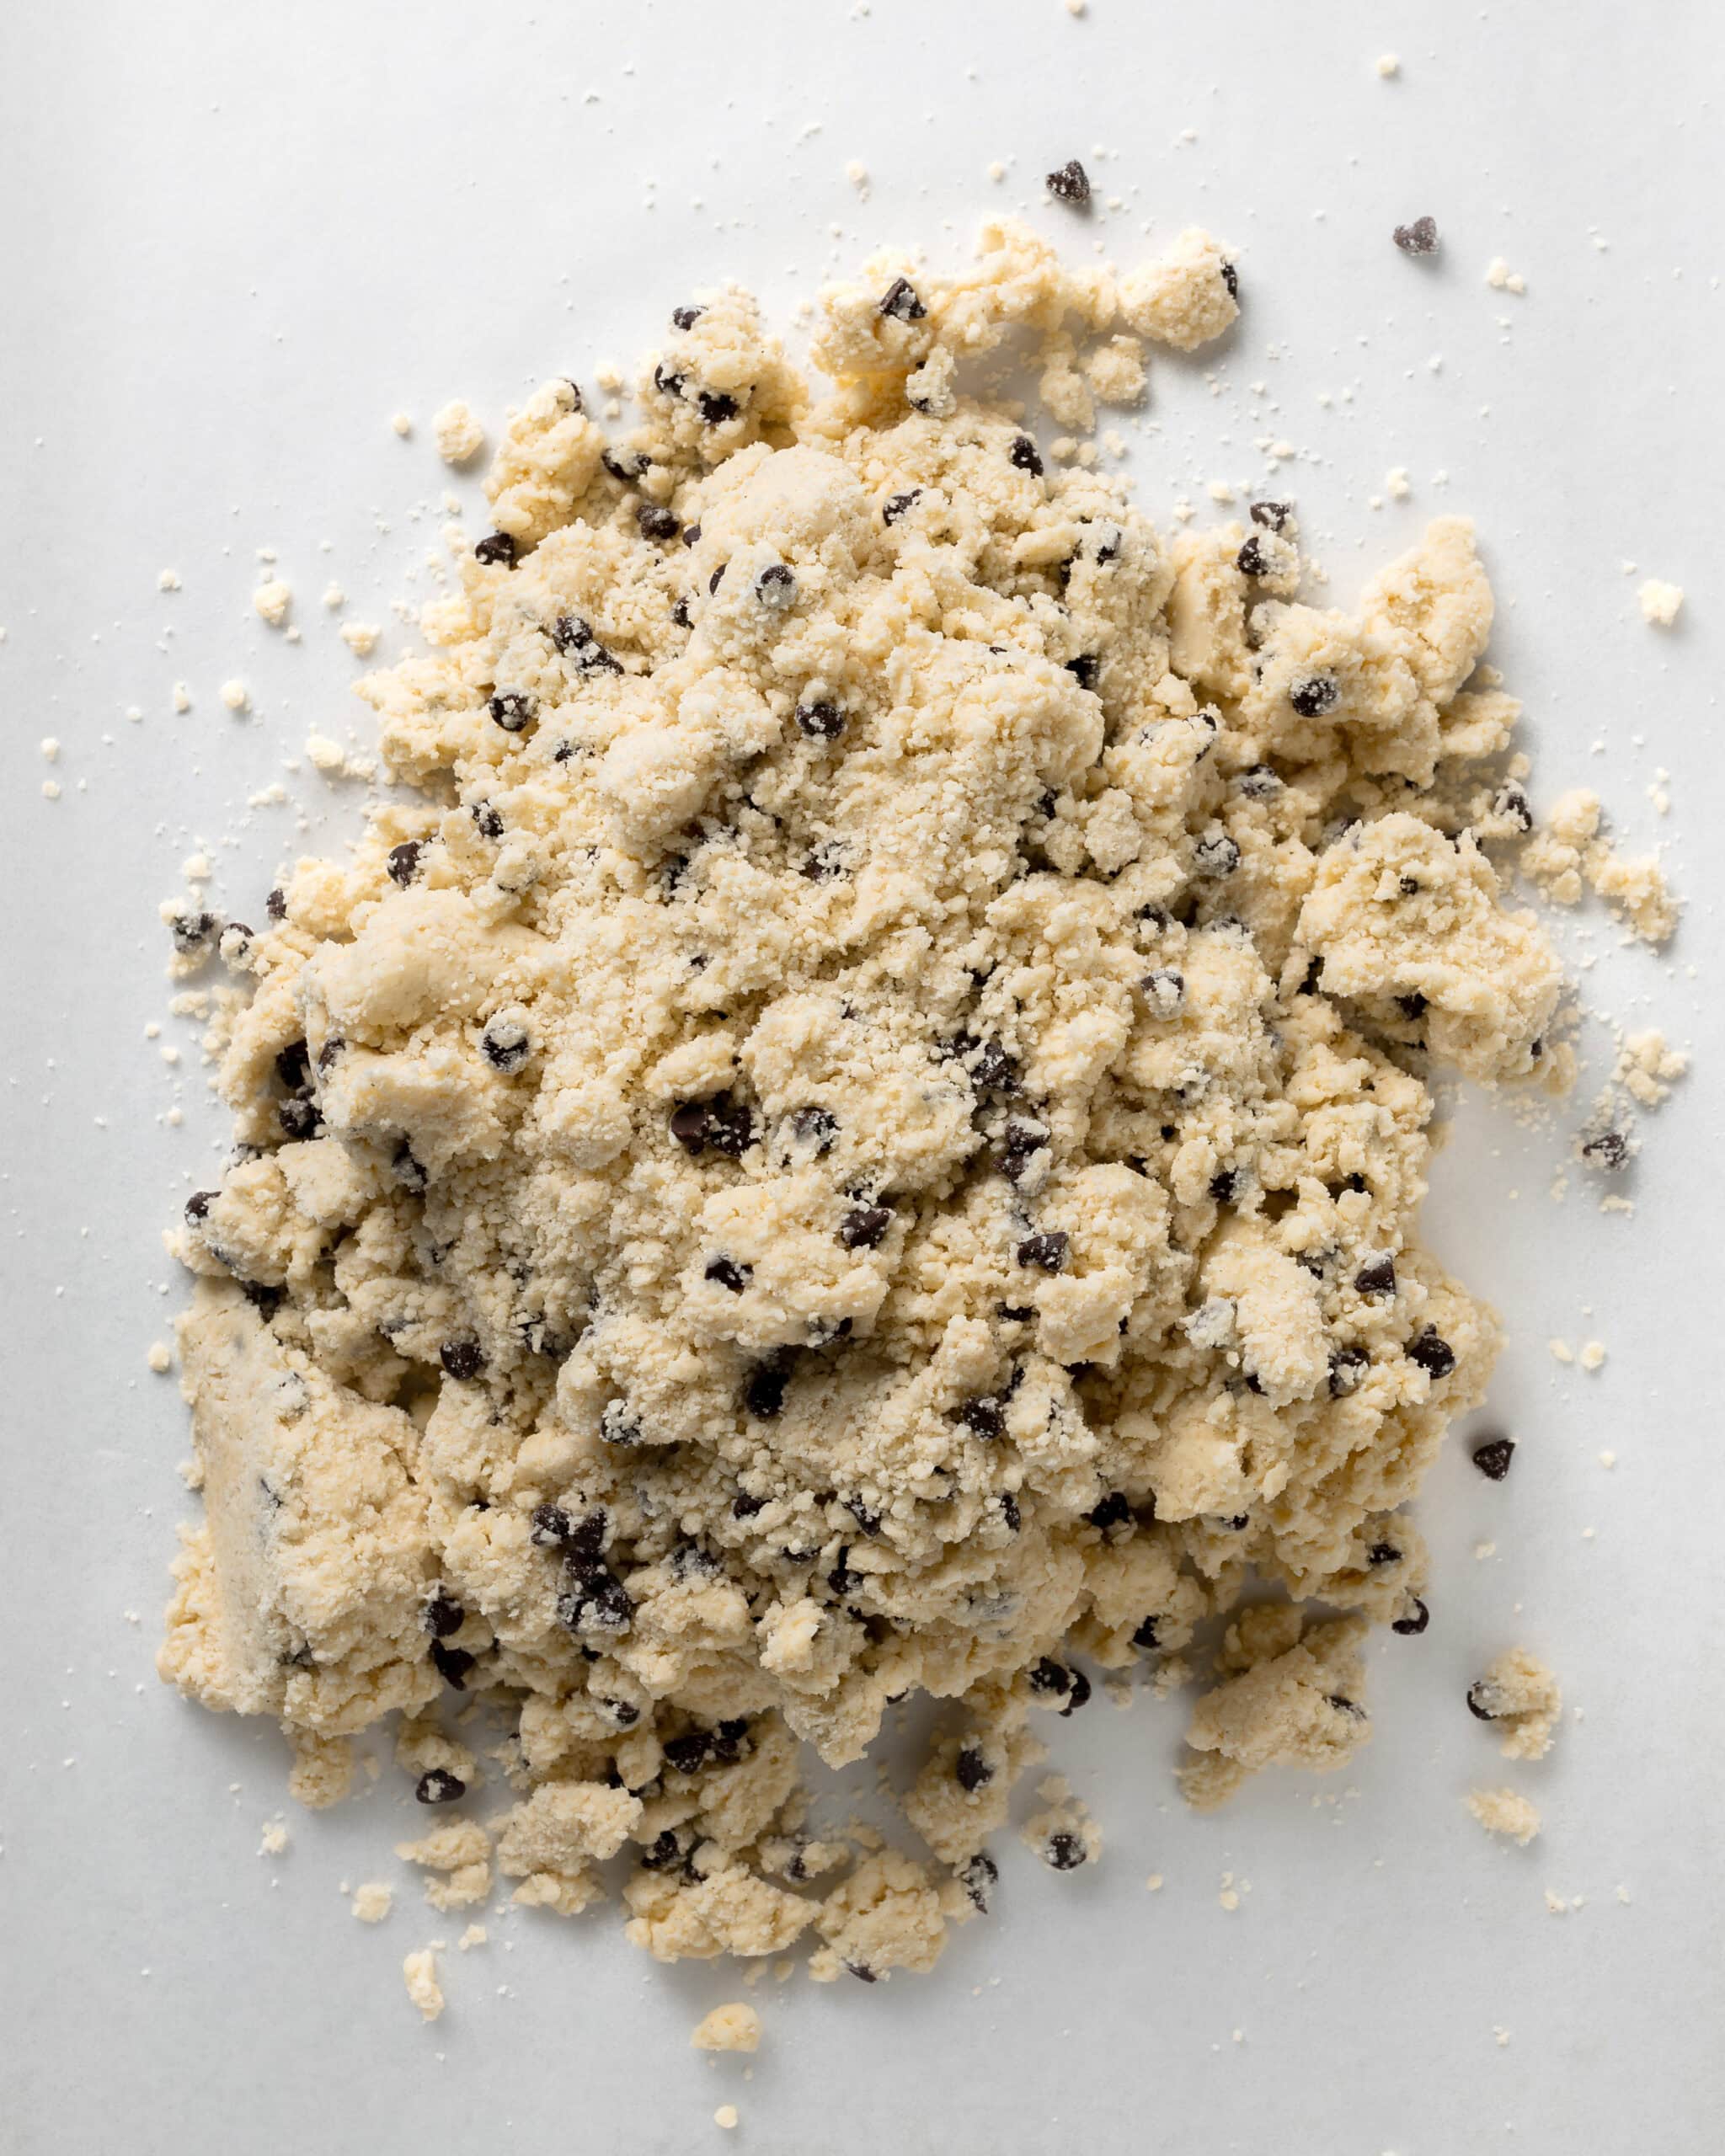
- Step 5: Turn out the chocolate chip dough. On a lightly floured surface using floured hands, gently knead the dough a few times until it comes together.
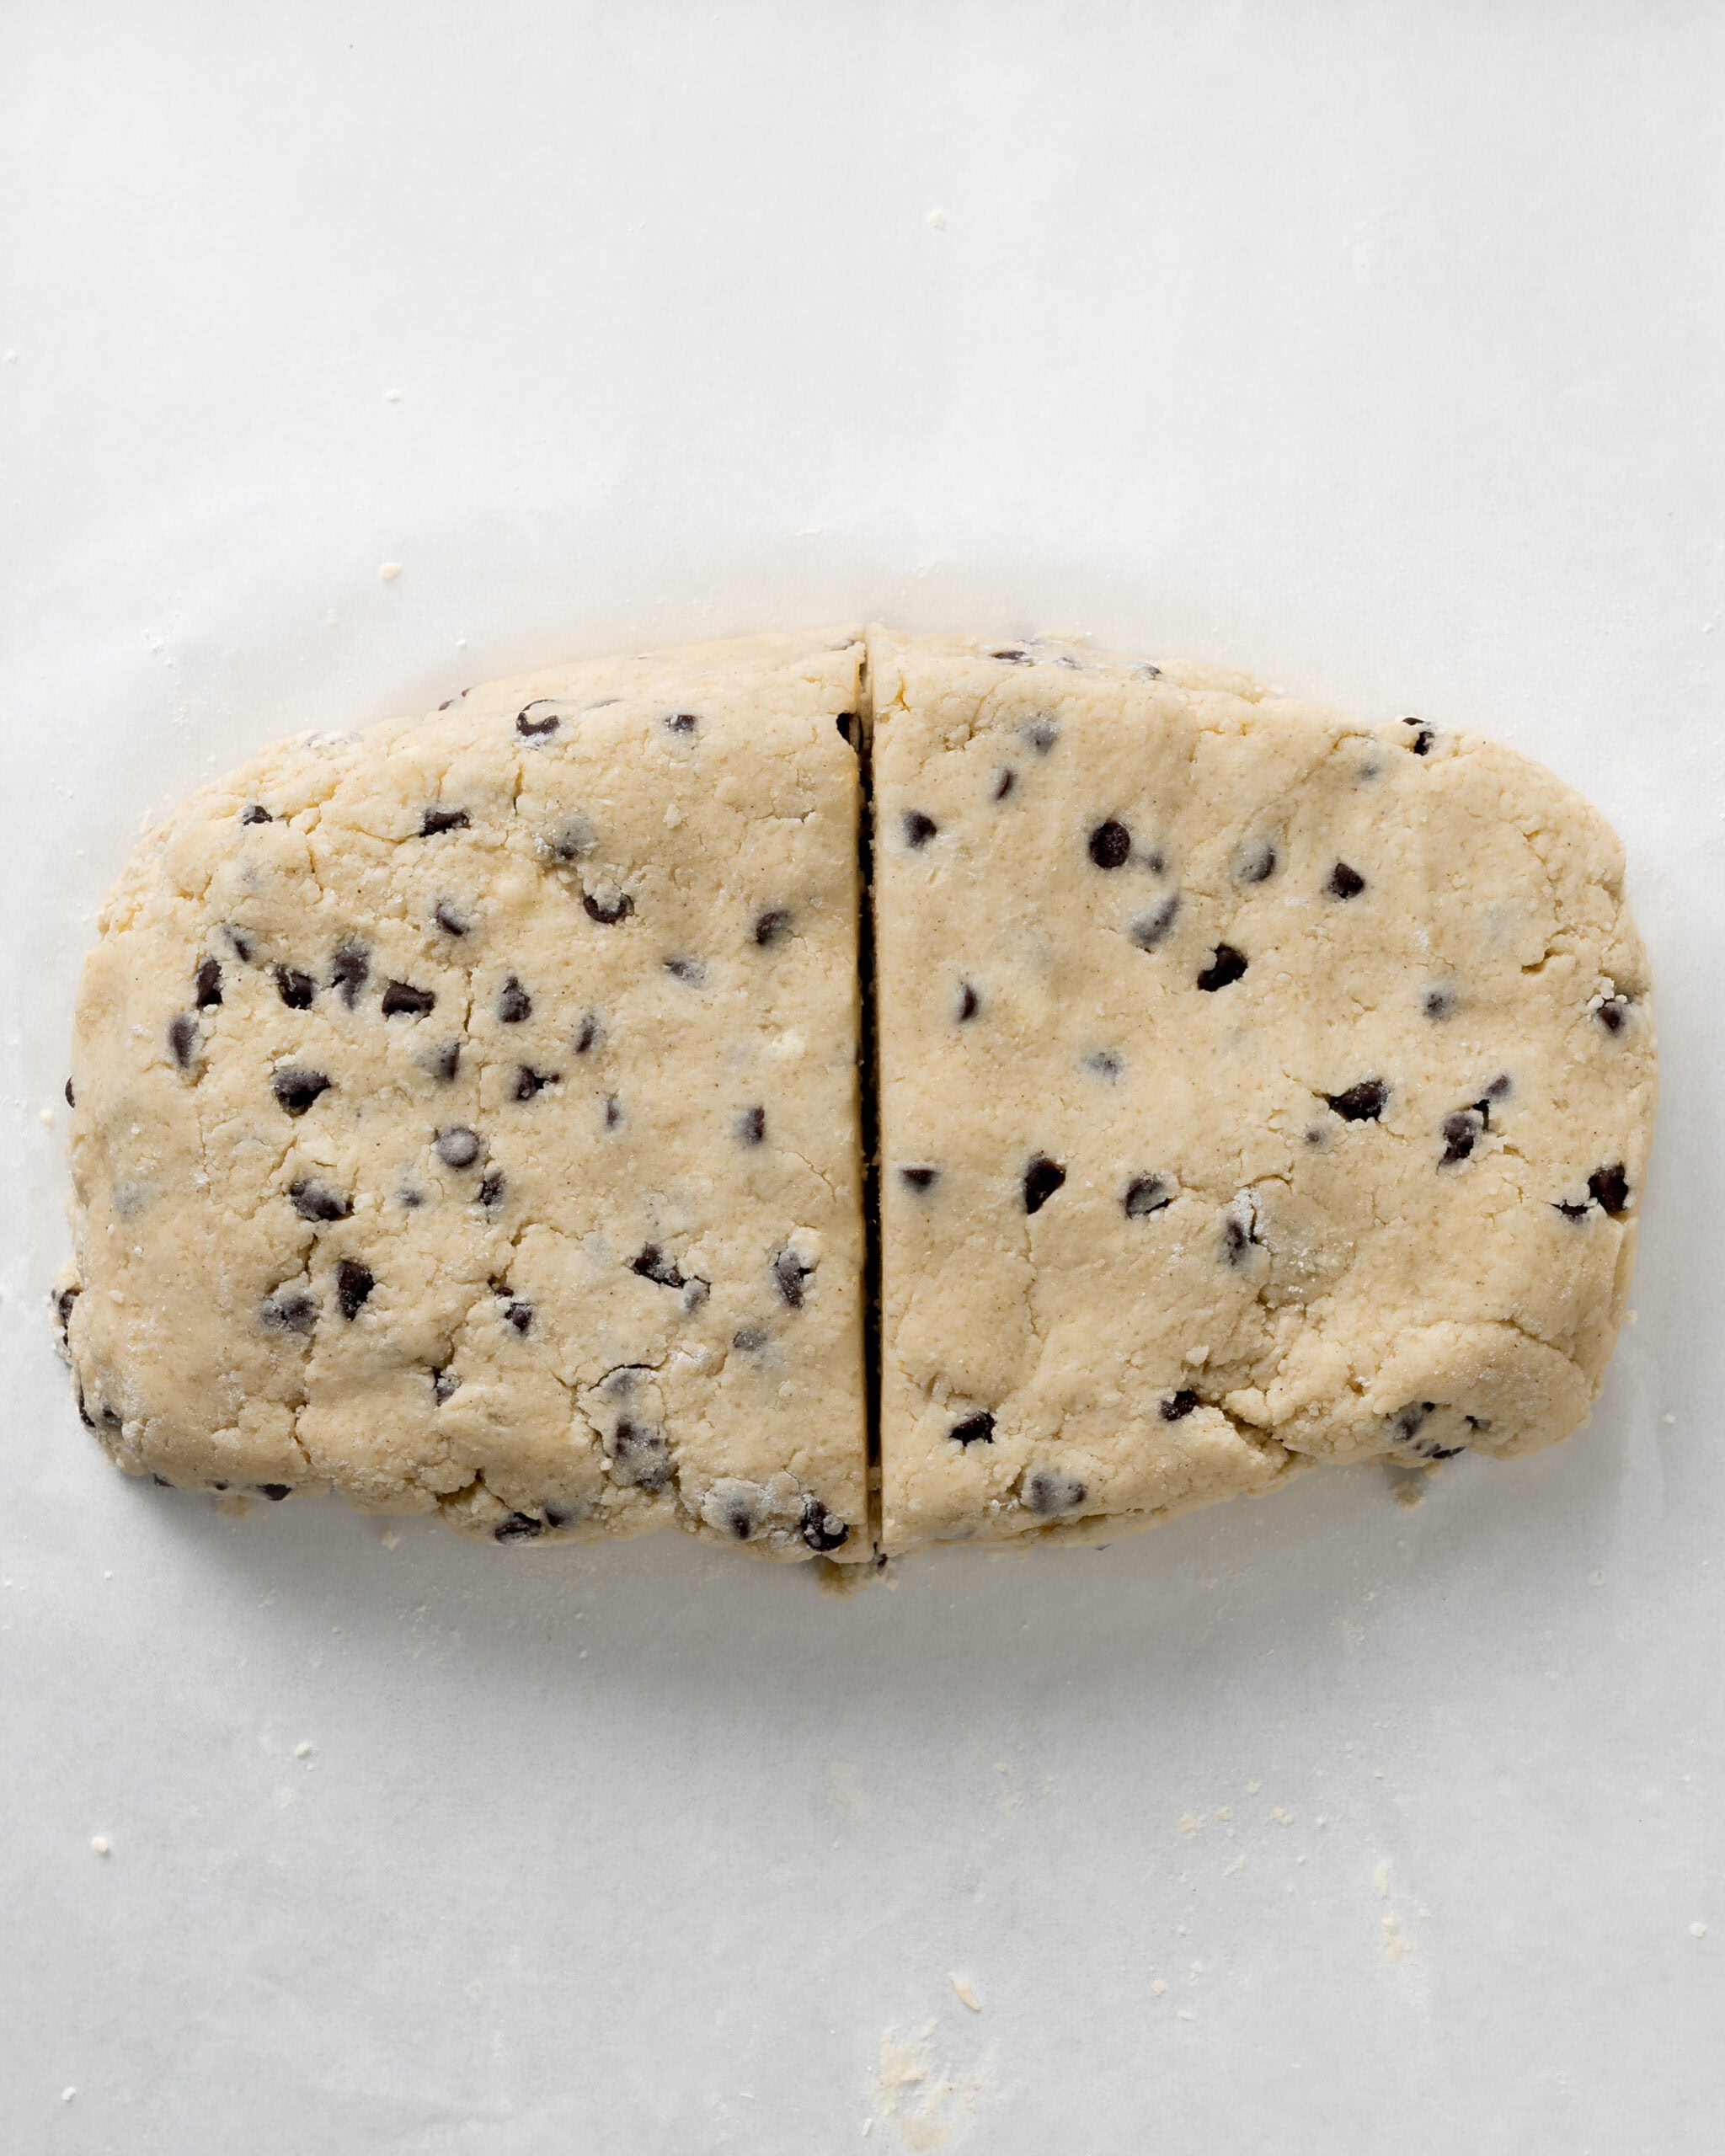
- Step 6: Shape and cut the dough. Pat the dough into a rectangle, about 7x5 inches. Using a knife or bench scraper, cut the rectangle in half vertically.
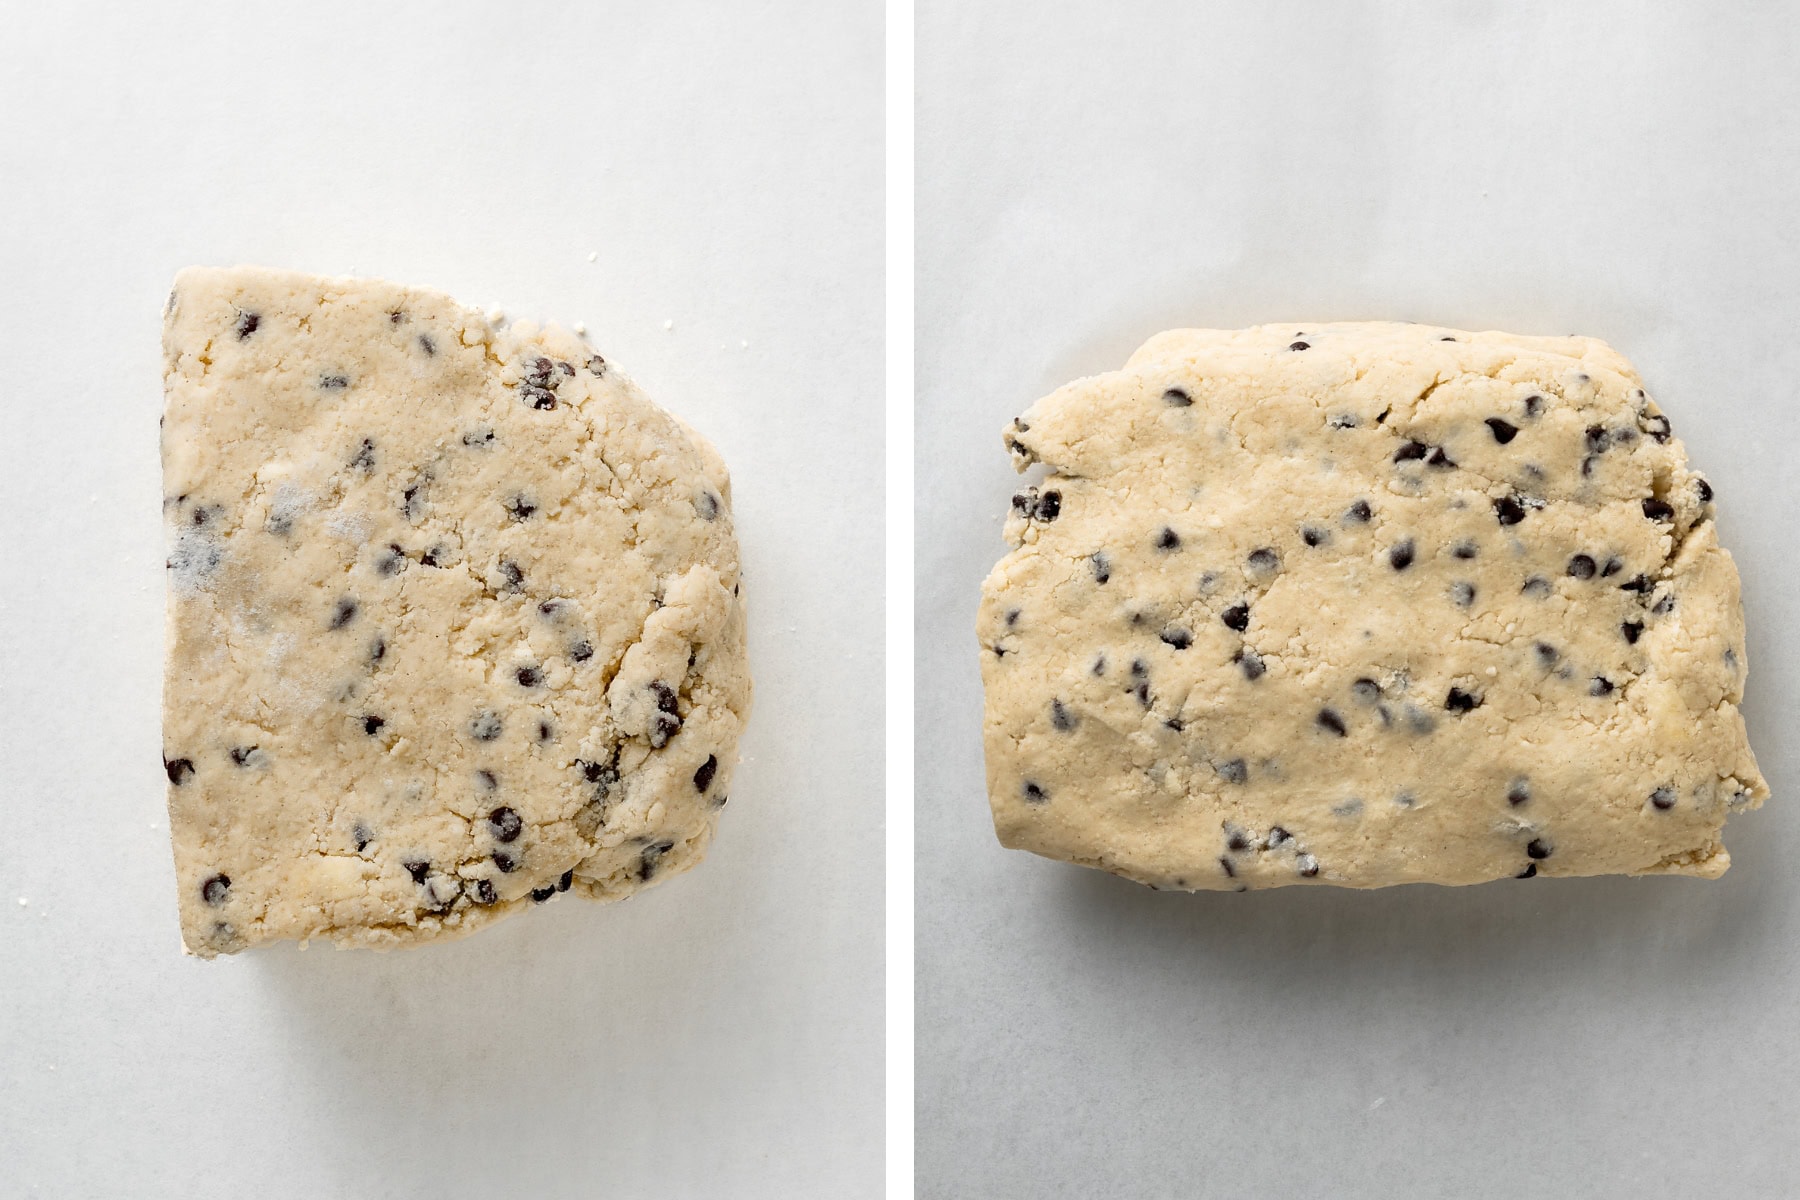
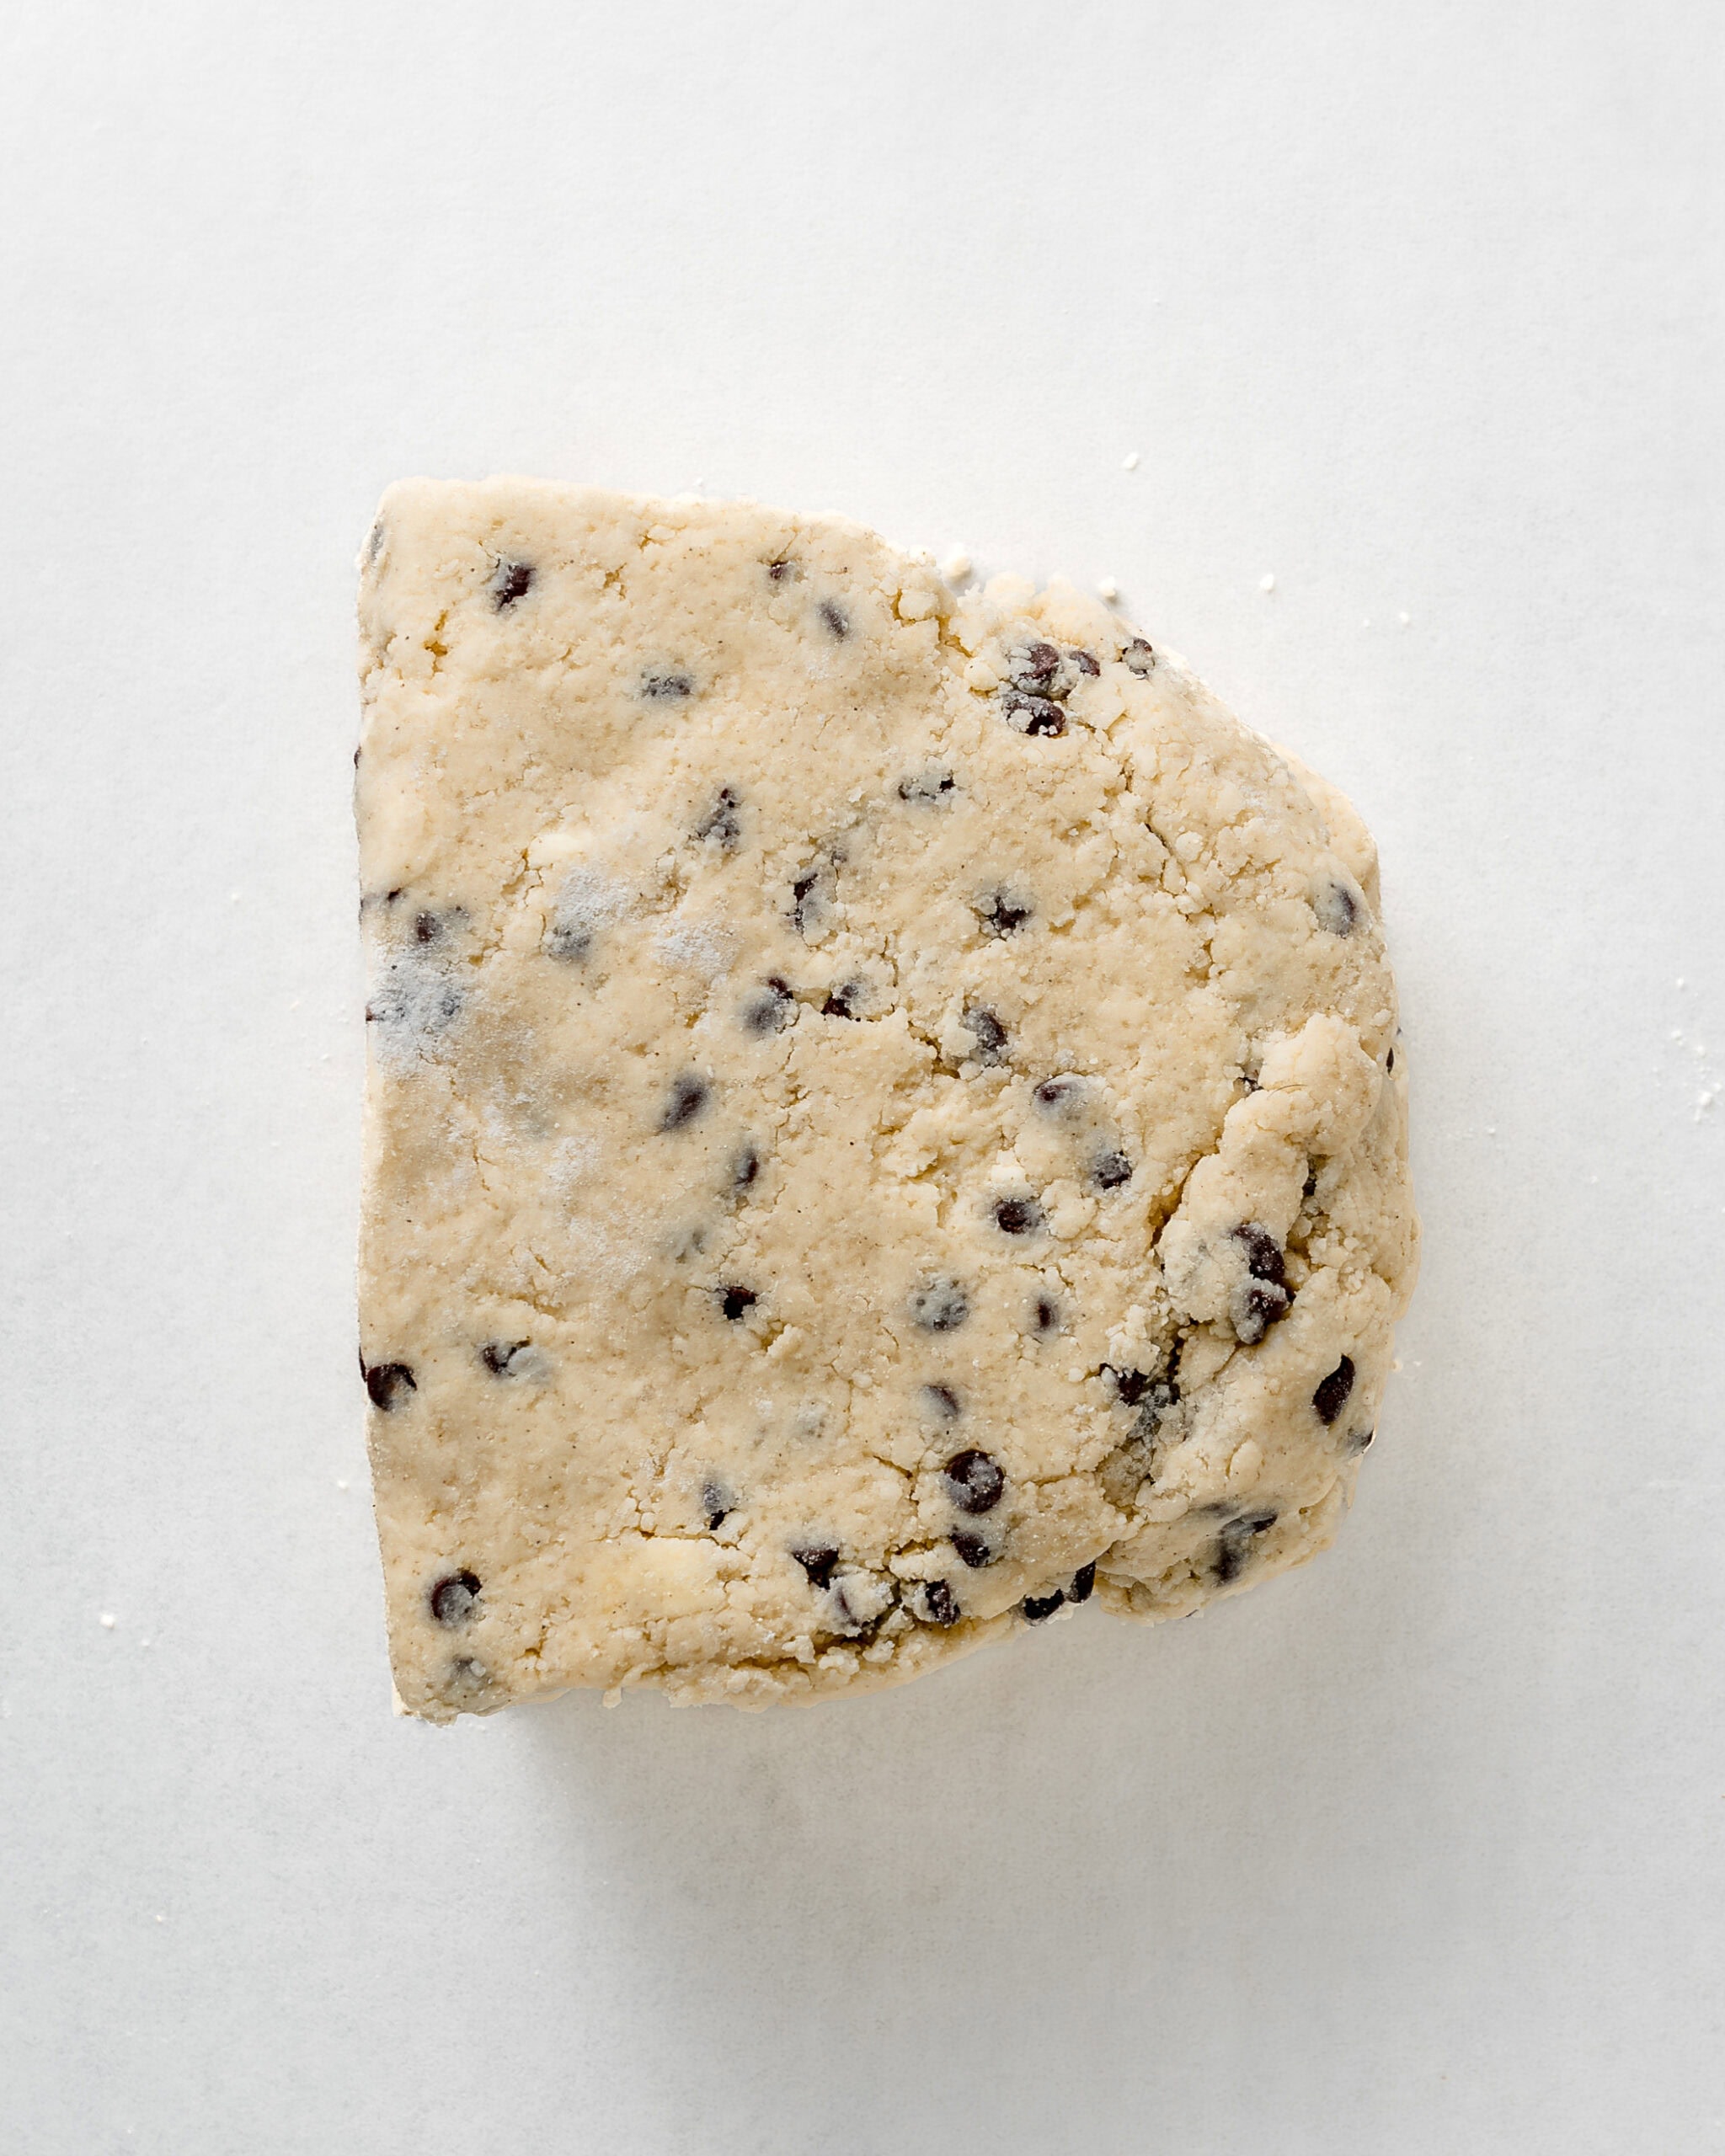
- Step 7: Stack the dough. Stack one half on top of the other. Gently press the dough down, then turn it 90 degrees.
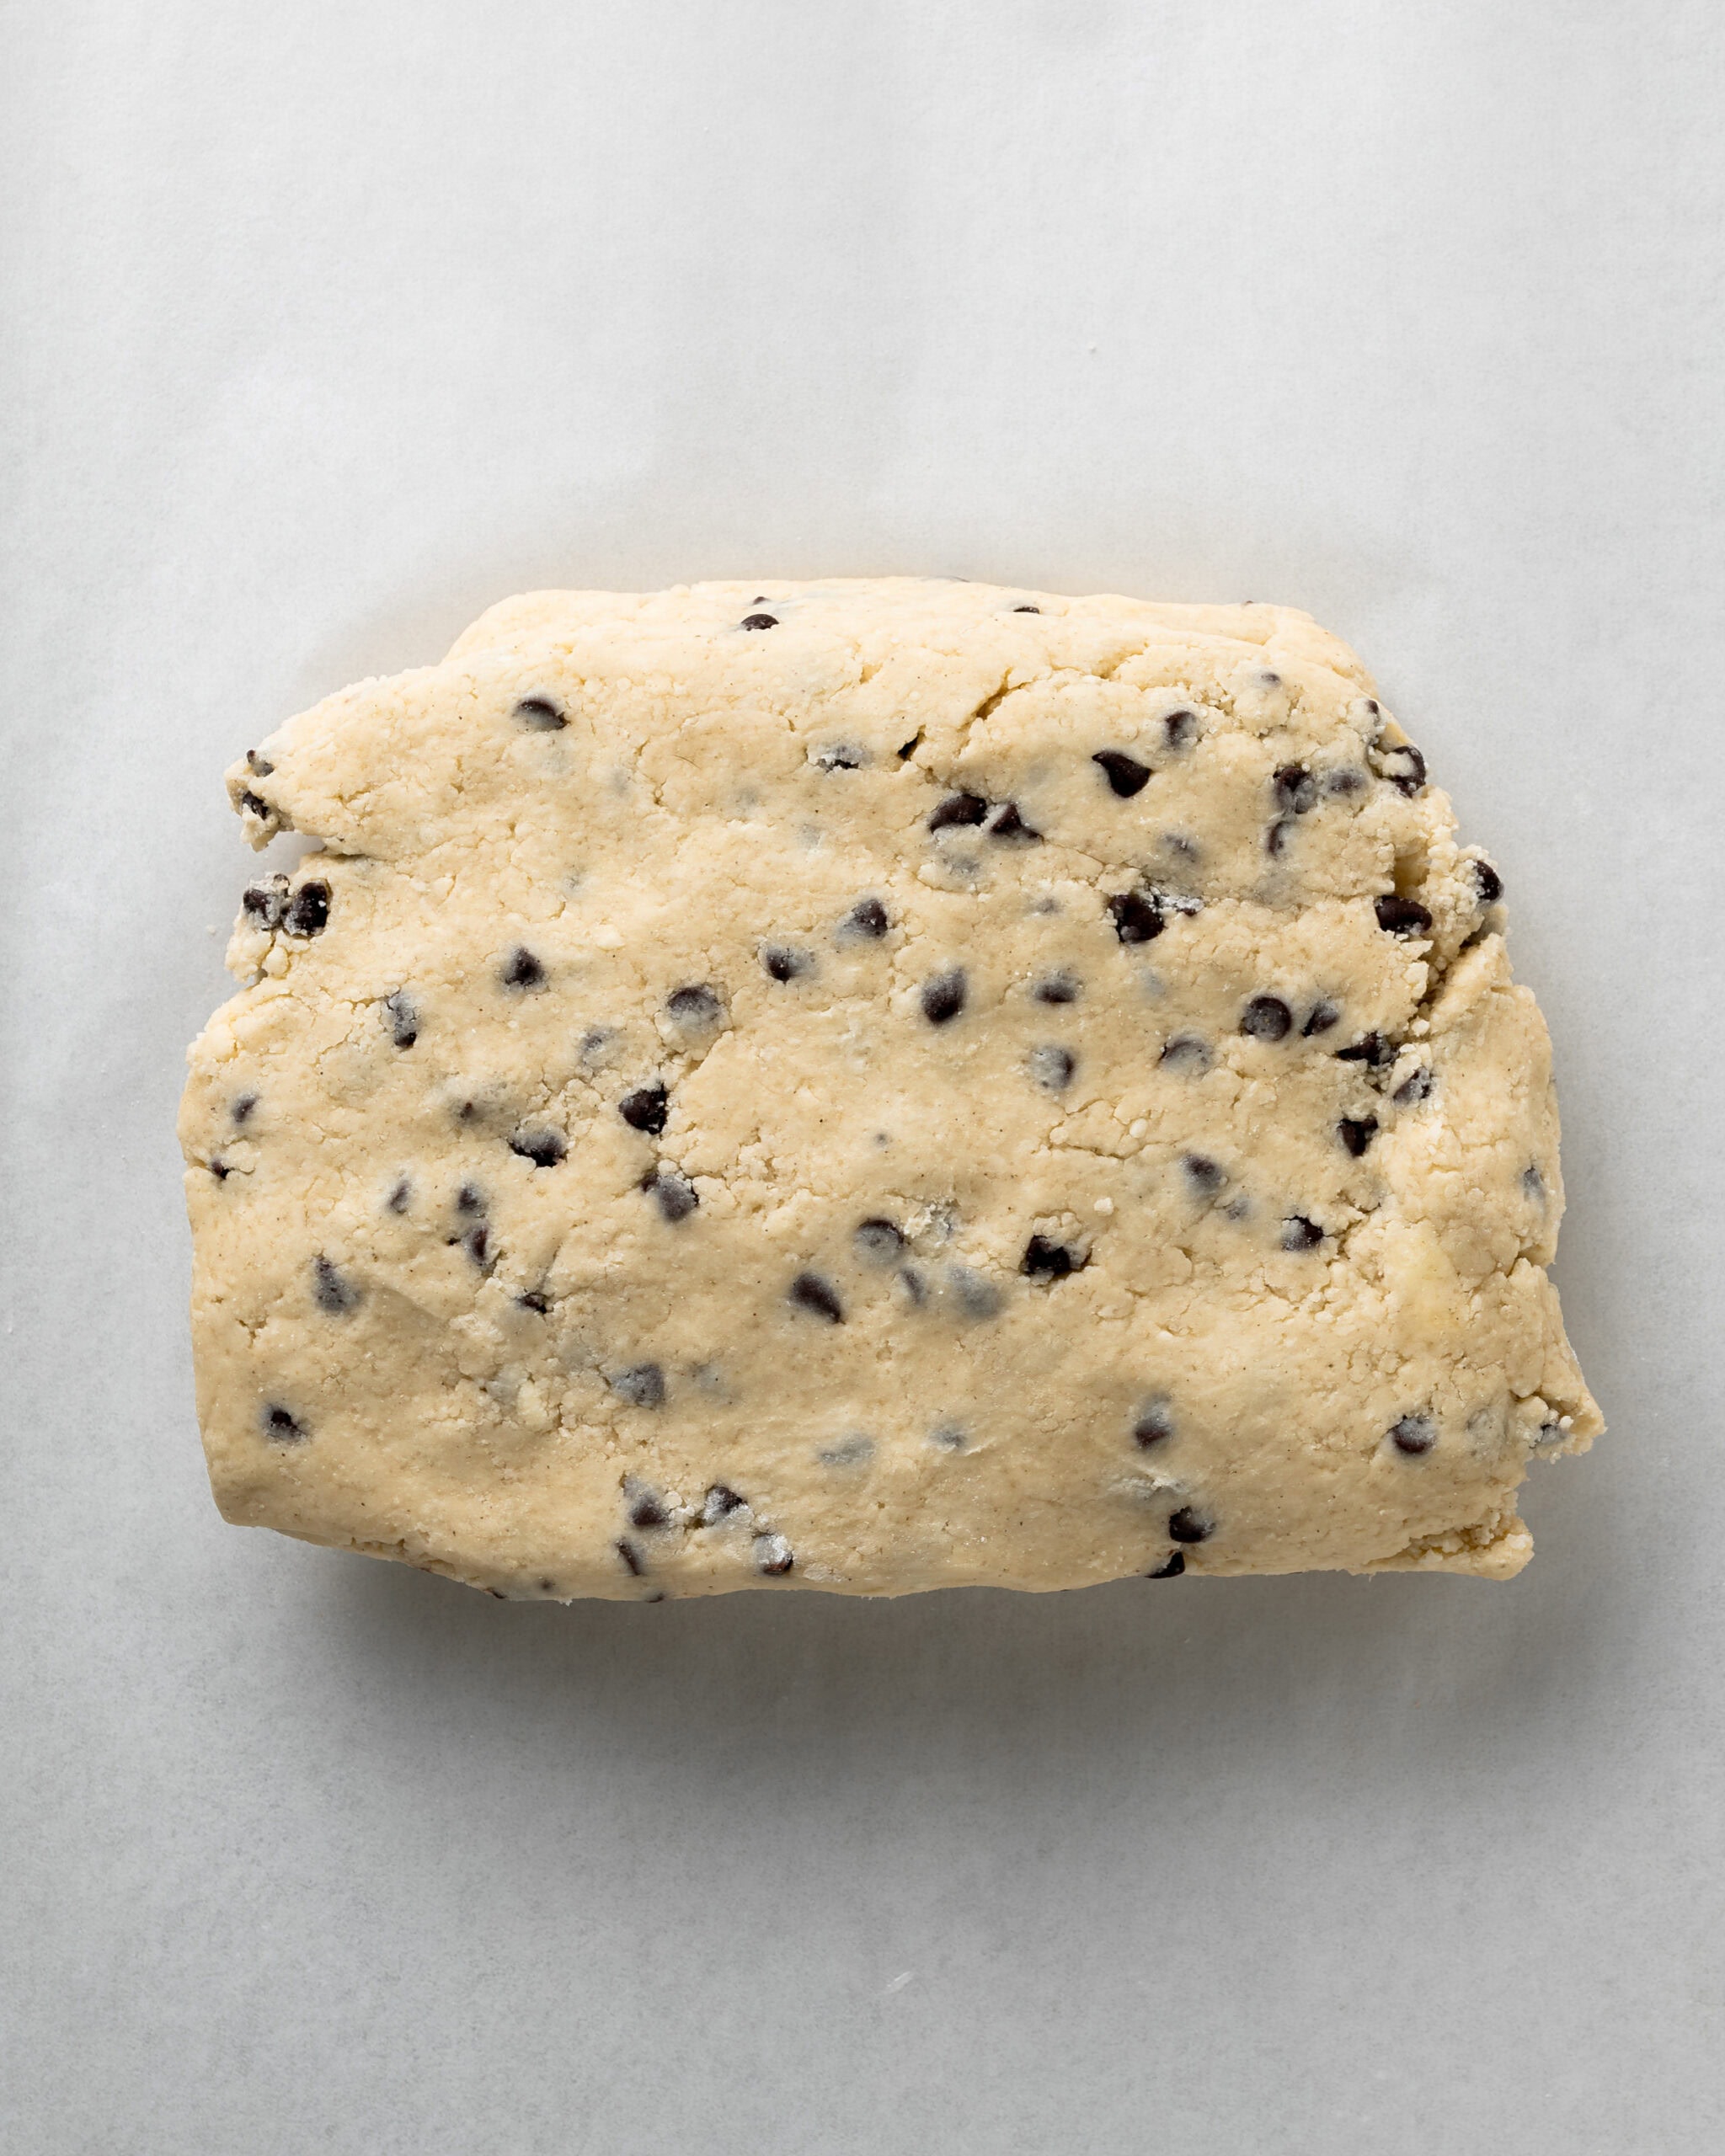
- Step 8: Repeat the process. Continue to cut, stack, press, and turn the dough a total of four times.
Cut And Bake Gluten Free Chocolate Chip Scones
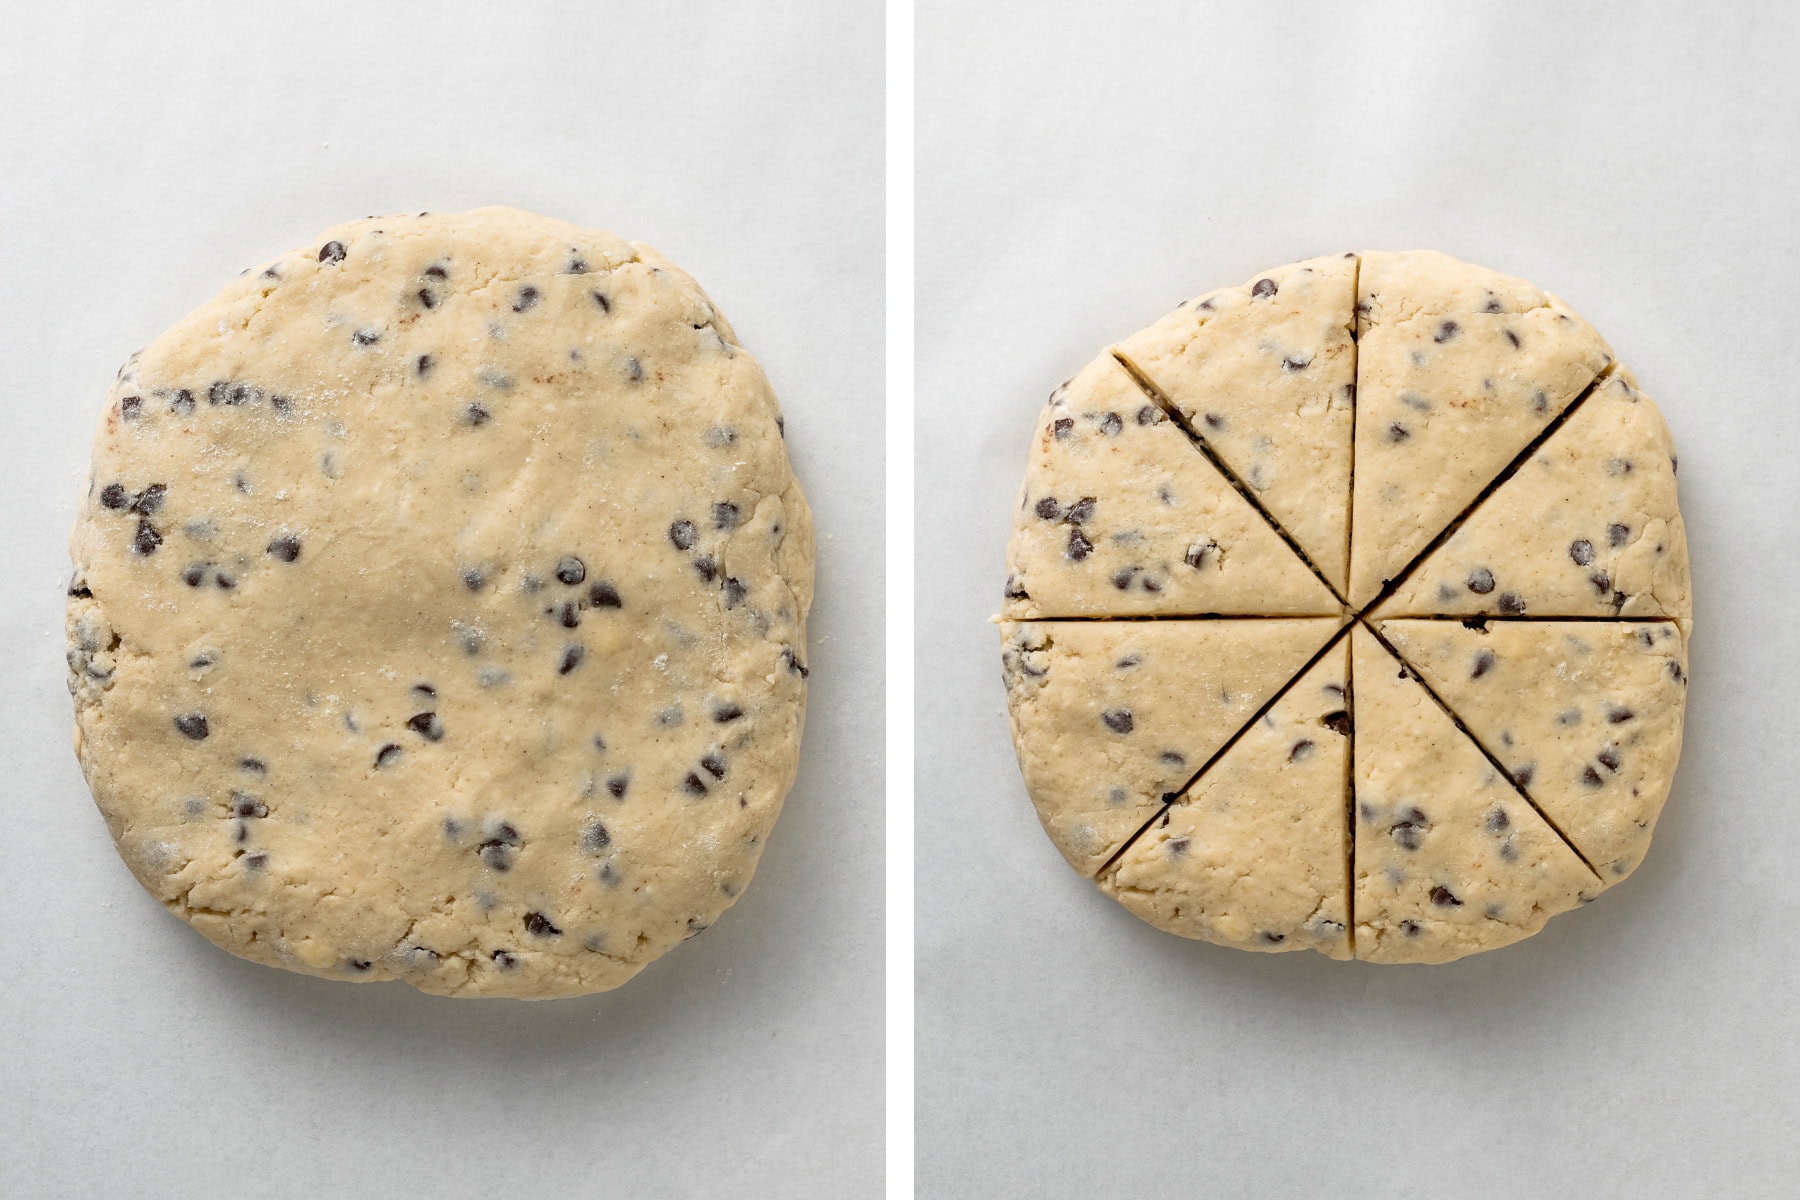
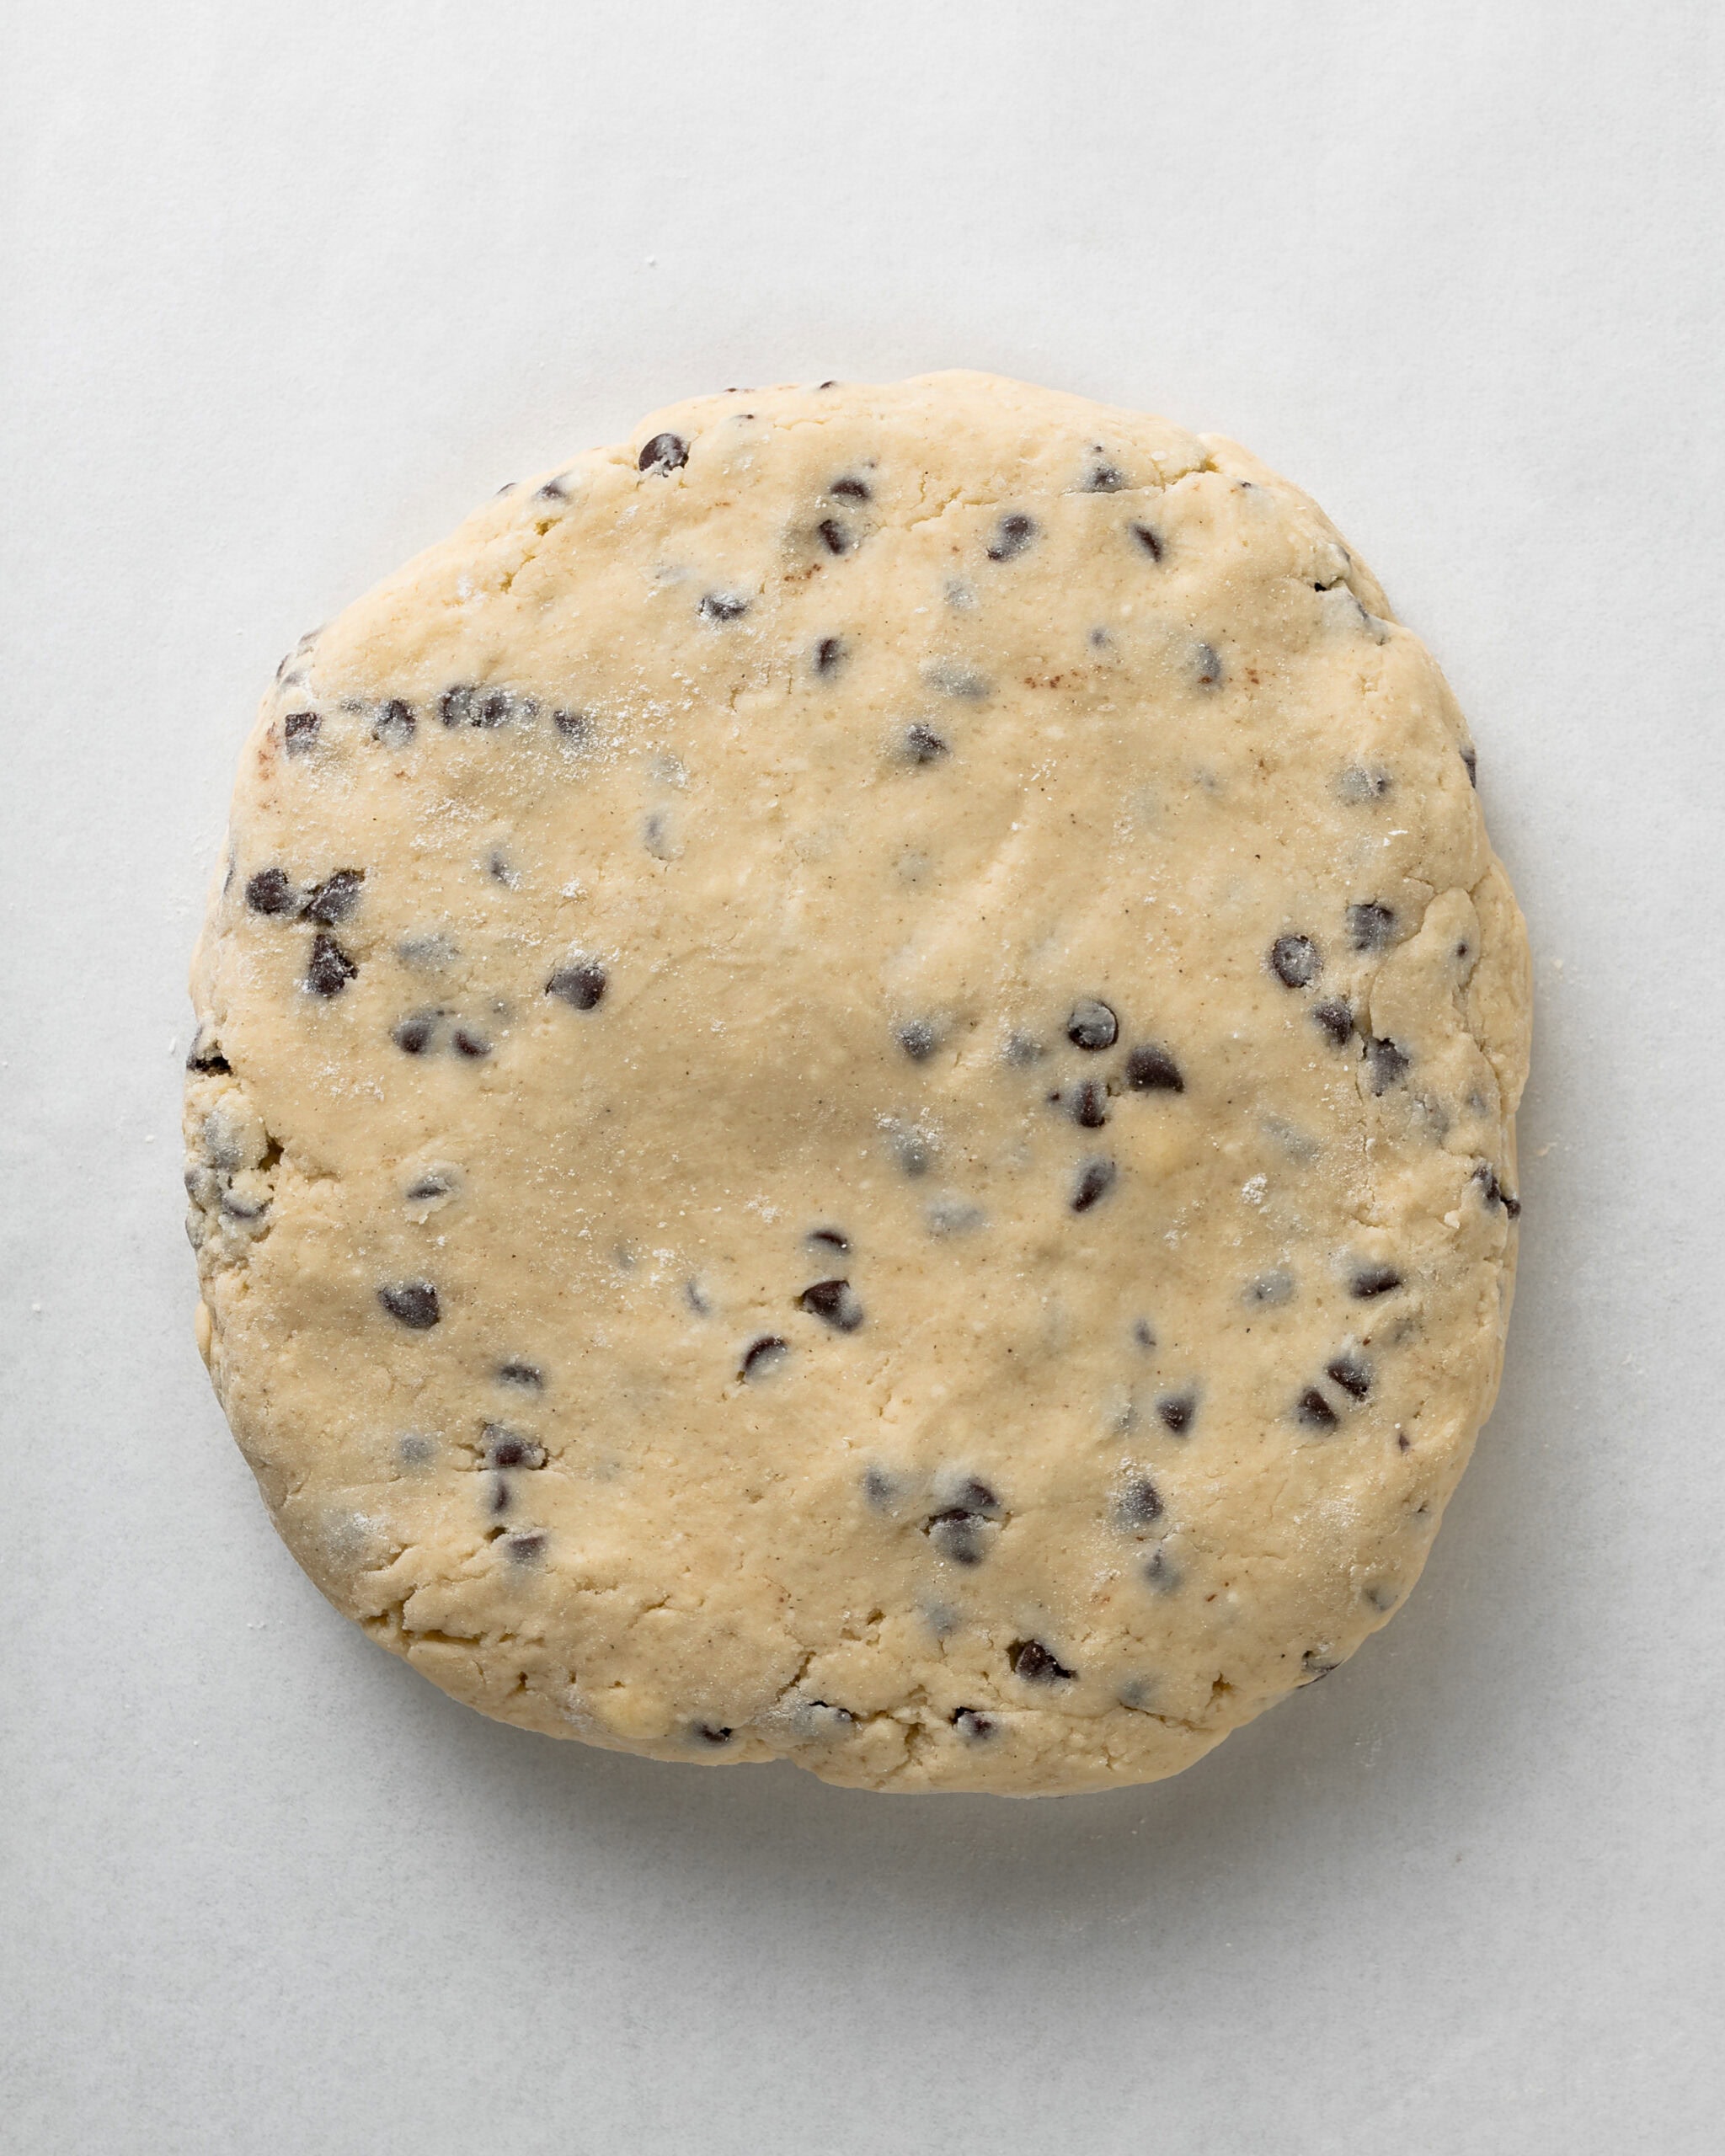
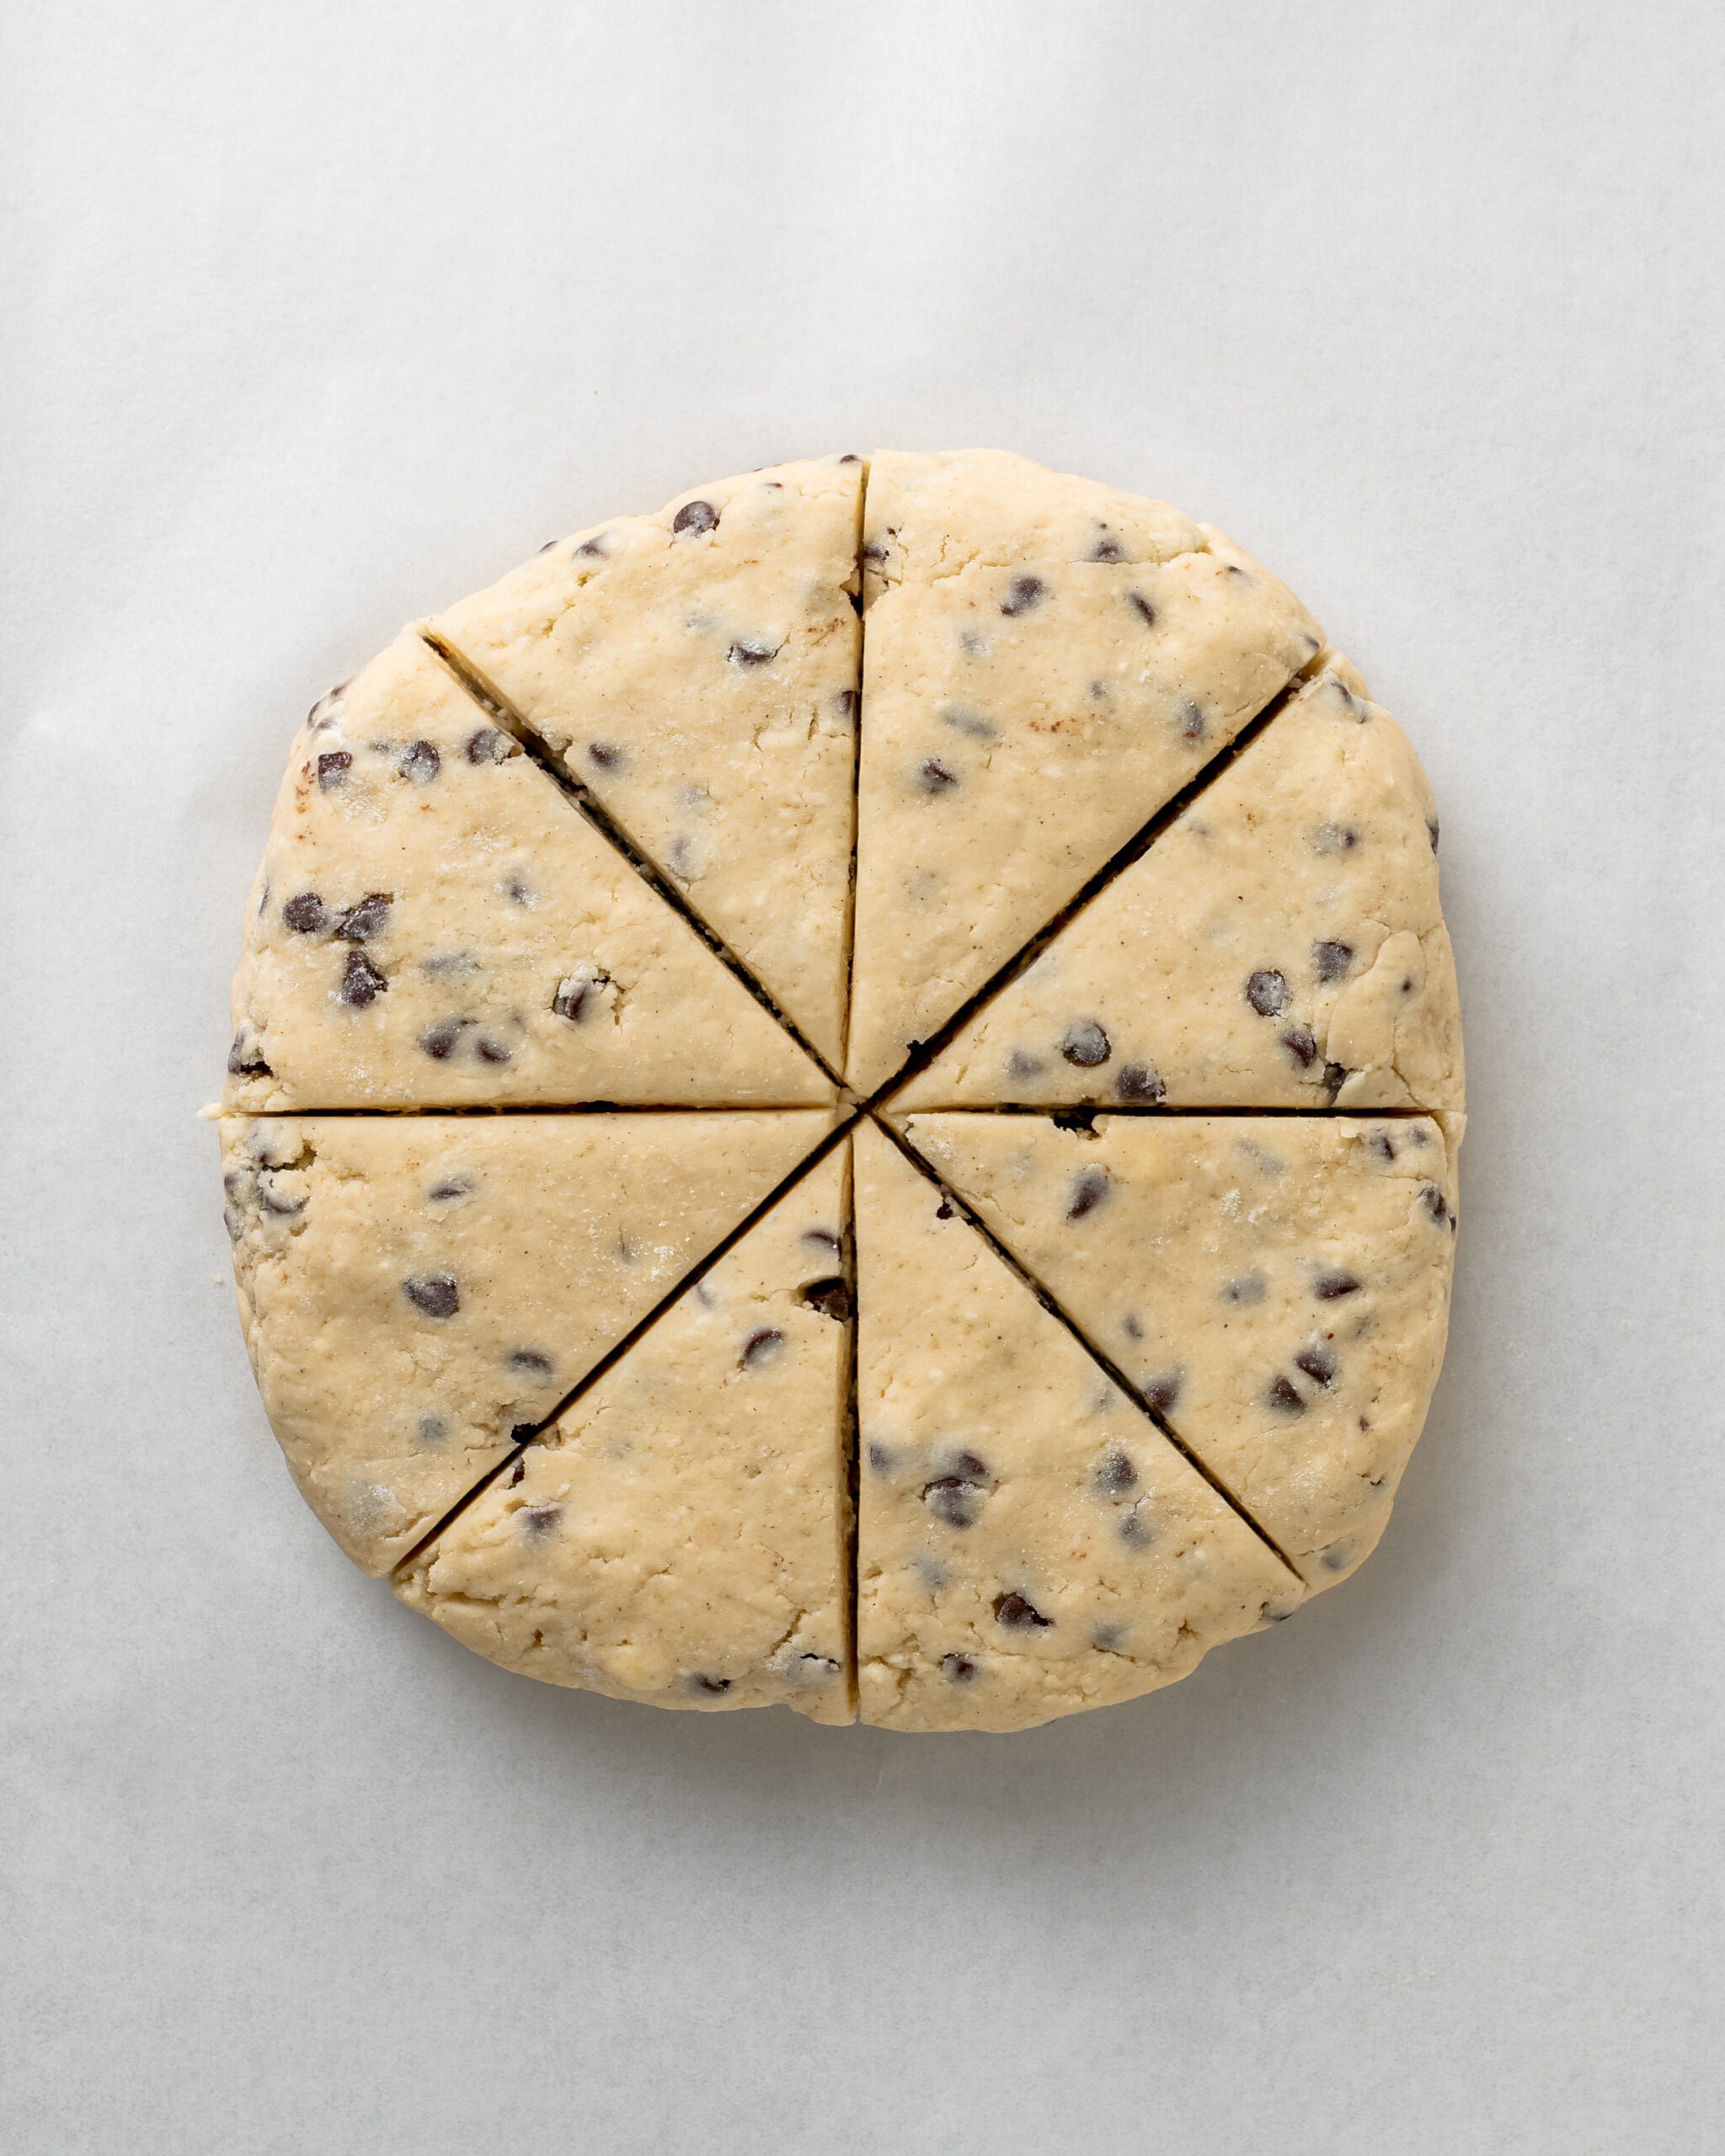
- Step 9: Chill the dough. Using your hands, shape the dough into a 7-inch disk that is about 1 inch thick. Wrap the disk in plastic wrap and refrigerate for 30 minutes.
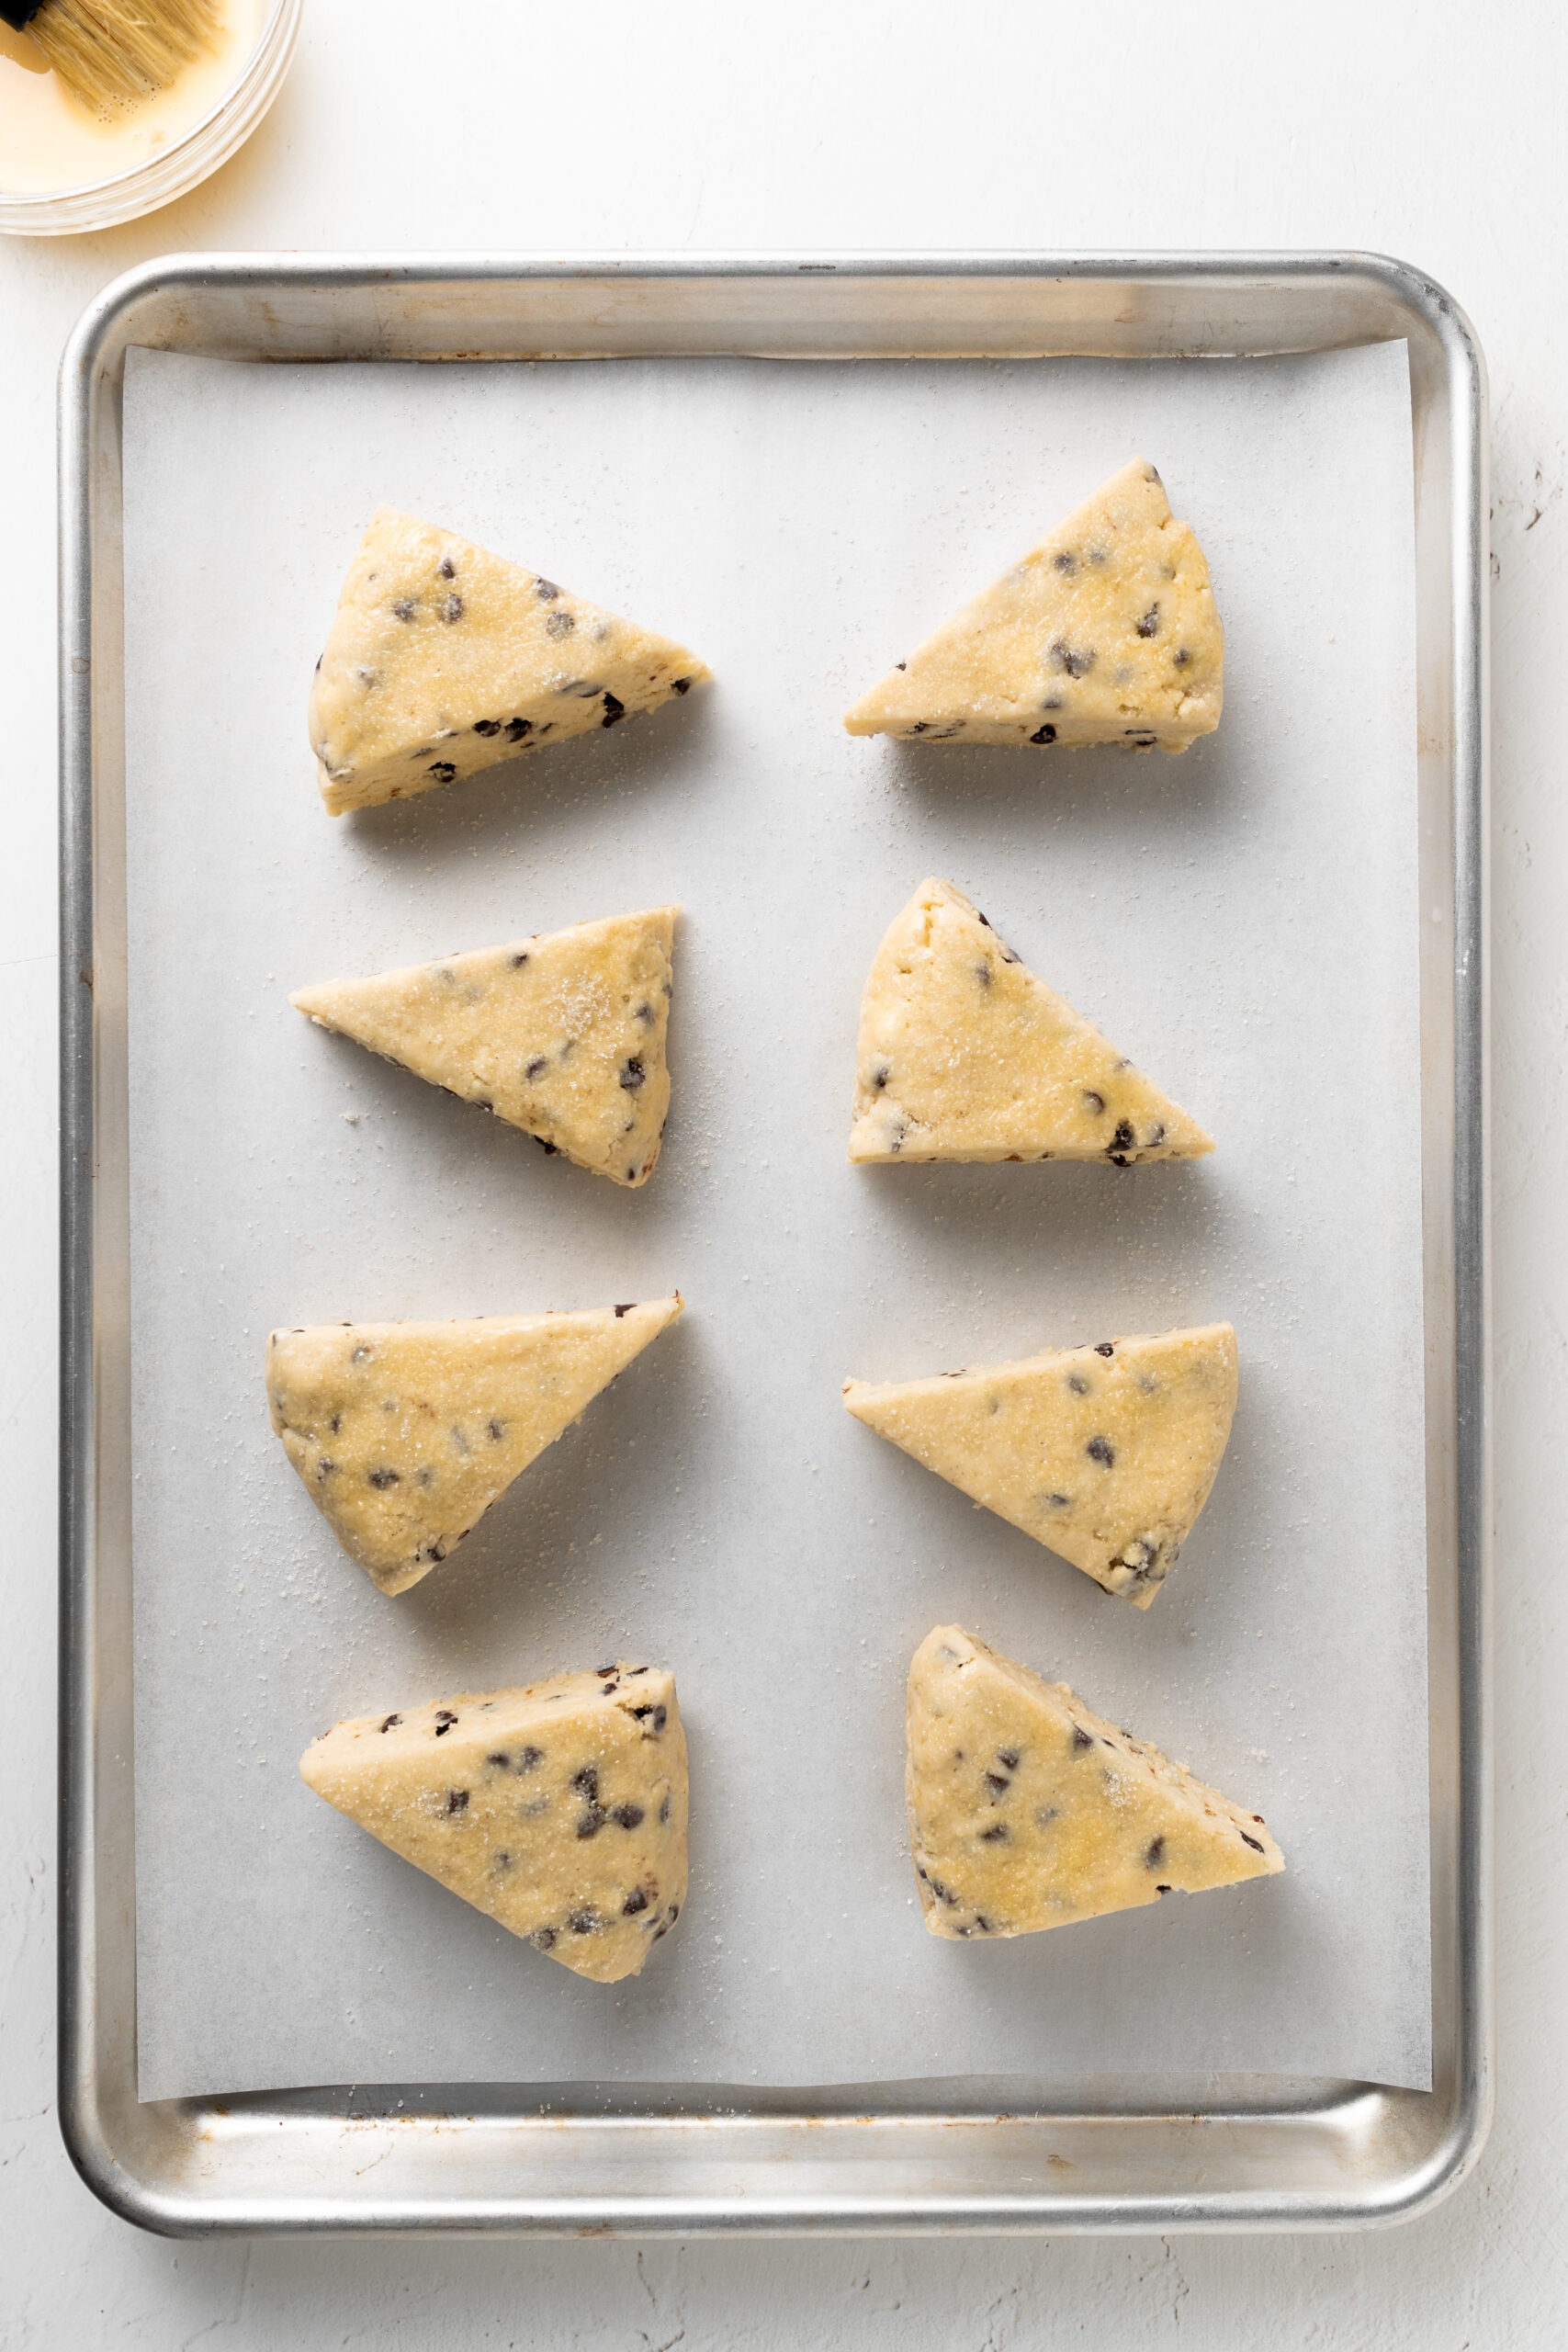
- Step 10: Cut the scones and freeze. After chilling, cut the dough into eight triangular wedges with a sharp knife. Arrange the wedges on a large baking sheet lined with parchment paper, making sure they are equally spaced. Place the baking sheet in the freezer for another 30 minutes.
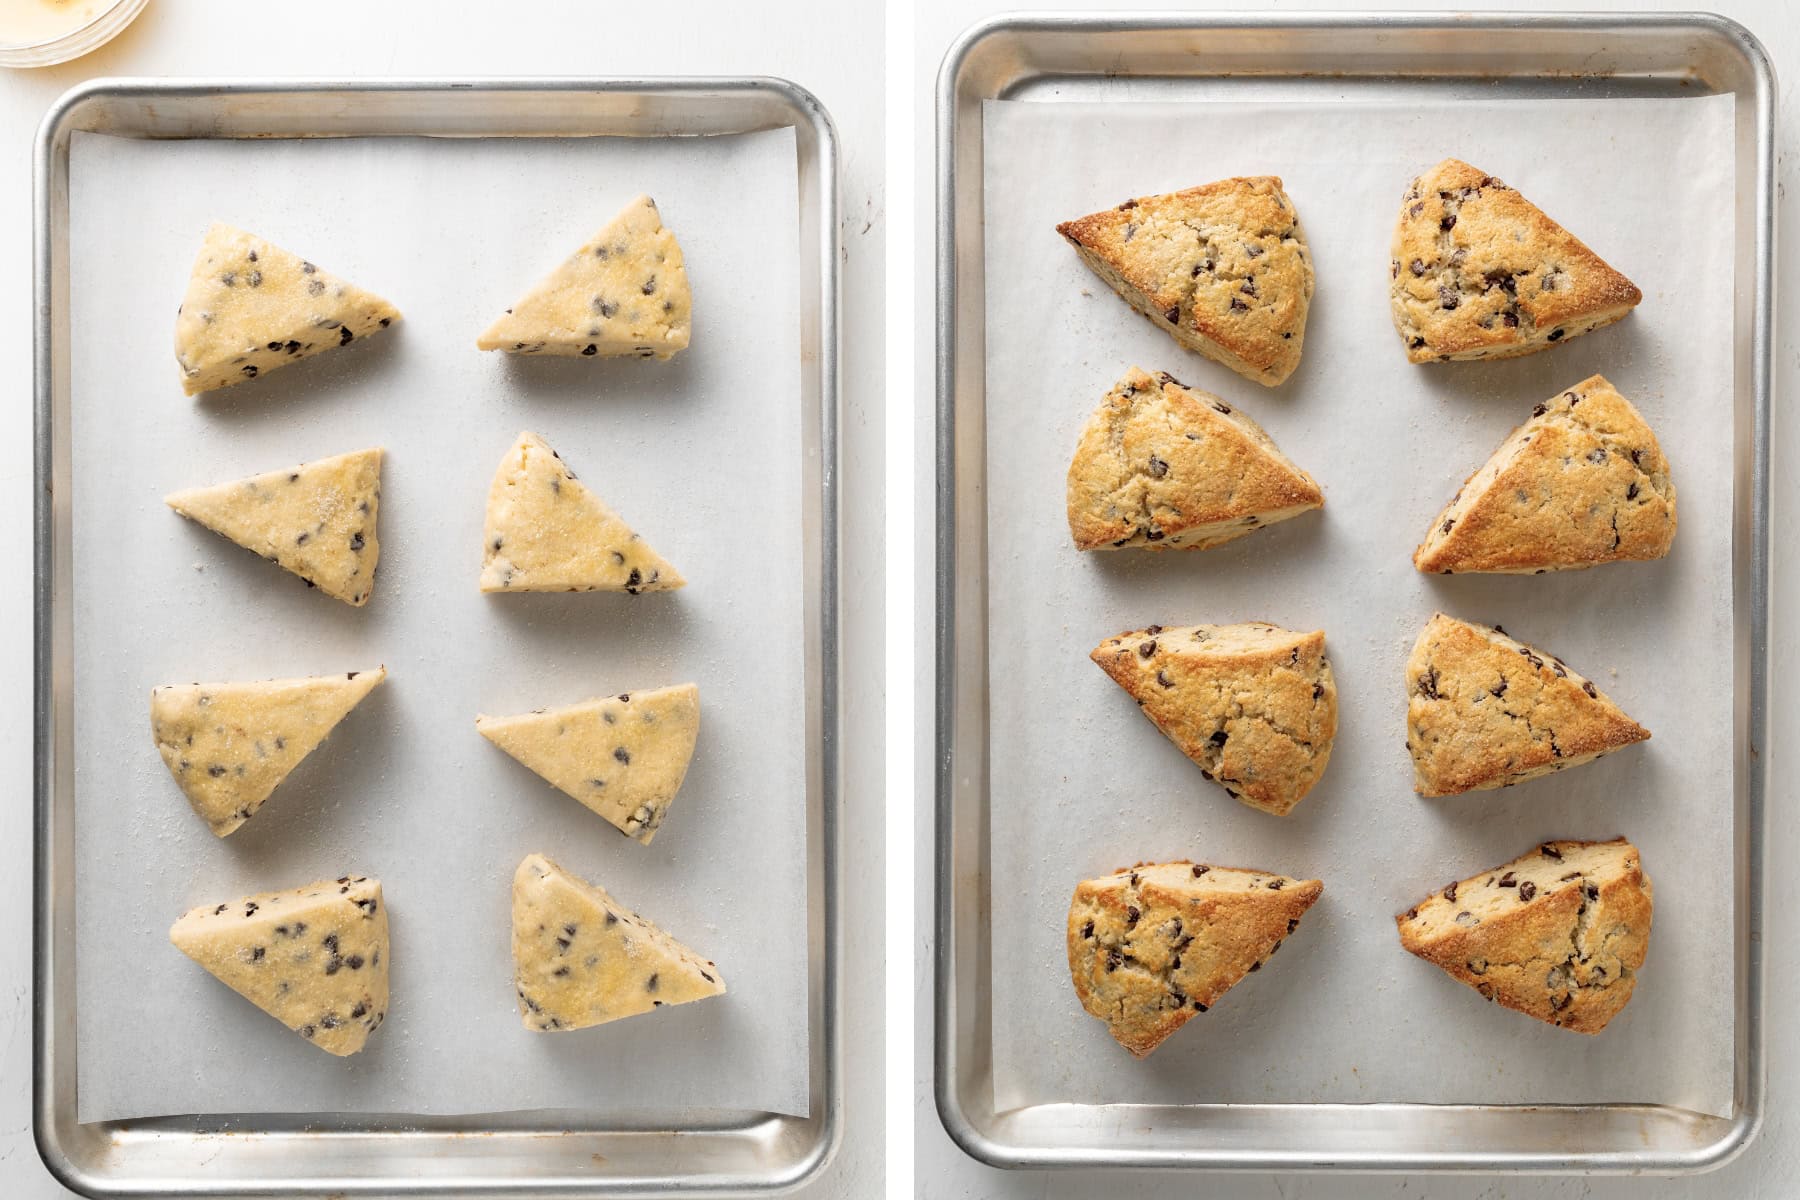
- Step 11: Apply the egg wash and sugar. Using a pastry brush, brush the tops of the scones with the egg wash. Then, sprinkle the top of the dough with granulated sugar.
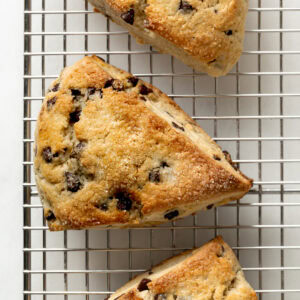
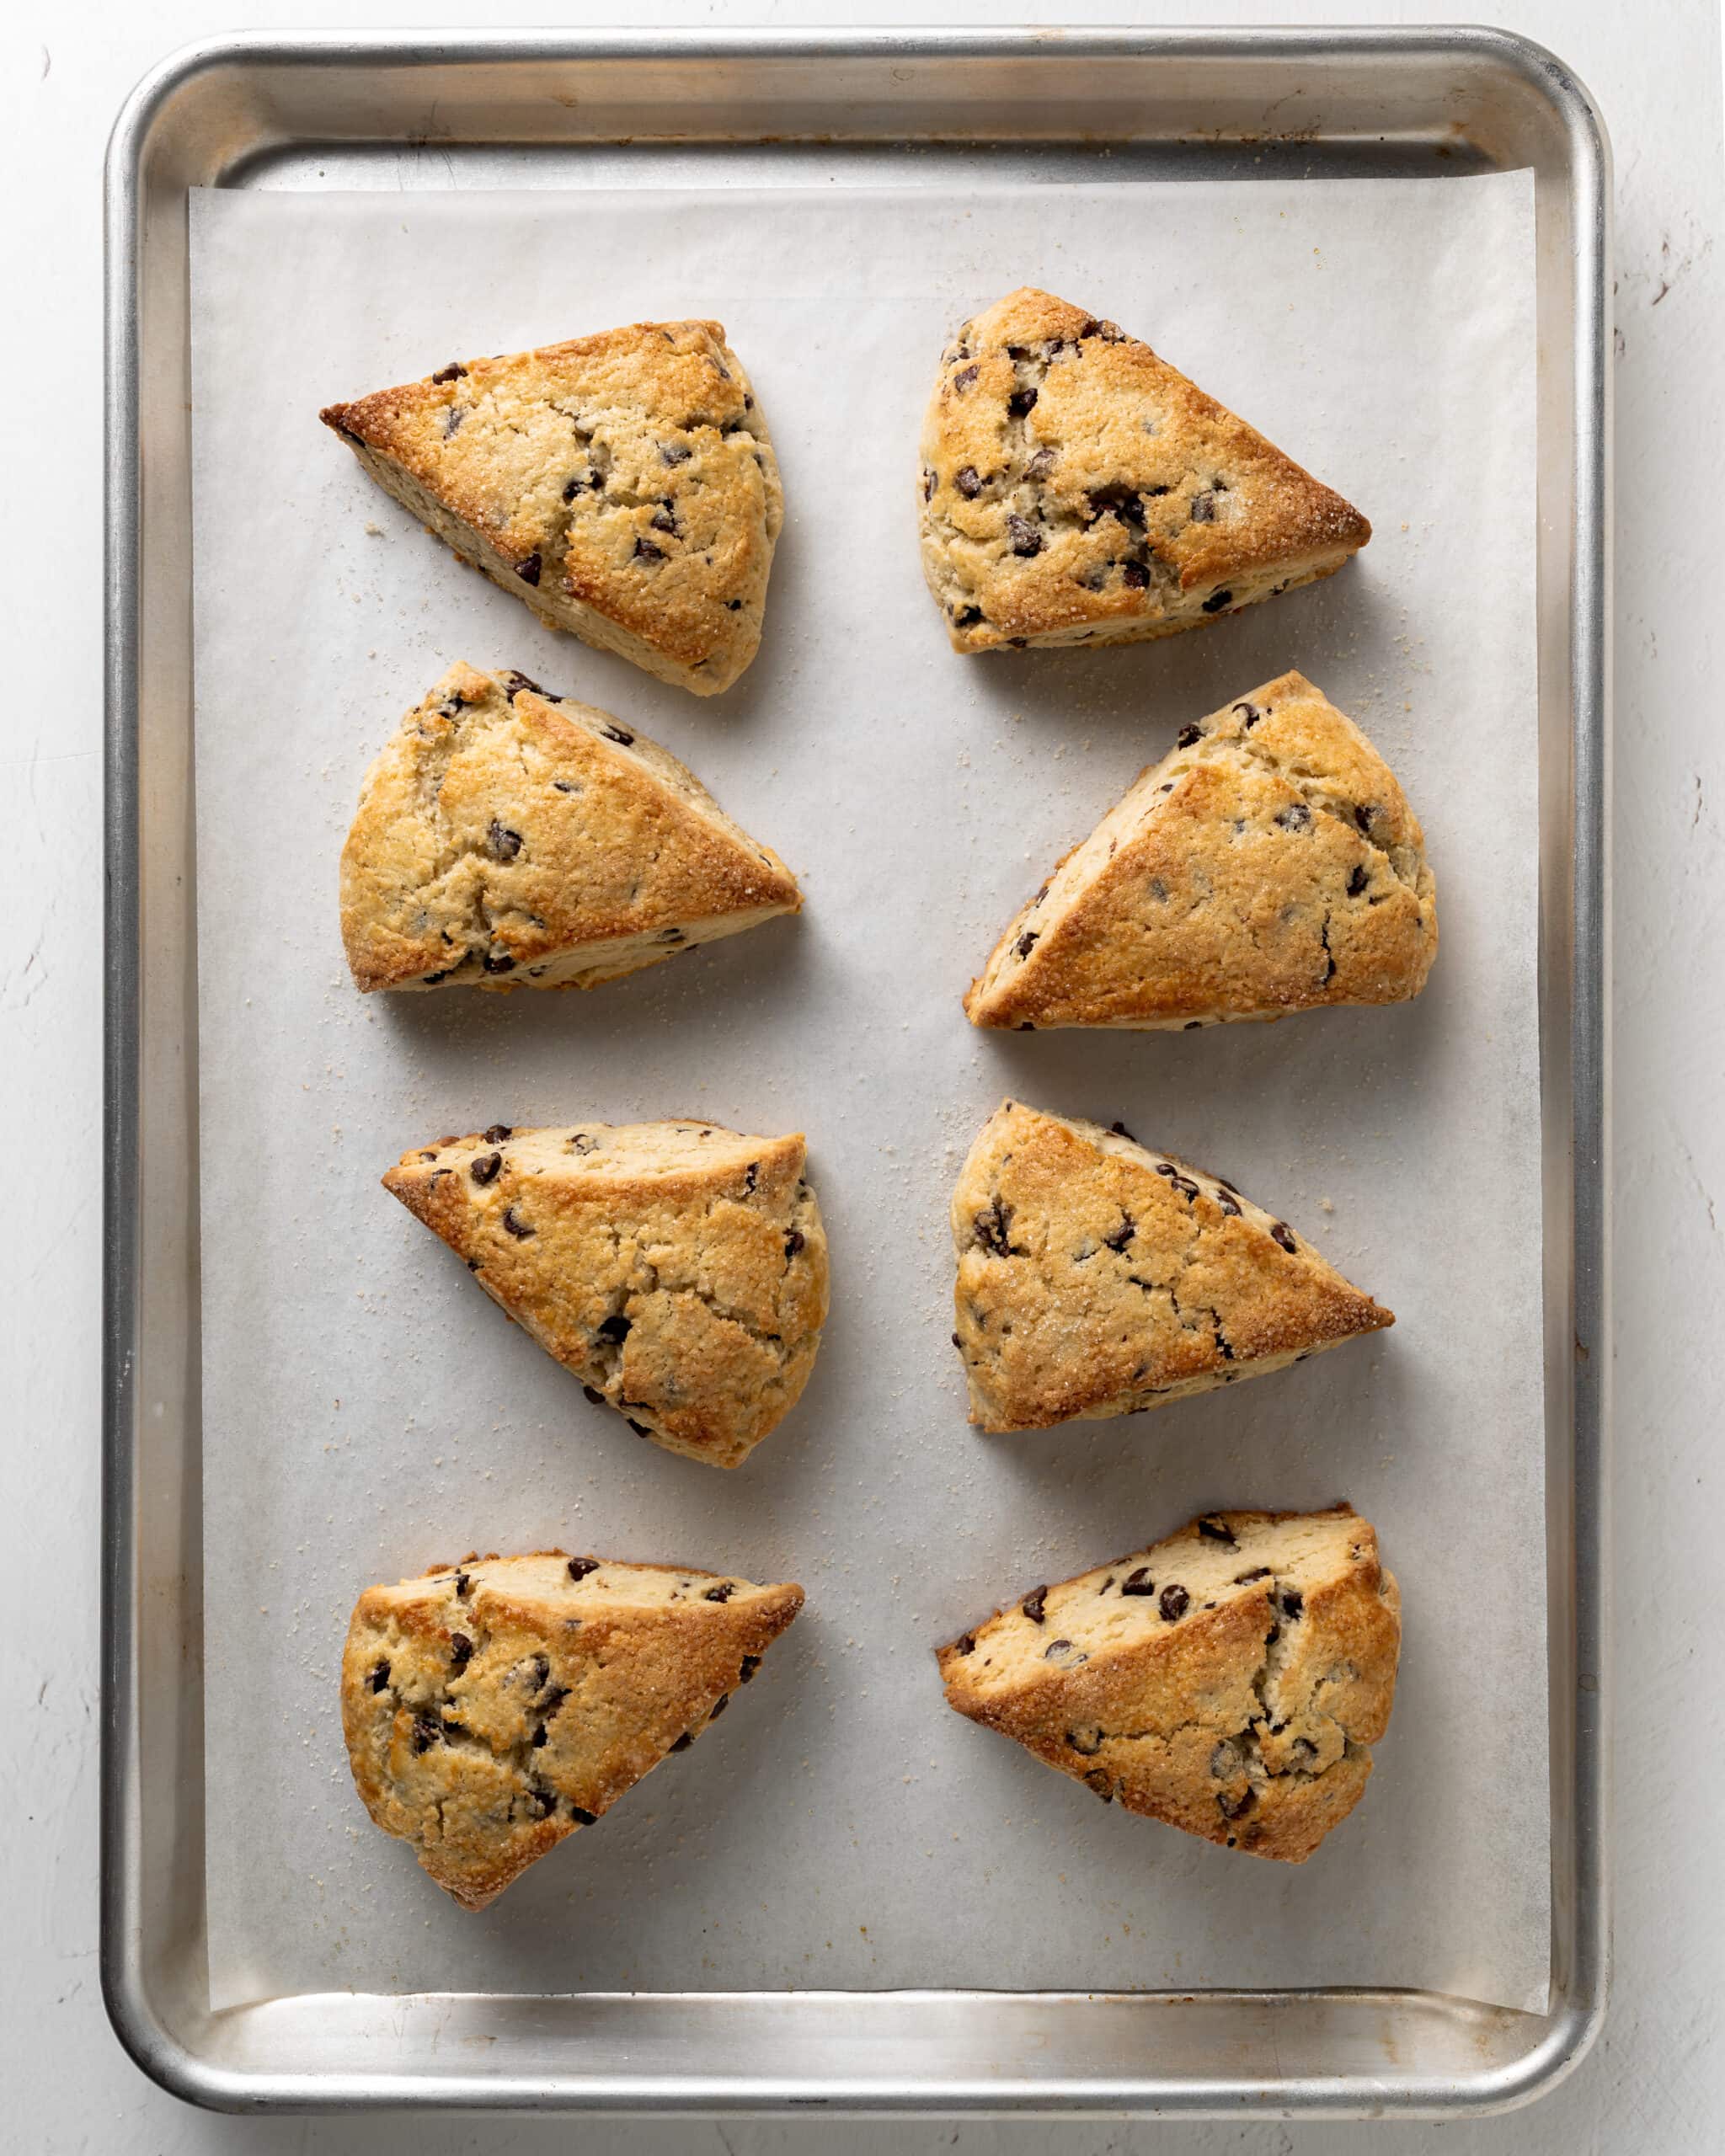
- Step 12: Bake the scones. Place the baking sheet in the preheated oven at 400°F, and bake for 19-20 minutes, or until the scones are beautifully golden brown. Transfer to a cooling rack for at least 30 minutes before serving.
Storage and Freezing
- Baked Scones (1-2 days): While these scones are always most delicious when enjoyed fresh and warm, you can store any leftovers. Once the leftover scones have completely cooled, wrap each one individually in plastic wrap, then place them in an airtight container at room temperature.
- Reheating: To warm them up, simply pop a scone in the microwave for 8-12 seconds.
- Freezing Unbaked Scones (Up to 3 months): For the freshest results when wanting to make scones in advance, freeze the unbaked scone dough for later use. After cutting the wedges, place them on a parchment-lined baking sheet and freeze for 30 minutes, or until solid. Transfer to a freezer-safe bag or airtight container and store for up to three months. When ready to bake, there's no need to thaw—simply bake from frozen, adding a few extra minutes to the baking time.
More Gluten Free Scone Recipes You'll Love
- Gluten Free Scones (Master Scone Recipe)
- Gluten Free Blueberry Scones
- Gluten Free Cheddar and Chive Scones
I hope you love this gluten free chocolate scone recipe as much as I do! If you make it, I’d love to hear how it turned out in the comment box below. Your review will help other readers in the community.
Recipe
Gluten Free Chocolate Chip Scones
Ingredients
- 2 cups (272g) gluten-free flour (Bob's Red Mill 1:1 Baking Flour)
- ⅓ cup (67g) granulated sugar, plus additional for sprinkling on top
- 1 tablespoon baking powder
- ¾ teaspoon salt
- 8 tablespoons (113g) frozen butter, grated or diced (see notes)
- ½ cup (120g) sour cream
- 4 tablespoons (60ml) heavy cream
- 1 large large egg
- 1 teaspoon vanilla extract
- ½ cup (85g) mini semi-sweet chocolate chips
Egg Wash
- 1 large egg
- ½ tablespoon heavy cream
Instructions
- Combine the dry ingredients. In a large bowl, whisk together the gluten-free flour, sugar, baking powder, and salt until well-combined. If you're using a food processor, pulse the dry ingredients a few times to mix them.

- Add the frozen butter. Grate the butter on a box grater and add it to your flour mixture. Using a pastry blender or two forks, quickly work the butter into the flour until the mixture resembles coarse crumbs. If you're using a food processor, add diced frozen butter to the bowl and pulse until coarse crumbs form.
- Whisk the wet ingredients. In a separate bowl, whisk together the sour cream, one large egg, heavy cream, and vanilla extract until the mixture is smooth and combined.
- Create a well in the center of the flour mixture. If you used a food processor, transfer the contents to a large bowl. Create a well in the center of the dry ingredients and pour the sour cream mixture into it.
- Stir the wet and dry ingredients. Using a rubber spatula, carefully mix the ingredients just until a shaggy, coarse dough comes together. Don't be concerned if it appears loose or if there are a few dry bits at the bottom of the bowl; as long as the dough clings together when you pinch it, you've got it right. It's important not to overmix the dough.
- Add the mini chocolate chips. Gently fold the mini chocolate chips into the dough until they are evenly distributed.
- Bring the dough together. Turn the dough onto a lightly floured surface. Using floured hands, gently knead it just until it comes together. Avoid overworking the dough, as this will make your scones tough.
- Shape the dough. Gently pat the dough into a 7x5-inch rectangle. Using a knife or a bench scraper, cut the dough in half vertically. I prefer using a bench scraper, as it makes it easy to cut and lift the dough without warming it up too much.
- Create flaky layers by laminating the dough. Stack the two pieces on top of each other. Turn the stacked dough 90 degrees and gently press it back into a 7x5-inch rectangle. If the dough starts to feel sticky, lightly flour your hands or work surface.
- Repeat lamination. Repeat the entire process of cutting, stacking, and rotating a total of four times.
- Shape the dough into a disk and chill. Shape the dough into a 7-inch disk, about an inch thick, using your hands. Make sure it isn't thinner than ¾ inch, or the scones might be flat. Wrap the disk tightly in plastic wrap and chill it in the refrigerator for at least 30 minutes. This step is crucial because it allows the gluten-free flour to fully absorb the liquid, ensuring your final scones have a smooth, less gritty texture.
- Cut the scones. After the dough has chilled, take it out of the refrigerator. Using a sharp knife or bench scraper, slice the disk into eight triangular wedges. For the cleanest cut and best rise, make sure to press straight down through the dough without twisting. You can also wipe the knife clean after each slice.Freeze the scones and preheat the oven. Arrange the cut scone wedges on a parchment-lined baking sheet, leaving a few inches of space between each. Place the baking sheet in the freezer for 30 minutes. While they're chilling, preheat your oven to 400°F. This final chill is the key to achieving a flaky, high-rising scone, as it ensures the butter stays very cold right before it hits the heat.
- Prepare the egg wash. After the scones have chilled for 30 minutes, remove them from the freezer. In a small bowl, whisk together one large egg and a splash of heavy cream. This egg wash will help the scones achieve a beautiful, golden-brown finish as they bake.
- Add the egg wash and sugar. Using a pastry brush, gently brush the egg wash over the tops of the scones. Be careful to avoid any drips on the sides, which can hinder the rise. Finish by sprinkling the tops with granulated sugar.

- Let's bake! Place the baking sheet in the preheated oven and bake for 19-20 minutes, or until the scones are a beautiful golden brown. To test for doneness, you can insert a toothpick into the center—it should come out clean—or use an instant-read thermometer, which should read at least 200°F. Once baked, remove the scones from the oven and transfer them to a wire rack to cool for at least 30 minutes before serving.


Comments
No Comments