These easy Gluten-Free Tartlet Shells are flaky, buttery, and made with just six ingredients in a mini muffin pan. Add any of your favorite fillings and garnishes to these gluten-free mini tarts. They are the perfect bite-sized appetizer for parties!
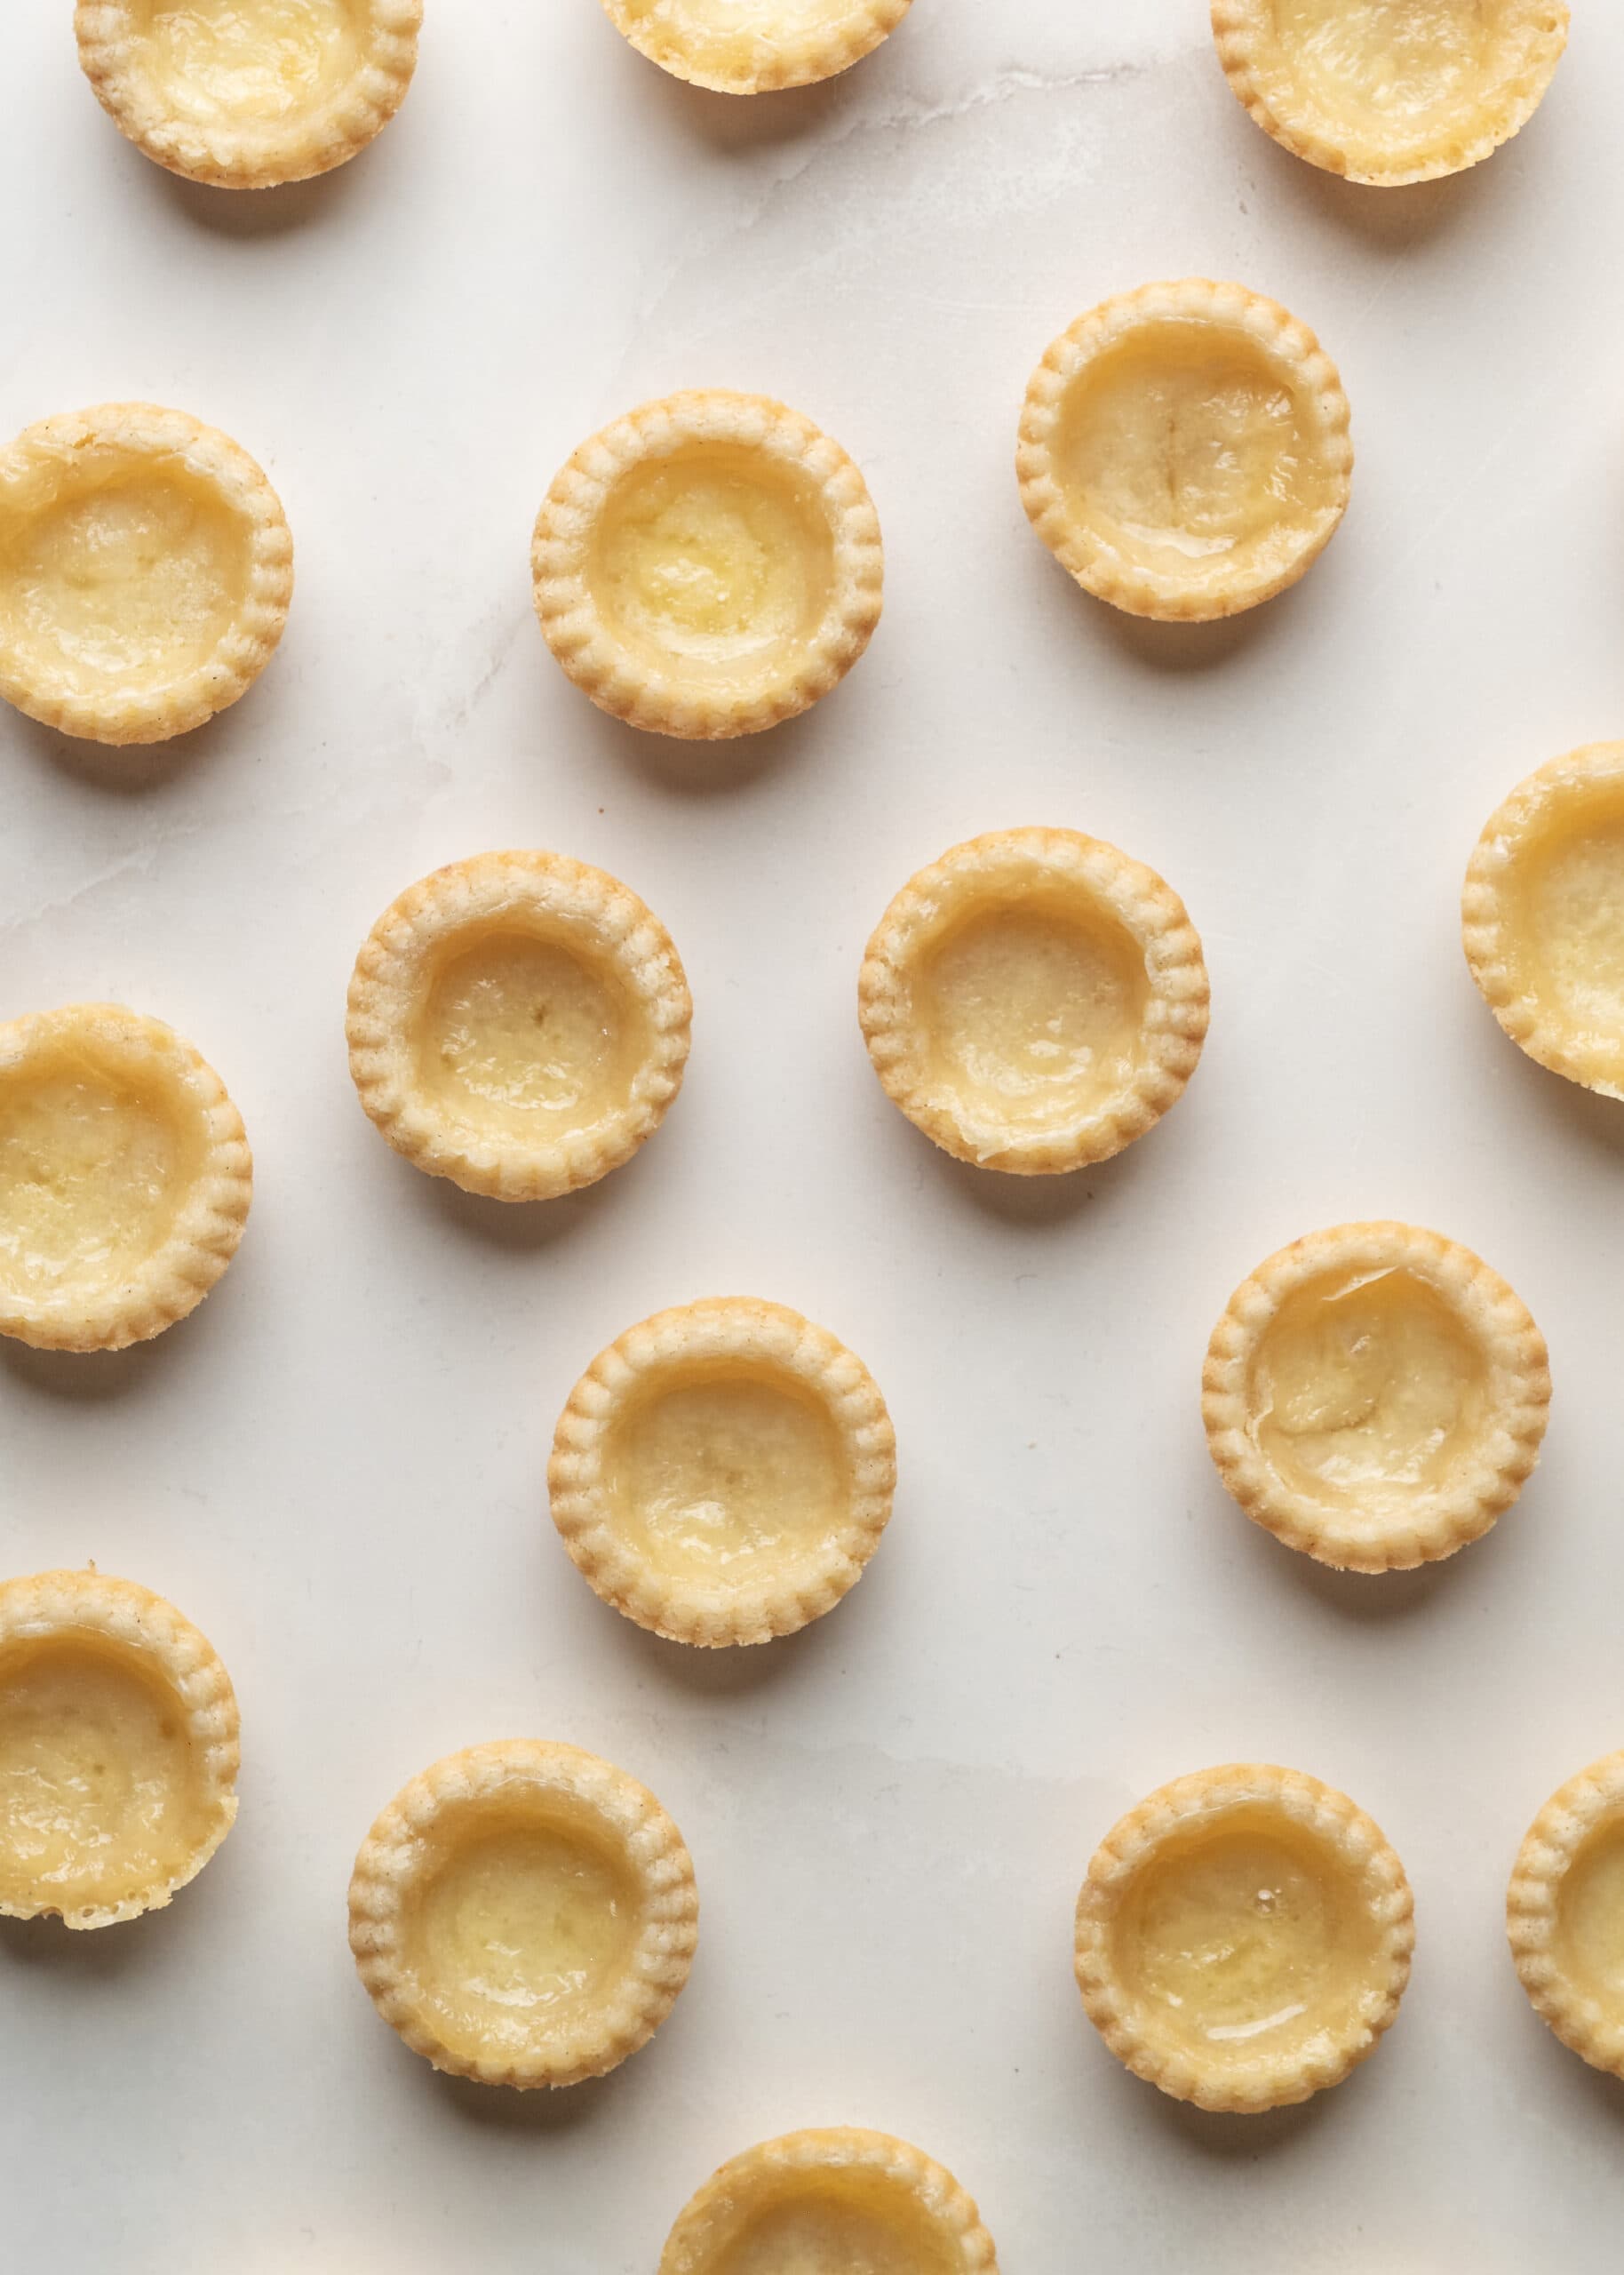
There are many appetizer recipes that call for pre-made tart shells or phyllo shells, and finding gluten-free options has always been a challenge, until now. Similar to pie crust, these gluten-free mini tartlet shells have a buttery flaky texture. Add your favorite fillings and garnishes.
I love using this recipe for my Blackberry Brie Tartlets! They pair lovely with my Bacon Wrapped Dates and look great assembled on charcuterie boards.
Jump to:
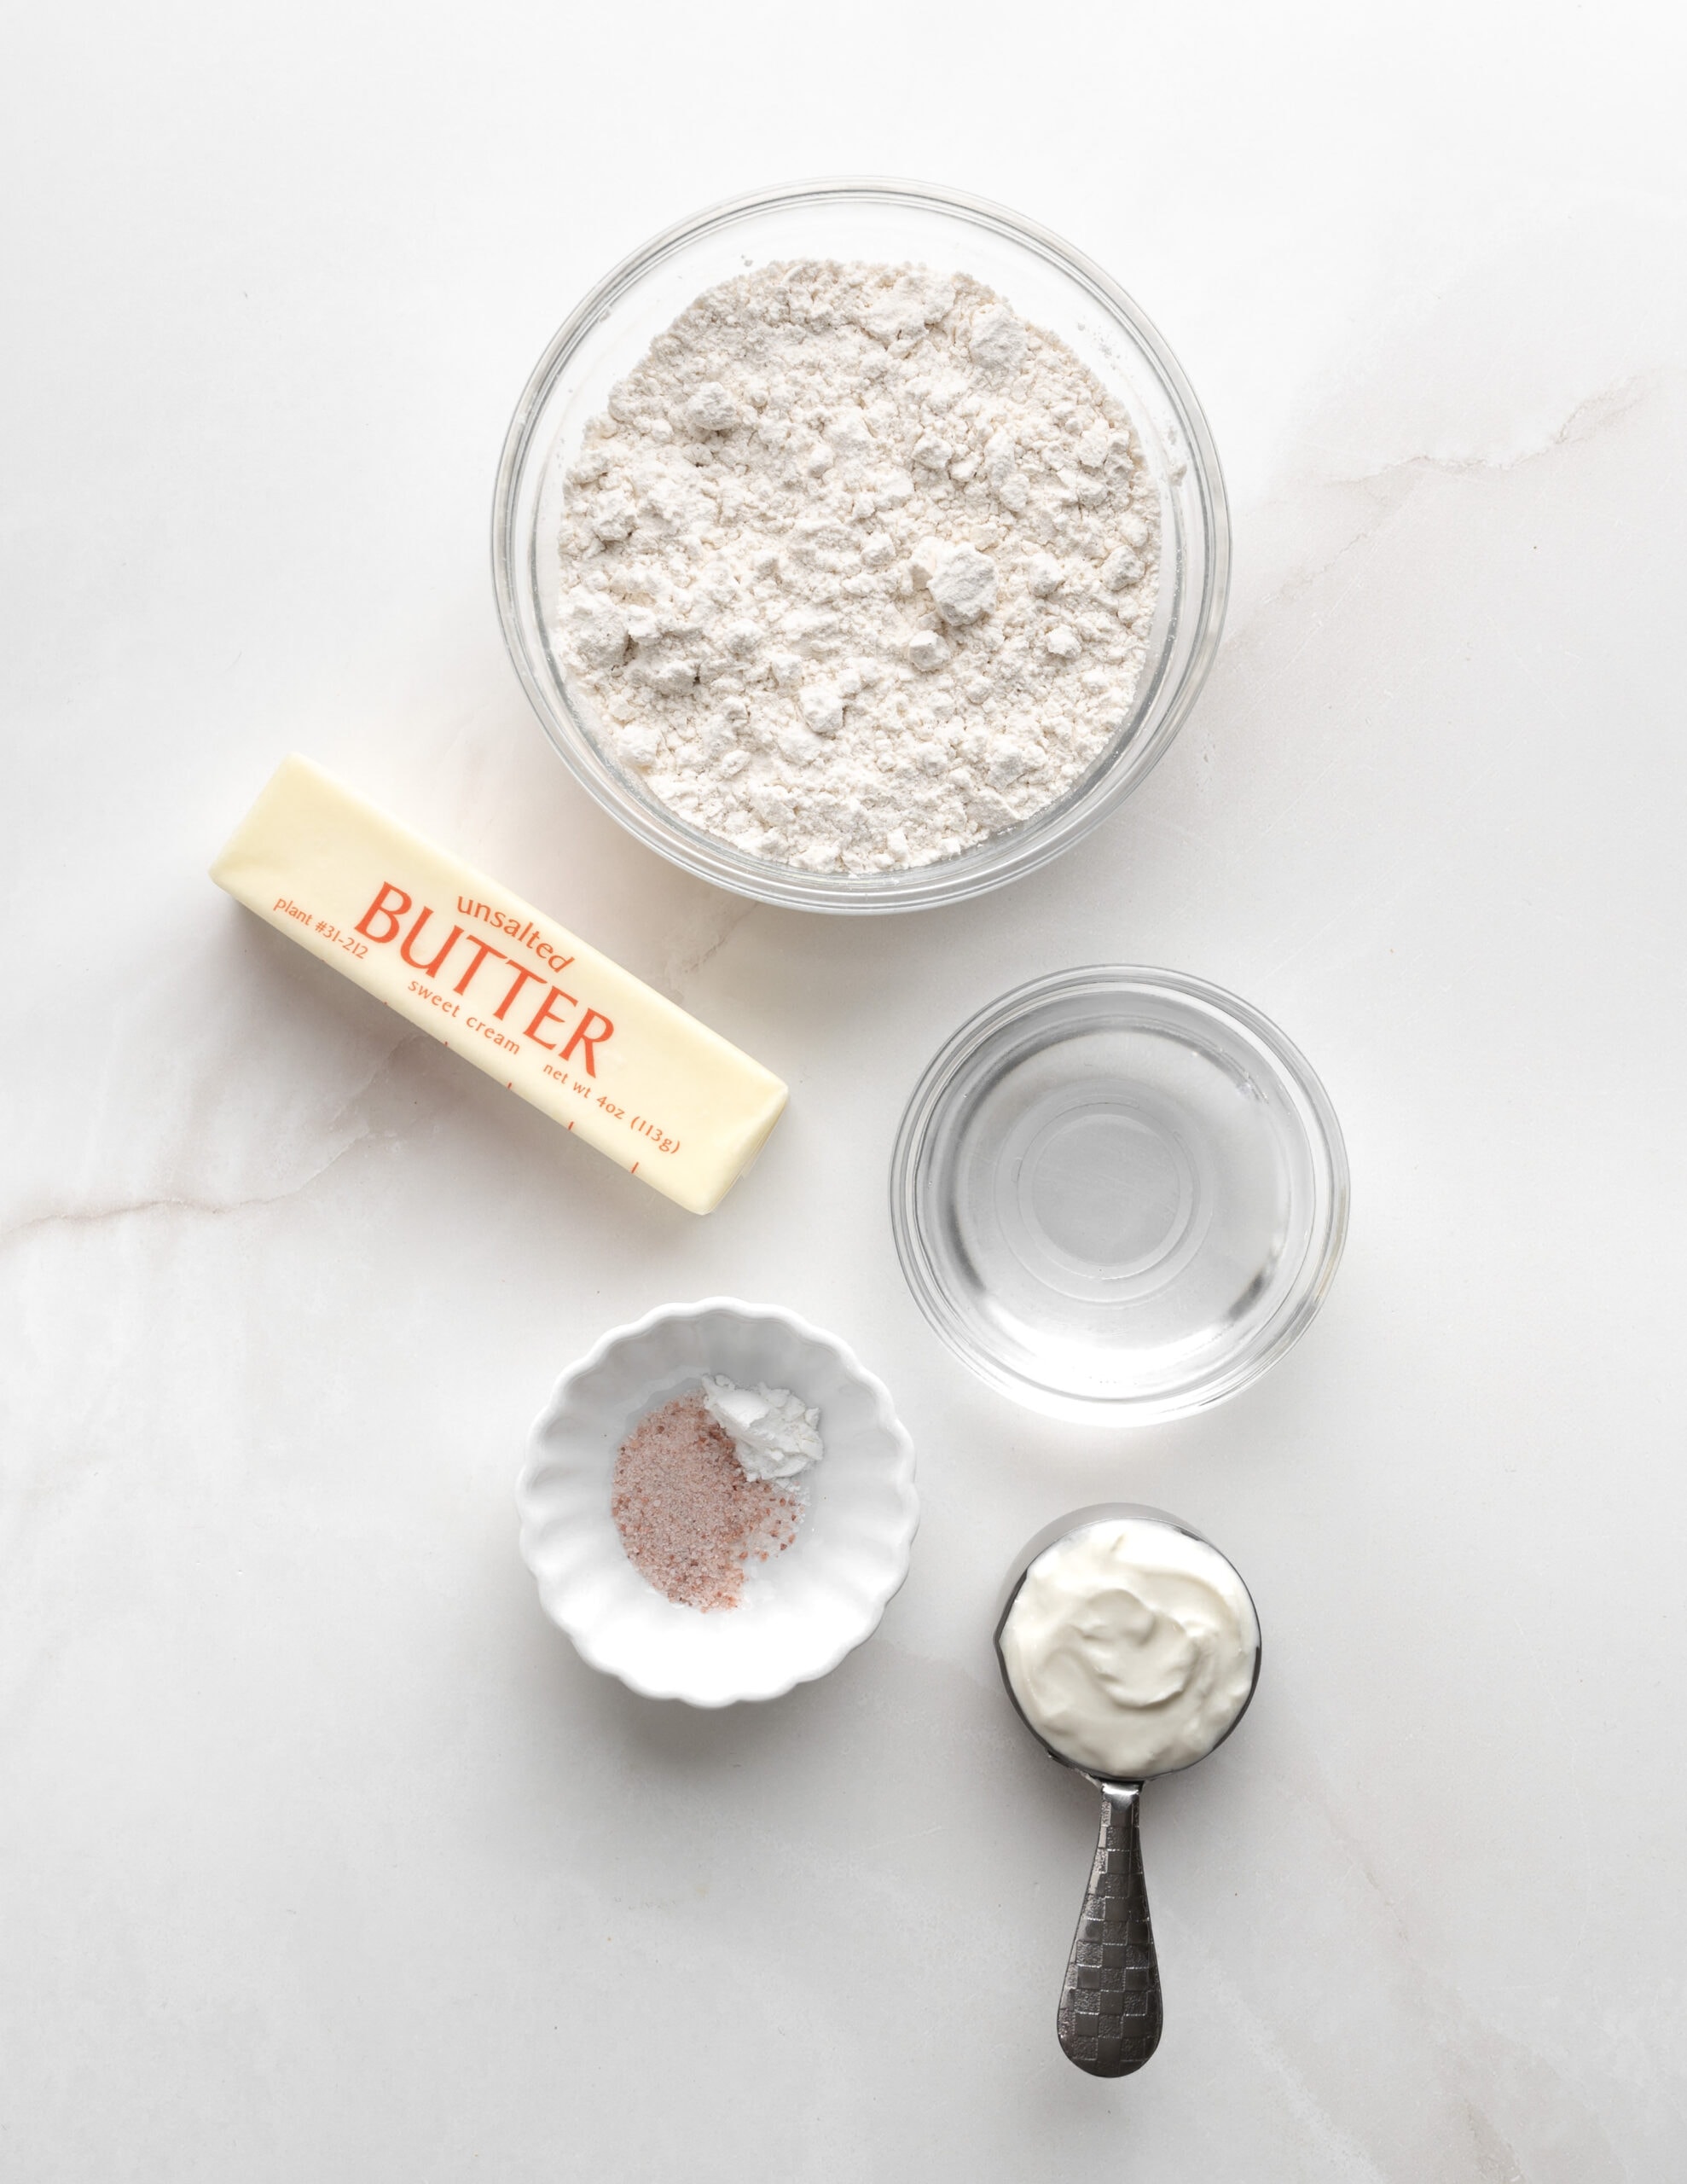
Ingredients
- Gluten-Free Flour: My favorite brand of gluten-free flour is Bob's Red Mill 1:1 Baking Flour.
- Butter: The key to getting a flaky tart crust is to add really cold butter to the flour, straight from the freezer. Dairy-free butter can be substituted if needed.
- Sour Cream: Sour cream gives the crust a tender and flaky texture. For a dairy-free option, you can use dairy-free sour cream or dairy-free yogurt
- Baking Powder: A small amount of baking powder gives the tartlet shells just enough rise.
- Salt: Salt helps bring out the flavor in the tartlets.
- Water: Ice cold water will also help to tenderize the dough and bind the ingredients together.
Making The Dough
This recipe uses a food processor, but you can also use a bowl and pastry cutter to cut the butter into the flour.
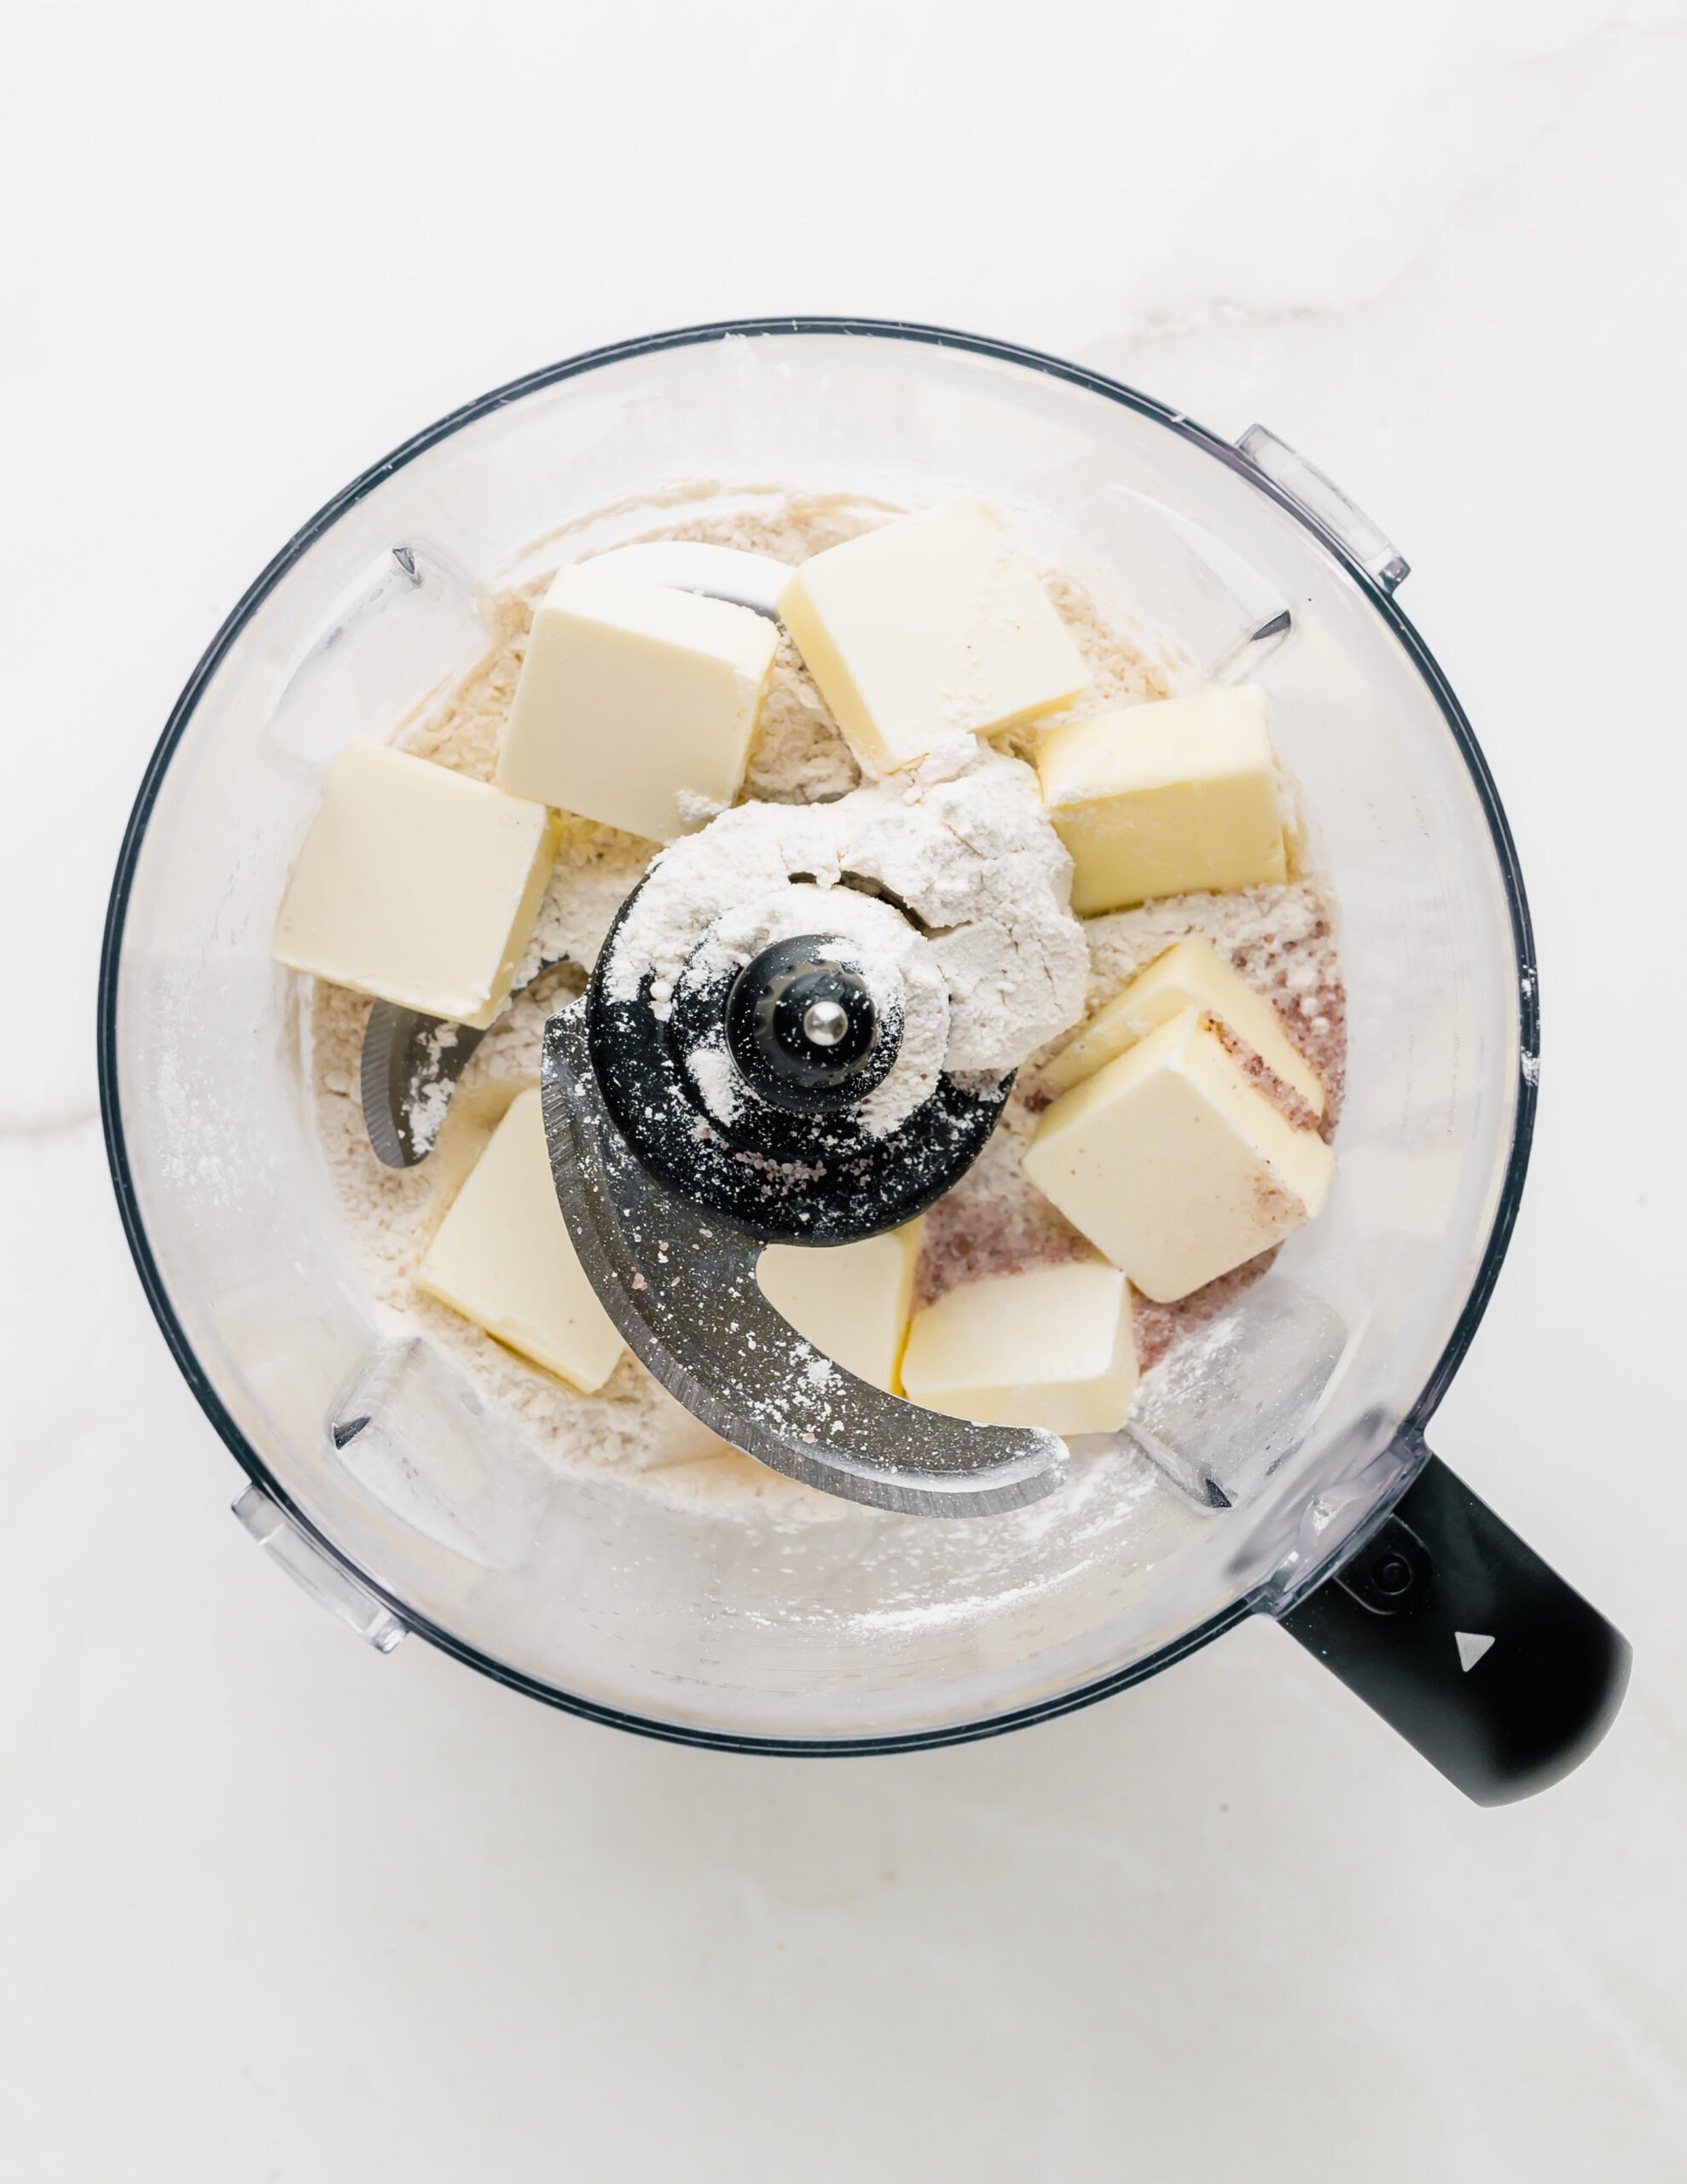
In a large bowl or food processor, add the cold diced butter, gluten-free flour, baking powder, and salt. Pulse for around 10-15 times, or until the butter chunks form into pea-sized pieces.
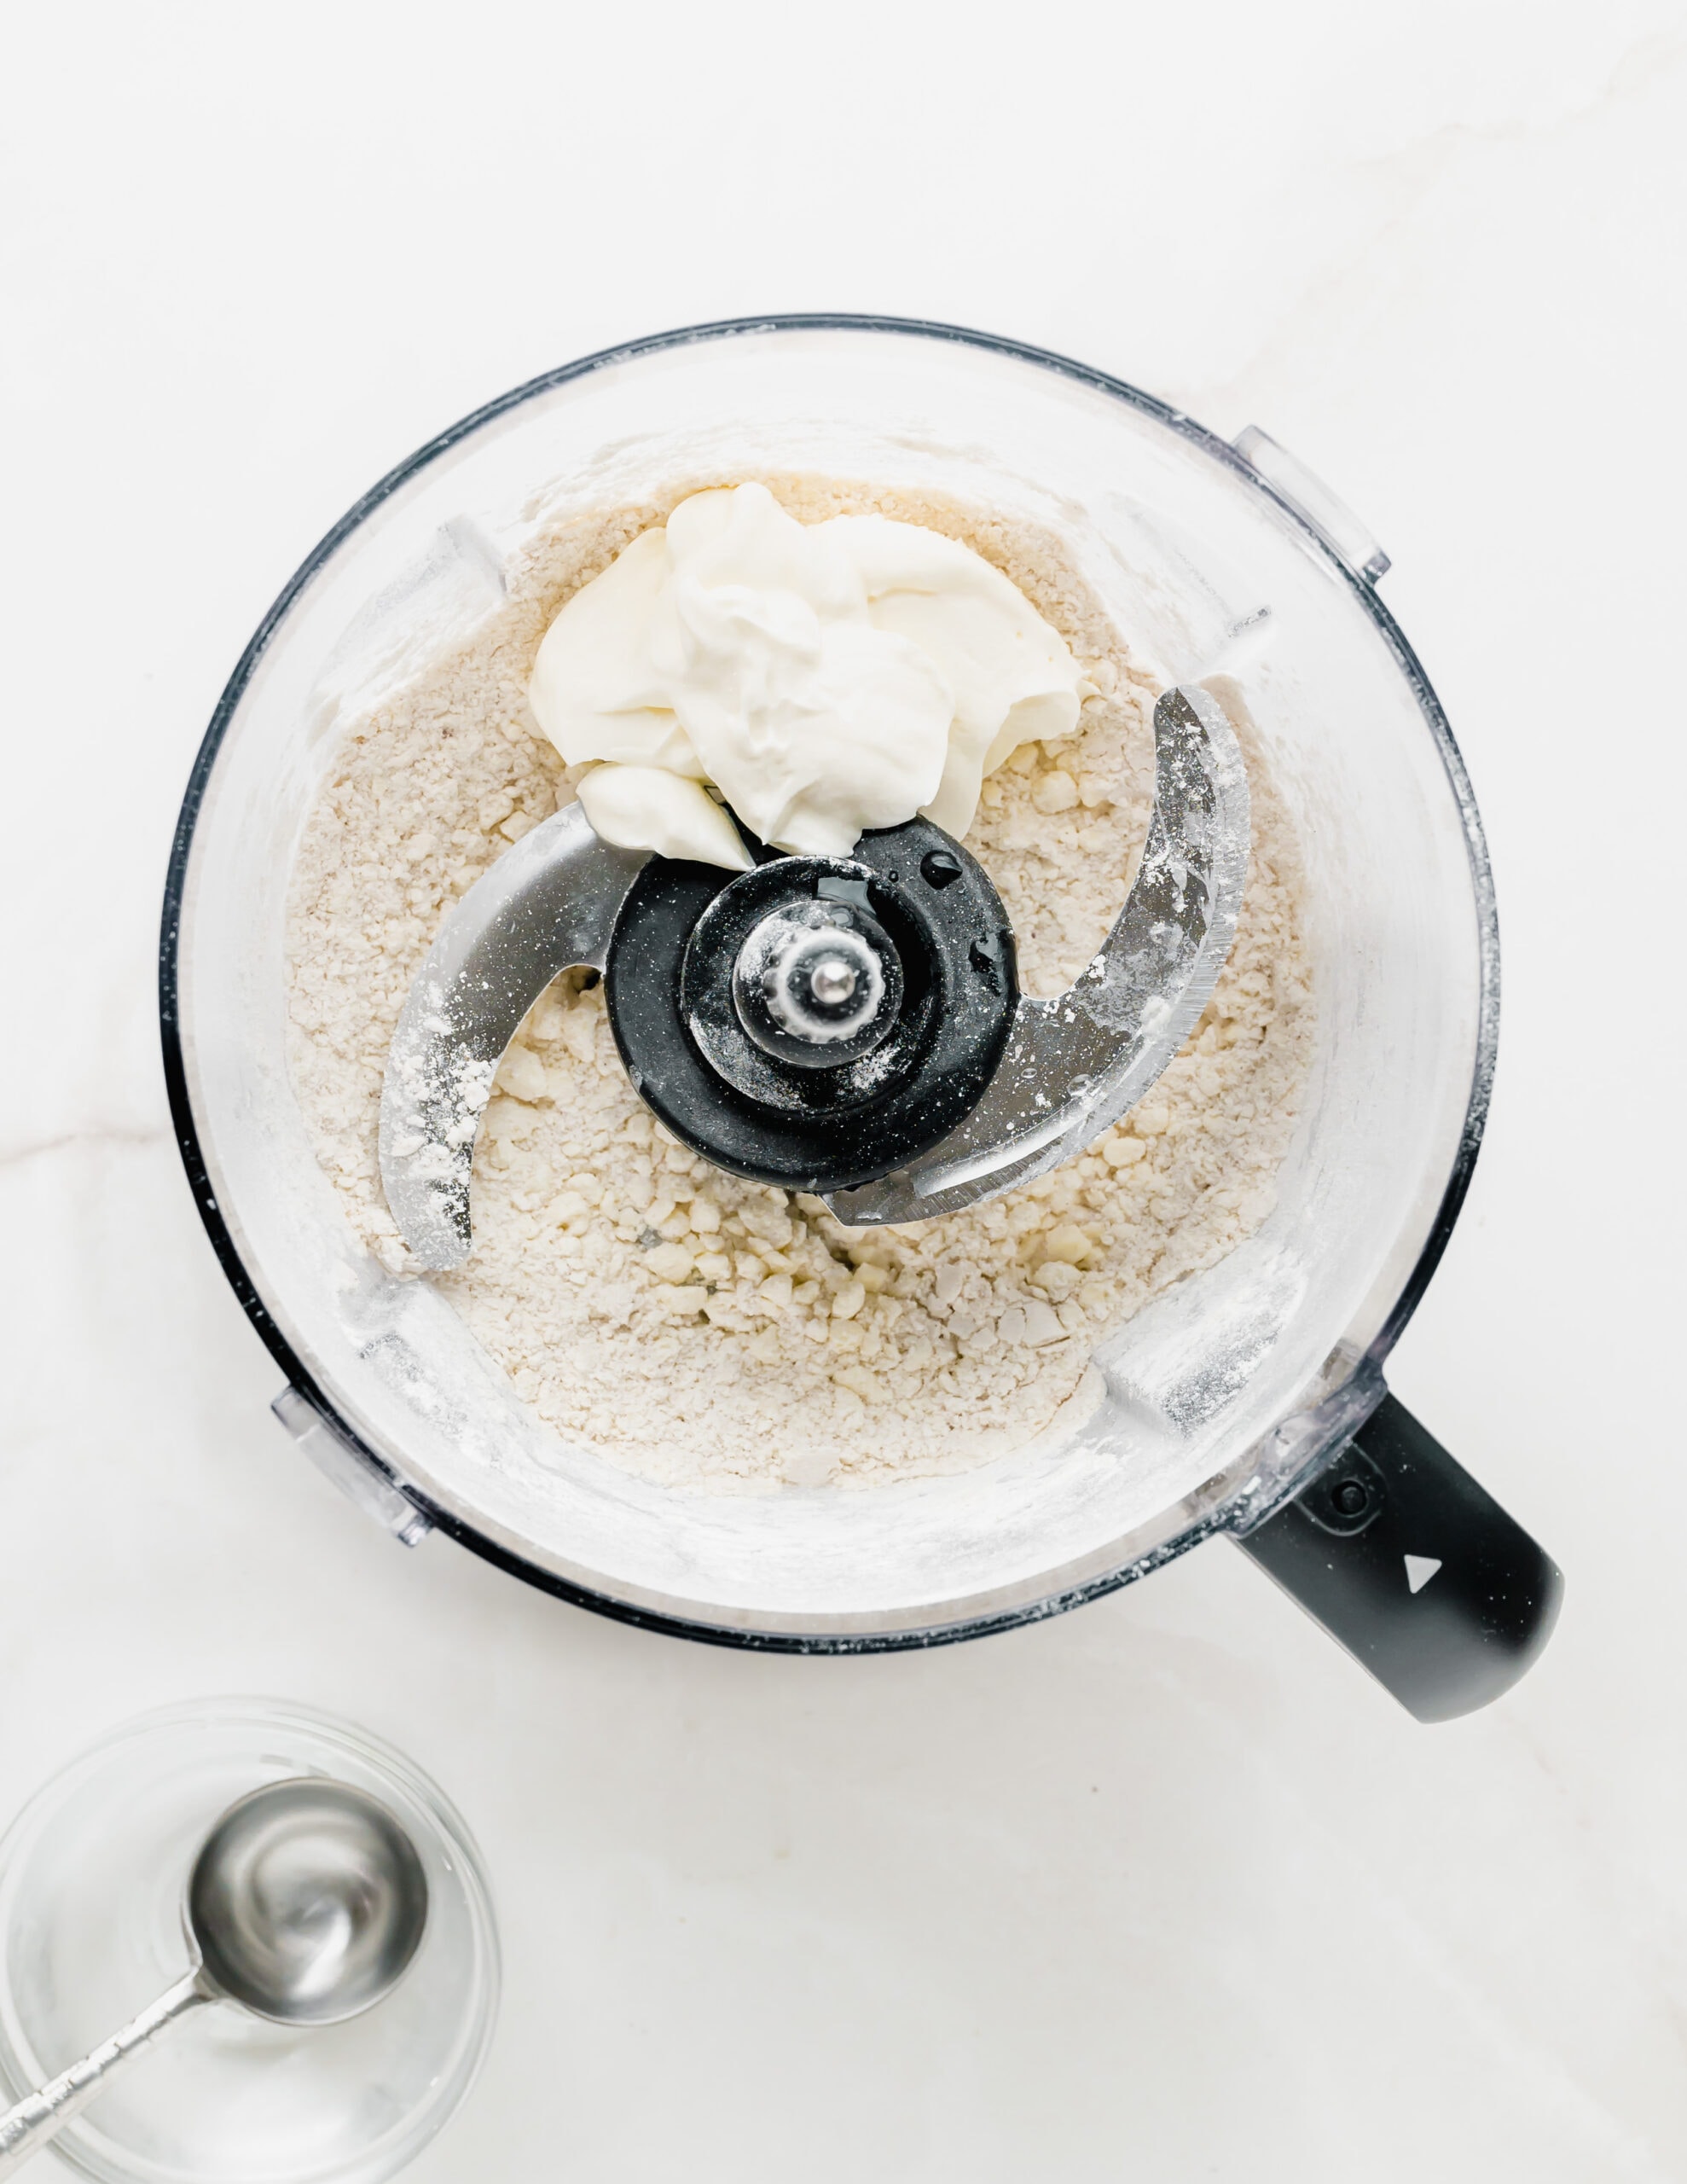
Add the sour cream and 3 tablespoons of ice-cold water to the food processor. Pulse for another 8 seconds until the pastry becomes small coarse crumbles.
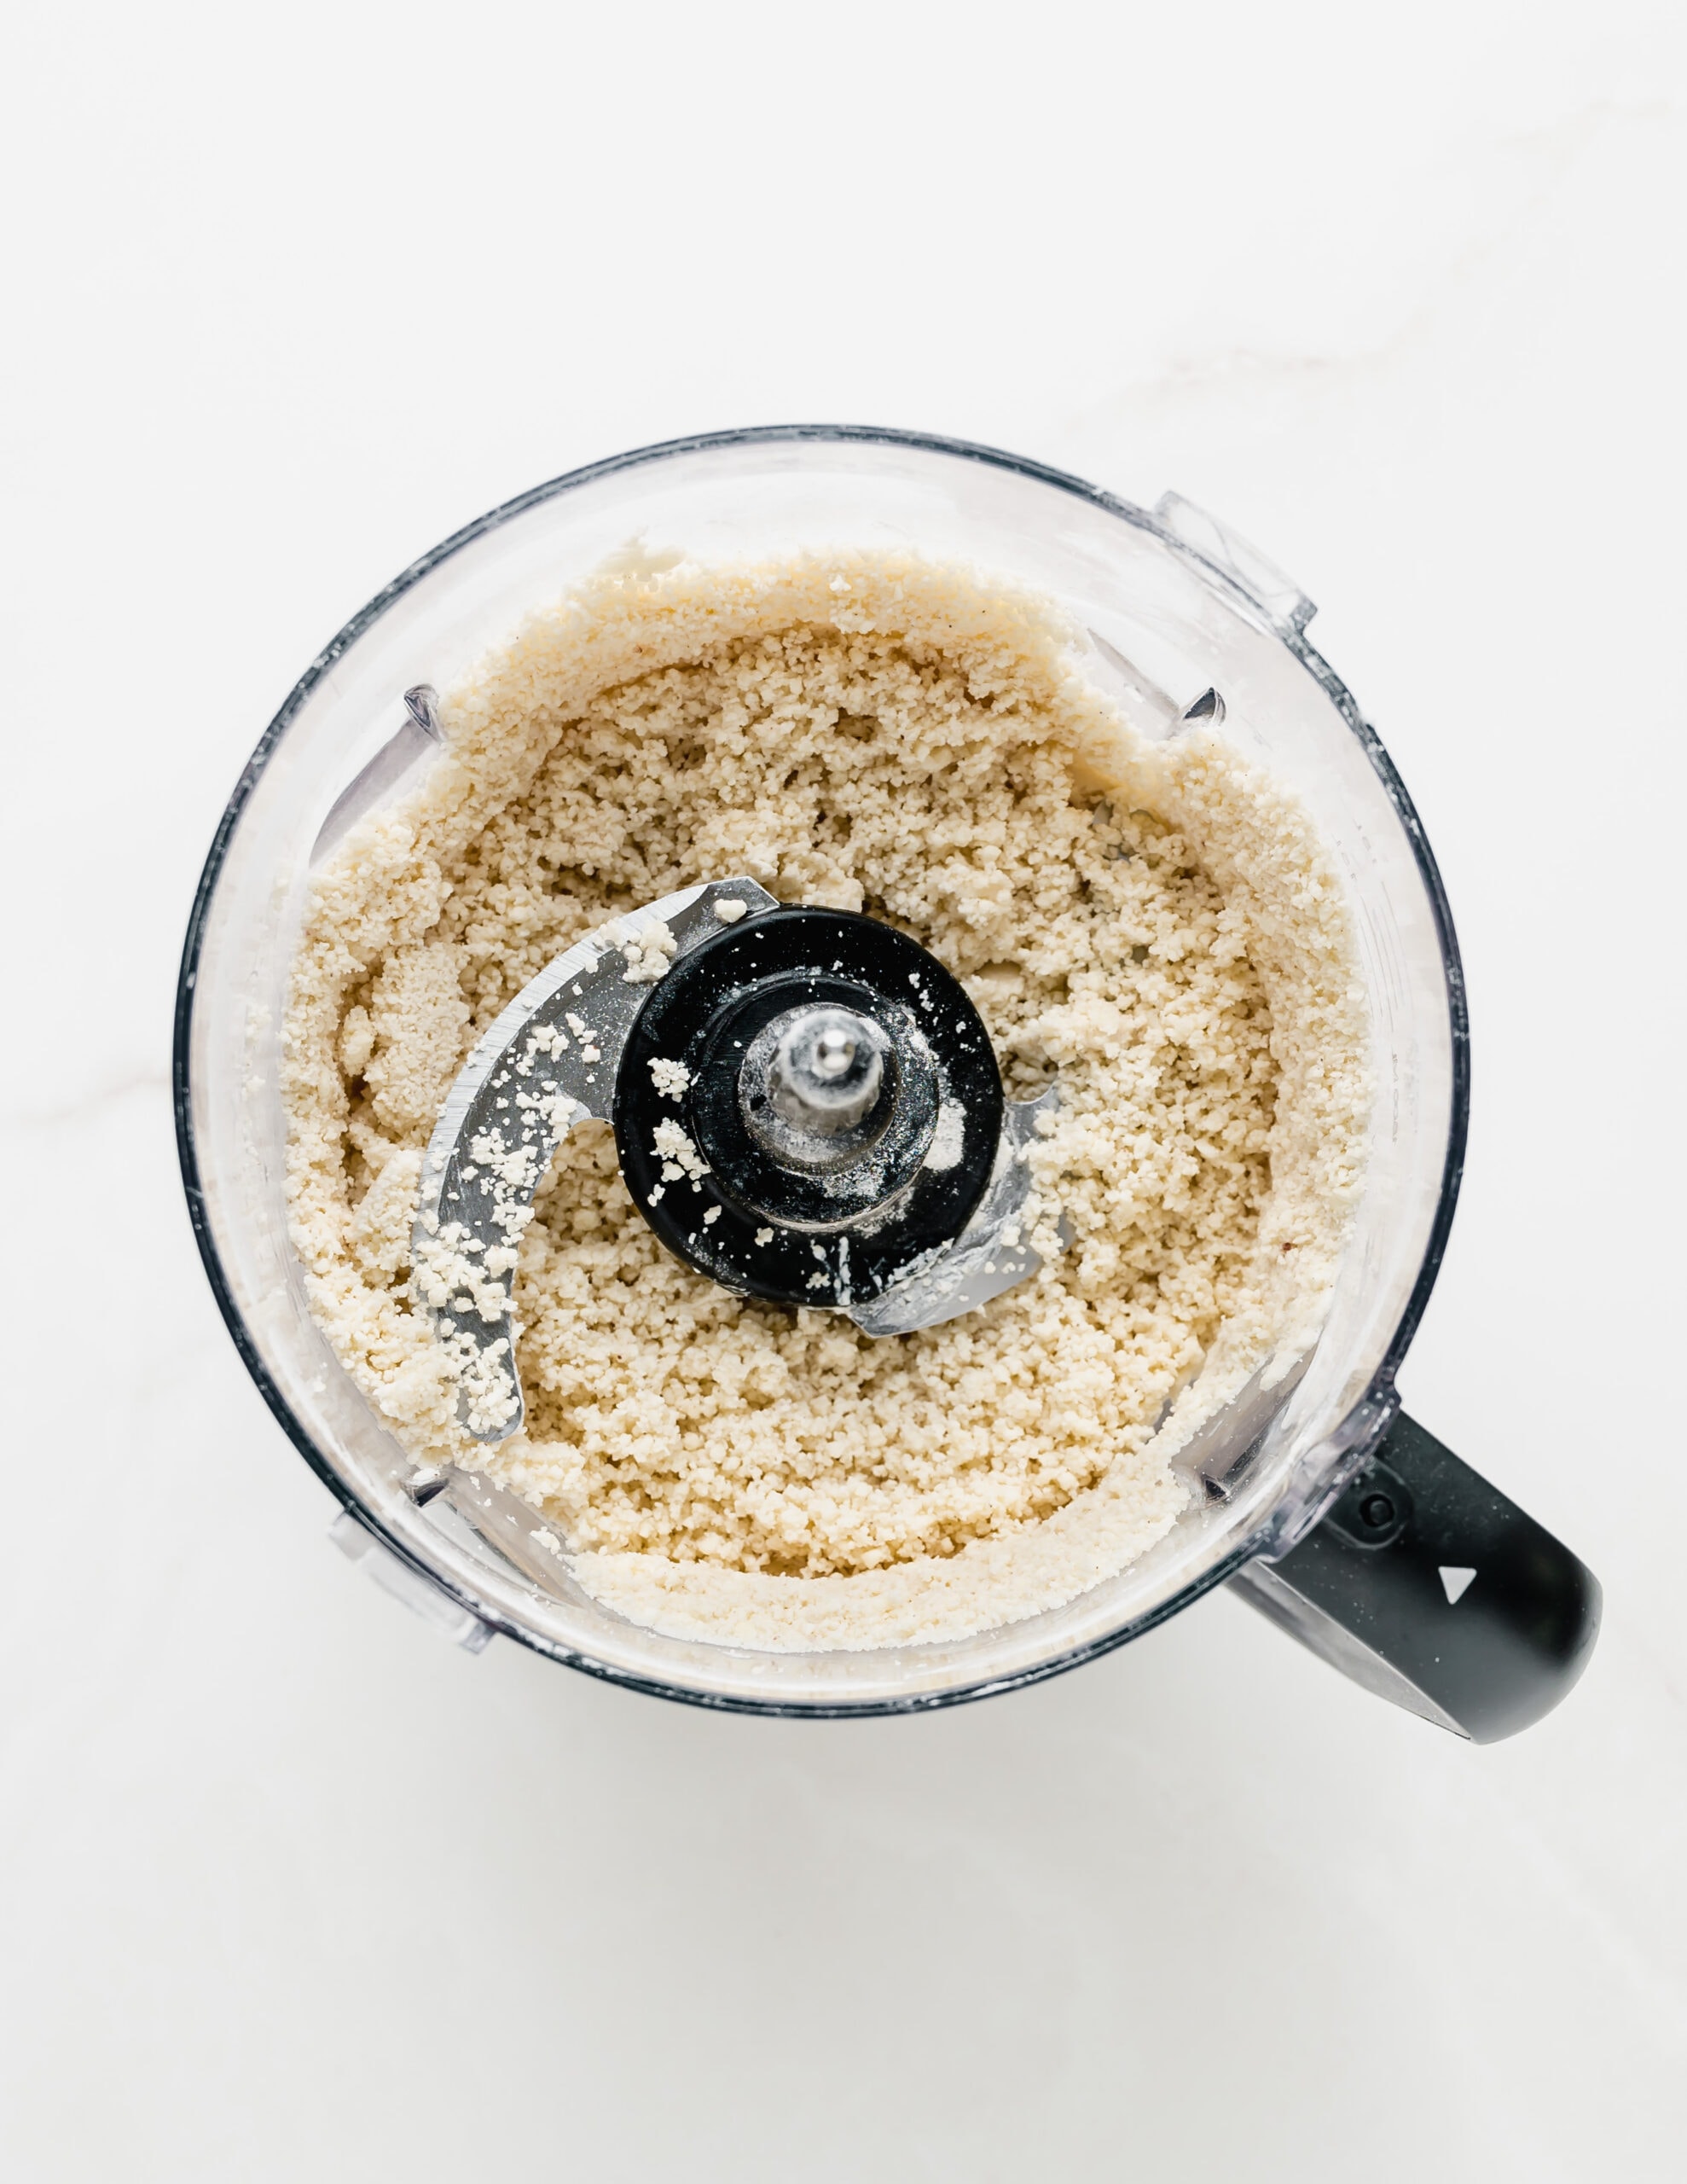
(The pastry crumbles will be slightly dry, do not be tempted to add more water.) Pinch a piece of dough between your fingers and if it sticks together, it’s done.
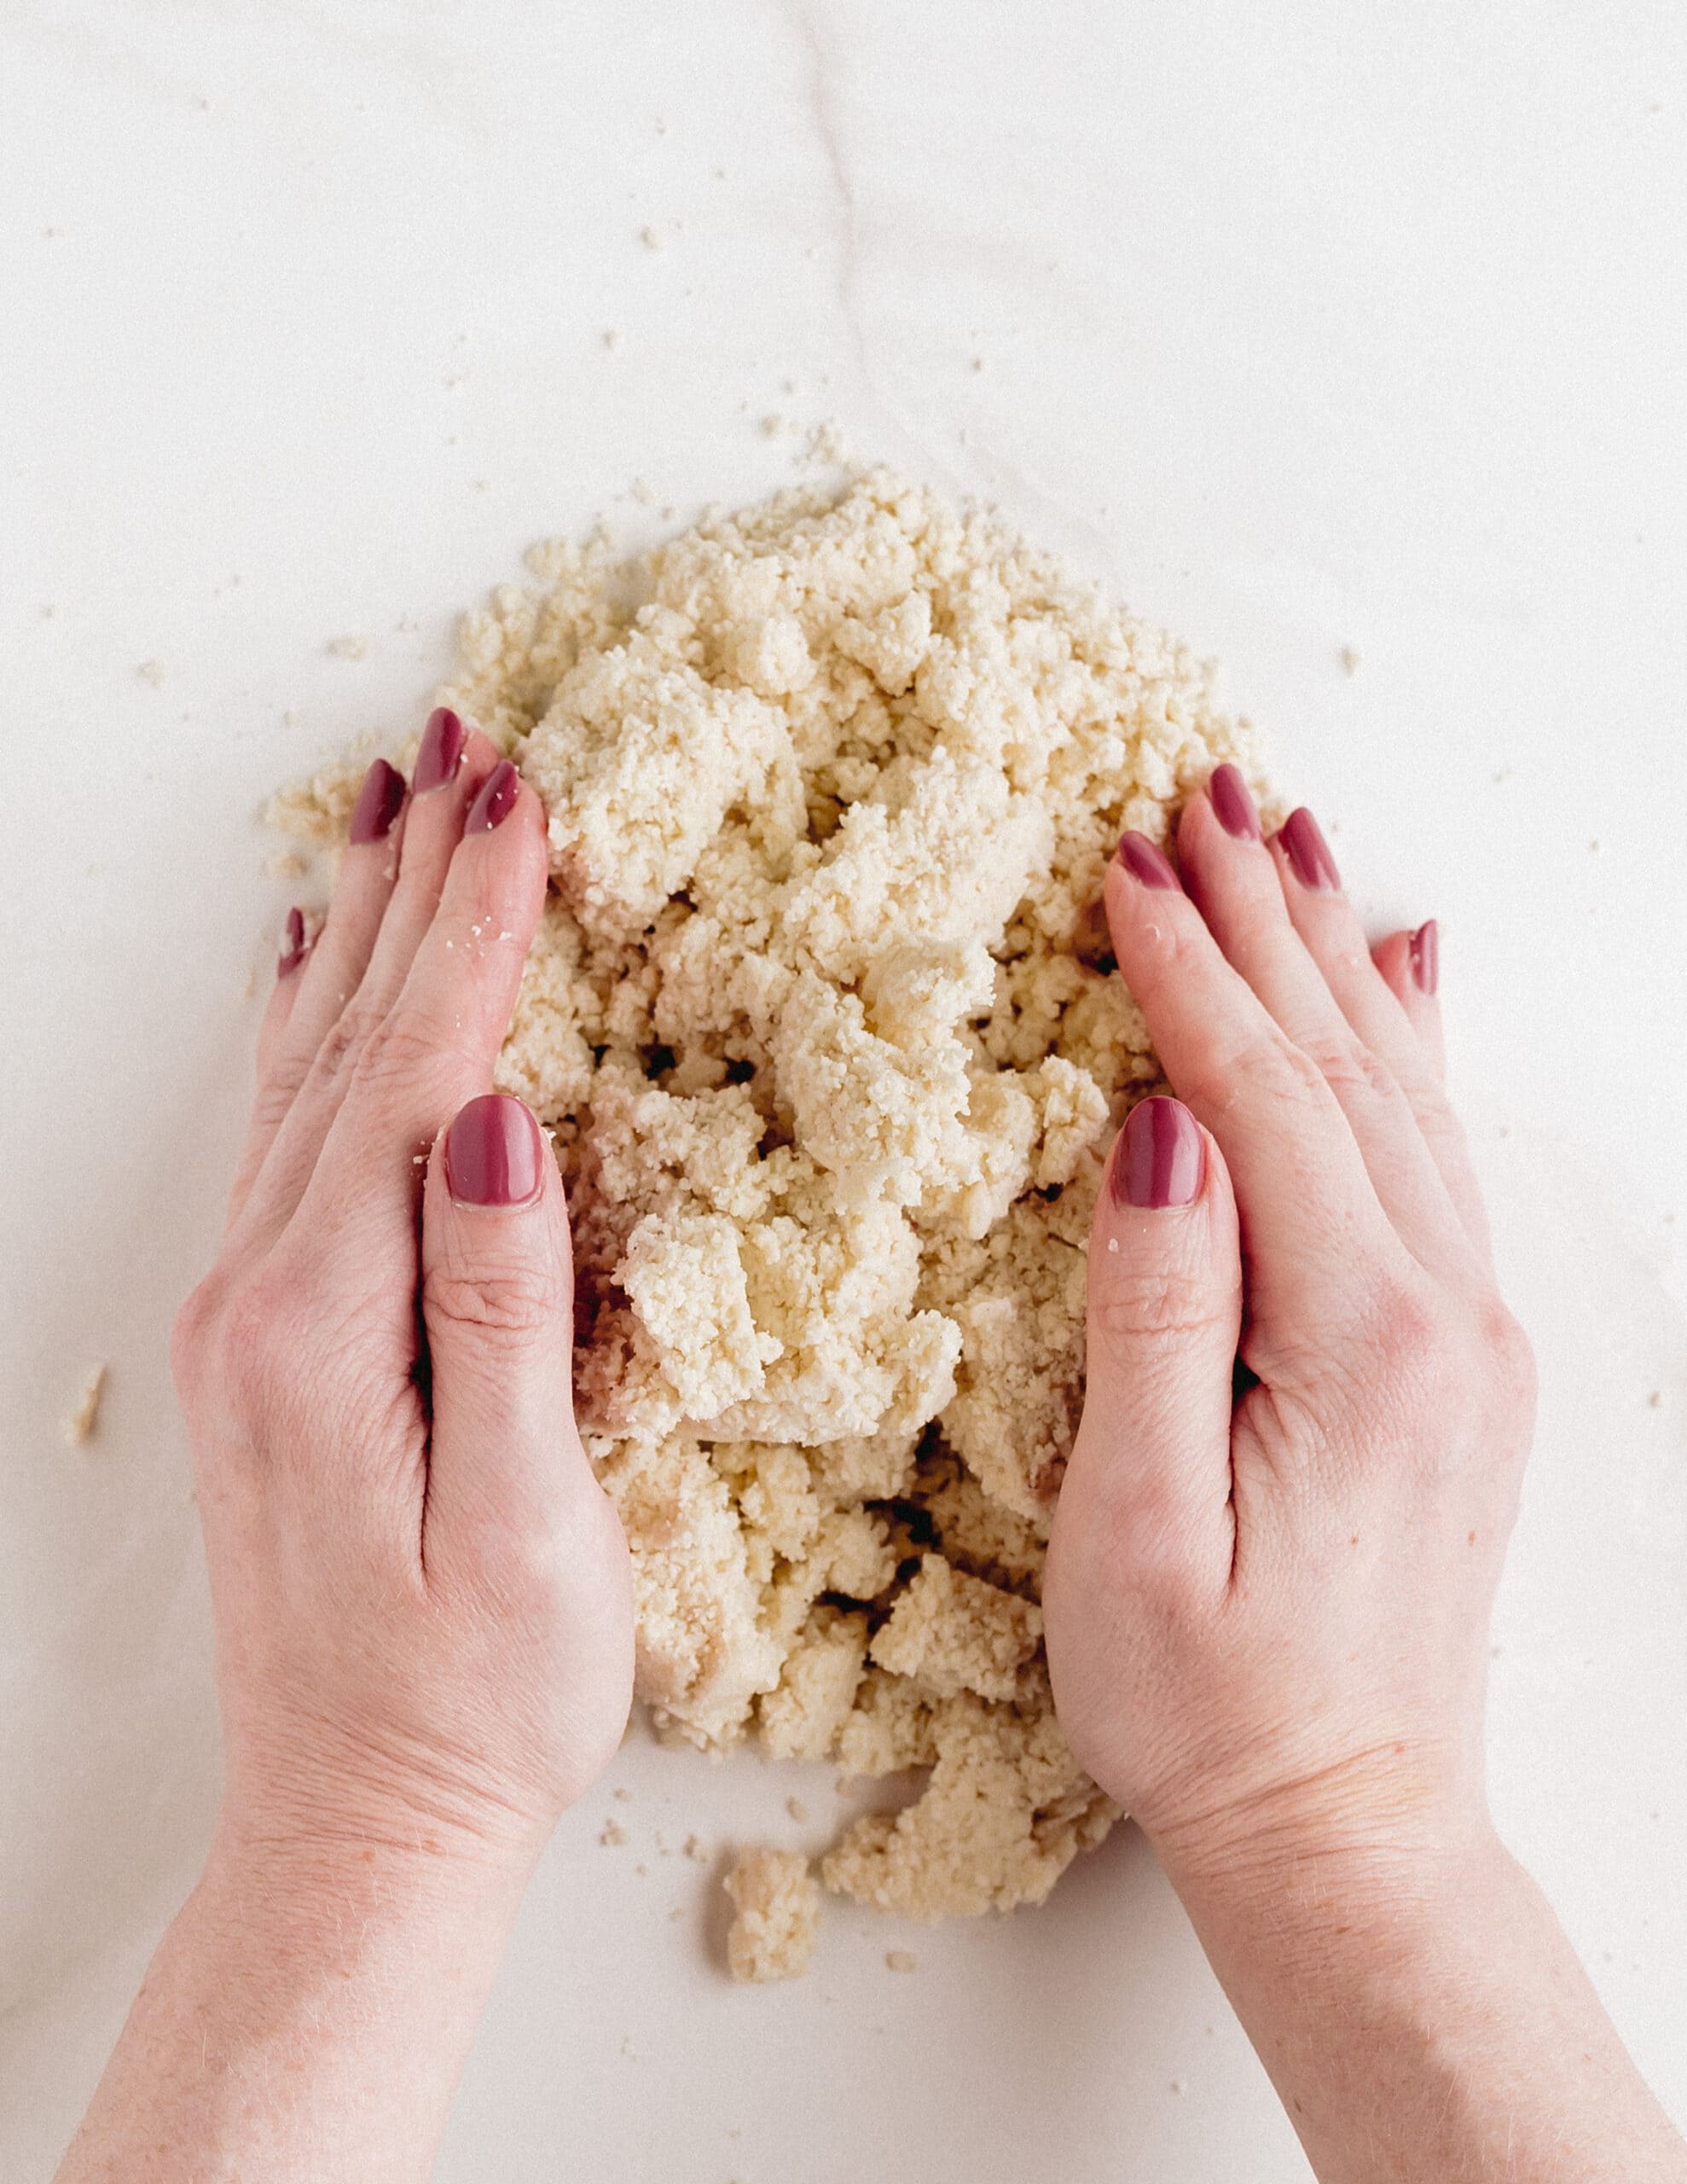
Transfer the dough to a clean work surface, and with clean hands, gather it together into a ball.
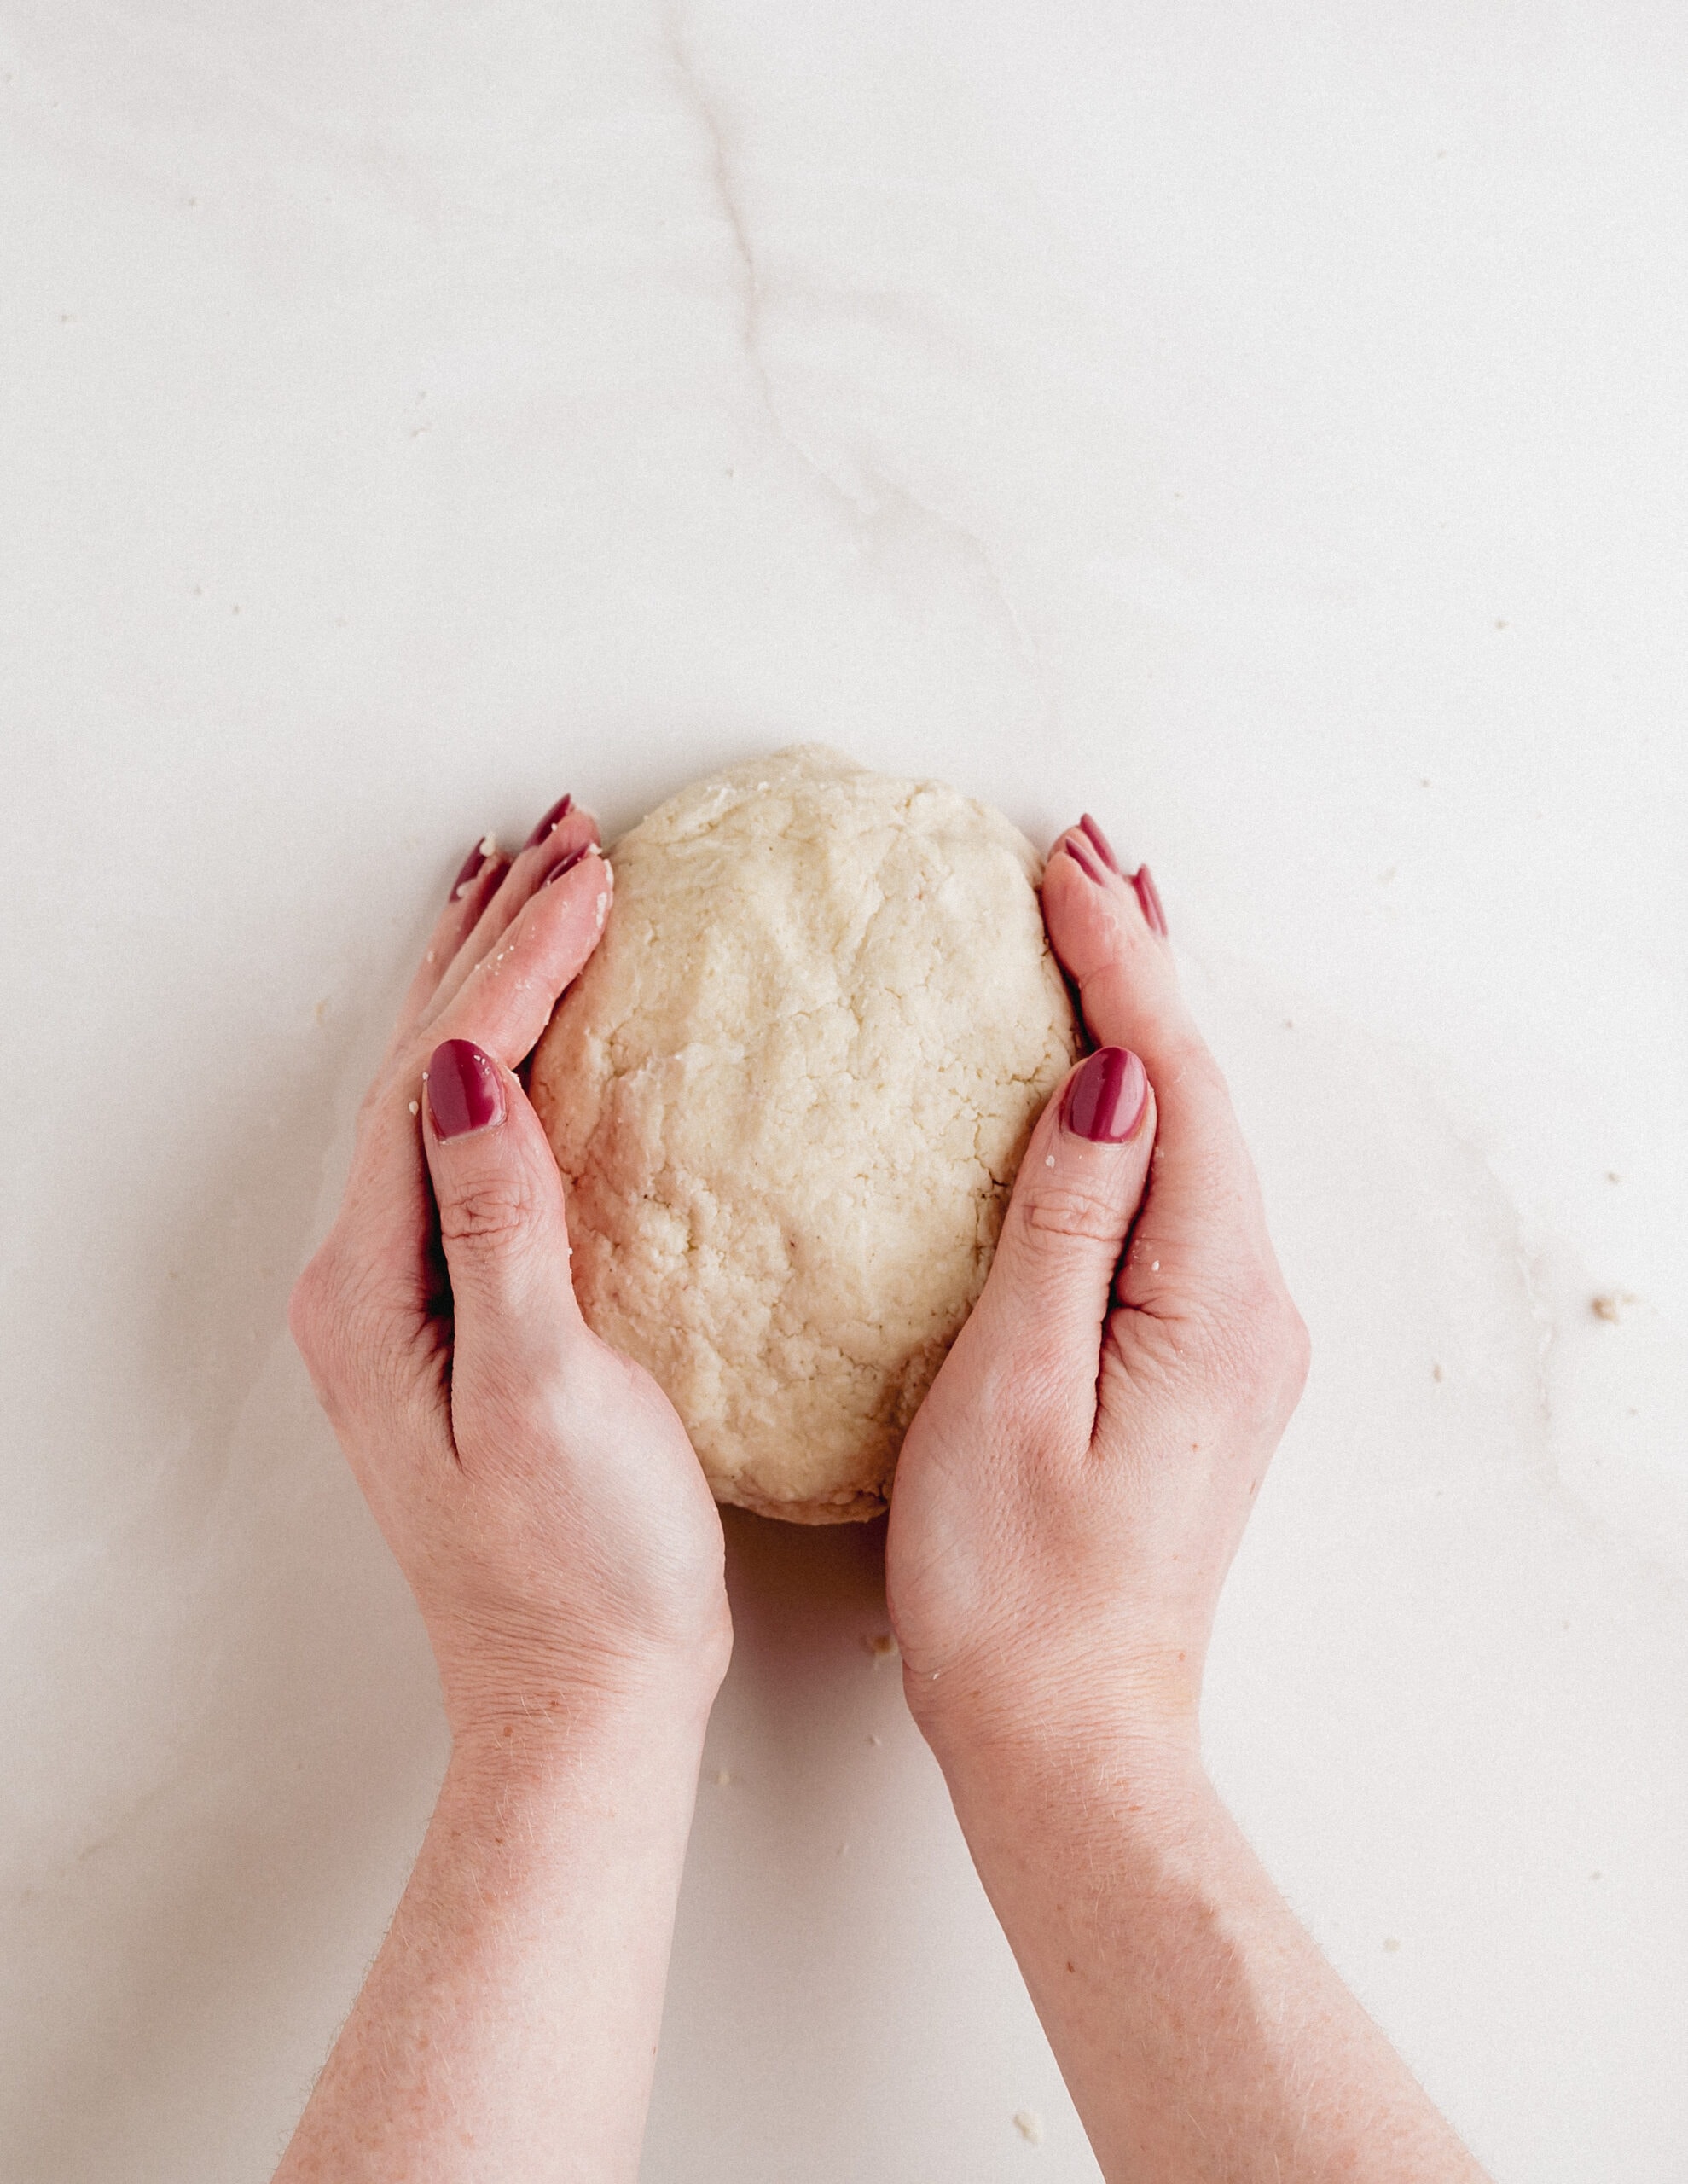
This will take a few minutes to form. Resist the urge to knead the dough.
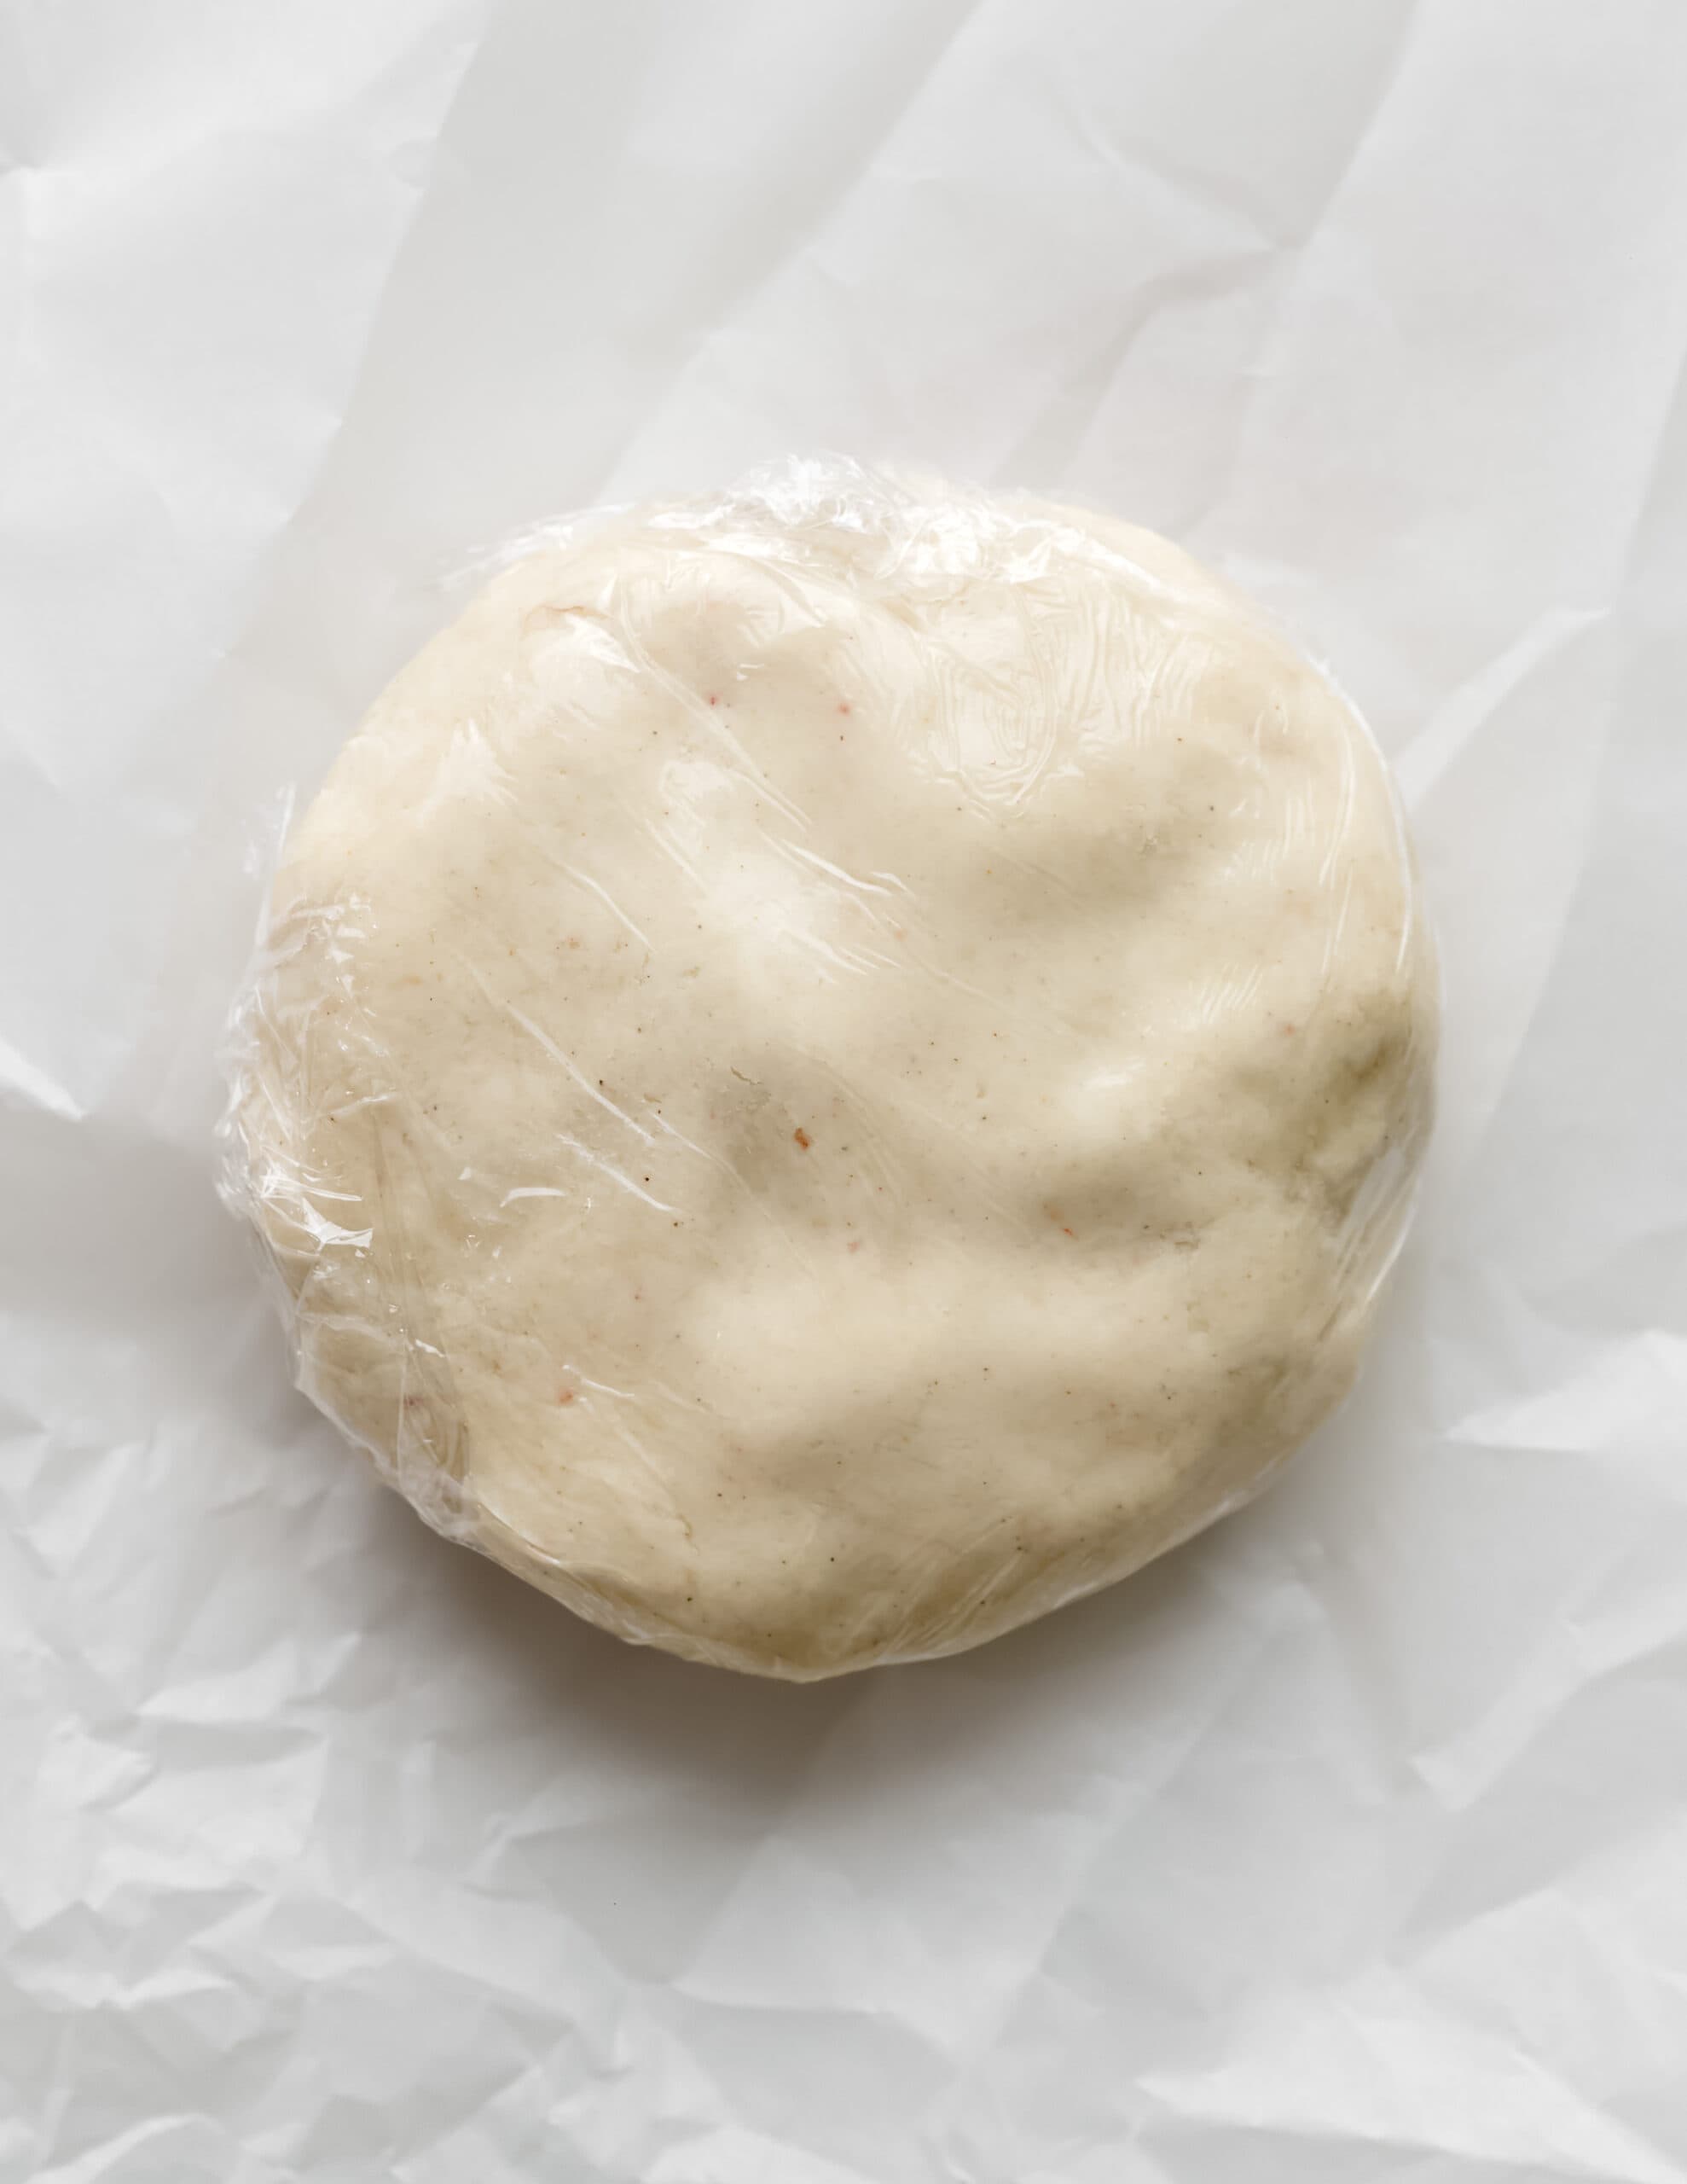
Flaten the dough into a disc, and cover with plastic wrap. Refrigerate for 30 minutes.
Rolling Out The Dough

Preheat the oven to 400° F. Grease a mini muffin pan and set the pan aside.
Place the dough on top of a piece of lightly floured parchment paper. This will allow for an easy transfer. Place another piece of parchment paper over the top of the dough, and carefully roll out the pastry to about ¼ - inch thick. Remove the top layer or parchment paper.

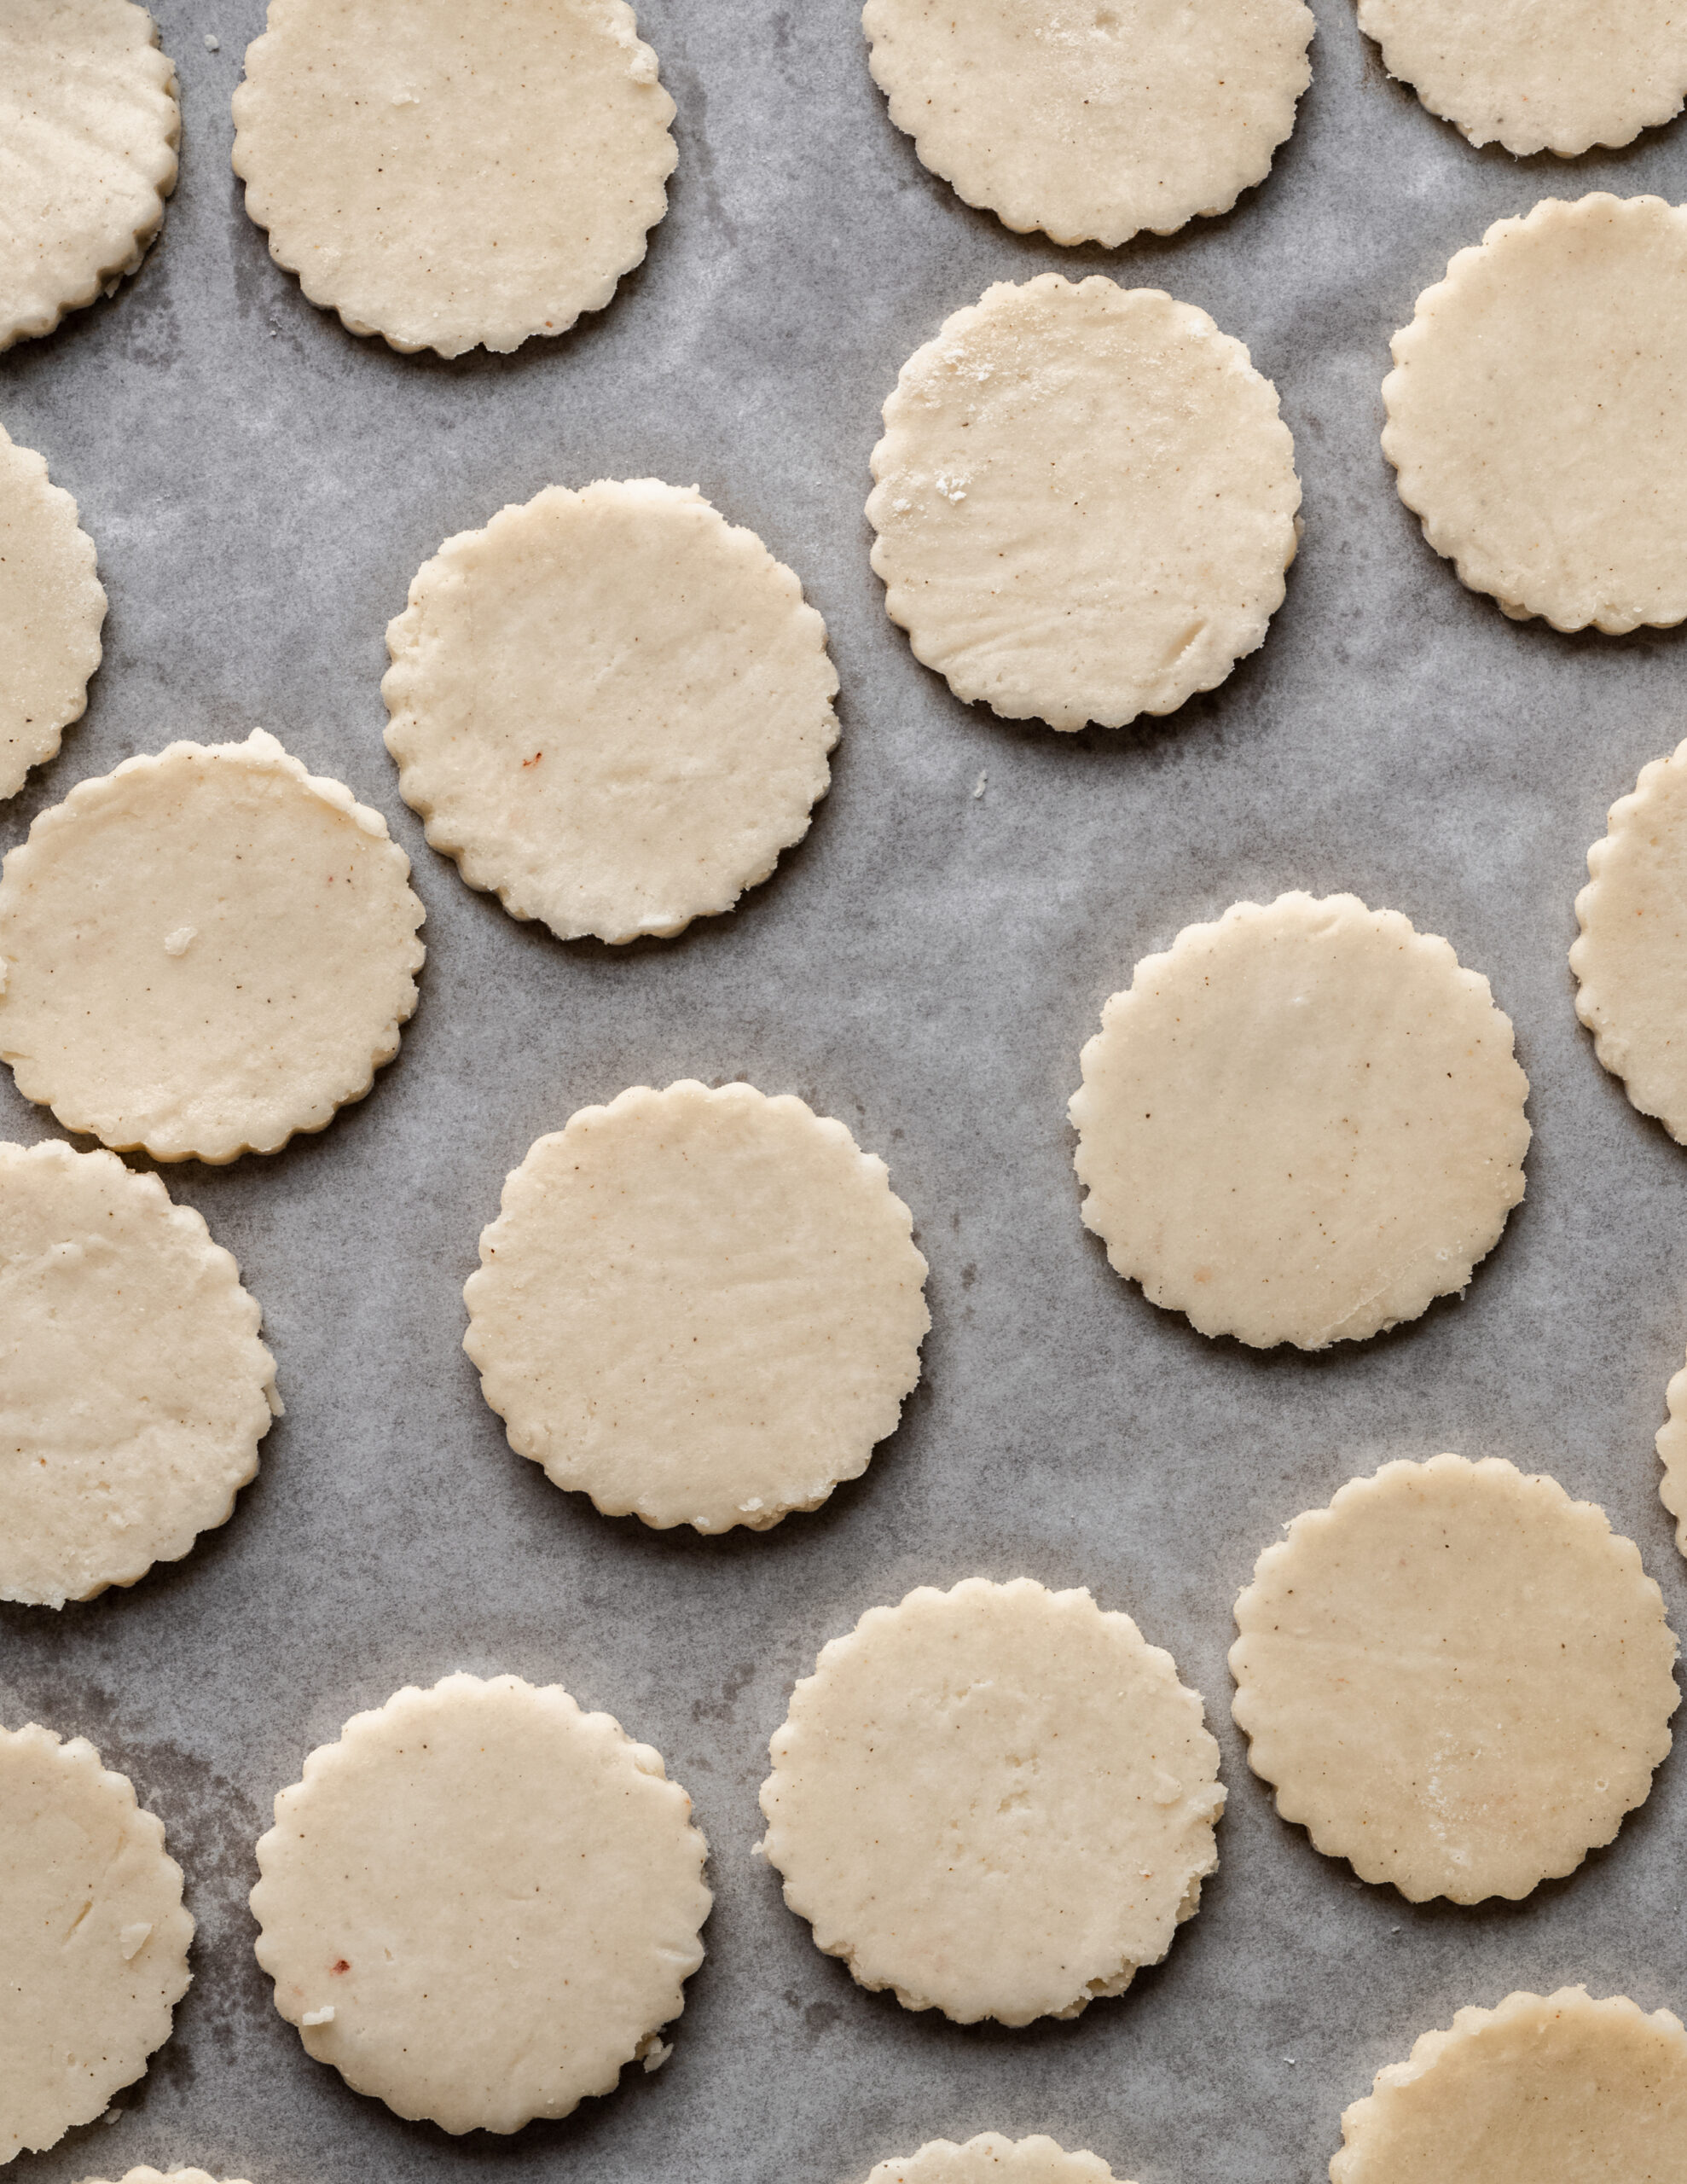
Using a 2.5-inch linzer cookie cutter or biscuit cutter, cut out approximately 28 circles. You may have more or less depending on the thickness of your pastry.
You will need to roll out the dough 2-3 times for all 28 circles. Lift each piece of pastry with a spatula and transfer the circles to the well-greased mini muffin pan.
Baking The Tart Shells
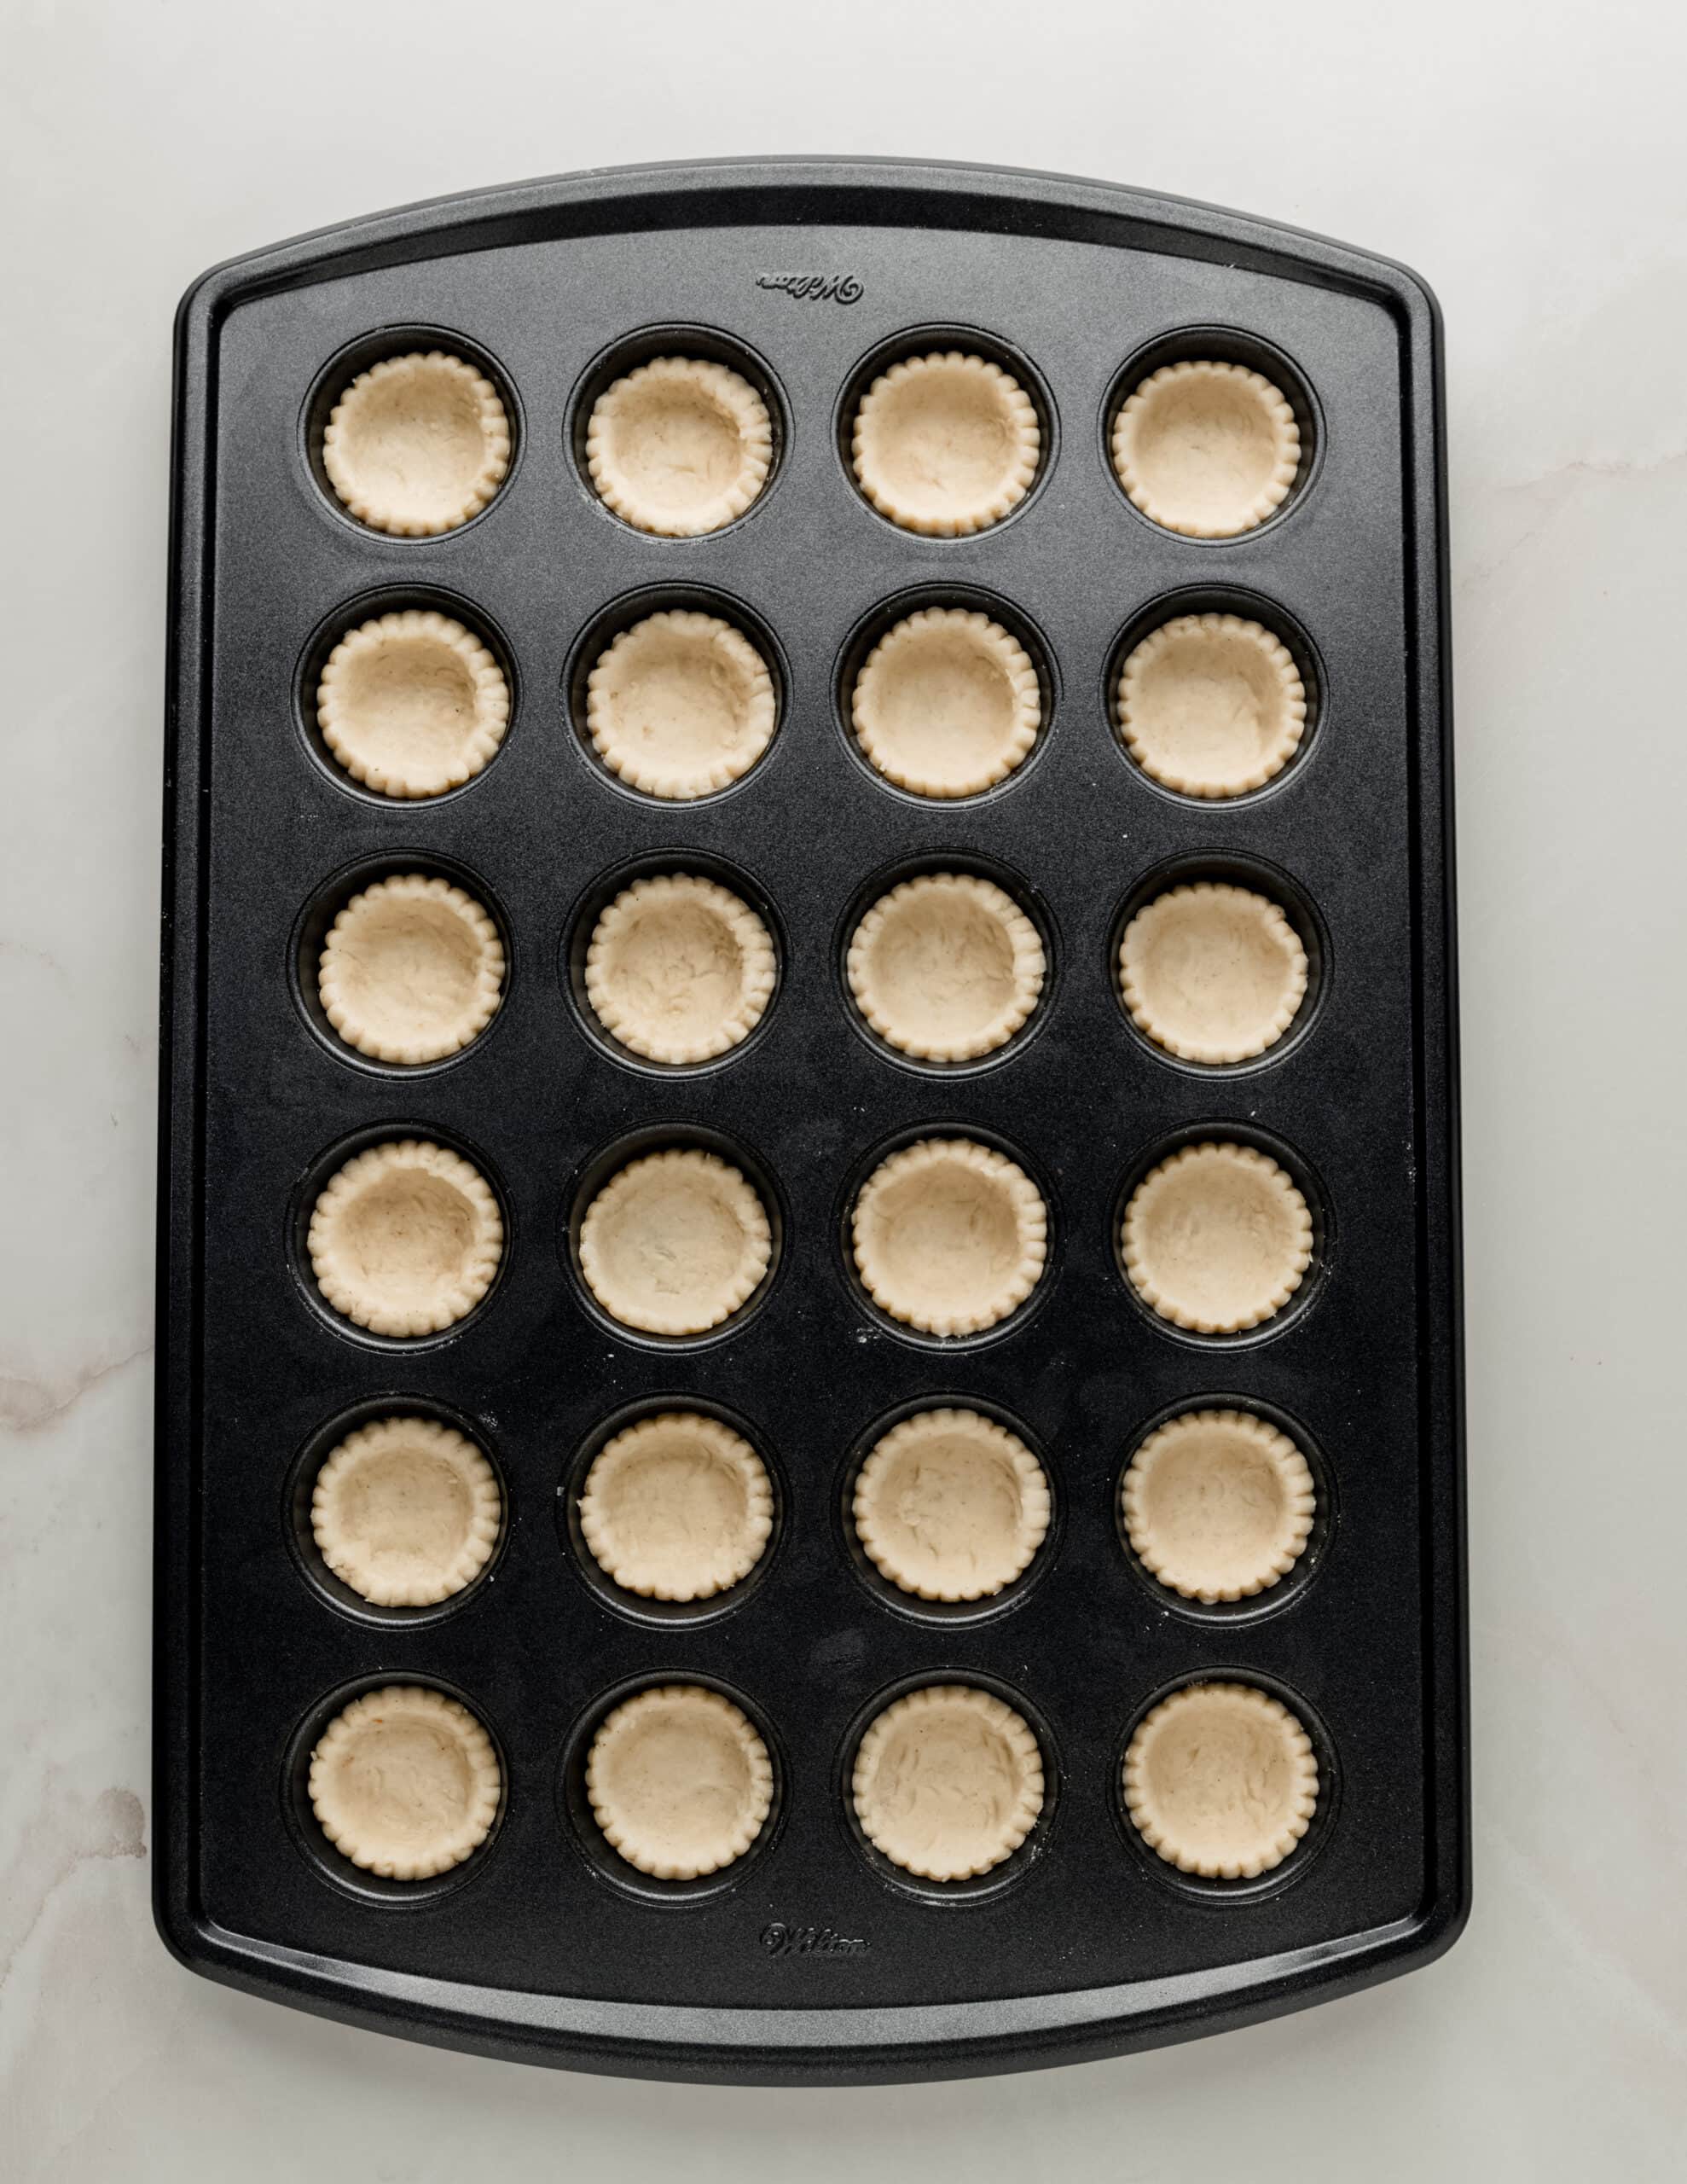
Using the tips of your fingers, gently work each piece of pastry into the individual mini muffin tin slots.
Bake the shells for 10 minutes.
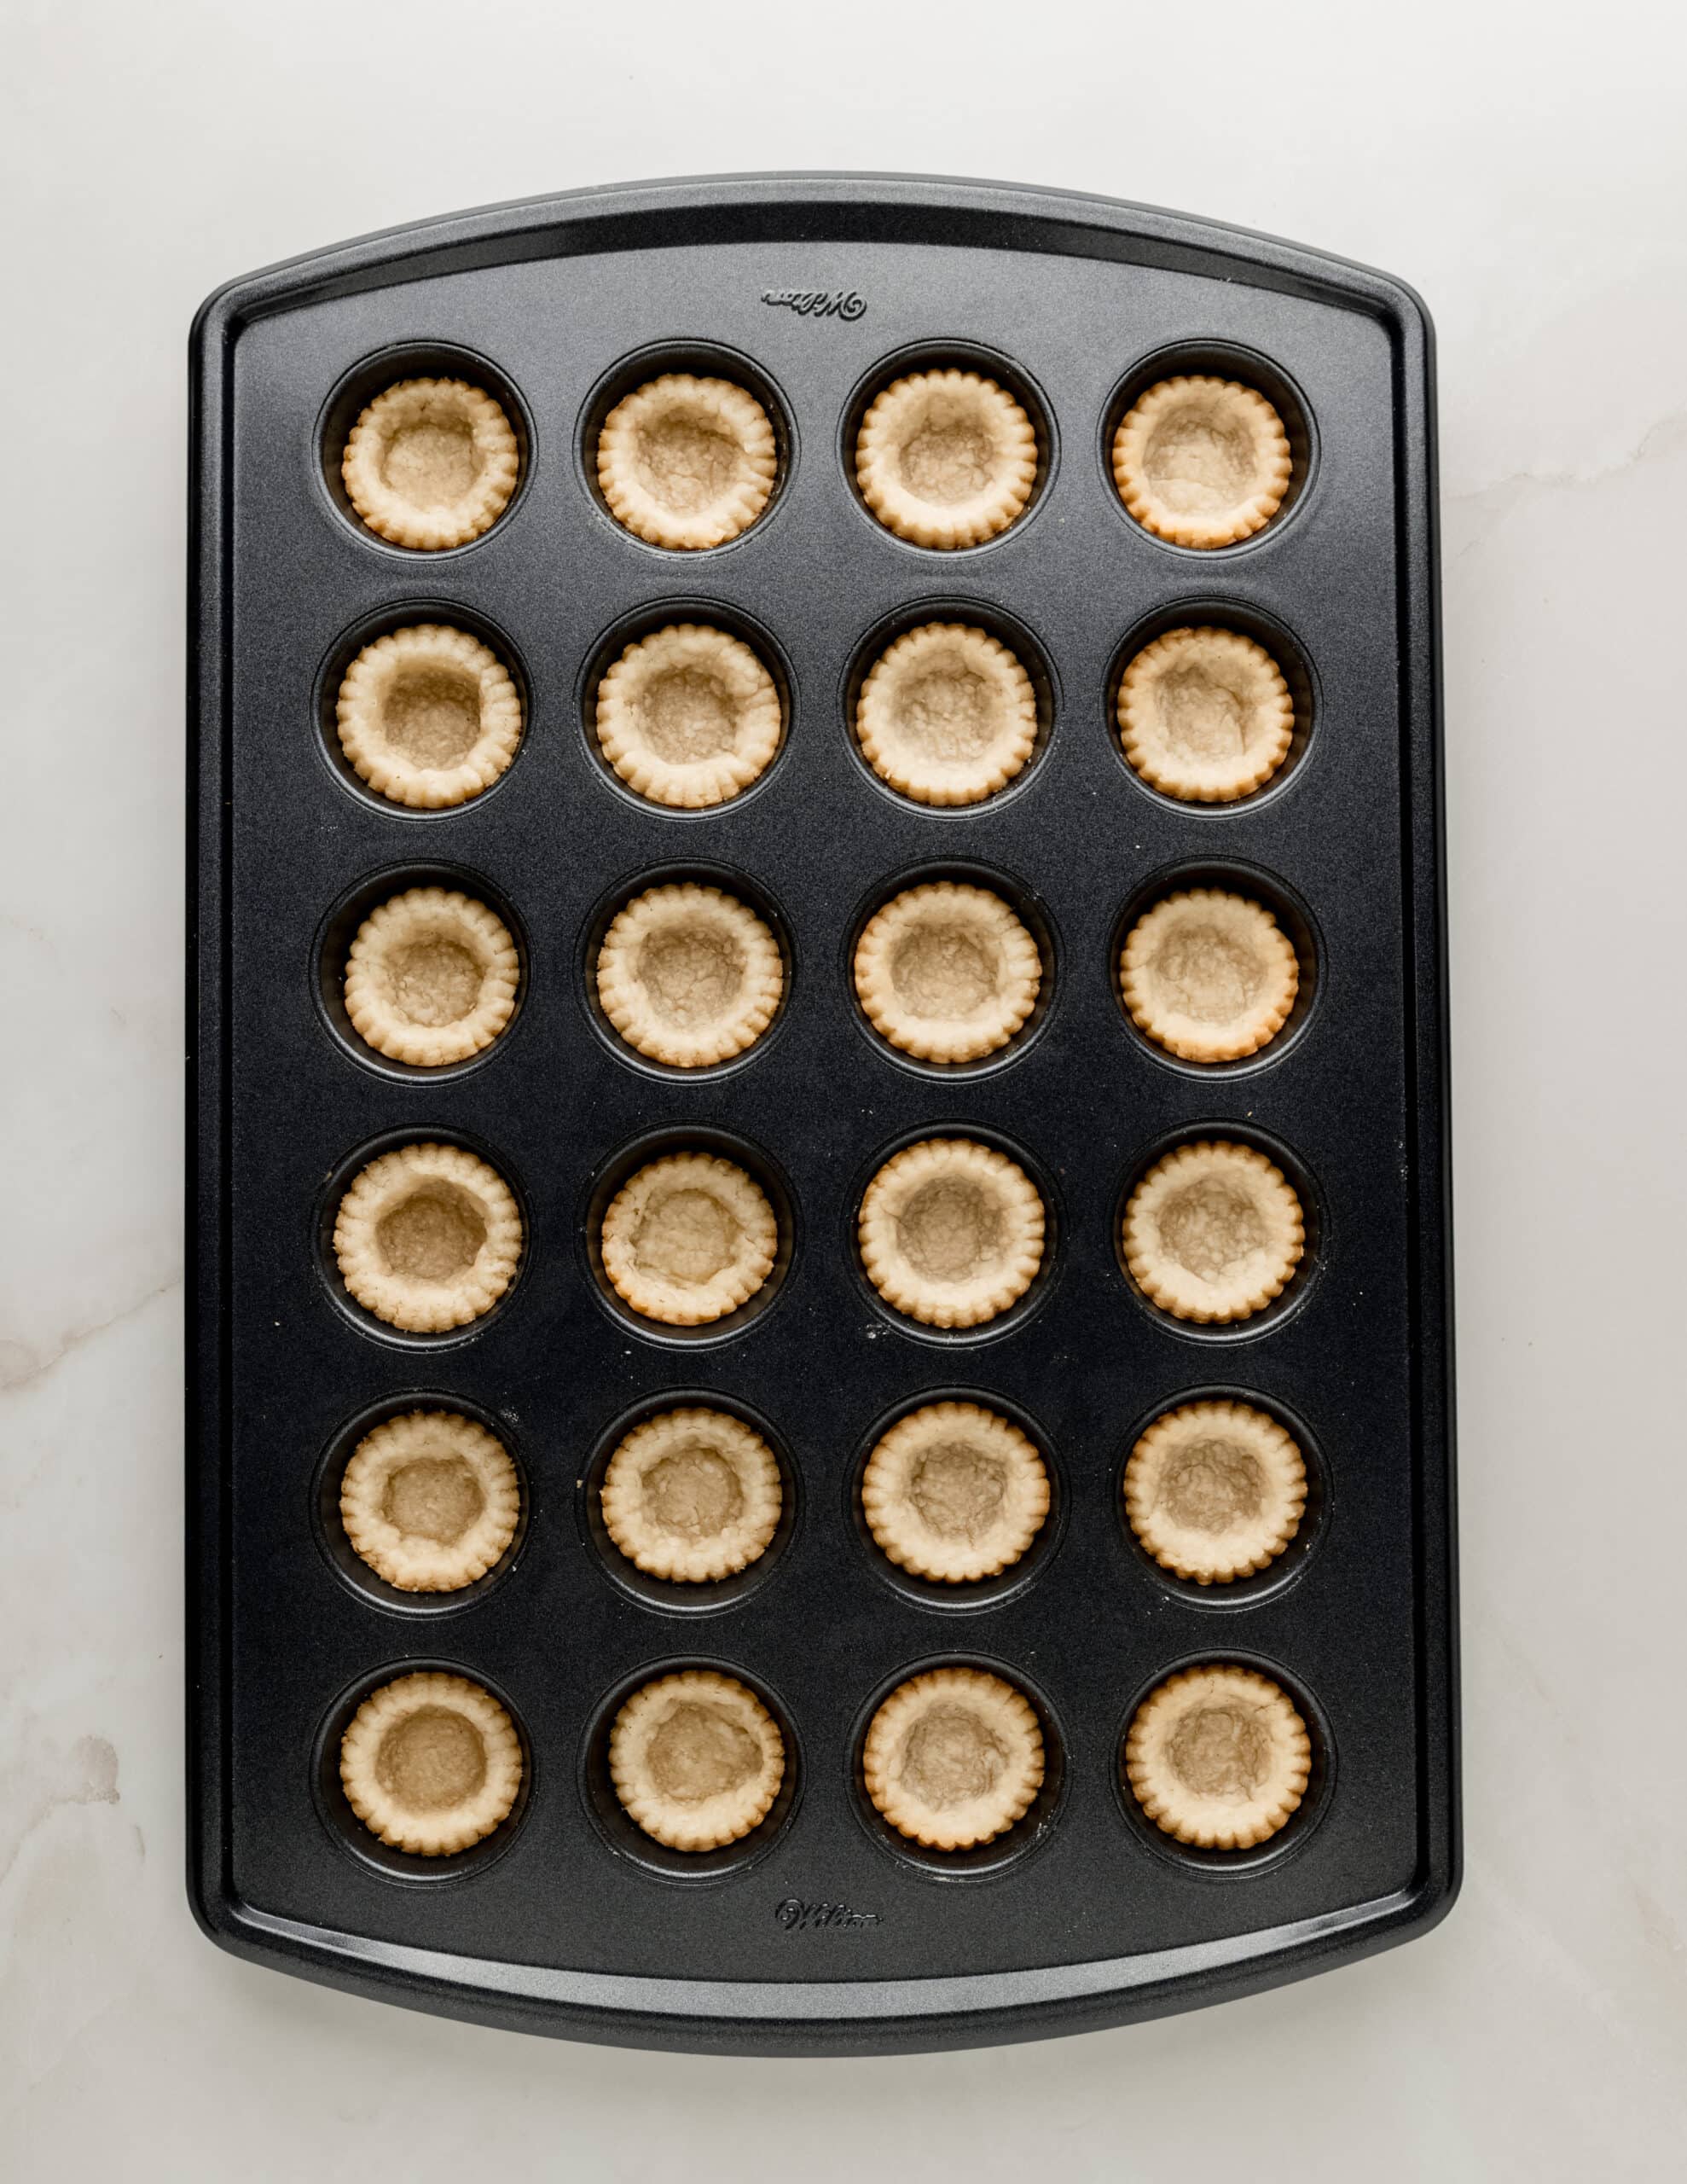
Remove the tartlets from the oven. They will be slightly puffed and raised, but within a few minutes, the pastry will settle. You can also use the back of a knife to gently push down the middle.
Let the tart shells sit in the pan for 5 minutes before removing them.
Equipment
In order to get that crumbly pastry texture, I use my Ninja Food Processor. If you do not have a food processor you can always use a large bowl, and cut the butter into the flour using a pastry blender.
Storage
The tartlet shells are best served the same day they are made, in order to maintain a flaky, crispy texture.
Pressed for time? You can make the dough 1 day in advance and store it in the refrigerator until ready for use.
You can also cut out the tartlet dough circles and add them to the mini muffin pan 1 day prior to use. Just make sure they are tightly wrapped and sealed in the refrigerator, to avoid any air getting to the pastry. Remove the shells from the refrigerator and bake accordingly when ready.
FAQ
Prebaking is advised to ensure the final product is baked through. It also prevents the shells from being undercooked and the filling overbaked.
To get flaky, crispy tart shells, it is advised to make the shells on the same day of use. You also want to avoid overhandling the dough when making the pastry and use very cold butter, straight from the freezer.
You can make the dough 1 day prior, but these tartlet shells are best served fresh, the same day they are baked.
It is very difficult to find and often lacks texture and flavor depending on the brand. There is a brand called Schar that offers gluten-free puff pastry, but it is mostly sold in the UK.
Tart shell fillings are unlimited with potential. I love adding baked brie, jam, nuts, fruit, and herbs.
Recipe

Gluten-Free Tartlet Shells (mini tart shells)
Ingredients
- 8 tablespoons butter, chilled Chop into cubes and freeze for 15 minutes, prior to use.
- 1¼ cup Gluten-Free Flour (170 grams) Bob's Red Mill 1:1 Baking Flour
- ½ teaspoon salt
- ¼ teaspoon baking powder
- ¼ cup sour cream (60 grams)
- 3 tablespoons cold water
Instructions
Making The Pastry
- In a large food processor, add the cold diced butter straight from the freezer, gluten-free flour, baking powder, and salt. Pulse for around 10-15 times, or until the butter chunks form into pea-sized pieces throughout the flour.
- Add the sour cream and 3 tablespoons of ice-cold water to the food processor. Pulse for another 8 seconds until the pastry becomes small coarse crumbles. (The pastry crumbles will be slightly dry, do not be tempted to add more water.) Pinch a piece of dough between your fingers and if it sticks together, it’s done.
- Transfer dough to a clean work surface, and with clean floured hands, gather the dough forming the pastry into a ball. This will take a few minutes to form. Resist the urge to knead the dough. Flaten the dough into a disc, and cover it with plastic wrap. Refrigerate for 30 minutes.
Rolling The Pastry
- Preheat the oven to 400° F. Grease a mini muffin pan and set aside.
- Place the dough on a piece of lightly floured parchment paper. Place another piece of parchment paper over the top of the dough, and carefully roll out the pastry to about ¼ - inch thick. Occasionally, remove the top piece of parchment paper to rotate and lift the dough. This will help ensure the dough is not sticking to the bottom piece of parchment paper. If the pastry starts to crack, it may be too cold. Carefully push the dough back together and continue to roll out while lifting and rotating.
- Using a 2.5” biscuit cutter, cut 28 circles. You will need to roll out the dough 2-3 times for all 28 circles. Lift each circle with a spatula for easy transfer to the muffin tin. Using the tips of your fingers, gently push each piece of pastry into the individual mini muffin tin slots.
Bake The Mini Tart Shells
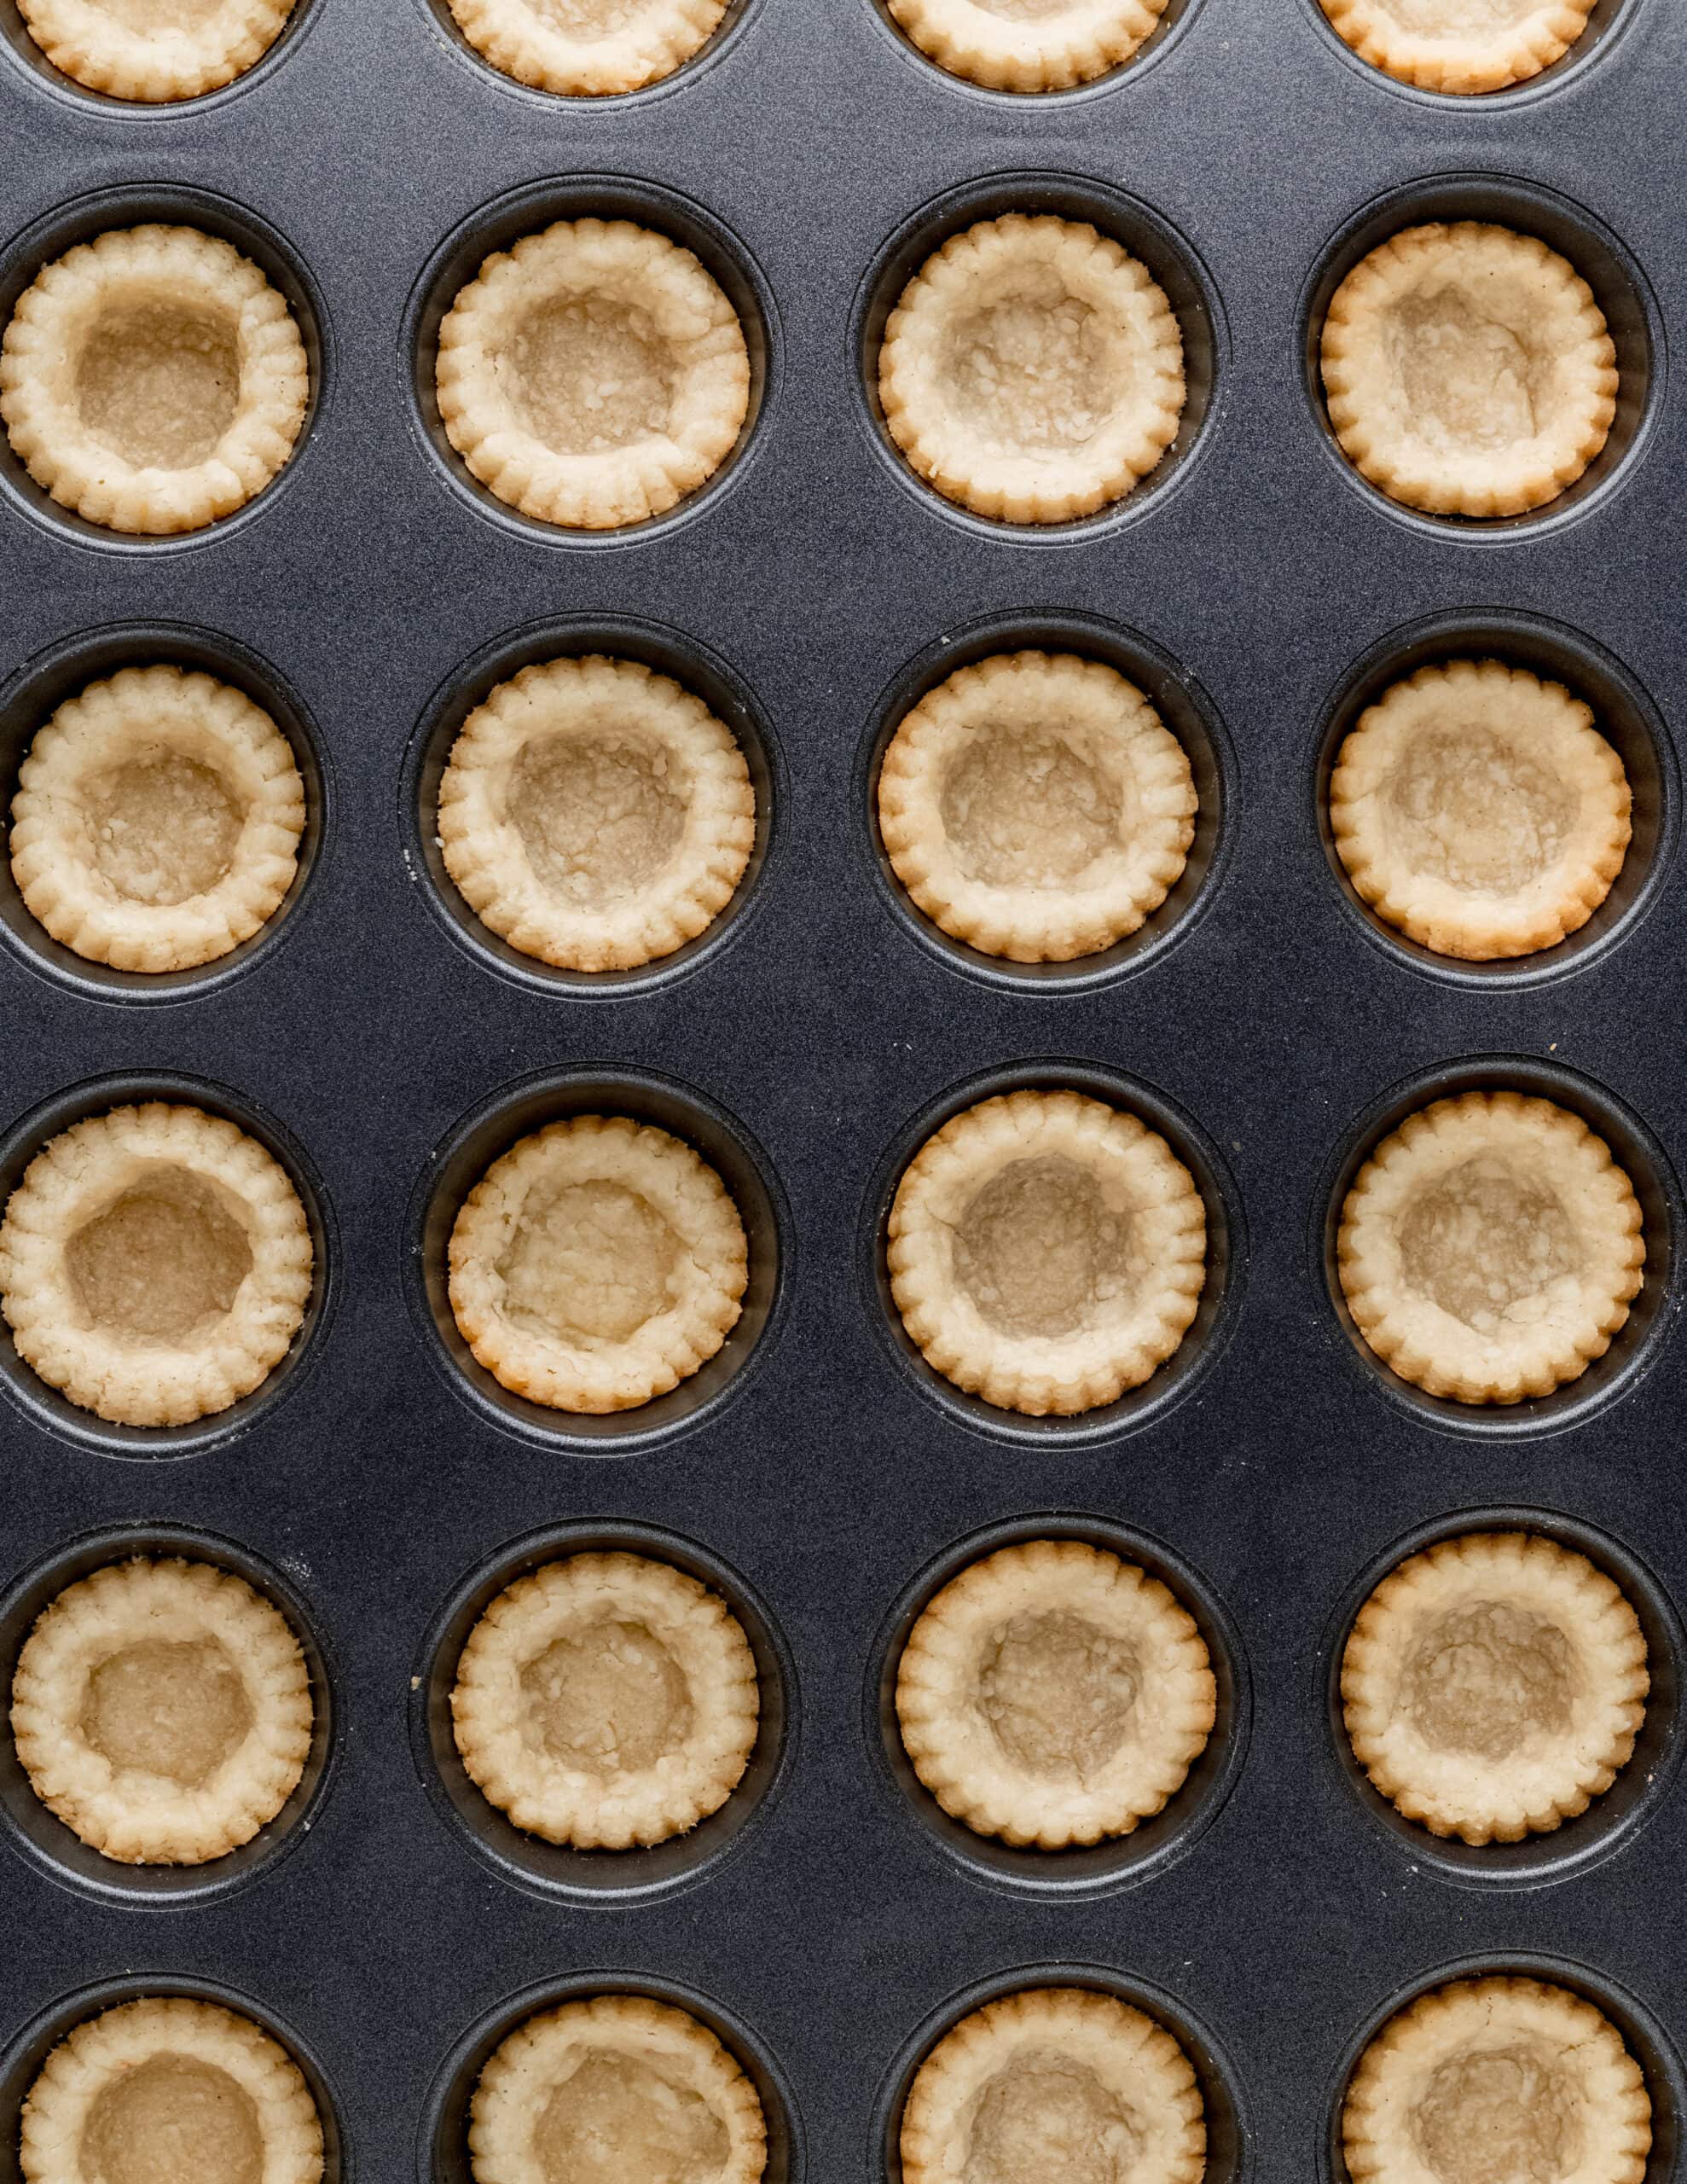
- Par-bake: Once the pastry is added to the mini muffin pan, par-bake the shells for 10 minutes. Remove from the oven. Let the tart shells sit for 5 minutes. (If adding a filling to the tart shells, you can leave the shells in the pan and follow the recipe as directed.)
- Fully bake: Bake mini tarts for 15 minutes or until centers are crisp and dry.


Stephen says
I’ve made your tartlet shell recipe before and it turned out absolutely AMAZING, spot on! I was wondering if it’s possible to freeze the shells before baking. If so, would you recommend adjusting the baking temperature or time when baking from frozen?
Thank you so much!
Rebecca Taig says
Thanks for the lovely review, Stephen!
I think that freezing the shells should work well. Much like pie crust, chilling the dough helps it hold its shape during baking. To get the best results, I recommend leaving the cut out tarts in the mini muffin tin and covering the whole tray with plastic wrap before freezing.
When you’re ready to bake, keep the temperature at 400°F, but add 2–3 minutes to the timer for both the par-bake and the full bake.
Par-baking (pre-baking for a filled tart): Look for the dough to lose its "wet" or shiny look and become opaque and pale.
Full-baking: Look for a uniform golden-brown color across the edges and the base.
Let me know how they turn out!
Best,
Rebecca
Jean Evans says
I made these this weekend, and when I baked them, half of the shells ended up with their sides sliding down during the bake 🙁 Needless to say, I won't be able to fill them quite as much as I would like. What did I do wrong?
Rebecca Taig says
Hi Jean,
Thank you so much for trying the recipe! I’m sorry to hear the tarts slid down during the bake. Because this is a flaky dough, it does tend to shrink a bit as the layers expand. To help it hold its shape, make sure the dough is chilled thoroughly—you might even try freezing the shells in the tart pan for 15 minutes right before they go into the oven! Once the shells come out of the oven, I use the back of a knife to slightly push down the centers.
Jean says
Thank you 🙂 I was wondering if the dough might have been too warm. I will give that a try. Even though they had fallen, my caramelized onion, bacon, and blue cheese tartlets were very popular. This recipe is definitely a keeper.
Rebecca Taig says
Your tartlet flavors sound amazing Jean!
Caramelized onion, bacon, and blue cheese is such a sophisticated flavor profile—it’s no wonder they were a hit.
Peggy says
Can these be frozen after baking?
Rebecca Taig says
Hi Peggy!
I think they would hold up frozen after baking. I would make sure they are completely cooled, and freeze the tart shells before adding filling to prevent them from becoming soggy from condensation.
Wrap each shell individually with plastic wrap or use parchment liners to avoid sticking and maintain quality. Freeze up to 2 months.
When ready to use, thaw in the refrigerator overnight before filling.
Sue says
Thanks Rebecca,
I've made the tartlets twice now and they came out beautifully both times. I've had lots of trouble with gluten free pastry so this was amazing
Rebecca Taig says
Sue,
Thank you for leaving a review, I really appreciate it.
I'm so glad you enjoyed these tartlets.
Casti says
I made these and filled with blueberry compote - delicious! And Easy. BUT, BUT, BUT...I cooked the first batch in a mini silicone pan. This did NOT work well. The bottoms burned black, while the tops spread out like a flower. I cooked the second batch in a traditional metal tin and viola! Perfect! I needed a lot of flour to keep my dough from sticking while rolling out (even using parchment), and just gently brushed off any excess before putting in the tin. Another tip is make sure the dough is cold - the more you work with it, the more difficult it is to transfer and press in. I ended up putting back into the fridge for a little bit and then continuing. I also went a little thinner than 1/4" because they were puffing too much when cooked. Thank you SO much for this recipe - it will definitely be my go to from now on!
Rebecca Taig says
Hi Casti,
I'm so glad to hear this recipe worked for you, and the blueberry compote sounds amazing. 🙂
Happy Holidays!
Christina Bulman says
Beautiful, can't wait to try this recipe! Thank you ❤️
Rebecca Taig says
I love this recipe and I hope that you do too.
Let me know how it turns out! 🙂