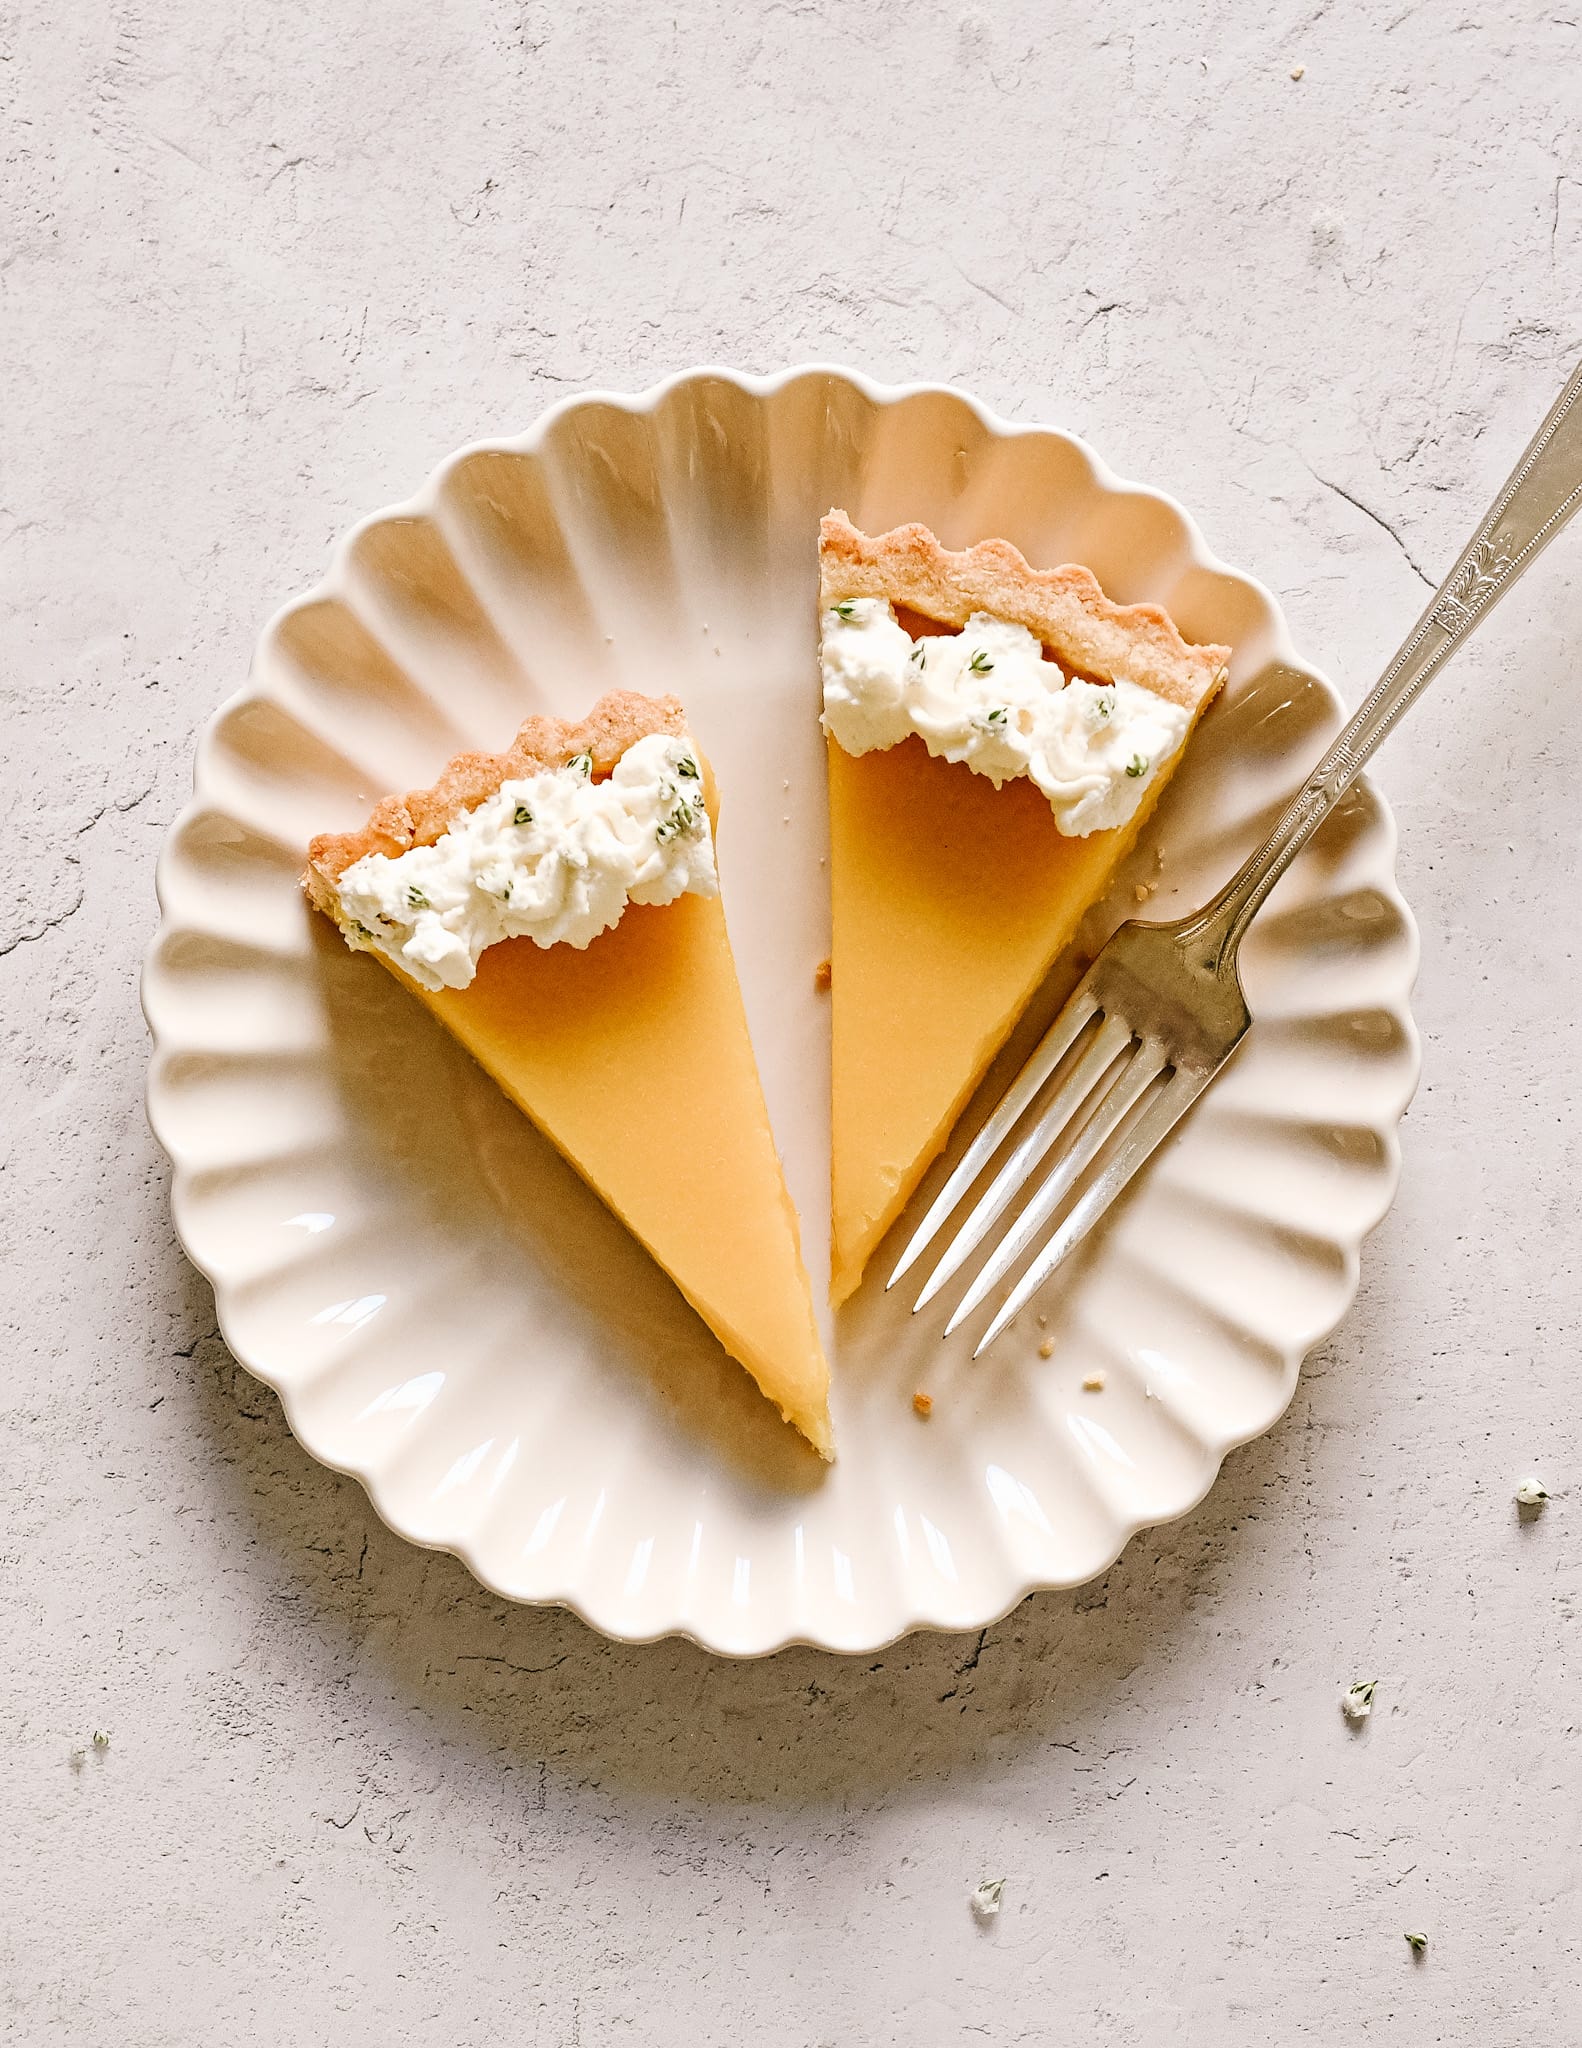
This delicious Gluten-Free Lemon Tart is made with a sweet and tangy lemon curd filling, surrounded by a shortbread crust, topped with homemade whipped cream! This tart is the perfect summer dessert for all the lemon lovers out there!
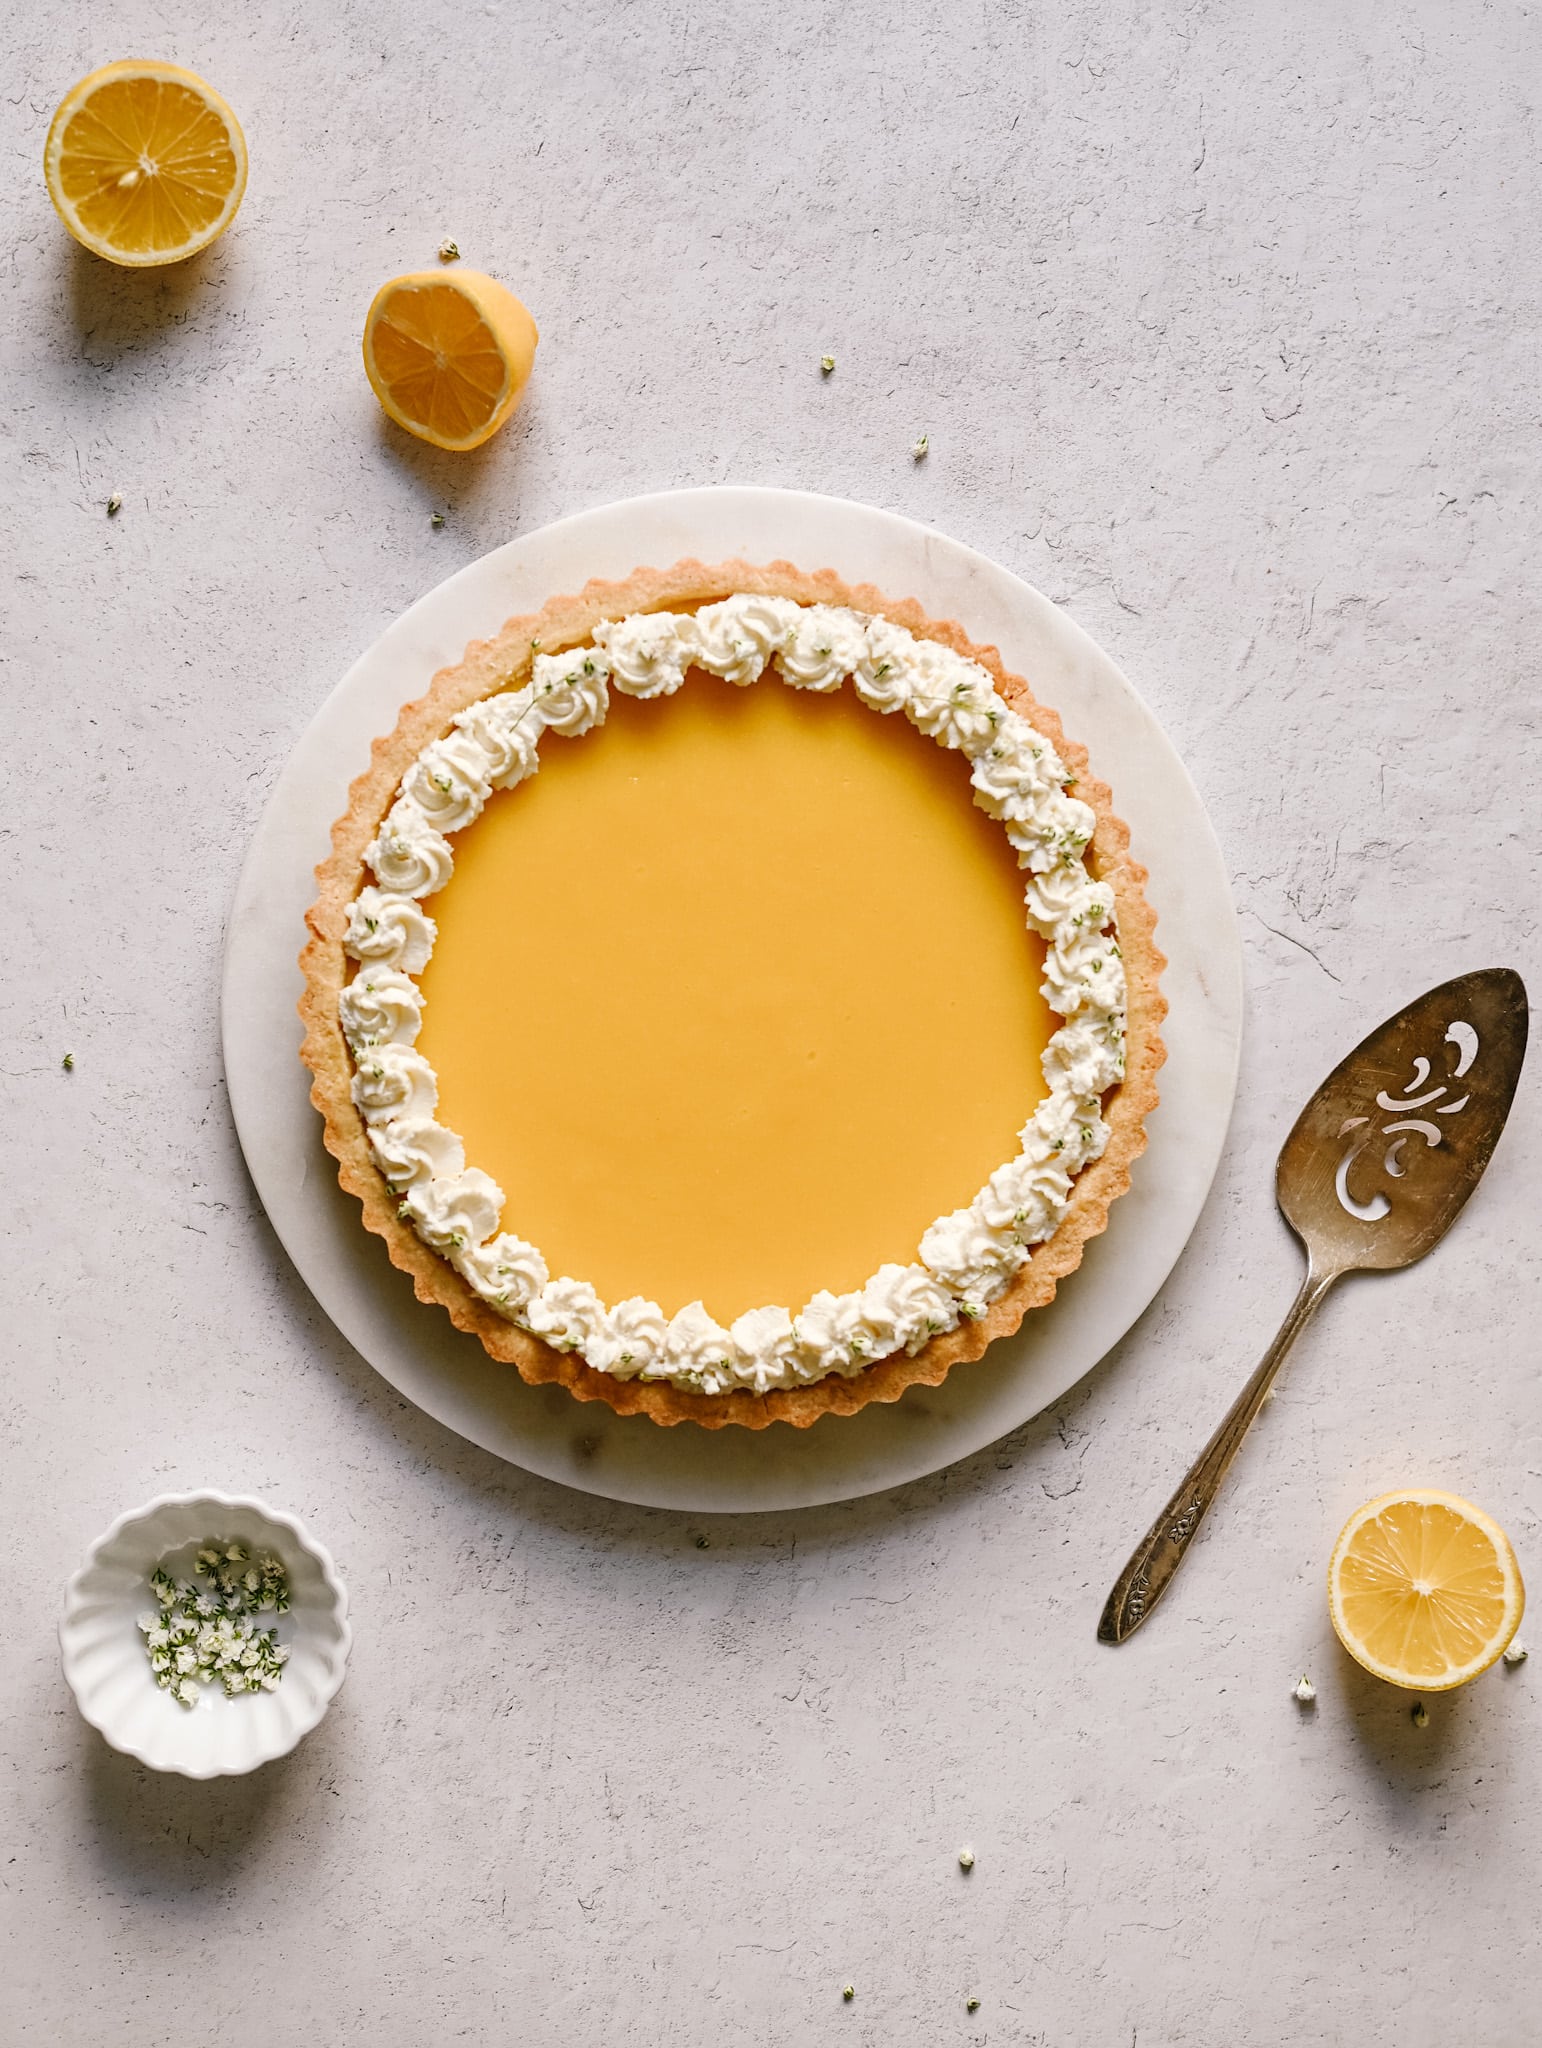
This healthy lemon tart recipe is perfect for those warm Summer days and special occasions. This sweet creamy custard has a rich lemon flavor that pairs lovely with freshly made whipped cream, or a light dusting of powdered sugar.
Gluten-Free Lemon Tart Ingredients
This tart is made with simple easy wholesome ingredients including fresh lemon juice, lemon zest, eggs, sugar, butter, and salt.
- Fresh Lemon Juice: This will help produce the best lemon flavor. Look for large bright colored lemons.
- Lemon Zest: The zest gives this lemon filling extra tang, which helps balance with sweetness.
- Organic Sugar: Organic sugar pairs lovely with the zest, giving the tart the perfect balance of sweetness.
- Whole Eggs and Egg Yolks: The balance of both whole eggs and egg yolks provide structure and richness to the tart.
- Chilled Butter: Chilled butter is key for an ultra-creamy tart. For a dairy-free option use non-dairy Earth Balance Butter Sticks.
- Salt: This helps bring out the sweetness.

How to Make Gluten-Free Lemon Tart
Lemon Filling Instructions:
This is such a great recipe, using simple ingredients. Follow my tips and tricks for the best tart outcome!
- In a medium-sized saucepan, whisk together the eggs, egg yolks, sugar, lemon zest, and salt until light and creamy. Slowly whisk in the lemon juice.
- Turn the burner to a medium-low heat setting, and continue to whisk the lemon filling until it reaches 165°F. This will take between 5-8 minutes. Once the curd starts to bubble and thicken, coating the back of a spoon, remove from the heat.
- Place a stainless steel fine mesh sieve over a bowl with the cold butter and carefully pour the lemon filling into the sieve to strain any cooked eggs and zest. Use a spatula to help press it through the sieve, and tap the sieve every once in a while to push through any excess filling. Occasionally wash out the bottom of the sieve, discarding any zest that clogs the mesh, and continue the process until all the filling is strained. You should have about 2 cups worth of filling.
- Whisk together the lemon custard and butter until nice and smooth, then pour the filling into the par-baked tart shell. Depending on the type of crust you make, it may be beneficial to add a pie shield to avoid the top of the crust from burning.
- Place the tart on a baking sheet to allow for easy retrieval, and bake the tart for 12-15 minutes. The tart should be slightly wobbly, but not puffy or cracked.
- Remove the tart from the oven and allow it to rest at room temperature for 1 hour. Then place the tart in the refrigerator for at least 4 hours to chill. For best results, chill overnight.
- Prior to serving, remove the shell from the tart pan and top with freshly made whipped cream, fresh berries, or lightly dust with powdered sugar.
- Keep refrigerated until ready to serve.
Frequently Asked Questions
How to store lemon tart?
Store the tart in an airtight container or wrapped tightly in aluminum foil for up to 3 days in the refrigerator.
What is the best size tart pan to use?
The recipe is made for a 9-inch tart pan with removable bottom. You could also make the same recipe in a 9-inch pie dish, but the slices will be harder to remove.
Why won't my lemon curd filling set?
The key is getting the water and fat ratio balanced, so make sure to properly measure the ingredients. You also want to make sure to cook the curd long enough in the saucepan prior to baking.

For More Delicious Recipes, Check Out The Links Below
- Gluten-Free Pecan Pie (Dairy-Free) No Corn Syrup!
- Gluten-Free Lemon Loaf (Dairy-Free)
- The BEST Gluten-Free Pumpkin Pie (Dairy-Free, No Refined Sugar!)
- Gluten-Free Chocolate Pecan Tart
- Gluten-Free Vanilla Cream Fruit Tart
Recipe

Gluten-Free Lemon Tart
Ingredients
Crust
Instructions
The Crust
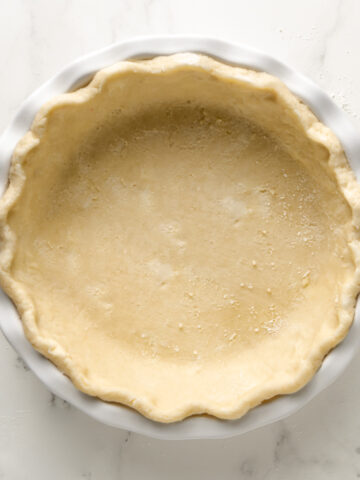
- Prepare and par-bake the crust as directed.
Lemon Filling
- In a medium-sized saucepan, whisk together the whole eggs, eggs yolks, sugar, lemon zest, and salt until light and creamy. Slowly whisk in the lemon juice.
- Turn the burner to a medium-low heat setting, and whisk the lemon filling until it reaches 165° F. This will take between 5-8 minutes. Once the curd starts to bubble and thicken, coating the back of a spoon, remove from the heat.
- Place a stainless steel fine mesh sieve over a large bowl with the cold butter and carefully pour the lemon filling into the sieve to strain any cooked eggs and zest. Use a spatula to help press the filling through the sieve, tapping the sieve every once in a while to push through any excess filling. Occasionally wash out the bottom of the sieve discarding any zest that clogs the mesh, and continue the process until all the filling is strained. You should have about 2 cups worth of filling.
- Whisk together the lemon custard and butter until nice and smooth, then pour the filling into a par-baked tart crust. Depending on the type of crust you make, it may be beneficial to add a pie shield to avoid the top of the crust from burning.
- Place the tart on a baking sheet to allow for easy retrieval, and bake the tart at 350° F for 12-15 minutes. The tart should be slightly wobbly but not puffy or cracked.
- Remove from the oven and allow the tart to sit at room temperature for 1 hour. Then place the tart in the refrigerator for at least 4 hours to chill. For best results, chill overnight.
- Keep the tart refrigerated until ready to serve. Prior to serving, remove the shell from the tart pan and top with freshly made whipped cream, fresh berries, or lightly dust with powdered sugar.


Comments
No Comments