
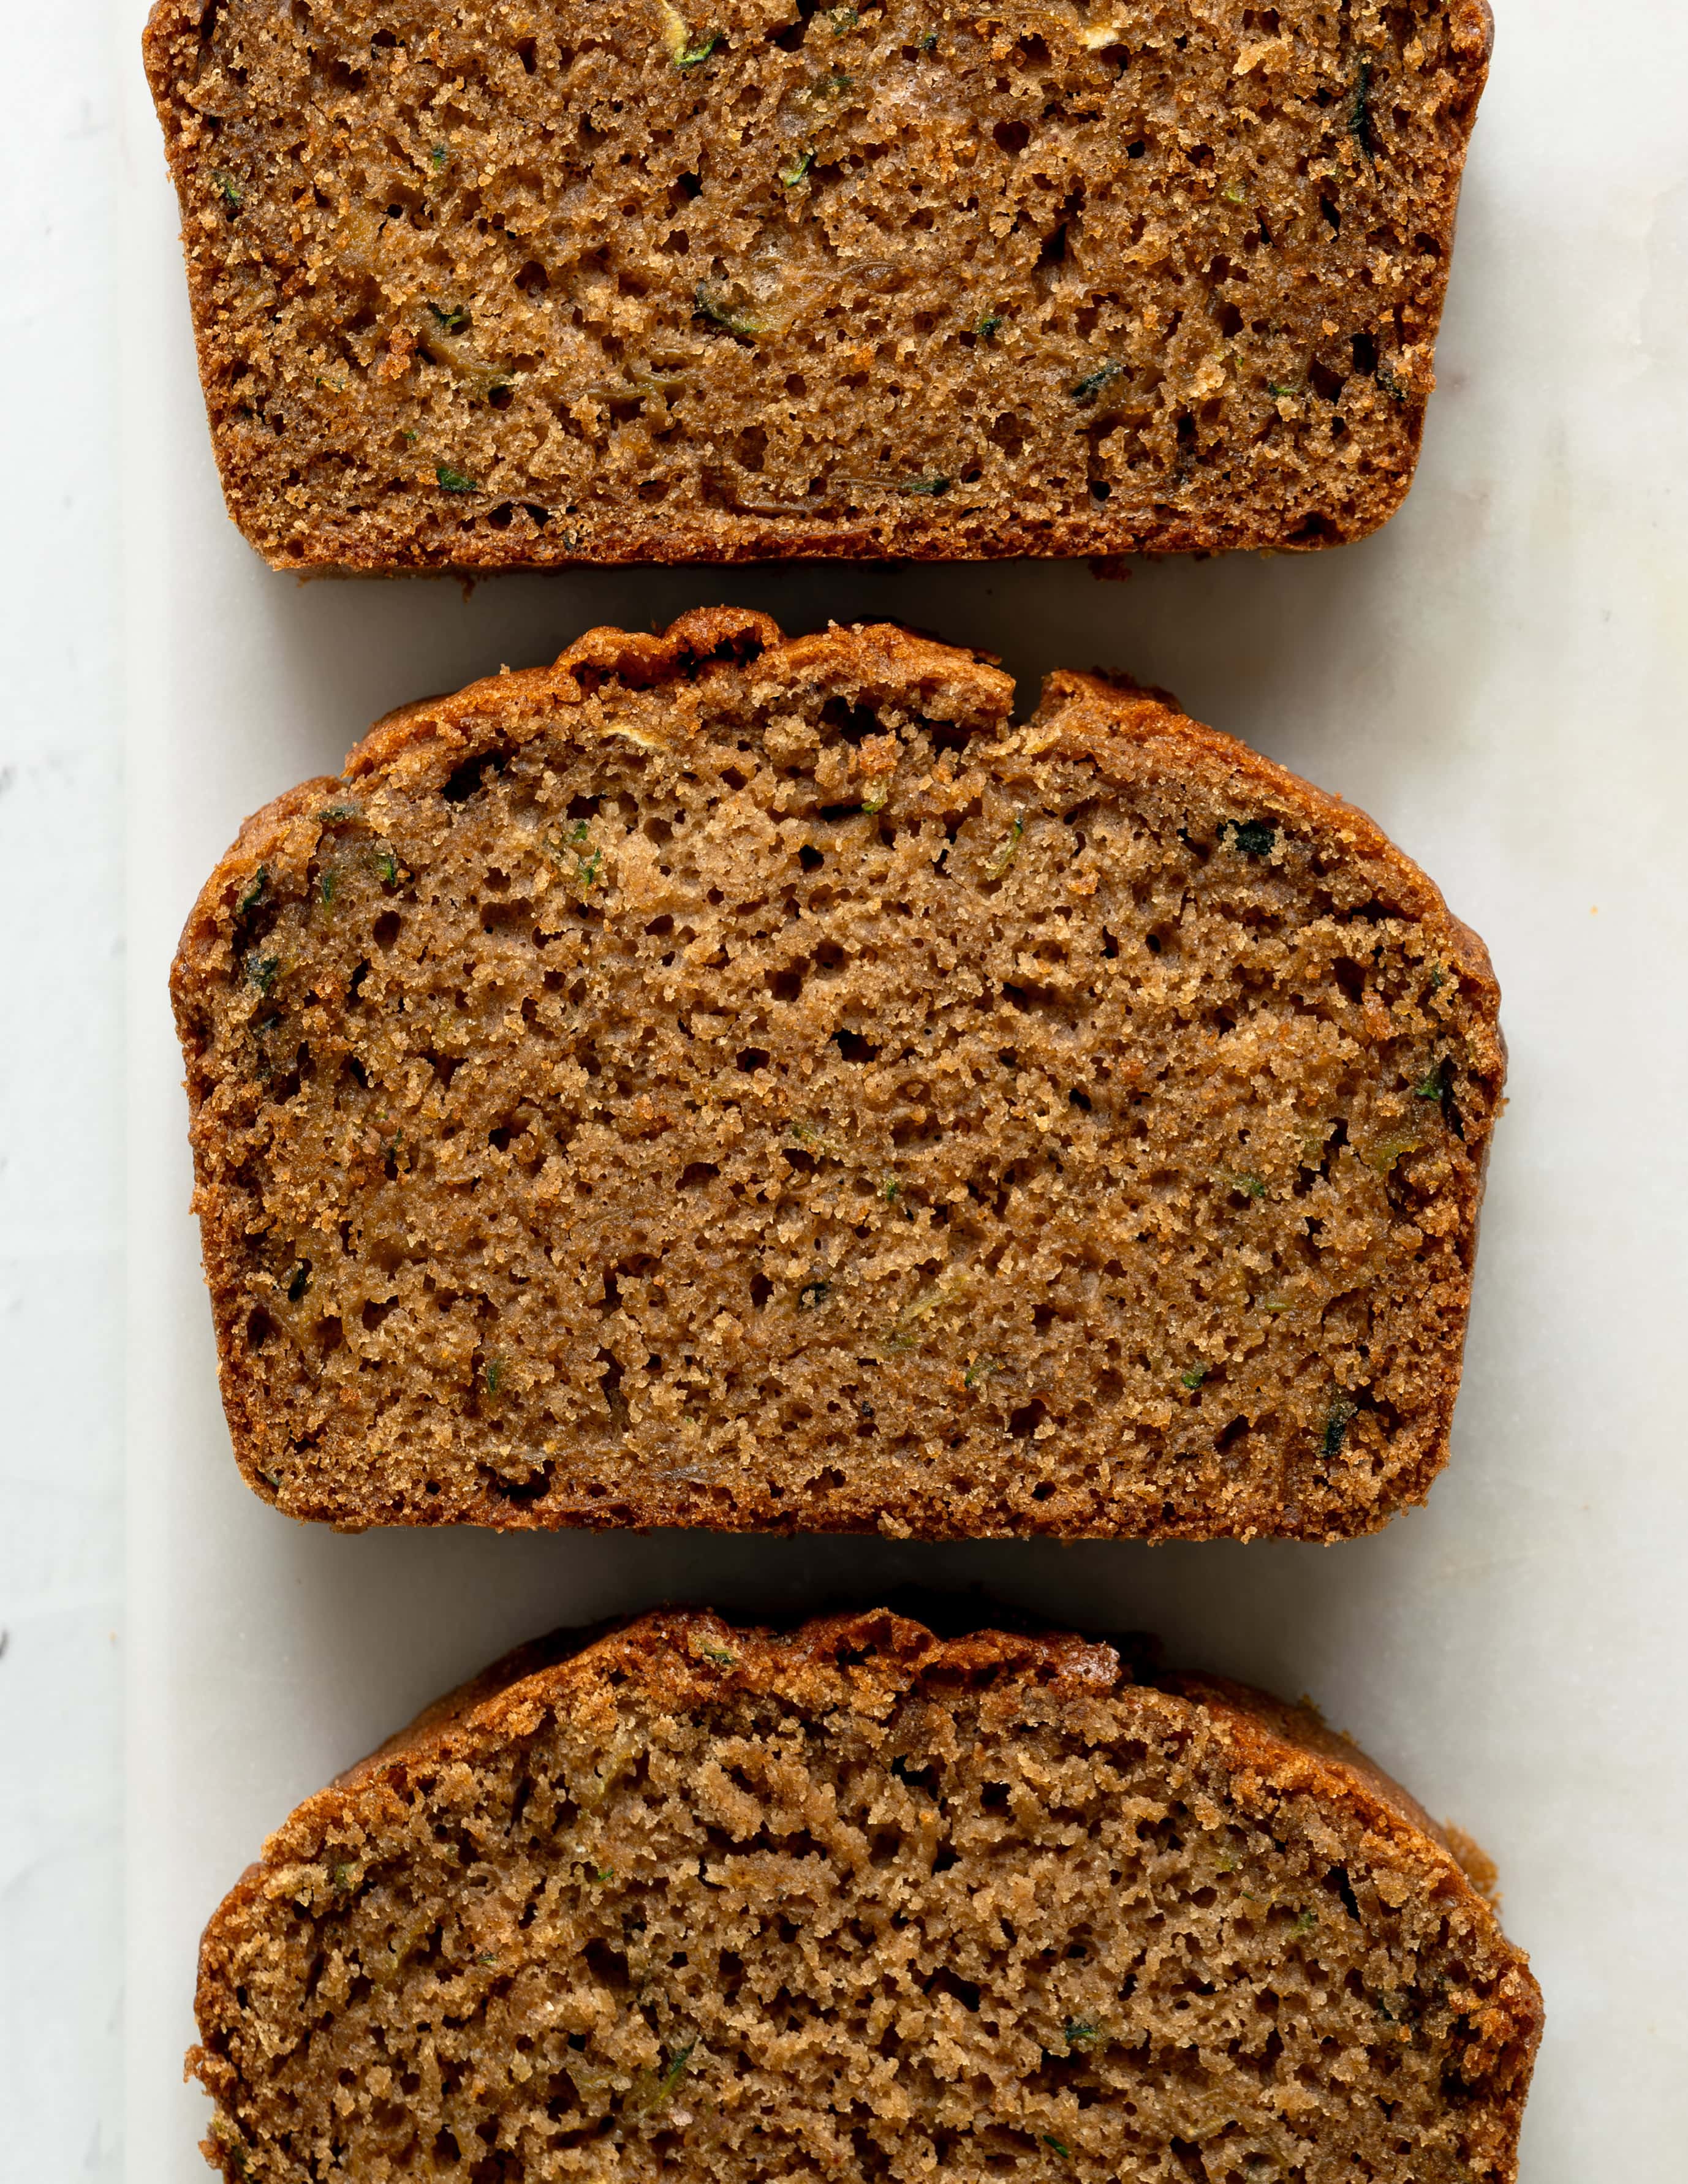
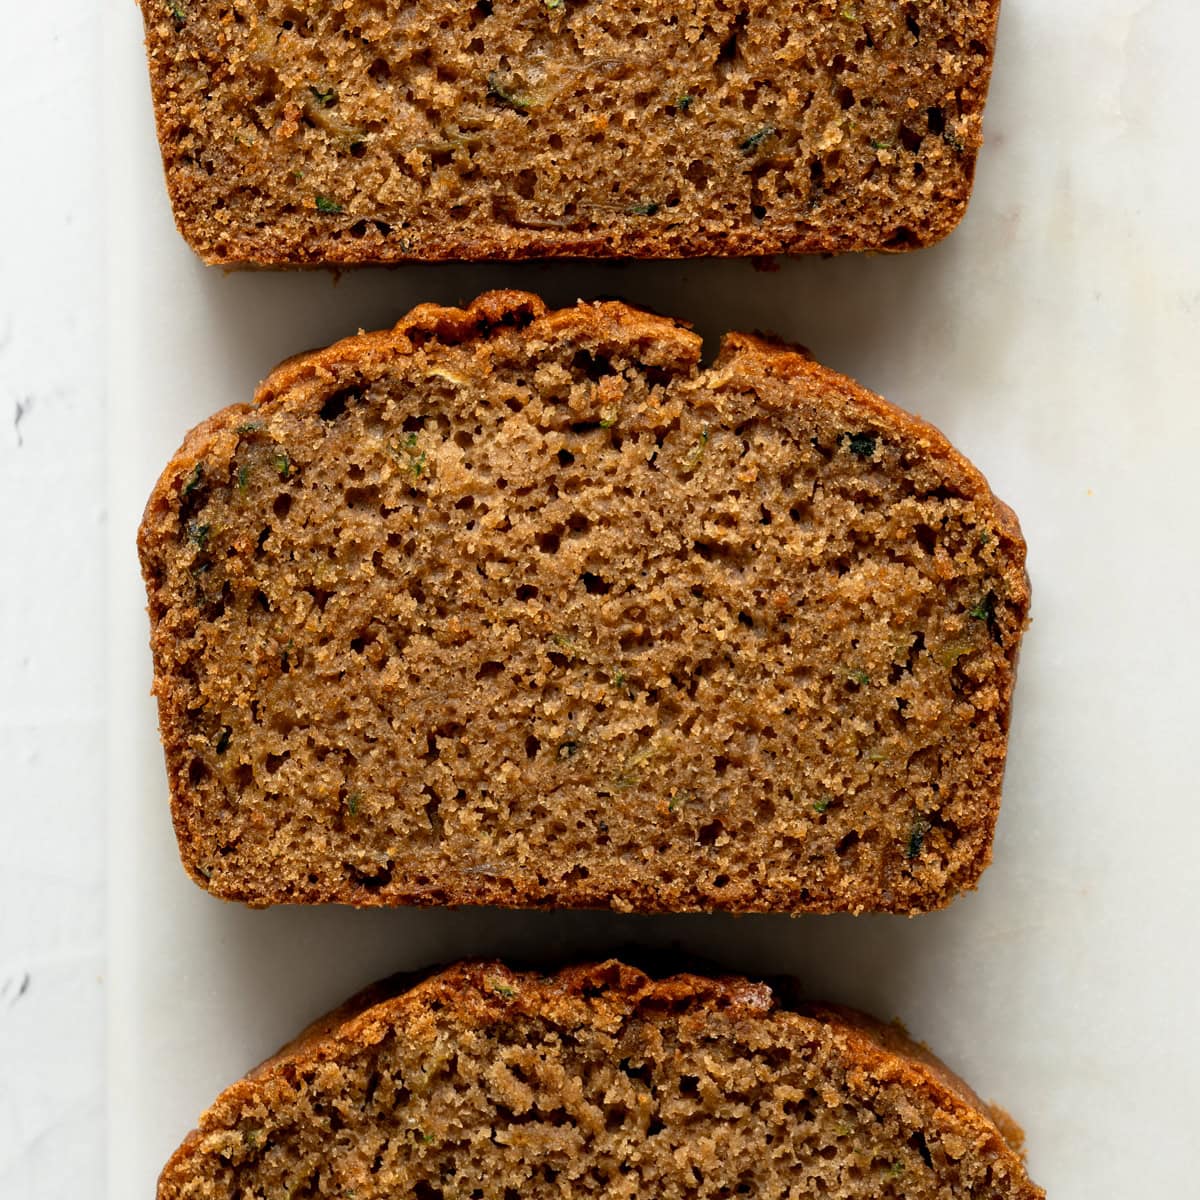
This gluten-free zucchini bread is tender, moist, and packed with the flavor of dark brown sugar and warm spices. The best part? No tedious squeezing required. By balancing the dry ingredients around the natural moisture of unsqueezed zucchini—and adding a third egg for structure—you get an effortlessly plush, bakery-quality crumb every single time.
Why You'll Love My Gluten-Free Zucchini Bread
- Perfect Crumb Structure: A delicate crumb that still holds together without crumbling when sliced.
- Rich, Balanced Flavor: You get all the deep caramel notes of dark brown sugar and vanilla, paired with just enough warm spice to let the fresh zucchini flavor shine through.
- No Straining Required: Grate and bake! No tedious wringing, blotting, or straining out excess moisture—the wet-to-dry ratios are calibrated to precision so the natural juices work for you.
Gluten-Free Zucchini Bread Ingredients
Here is a quick overview of key ingredients and substitutions. For exact measurements and full instructions, see the printable recipe card below.
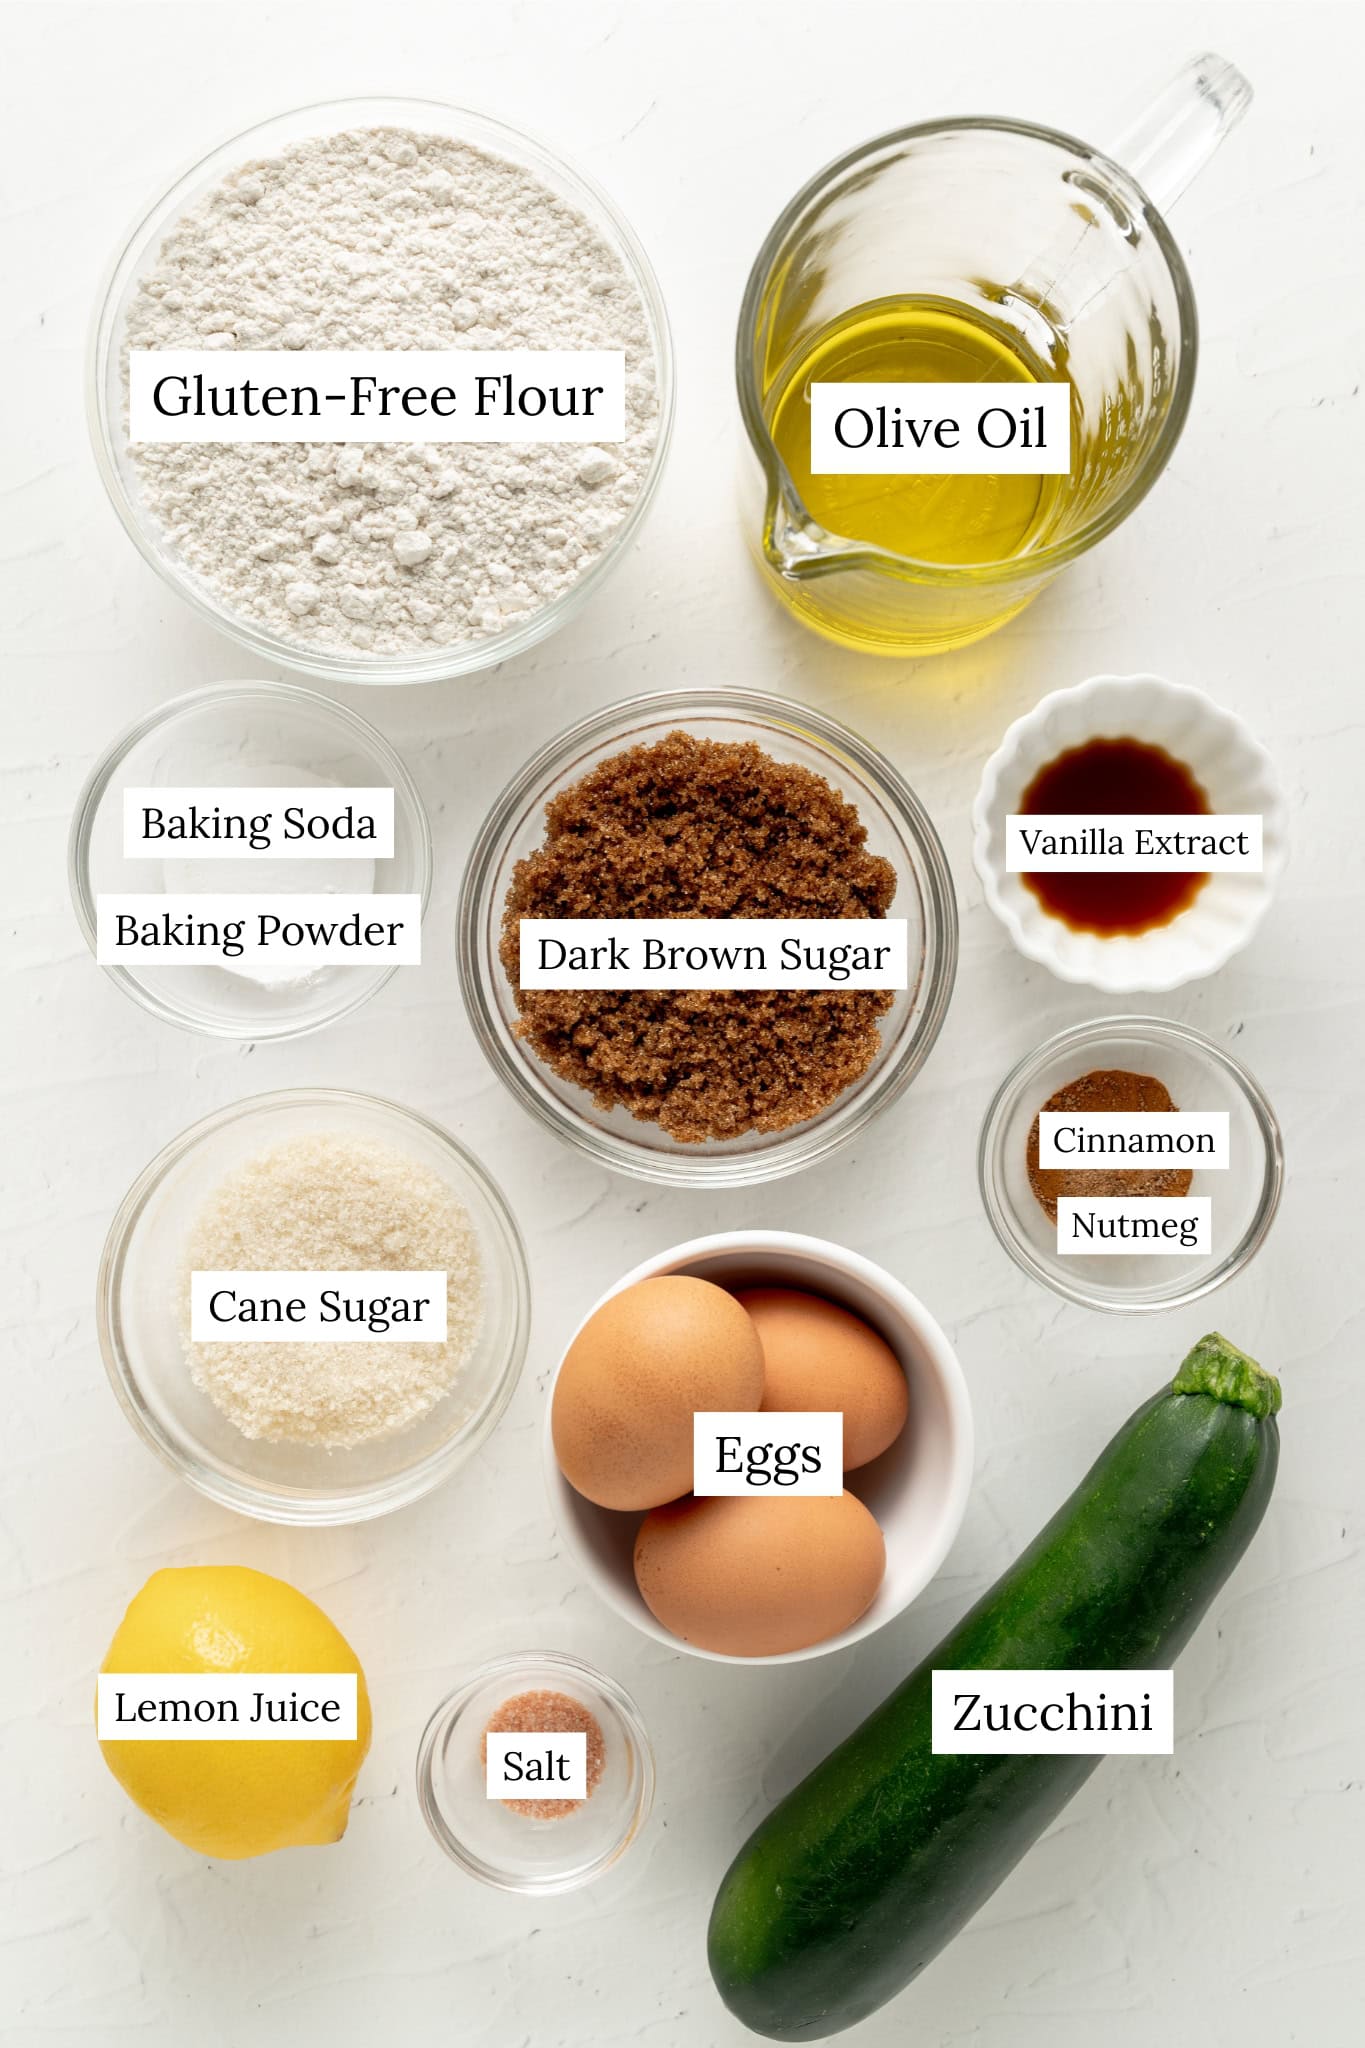
- Gluten-Free Flour: Tested specifically with Bob's Red Mill 1:1 Gluten-Free Baking Flour (in the blue bag). For guaranteed success, weigh your flour on a food scale rather than using measuring cups, as compact flour will throw off the delicate wet-to-dry ratio.
- Dark Brown Sugar & Granulated Cane Sugar: Leaning more heavily on the dark brown sugar gives the bread a richer flavor from the molasses.
- Oil: Extra virgin olive oil adds a subtle, delicious earthy note that balances the sweetness while keeping the loaf soft for days—olive oil remains liquid at room temperature. You can substitute melted unrefined coconut oil, which will yield a slightly firmer crumb since coconut oil solidifies as it cools. If using coconut oil, make sure your eggs and other wet ingredients are strictly at room temperature to prevent the melted oil from seizing up in the bowl.
- Lemon Juice: Don't skip the citrus! The acid in the lemon juice reacts directly with the baking soda to give the bread its rise, while simultaneously brightening up the warm spice notes.
- Zucchini: Choose a medium-sized zucchini that is firm to the touch with deep green skin. Avoid extra-large options—they hold far more water and significantly less flavor, which can throw off the balance of the bread.
Recipe Tips For Gluten-Free Zucchini Bread
- Weigh Your Ingredients: Use a digital food scale for maximum precision. Gluten-free baking is exact, and measuring by weight ensures the perfect wet-to-dry balance every time.
- Grate with the Coarse Side: Shred the zucchini using the large holes of a box grater. Larger shreds provide better texture and prevent the zucchini from completely dissolving into the batter.
- Use Room-Temperature Eggs: Cold eggs can seize up the oil and ruin the emulsion. Warm your eggs to room temperature so everything mixes smoothly.
- Hydrate the Batter: Let the batter rest in the greased loaf pan for 20 minutes before putting it in the oven. This crucial step gives the gluten-free flour time to fully absorb the liquids, eliminating any grittiness.
- Check the Internal Temp: Skip the toothpick test—use an instant-read thermometer to check for doneness. The center should register around 200–205°F (93–96°C) with no wet batter remaining on the probe.
- Cool Completely Before Slicing: Let the bread rest on a wire rack at room temperature for a full 3 hours before slicing. Warm gluten-free bread will crumble, but letting it cool allows the crumb structure to fully set.
How to Make Gluten-Free Zucchini Bread
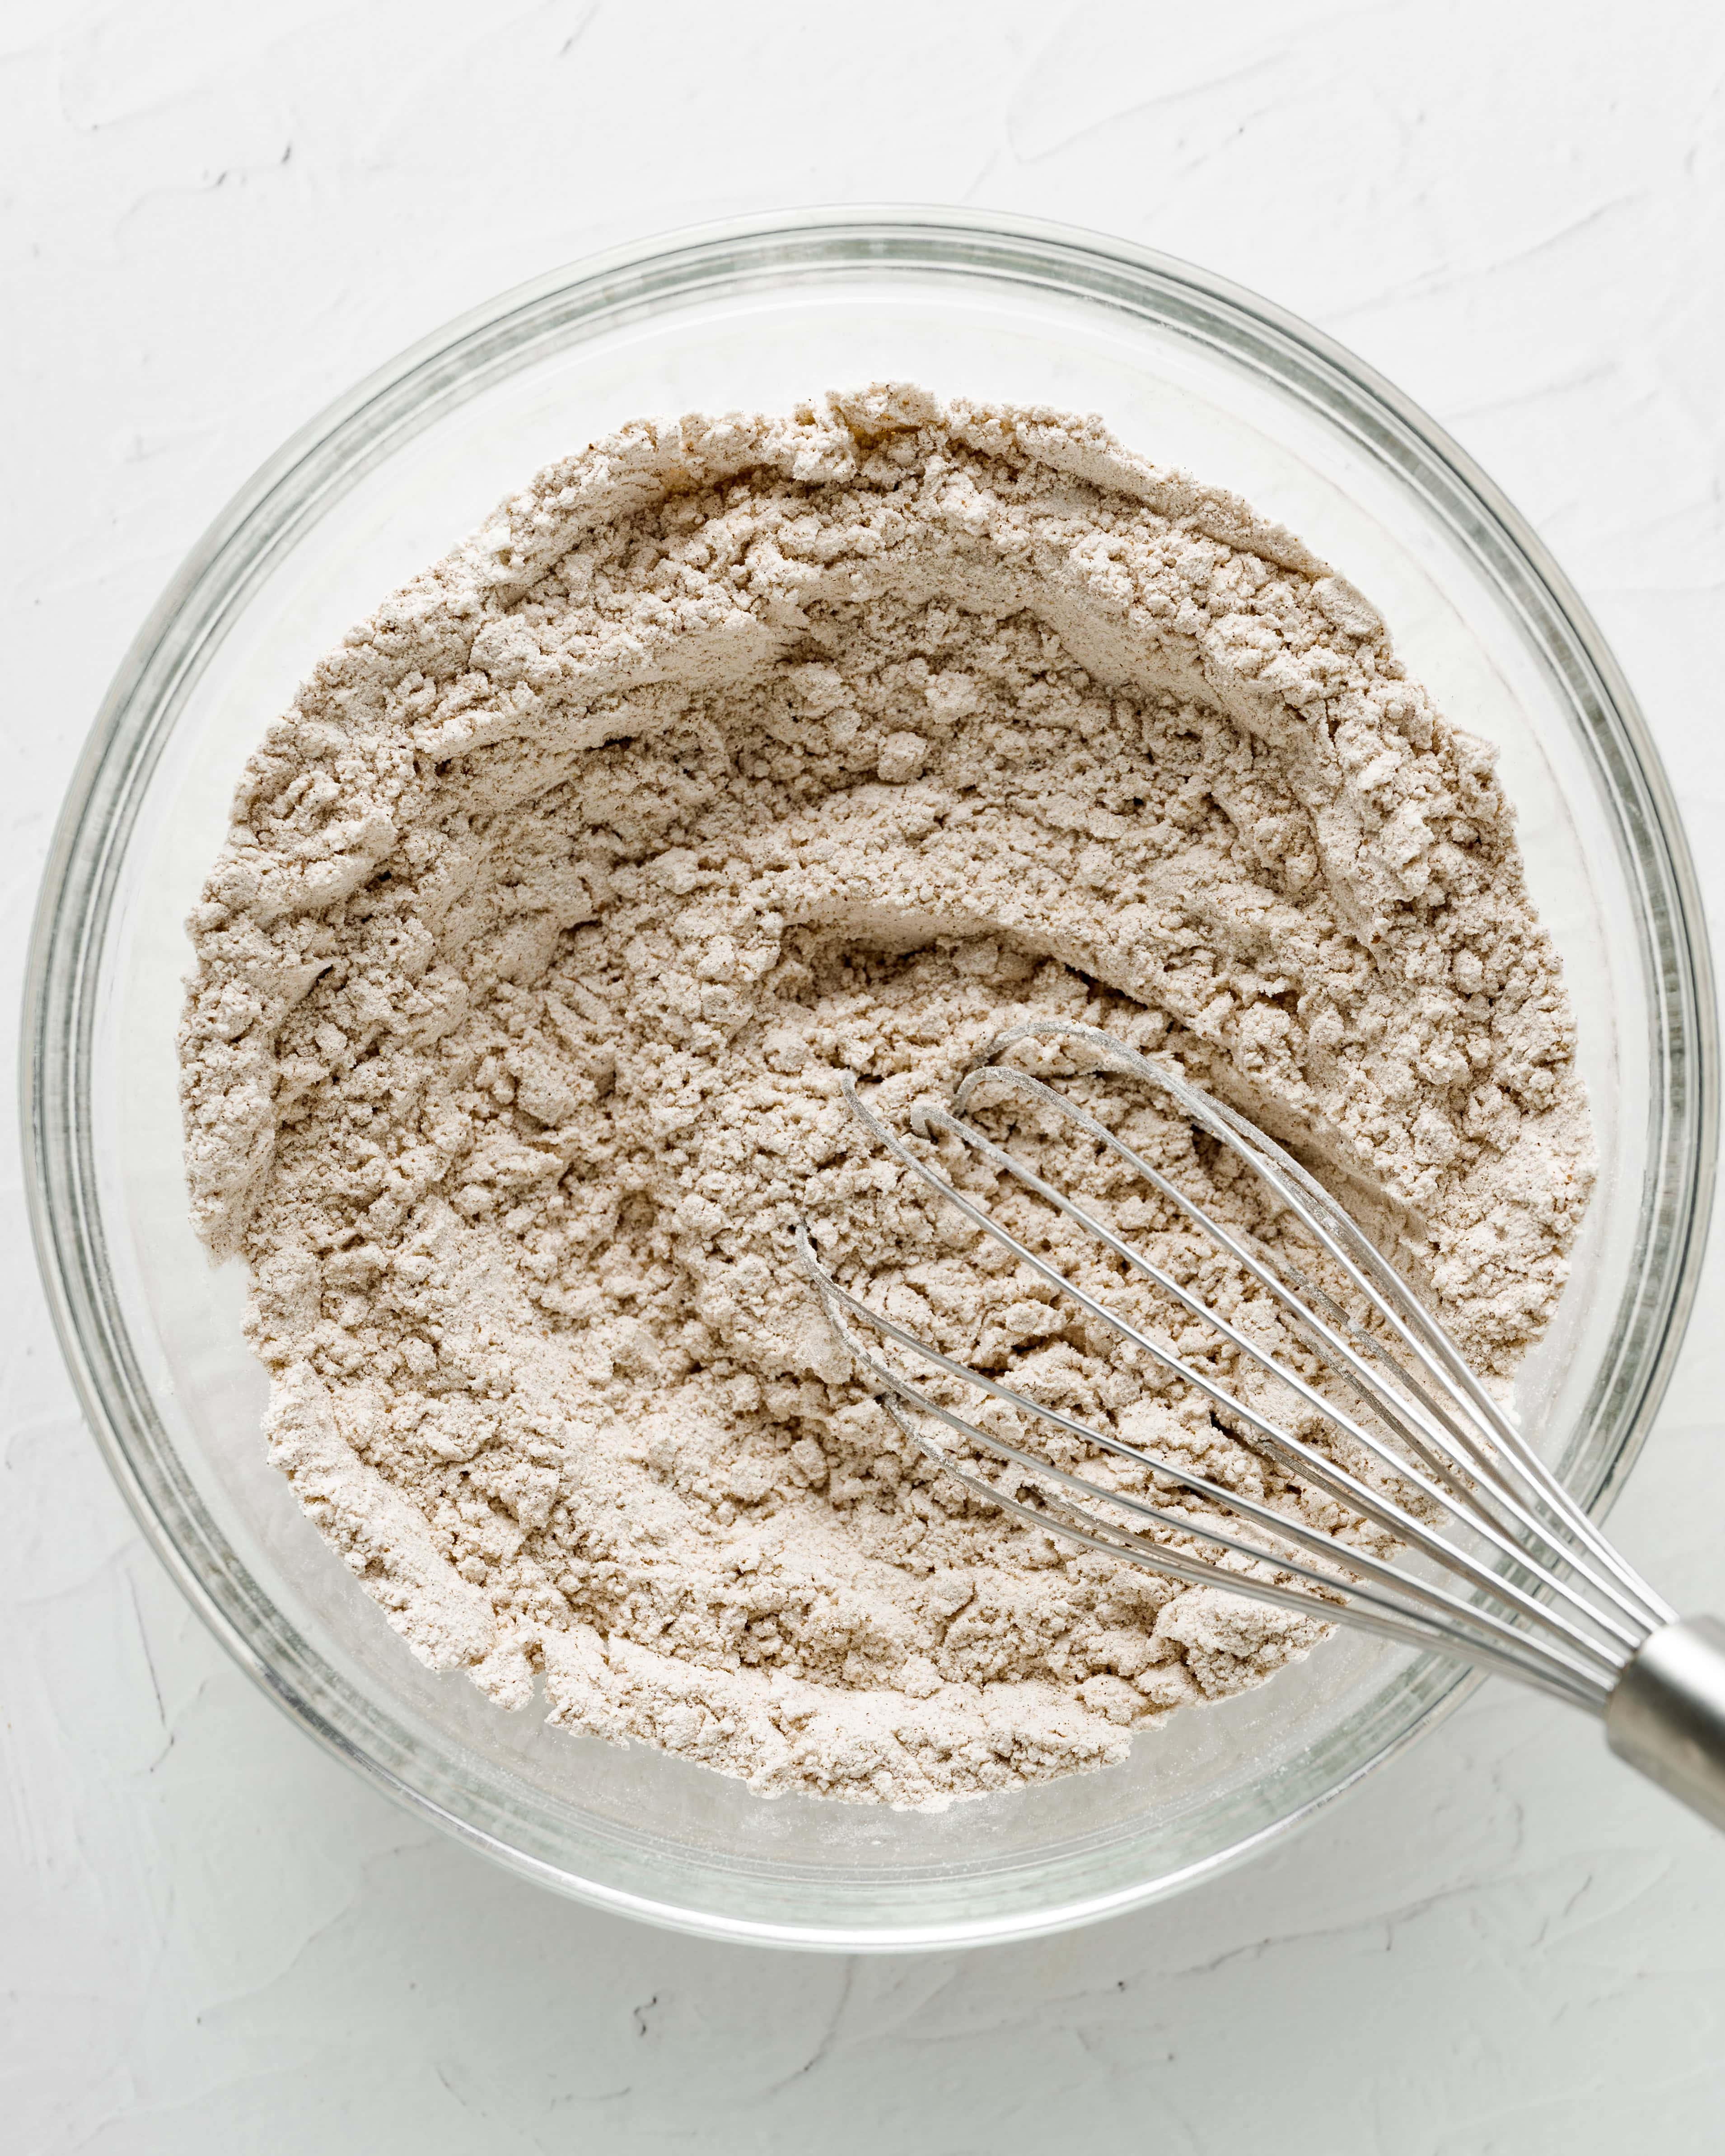
- Step 1: Whisk together the dry ingredients.
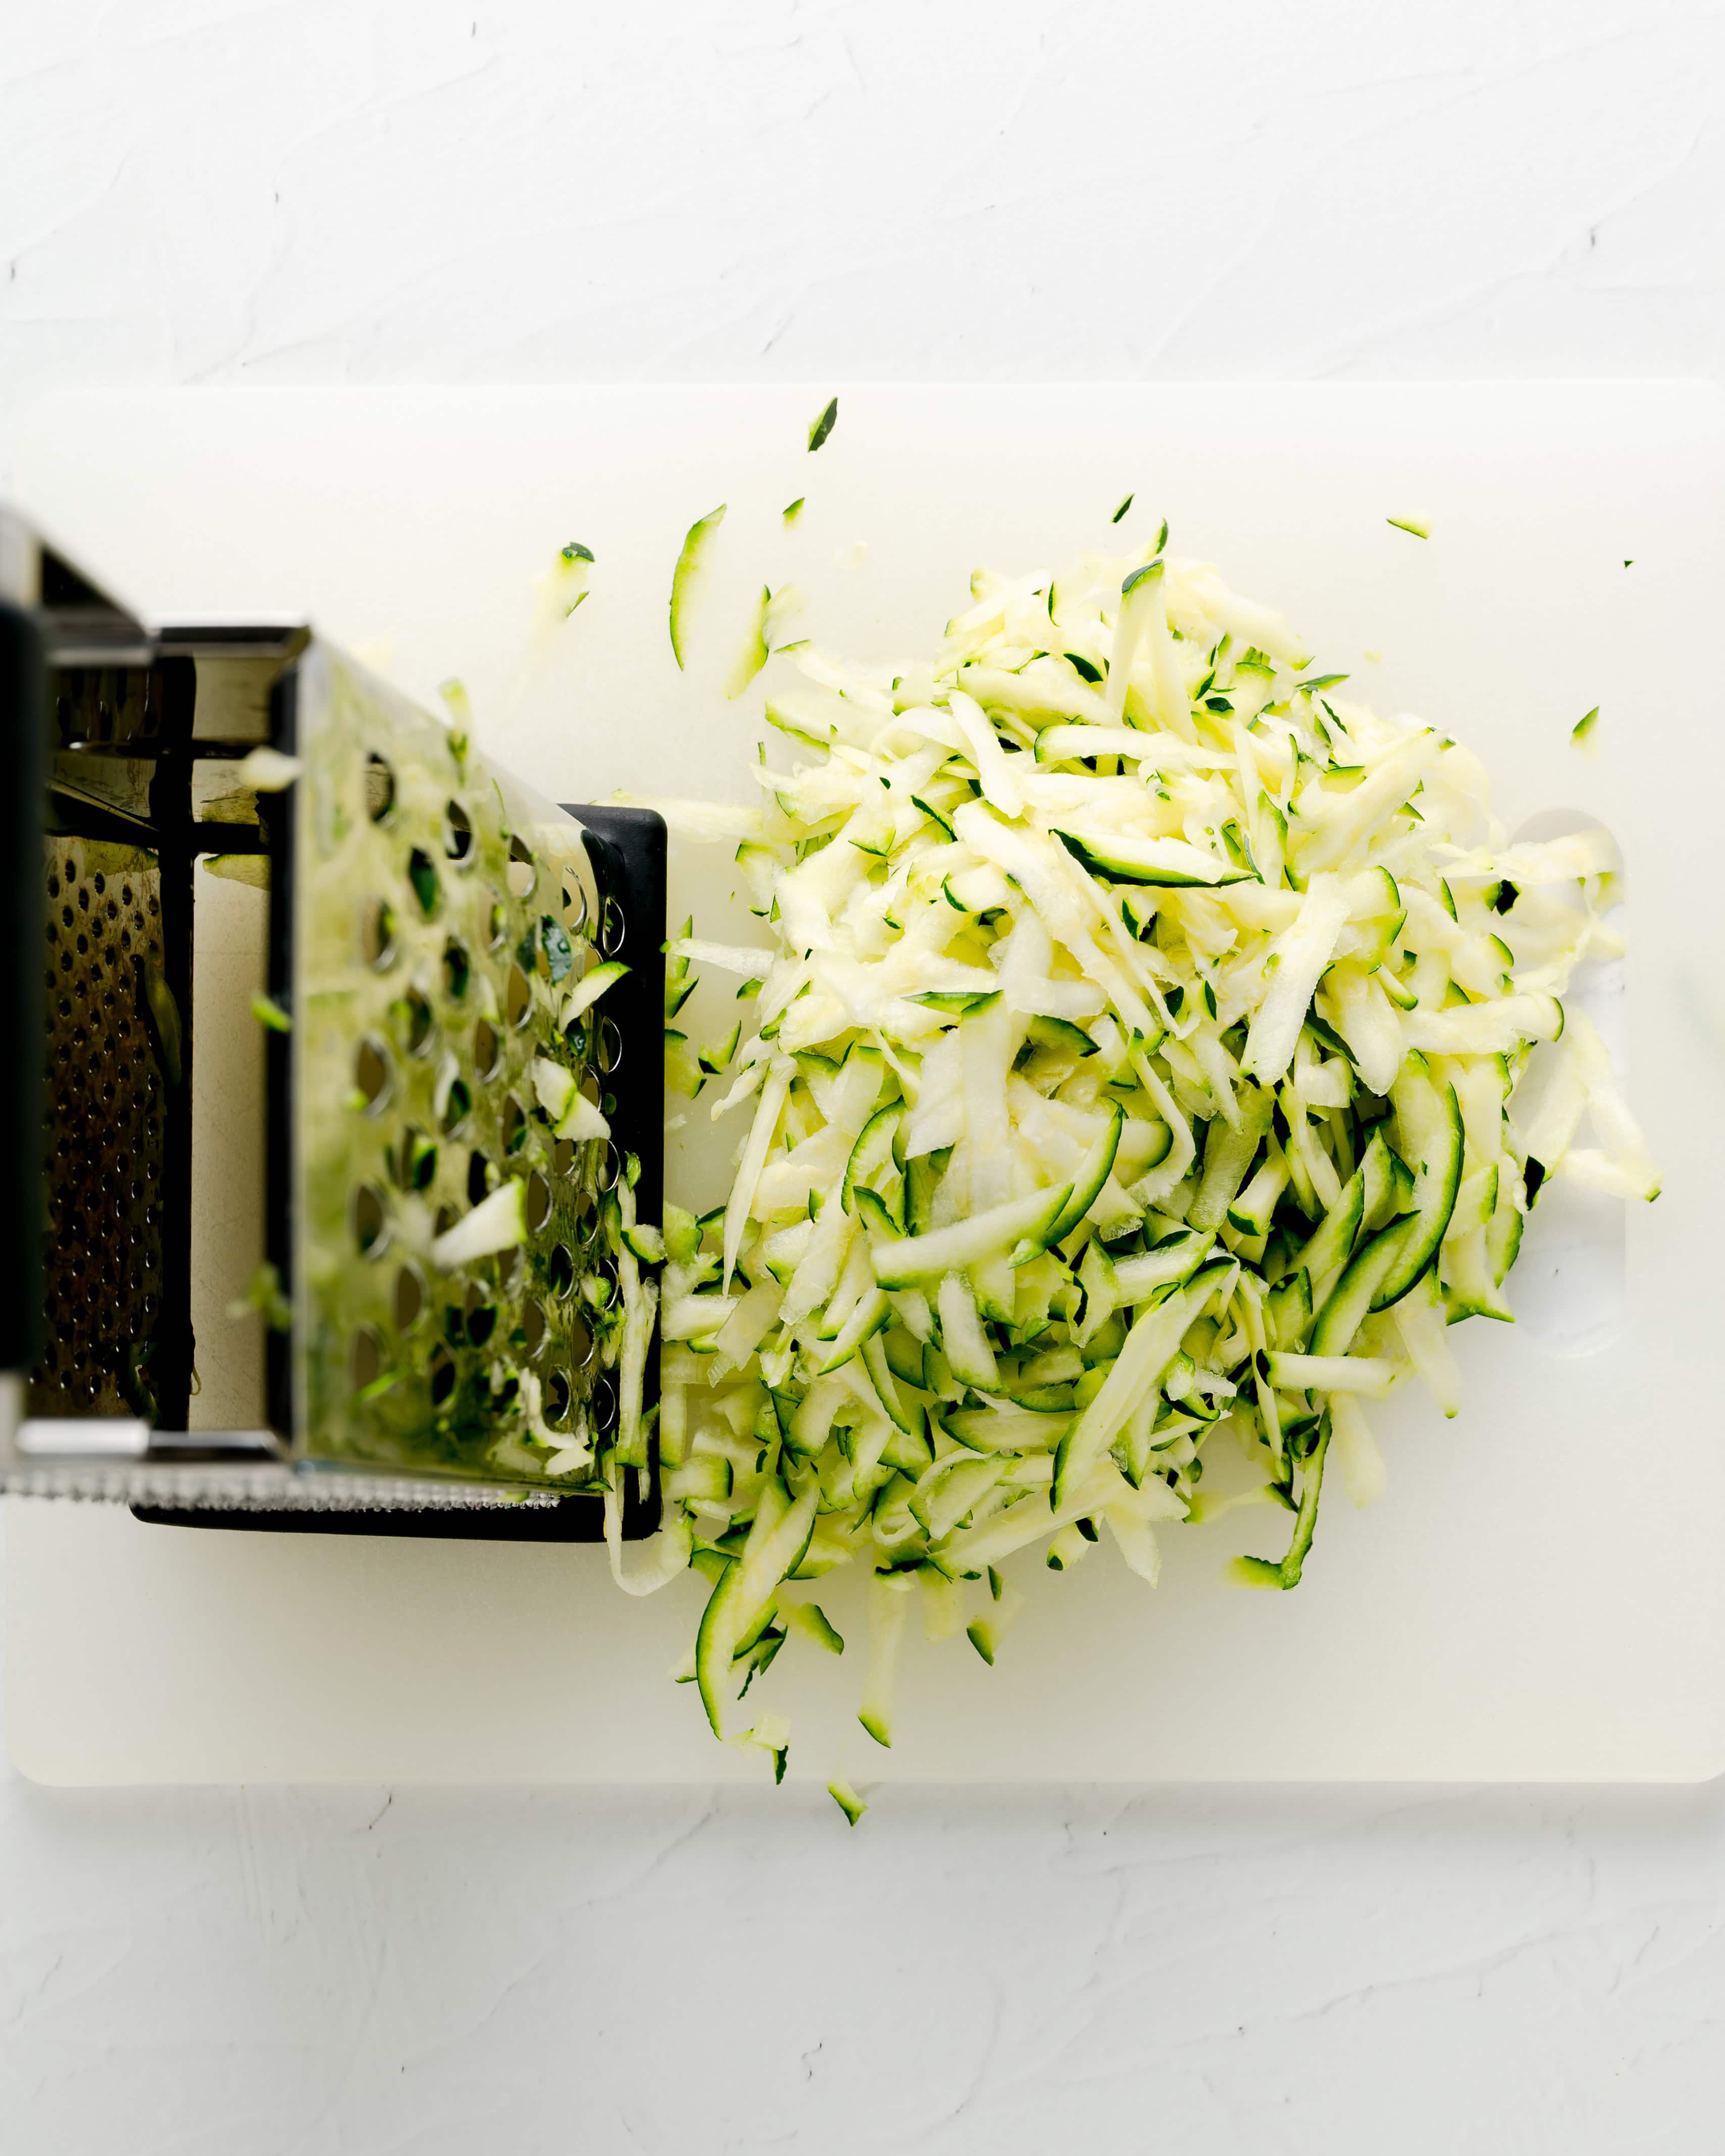
- Step 2: Coarsely grate the zucchini.
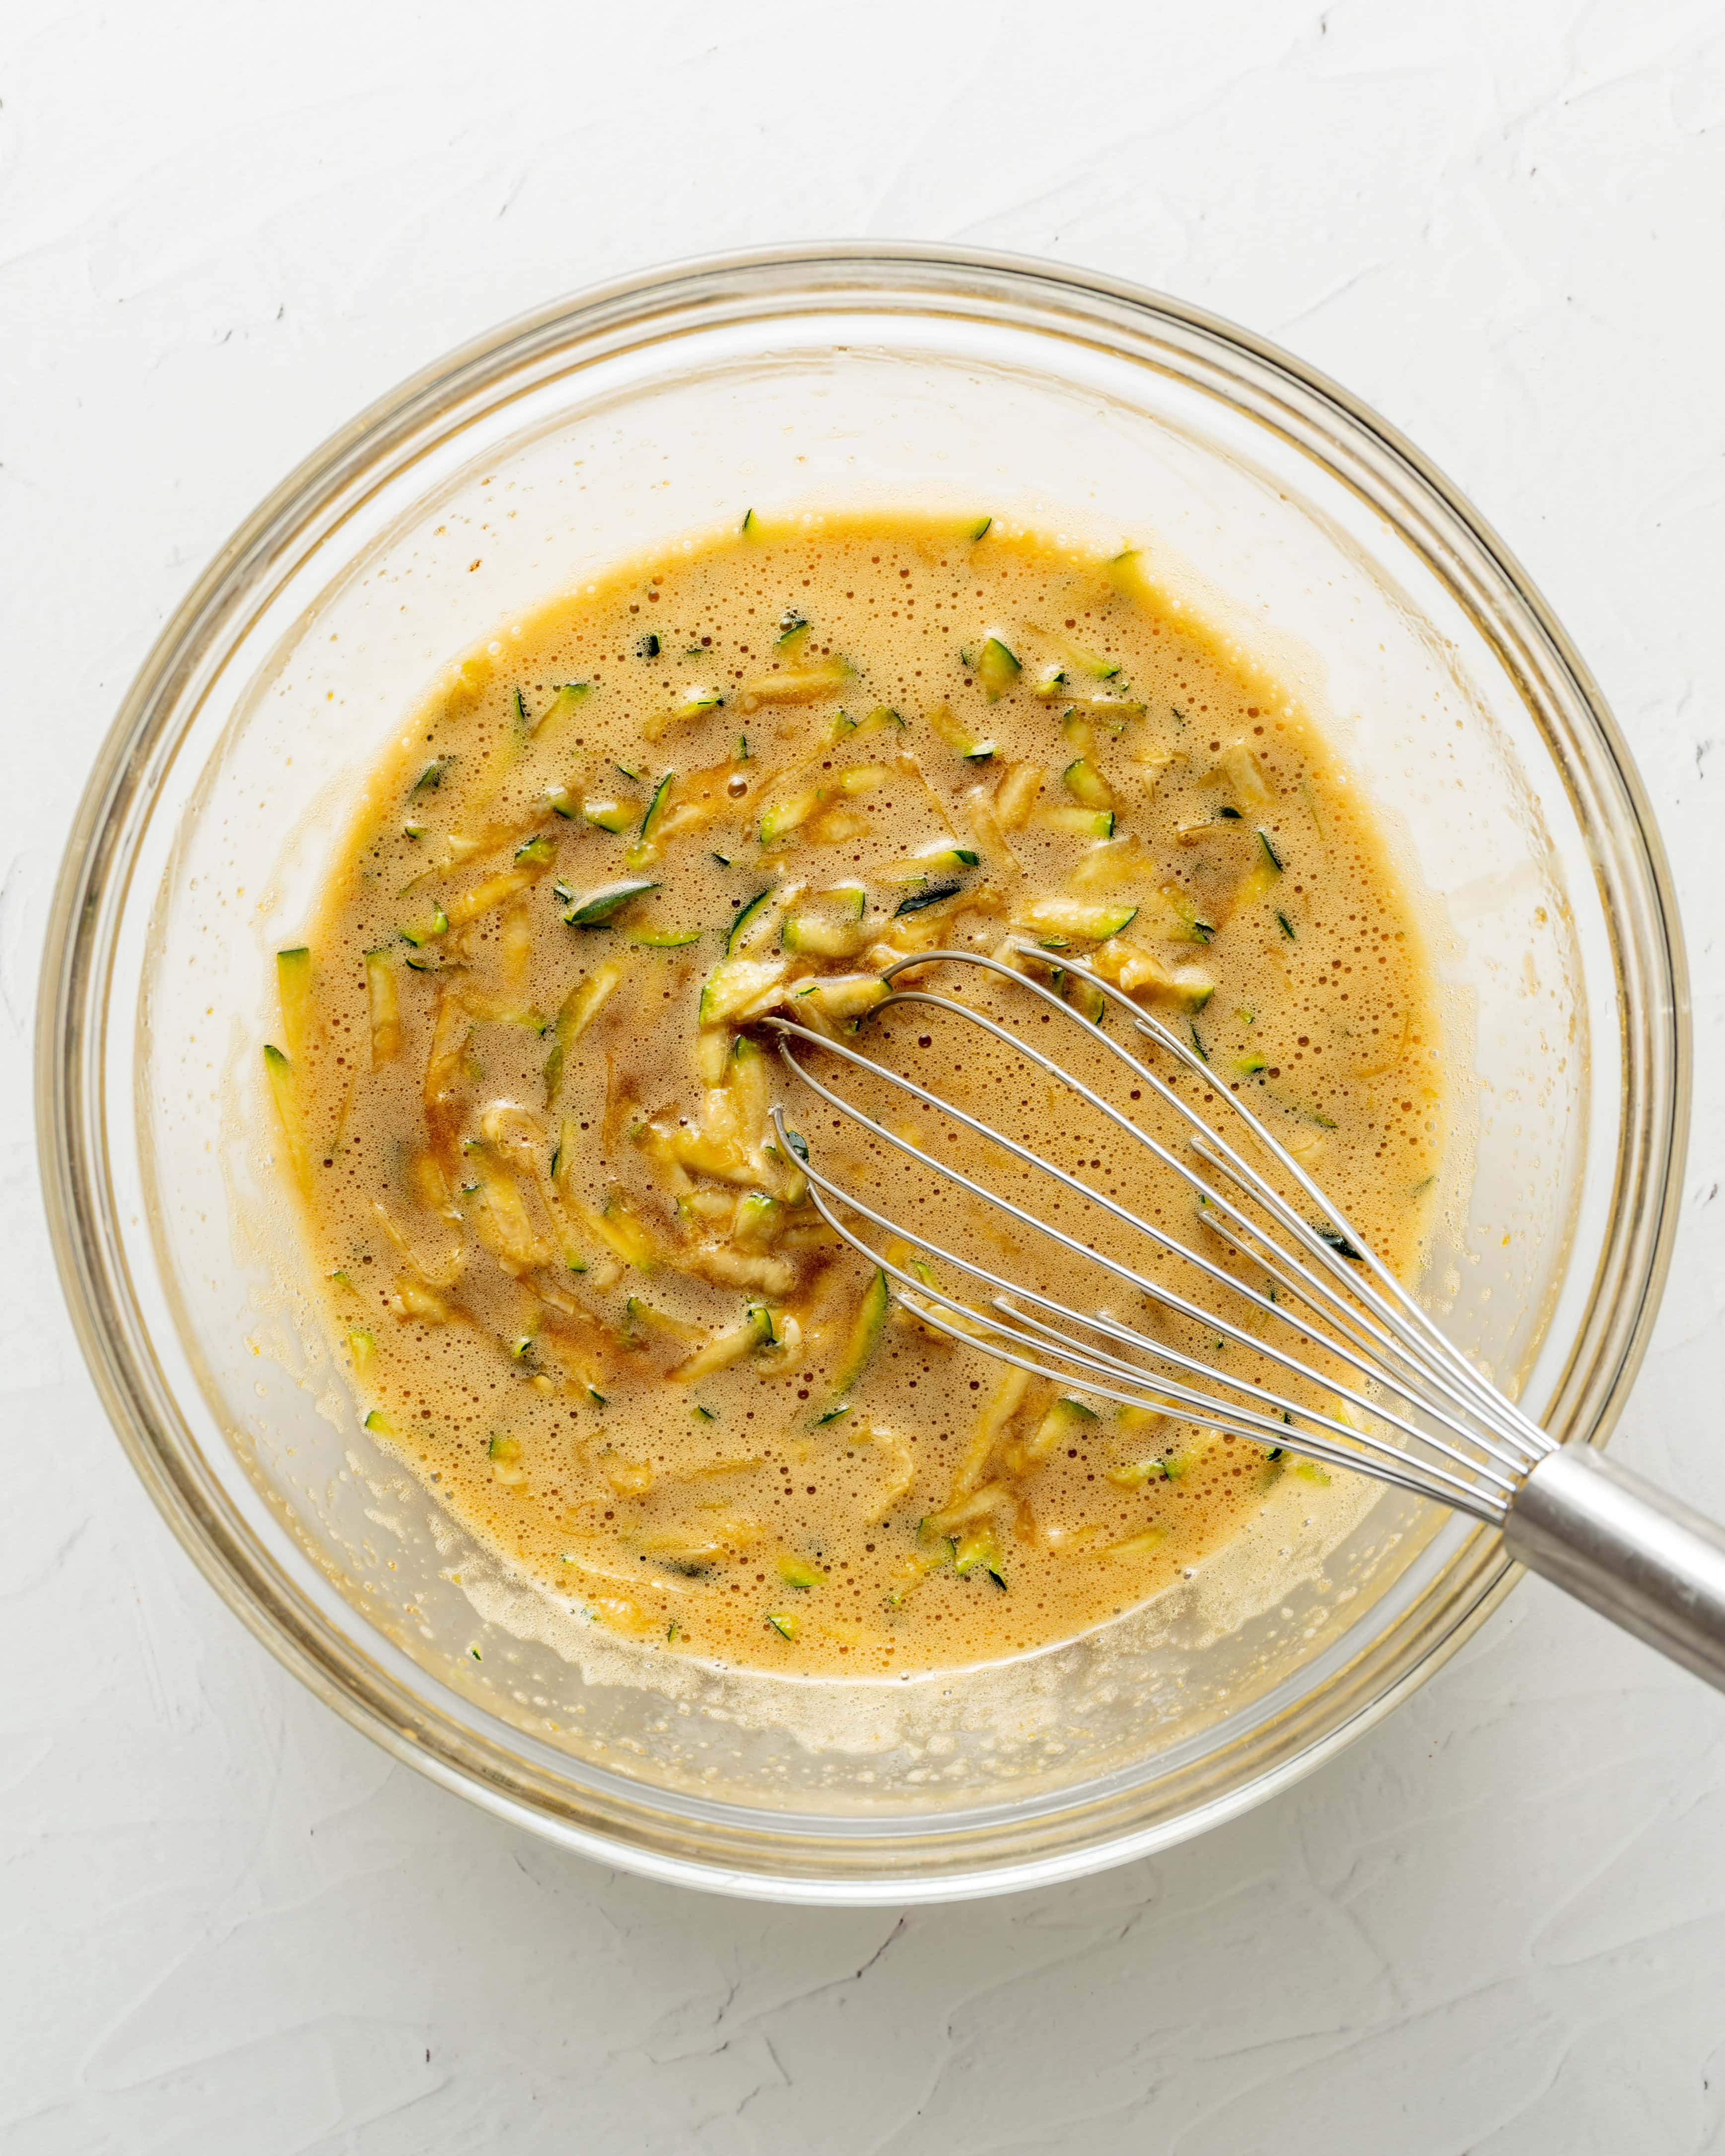
- Step 3: Whisk together the wet ingredients until smooth, then whisk in the grated zucchini.
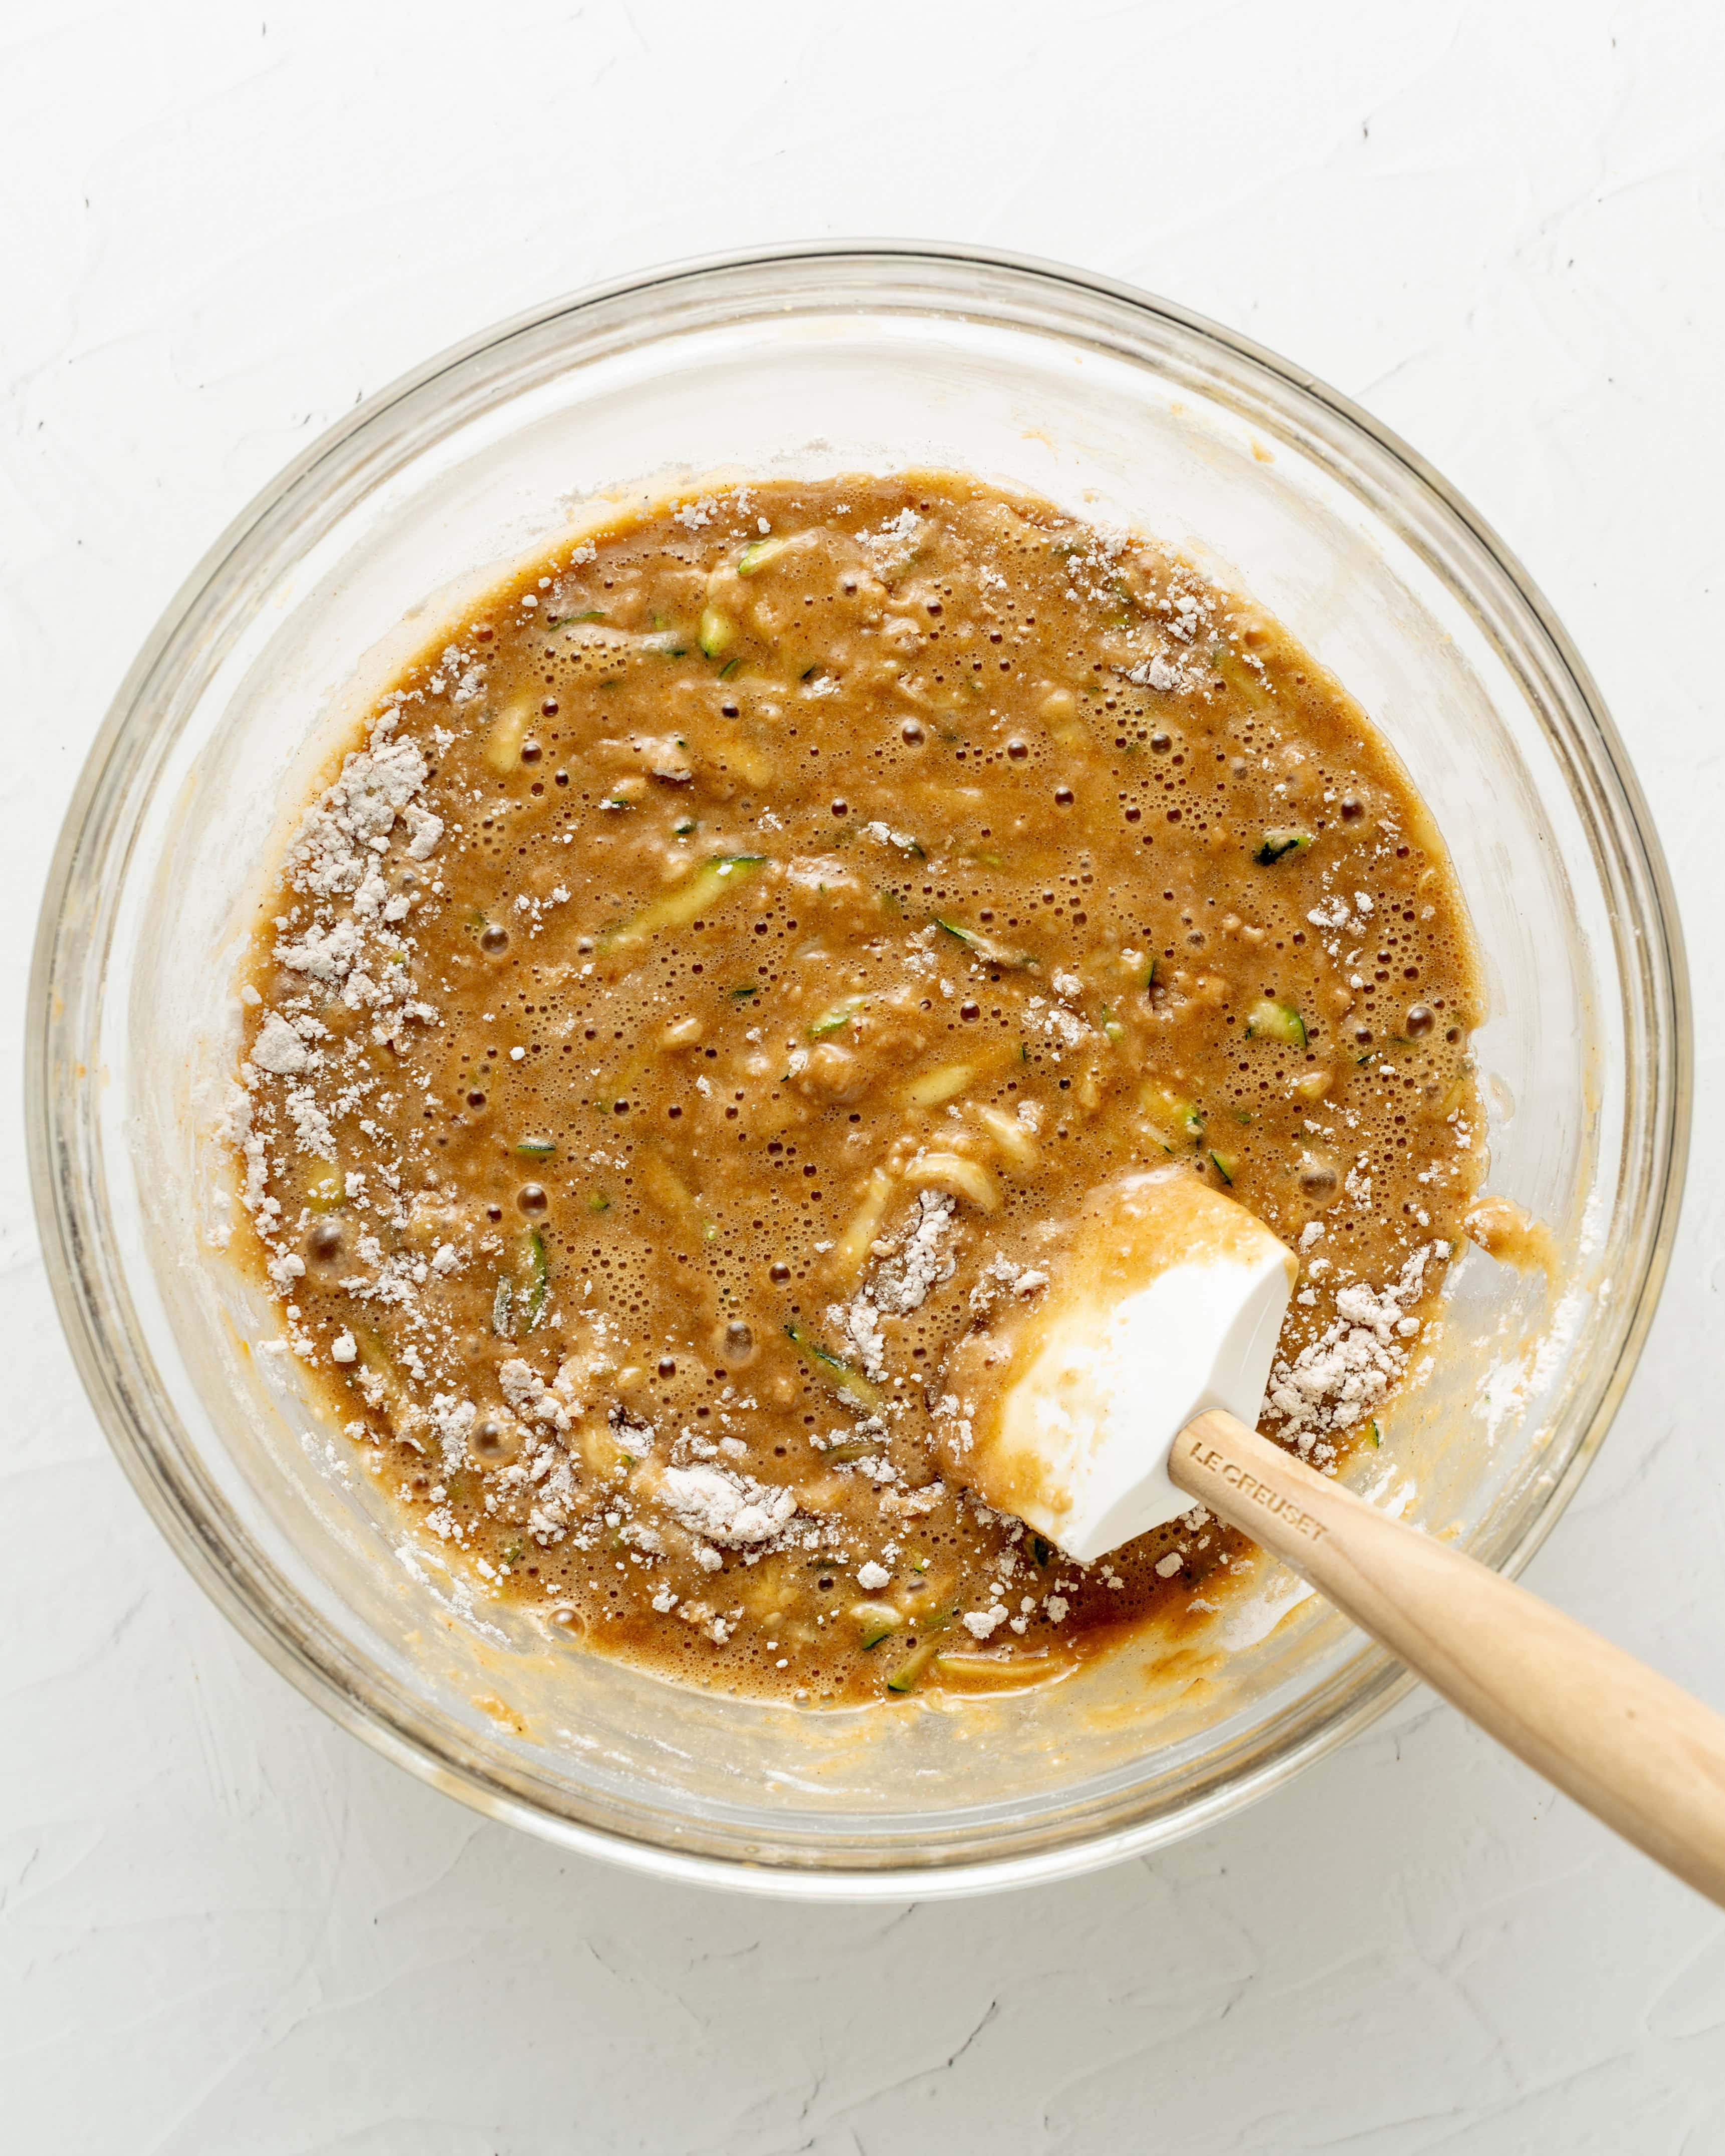
- Step 4: Using a rubber spatula, combine the wet and dry ingredients until no flour pockets remain.
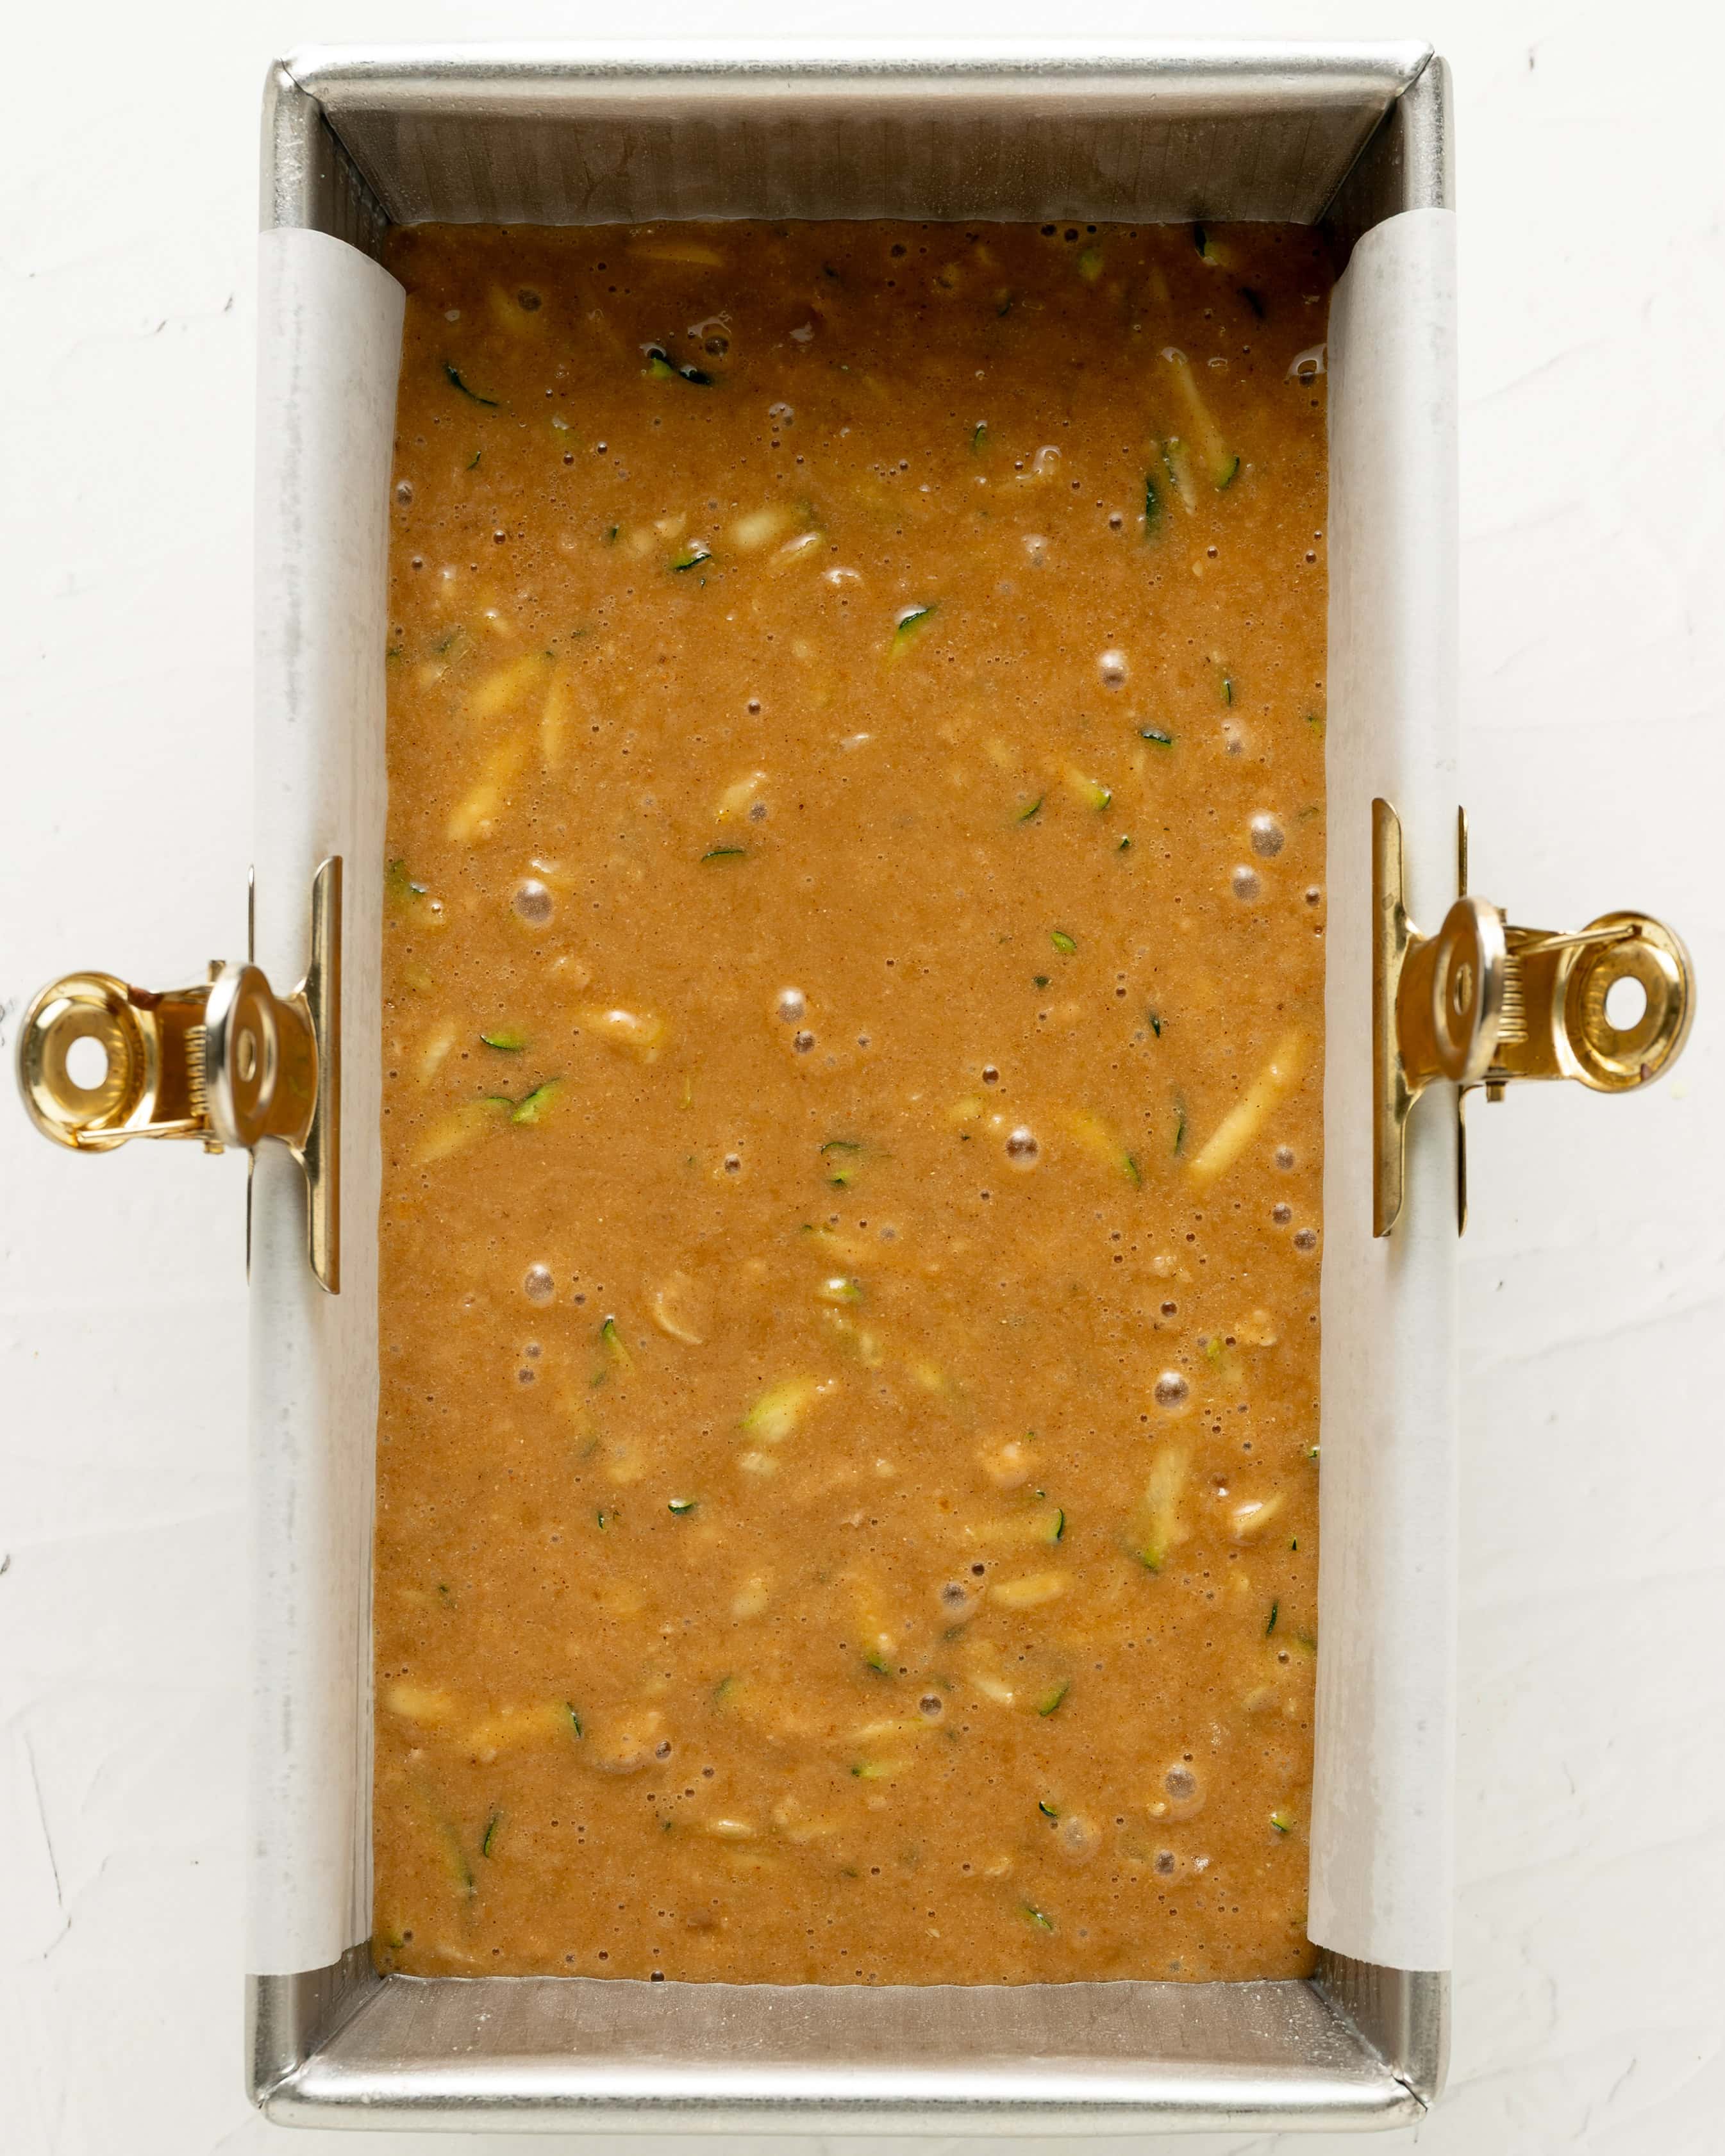
- Step 5: Pour the batter into a 9x5-inch prepared loaf pan. Let the batter rest for 20 minutes.
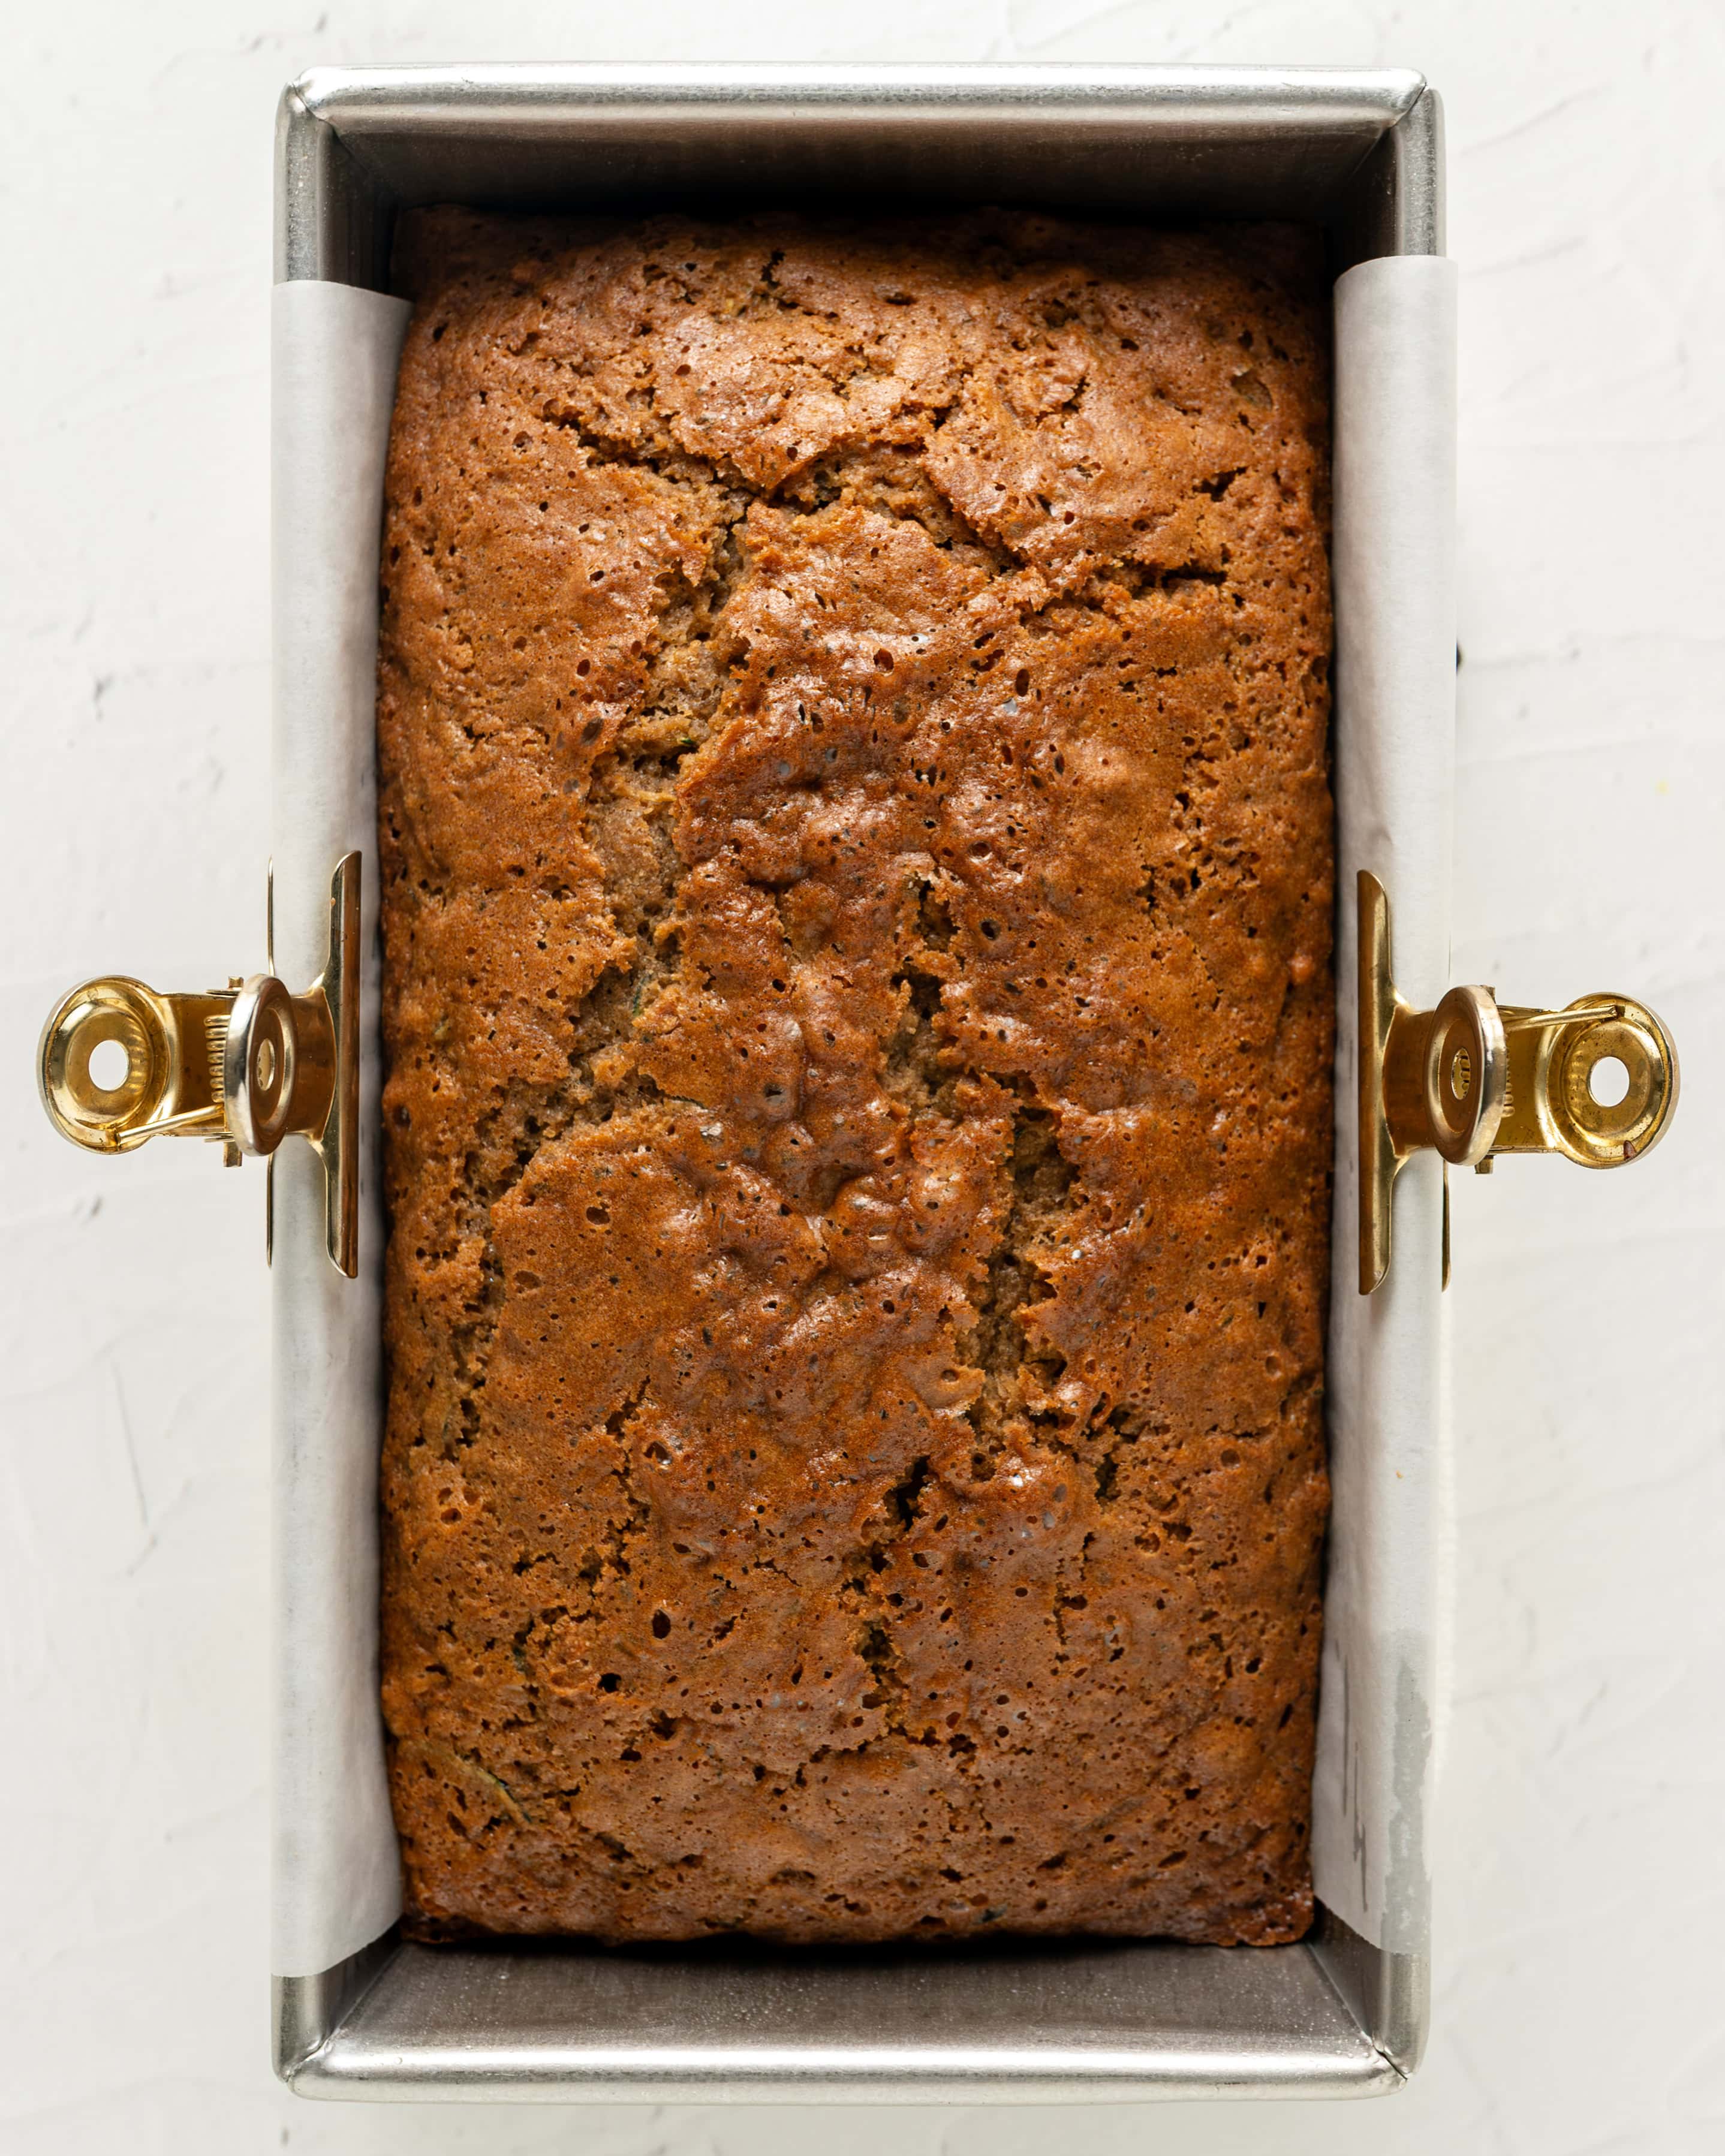
- Step 6: Bake at 325°F for 50-60 minutes, or when the center registers 200–205°F (93–96°C) with no wet batter remaining.
Behind the Recipe: How 10 Test Loaves Led to the Perfect Crumb
Testing this gluten-free zucchini bread recipe was a true labor of love—it took at least ten loaves to get every single detail right.
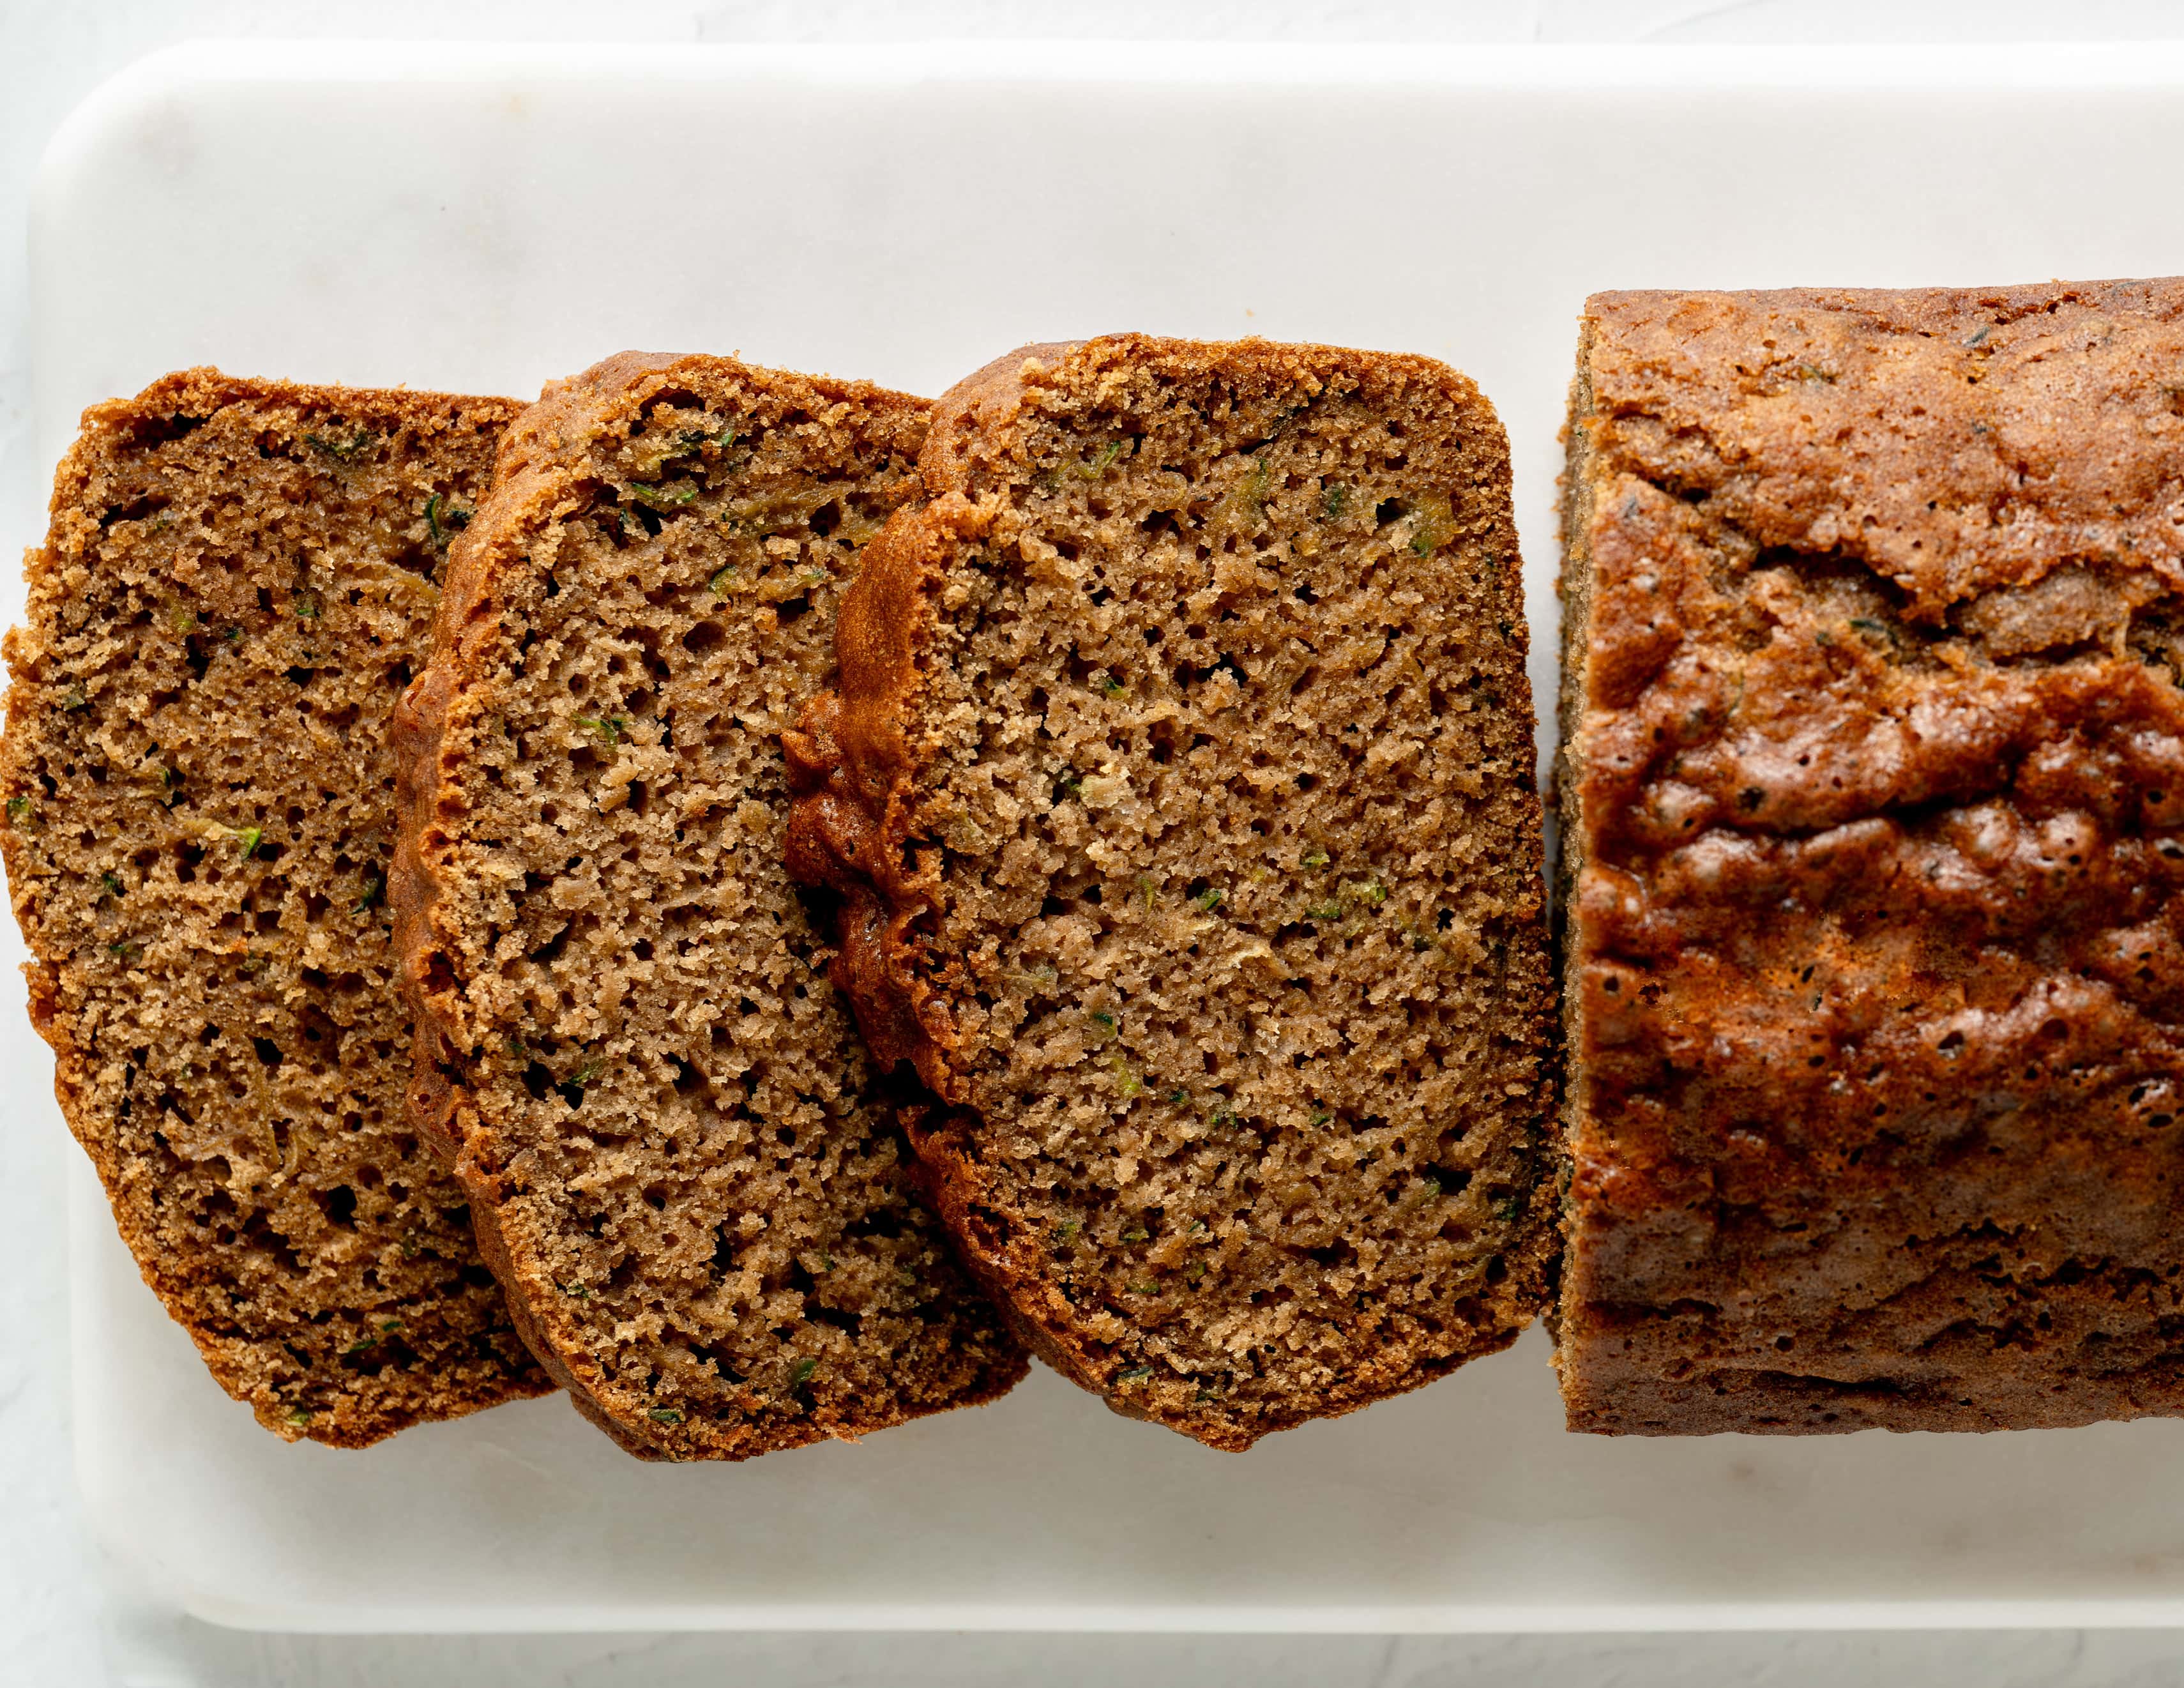
Here is how those rounds of testing brought this loaf to life:
- Swapping Honey for Cane Sugar: I originally set out to make this bread with a combination of honey and brown sugar, which inspired the lower 325°F bake temperature since honey burns easily. However, no matter what I tried, the honey consistently gave the crust a dark, bitter flavor. Even after dropping the honey in favor of sugar, I kept the 325°F temperature—baking low and slow gave the loaf a far superior rise and a gorgeous, golden-brown crust.
- Dialing in the Sugar: I tested this recipe with all dark brown sugar and a mix of brown and cane sugars. Using strictly brown sugar made the loaf a bit too moist. Pairing dark brown sugar with granulated cane sugar struck the perfect balance: the brown sugar brings deep caramel notes and moisture, while the cane sugar helps tighten the crumb and absorb excess liquid. I almost settled on ¾ cup total to keep the sweetness low, but a full cup won out for structure, texture, and flavor. Reducing the sugar isn't recommended!
- Mastering the Moisture (No Squeezing): Because I was determined to skip wringing out the zucchini, balancing the wet-to-dry ratios was critical. Even after tuning the flour mixture, the bread was slightly too crumbly and overly soft when sliced. Instead of giving up and squeezing the zucchini, I added a third egg. It provided just enough binding structure to yield a tight, stable crumb.
- Adjusting the Olive Oil: Cutting the olive oil back from ½ cup to just 6 tablespoons gave the bread rich moisture without leaving any oily residue on day two.
- Perfecting the Flavor: Zucchini bread shouldn't taste like pumpkin bread—the zucchini itself should still shine. I kept the warm spices light and balanced, then boosted the overall profile with vanilla extract for depth. Coincidentally, adding a splash of lemon juice not only brightens up the entire flavor profile, but it also helps activate the baking soda for a better rise. (Feel free to dial up the spices if you prefer a bolder kick!)
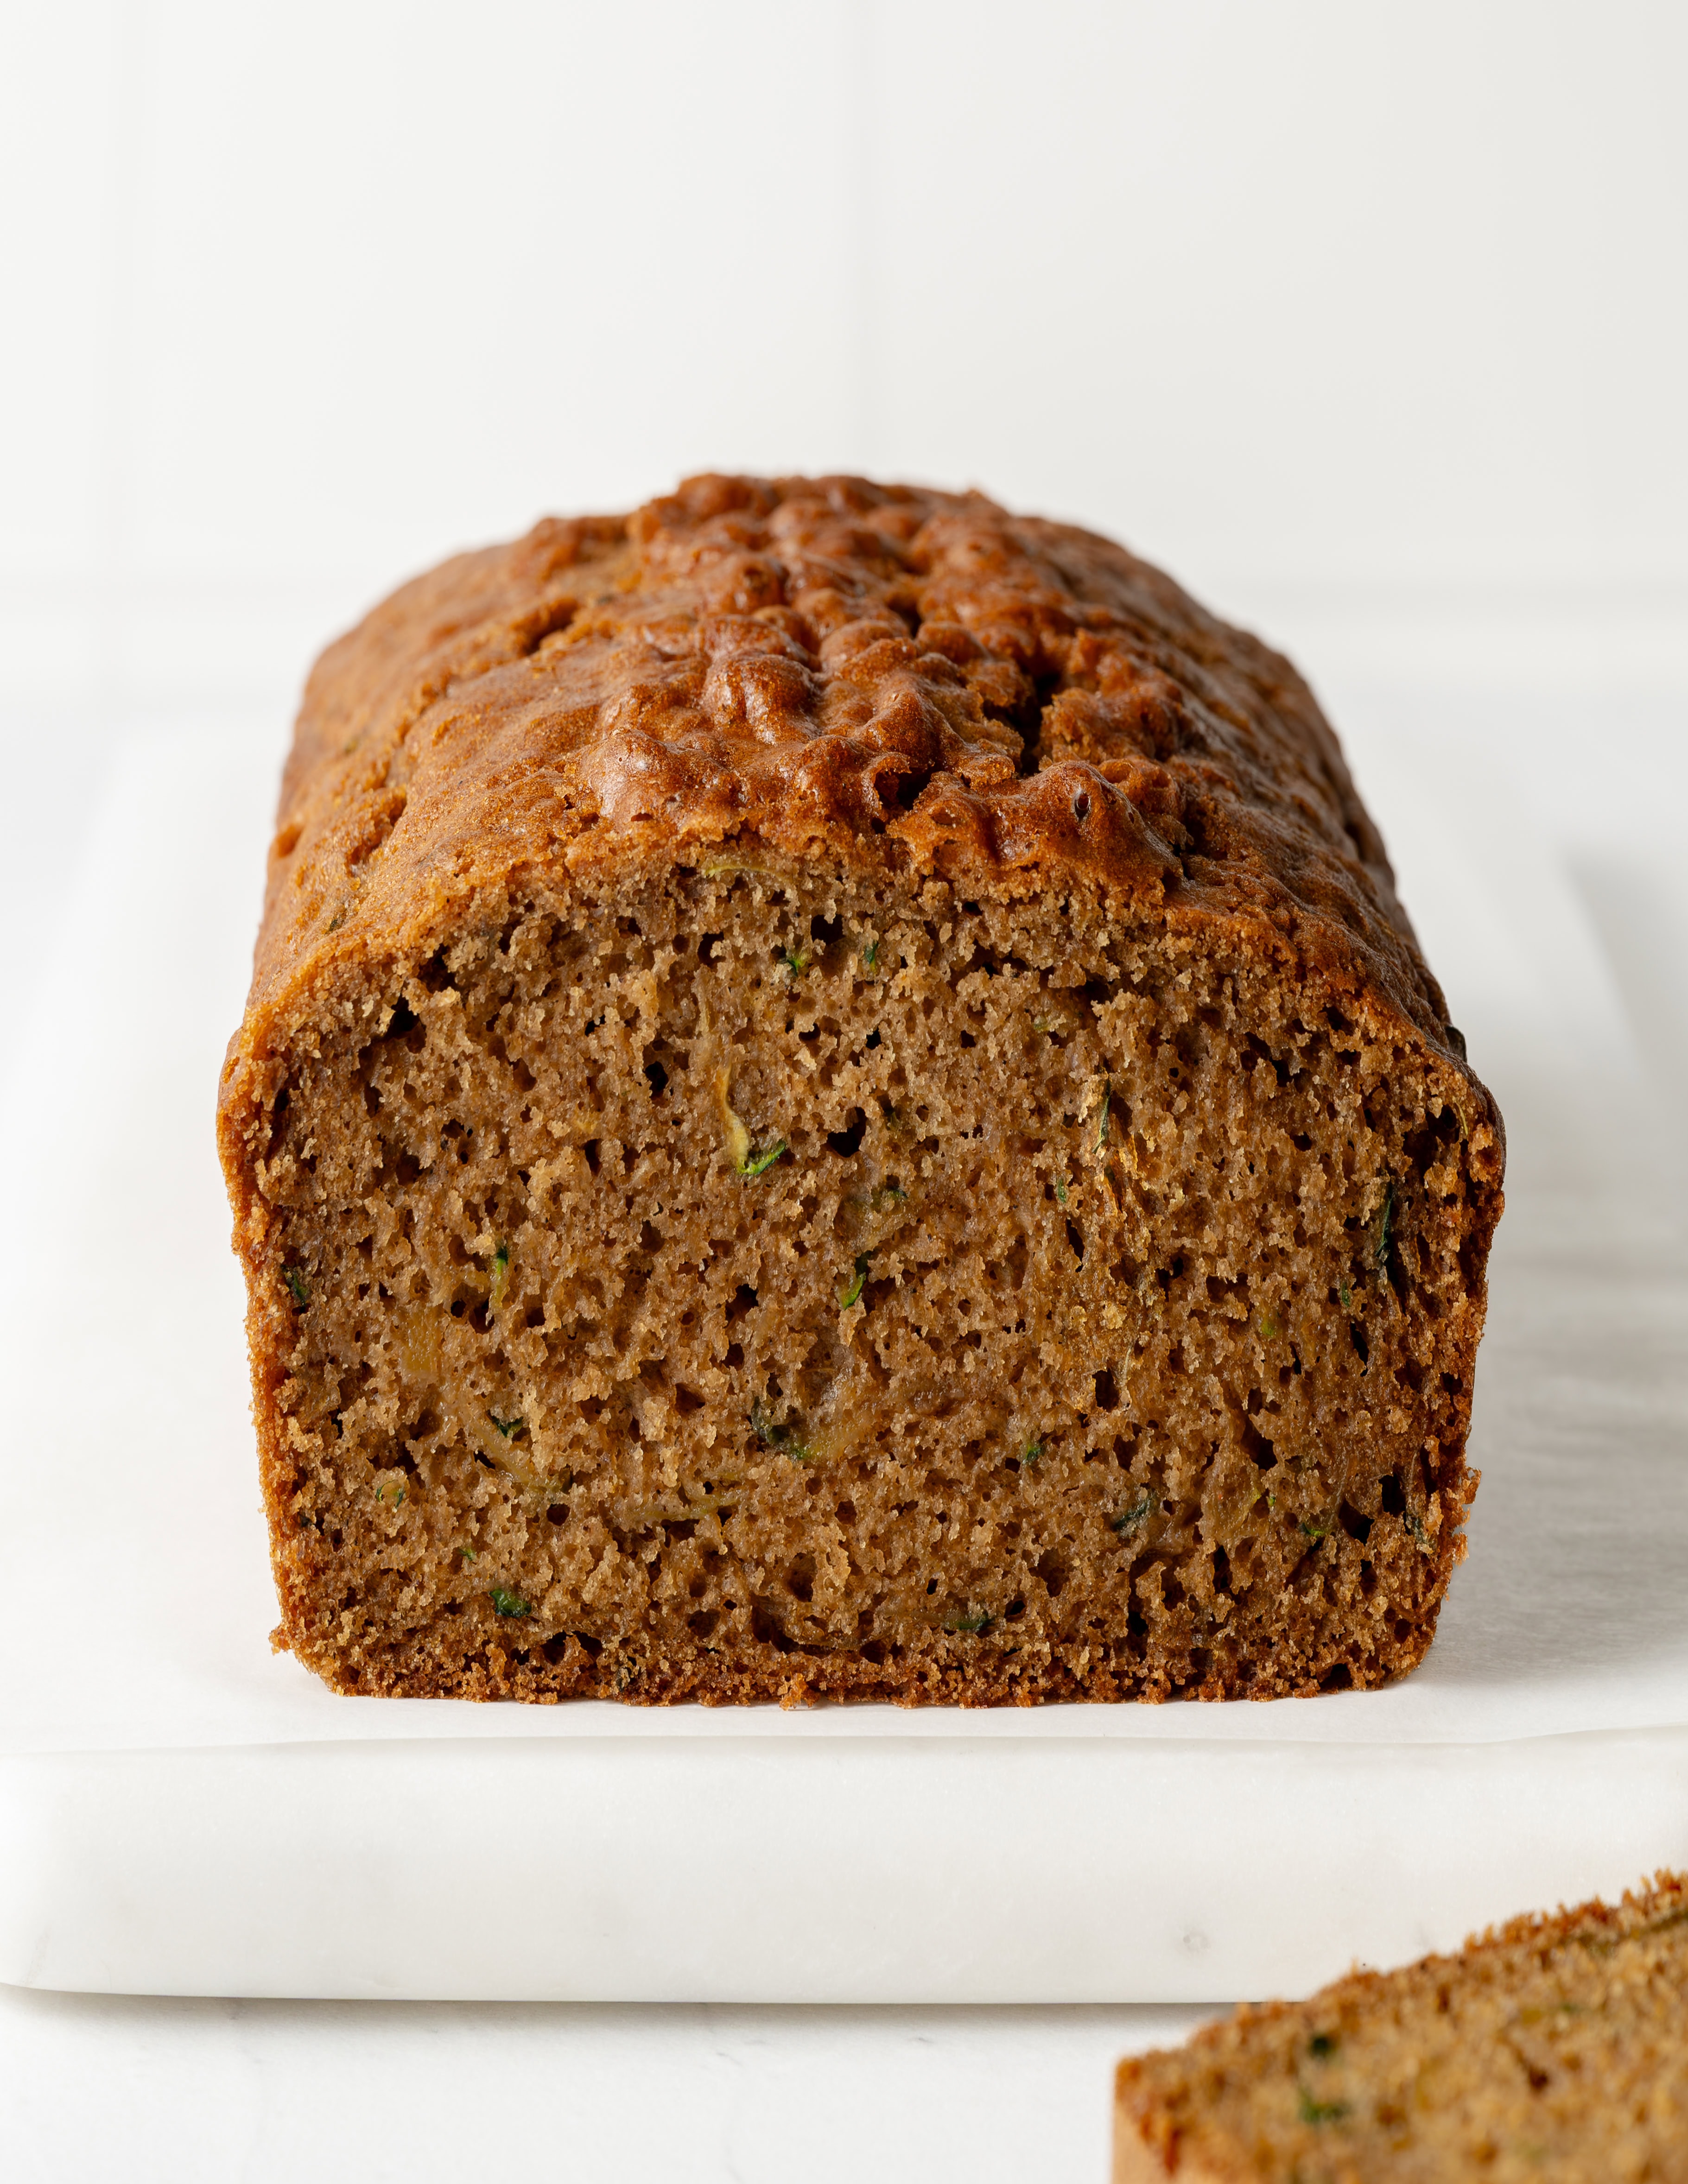
Storage Instructions
- Room Temperature: Keep the loaf wrapped tightly in plastic wrap or foil on the counter for 3 to 4 days. Because of its natural moisture, storing it sealed at room temperature keeps the crumb incredibly tender.
- Freezing: Wrap the entire loaf (or individual slices) tightly in a double layer of plastic wrap and foil, then place it inside a freezer-safe storage bag for up to 3 months.
- Thawing: When ready to enjoy, bring the whole loaf or individual slices out to thaw on the counter until fully soft.
Frequently Asked Questions
Yes, you can! This recipe works wonderfully in a non-stick 8-cavity mini loaf pan. Bake the mini loaves at 325°F (165°C) for about 25 minutes. Because mini loaf pans vary in size and material, rely on an instant-read thermometer rather than time alone—they are done when the center registers 200–205°F (93–96°C) with no wet batter remaining.
Yes! You can add up to 120 grams (about ¾ cup) of your favorite mix-ins. Chopped dates, toasted walnuts, raisins, or chocolate chips all work wonderfully in this batter. For the best distribution, fold them gently into the batter right at the end after adding the dry ingredients.
More Gluten-Free Quick Breads
I hope you love this gluten-free zucchini bread recipe as much as I do! If you make it, I’d love to hear how it turned out in the comment box below. Your review will help other readers in the community.
Recipe
Gluten-Free Zucchini Bread (Dairy-Free)
Ingredients
Dry Ingredients
- 1 ¾ cups + 2 tablespoons (255g) Bob's Red Mill 1-to-1 Gluten-Free Baking Flour
- 1 teaspoon baking powder
- 1 teaspoon baking soda
- ¾ teaspoon salt
- 2 teaspoons cinnamon
- ½ teaspoon nutmeg
Wet Ingredients
- 3 large eggs, room temperature
- ¾ cup (150g) dark brown sugar
- ¼ cup (50g) granulated cane sugar
- 6 tablespoons (90ml) Extra-virgin olive oil
- 2 teaspoons (10ml) lemon juice
- 2 teaspoons vanilla extract
- 1 ½ cups (180g) coarsely grated zucchini (no need to squeeze out the extra liquid)
Instructions
- Prep Pan & Dry Mixture: Preheat your oven to 325°F (163°C). Lightly grease and line a 9x5-inch loaf pan with parchment paper, leaving an overhang for easy removal. In a medium bowl, whisk together the gluten-free flour, baking powder, baking soda, salt, cinnamon, and nutmeg.
- Grate the Zucchini: Coarsely grate the fresh zucchini using the large holes of a box grater. Do not squeeze, blot, or strain out the moisture—you need all 180 grams of that natural hydration.
- Mix Wet Ingredients & Zucchini: In a large bowl, vigorously whisk the 3 eggs, dark brown sugar, granulated cane sugar, olive oil, vanilla extract, and lemon juice until the mixture is completely smooth and emulsified. Whisk in the unsqueezed zucchini until evenly distributed.
- Combine Wet & Dry: Add the dry ingredients to the wet mixture. Use a rubber spatula to gently fold everything together until a smooth, fairly runny batter forms with no flour pockets remaining.
- Pour & Rest: Pour the batter into your prepared loaf pan and smooth the top. Let the batter rest undisturbed at room temperature for 20 minutes to allow the gluten-free flours to fully hydrate.
- Bake: Bake uncovered at 325°F (163°C) for 50 to 60 minutes (my oven takes 55 minutes). Insert an instant-read thermometer into the exact center of the loaf—it should read between 200–205°F (93–96°C) to ensure the interior starches are fully set.
- Cool: Rest the bread in the pan for 10 minutes, then transfer it to a wire rack. Cool completely at room temperature for at least 3 hours before slicing or wrapping to allow the crumb structure to lock in.
Notes
- Measure by Weight: Use a digital scale for accuracy. Gluten-free flours pack differently in measuring cups, and precise gram weights guarantee the correct wet-to-dry balance.
- Do Not Blot the Zucchini: Leave the shredded zucchini unsqueezed. All 180 grams of its natural moisture are required to properly hydrate the batter.
- Cool Fully Before Slicing: Wait at least 3 hours before cutting. Warm gluten-free bread will turn gummy and fall apart, as the starches need time to fully set at room temperature.

Amy says
This recipe is really good. Letting the batter rest really makes the texture so much better! Can you make this into muffins? Just want to take this to my daughter and muffins would be so much more convenient. Thanks for the great recipe!
Rebecca Taig says
Hi Amy! Thank you so much for leaving a review. I'm so glad you enjoyed this gluten-free zucchini bread!
I haven't made this as muffins yet (only mini loaves), but if you'd like to try, here is what I’d suggest: Fill a 12-count lined or greased muffin pan to the top. Bake at 425°F for 5 minutes, then turn the temperature down to 350°F and bake for another 15 to 20 minutes (or until a toothpick inserted in the center comes out clean). Let the muffins cool in the pan for 5 minutes, then transfer to a wire rack to cool completely.
Let us know how they turn out if you give it a try!