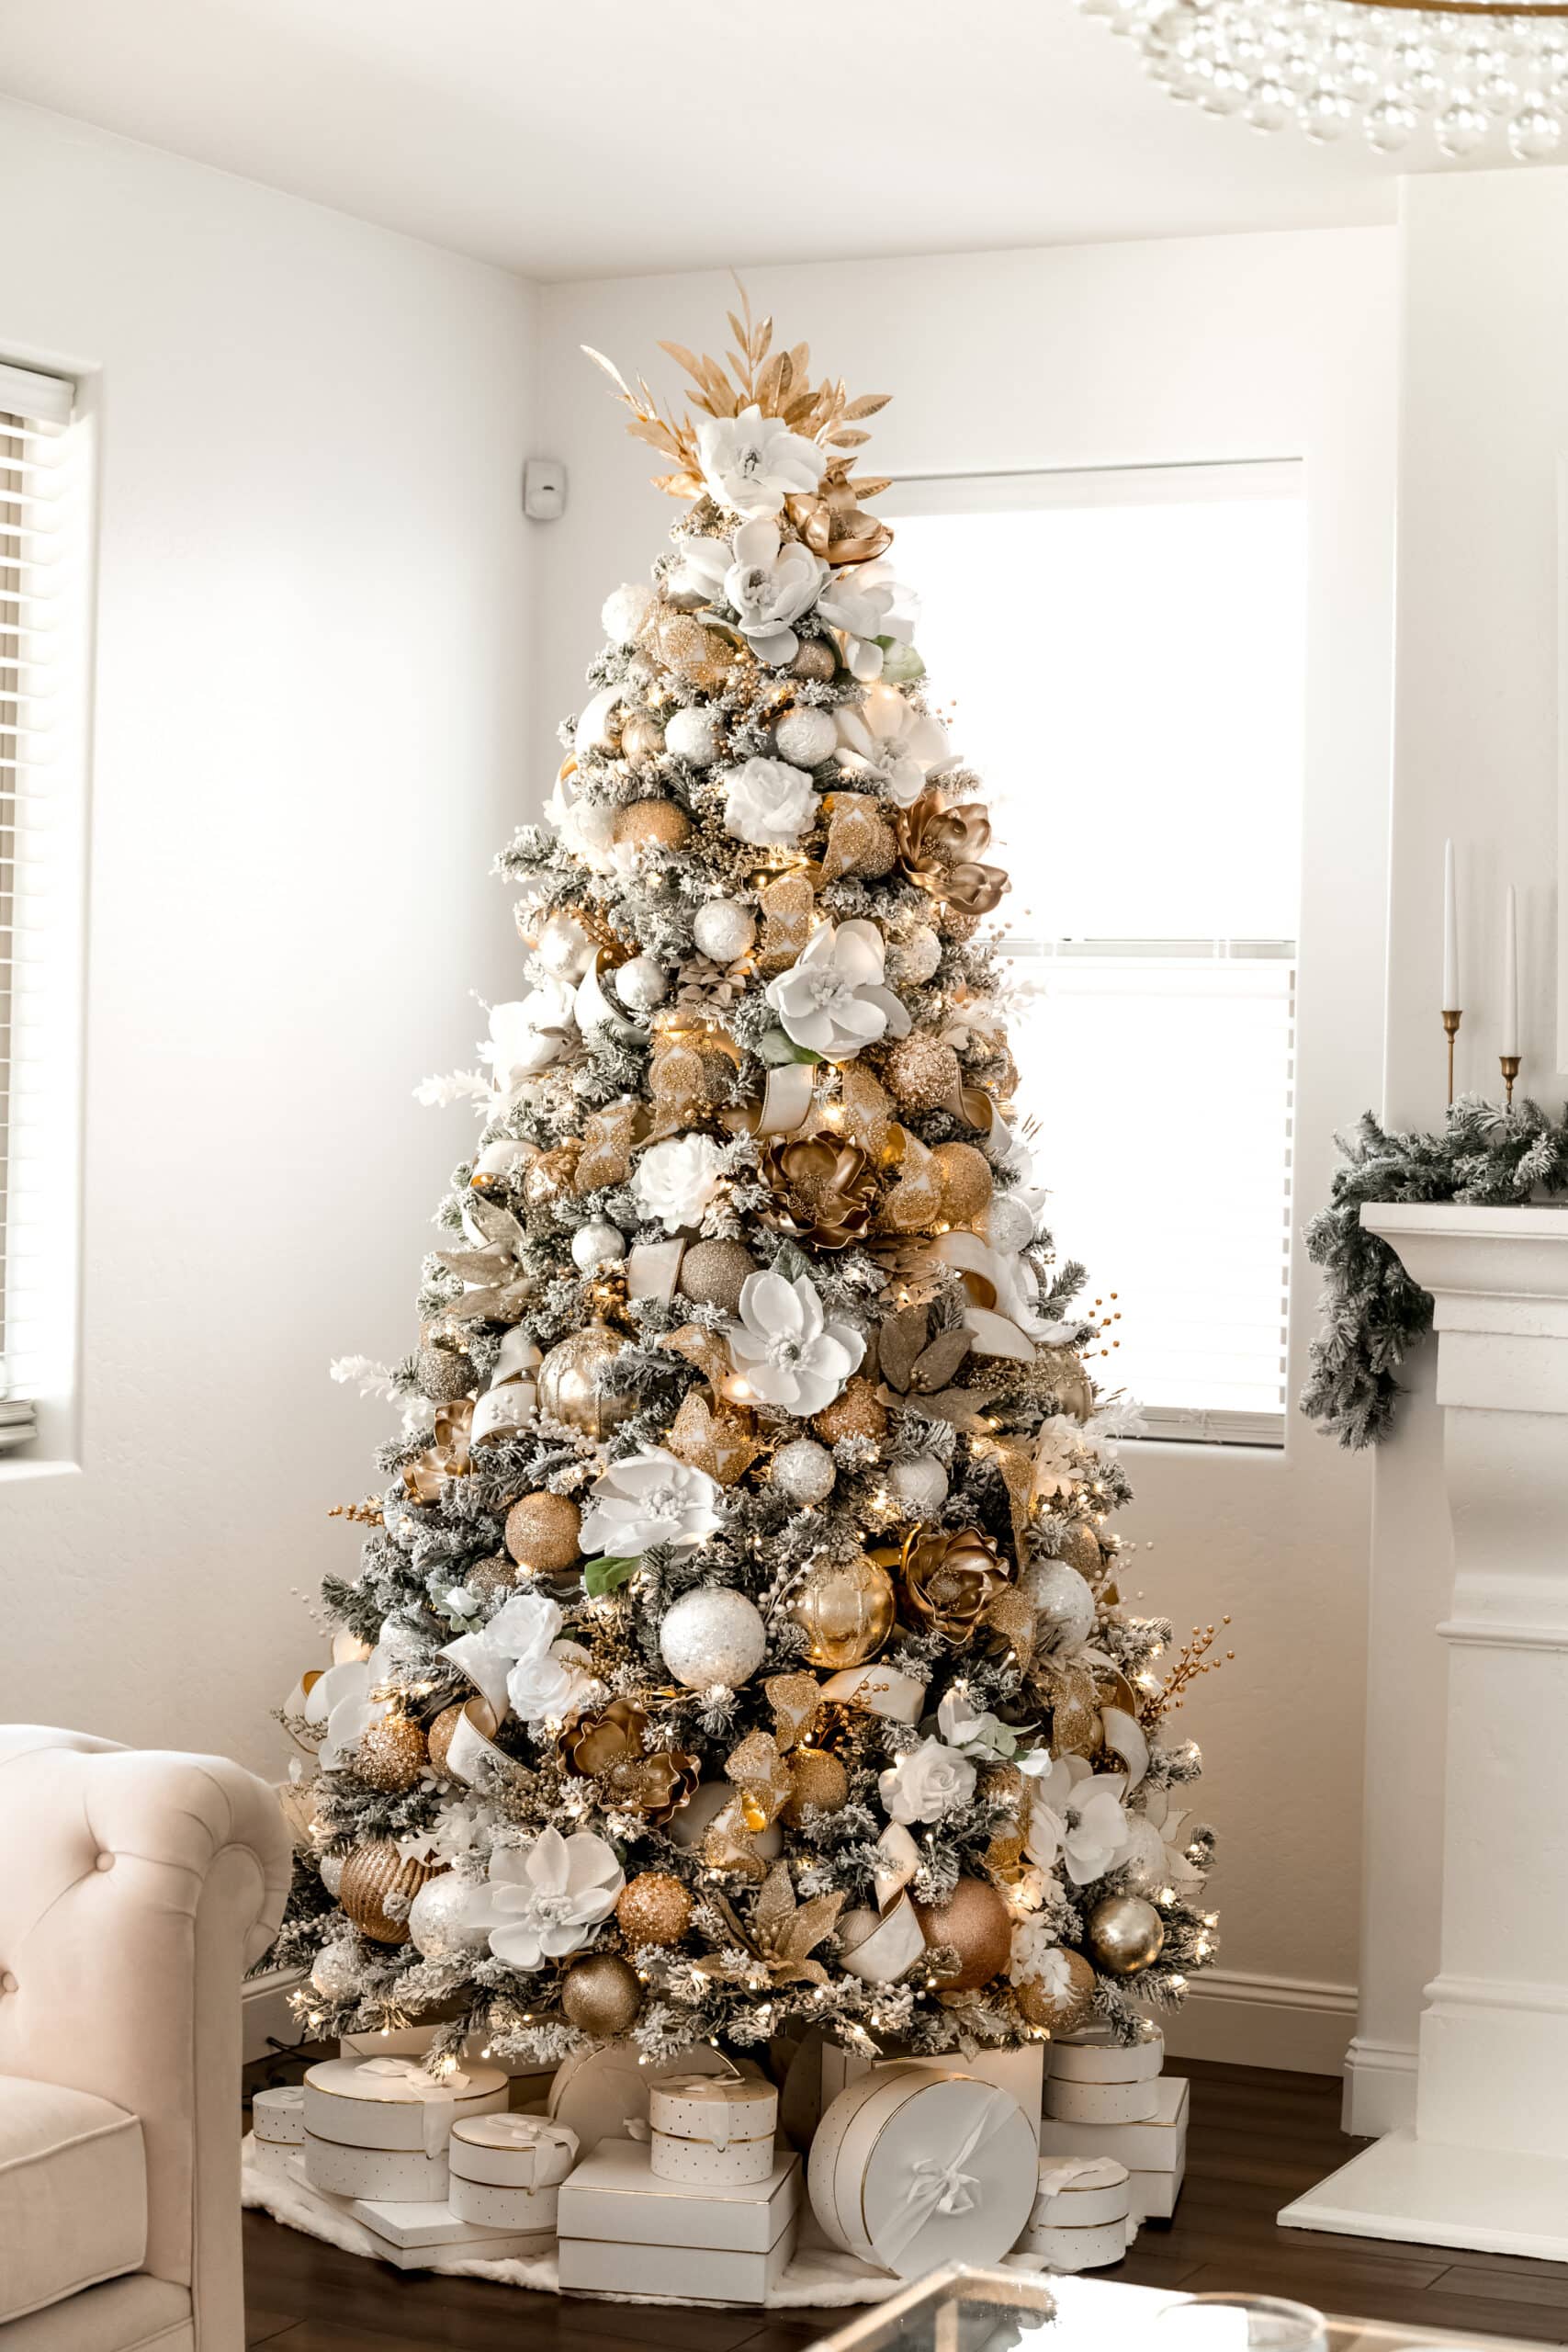
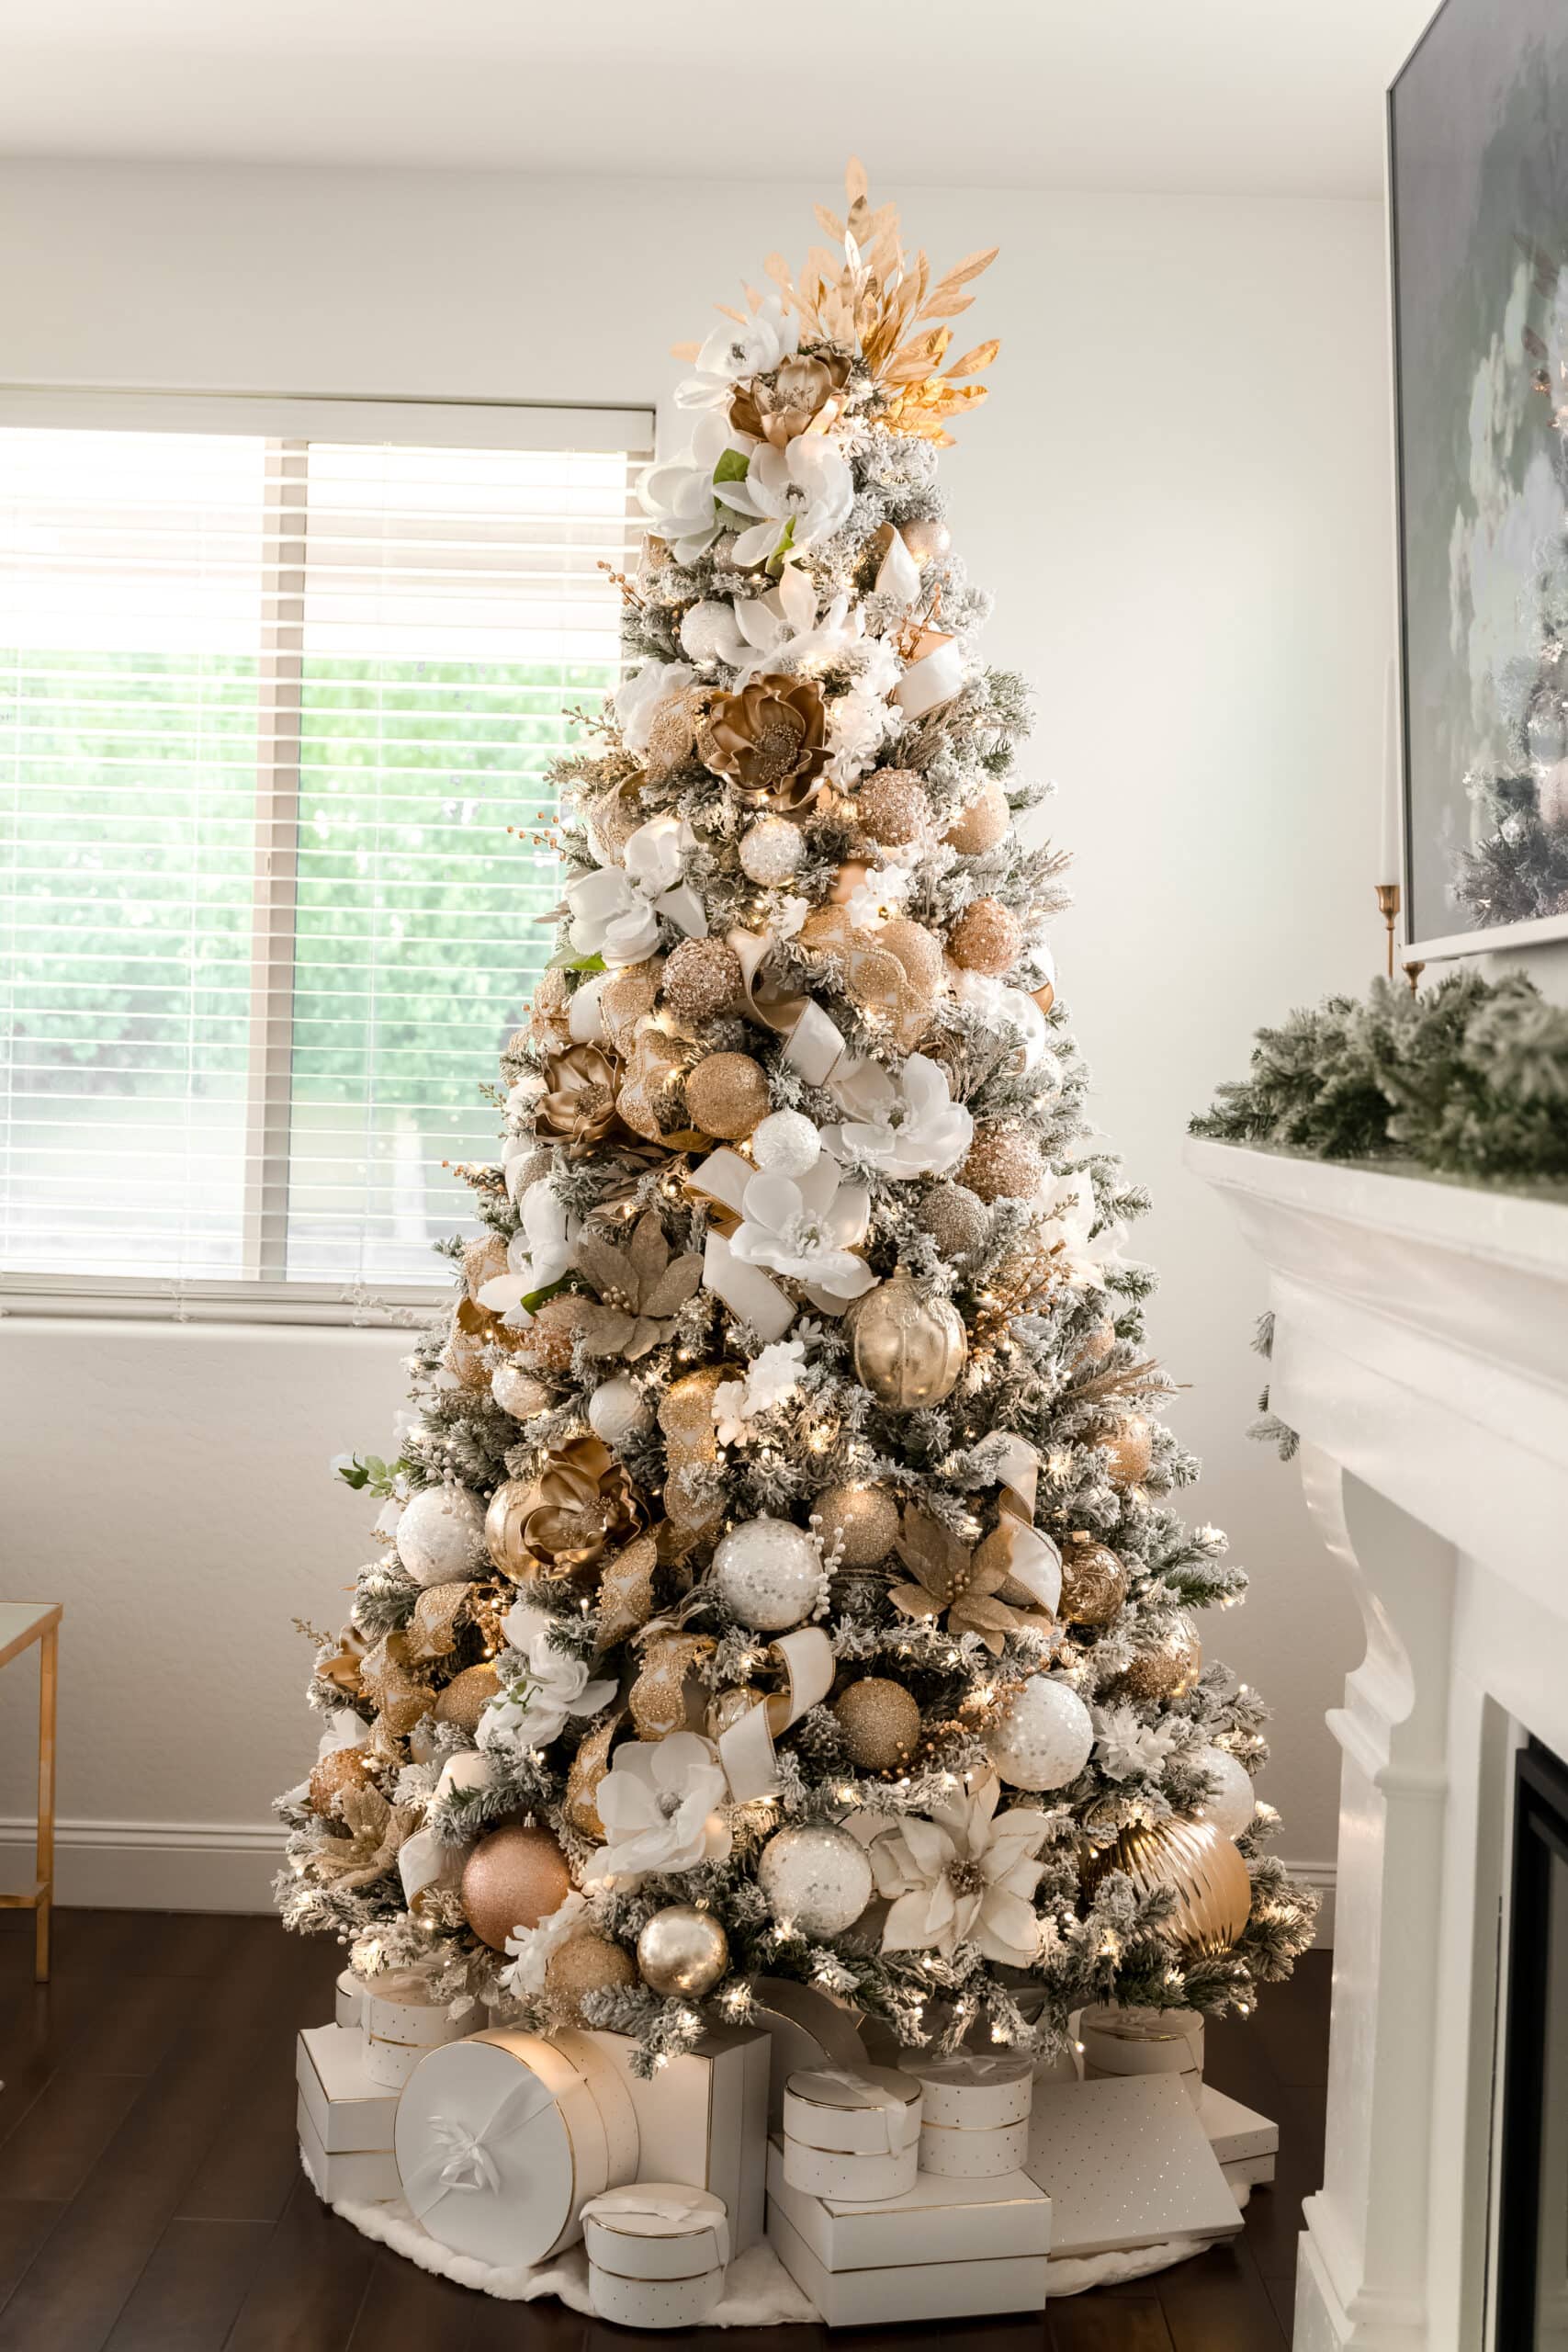
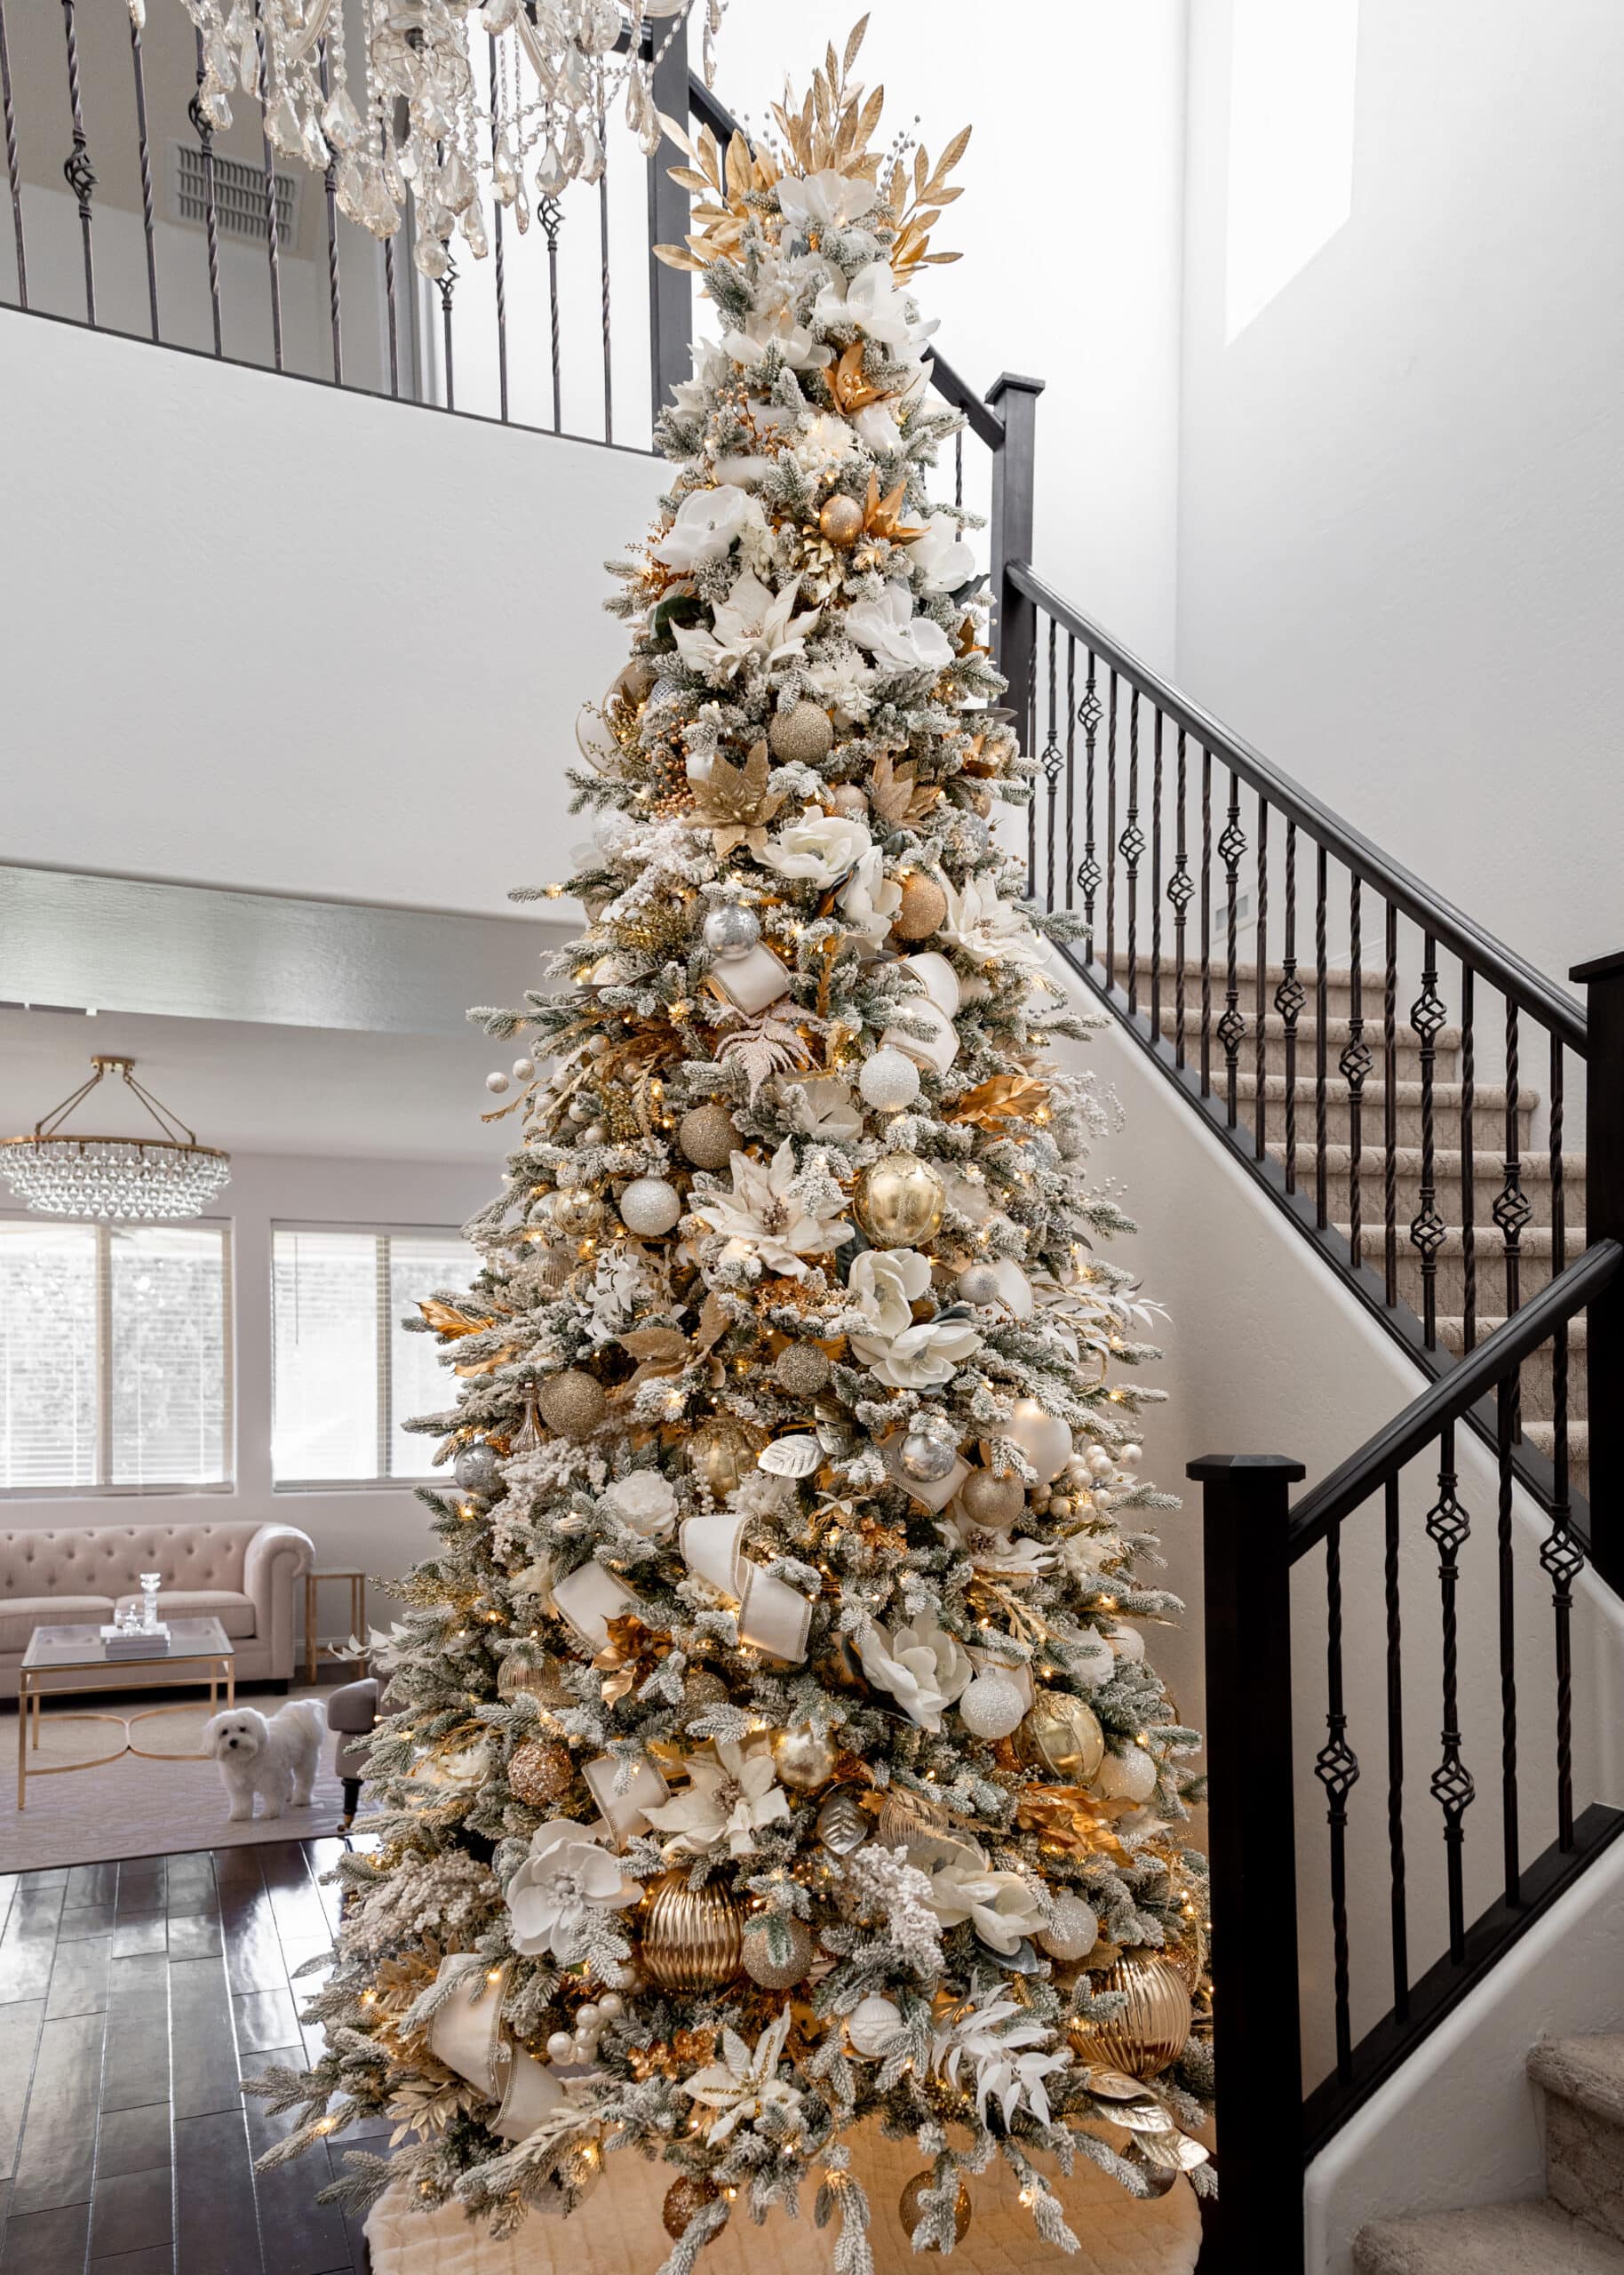
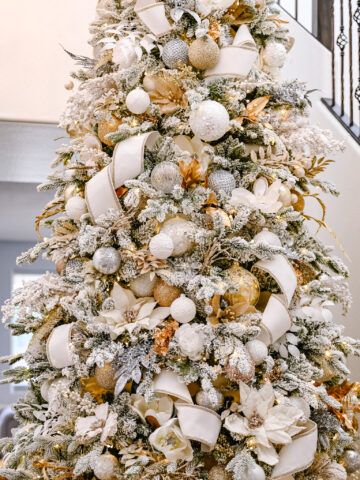
Today I am sharing how I decorated our Elegant White and Gold Christmas Tree. Included in this post is a Christmas tree ornament, ribbon, and pick calculator to help easily guide you while decorating your own tree, just like a pro.
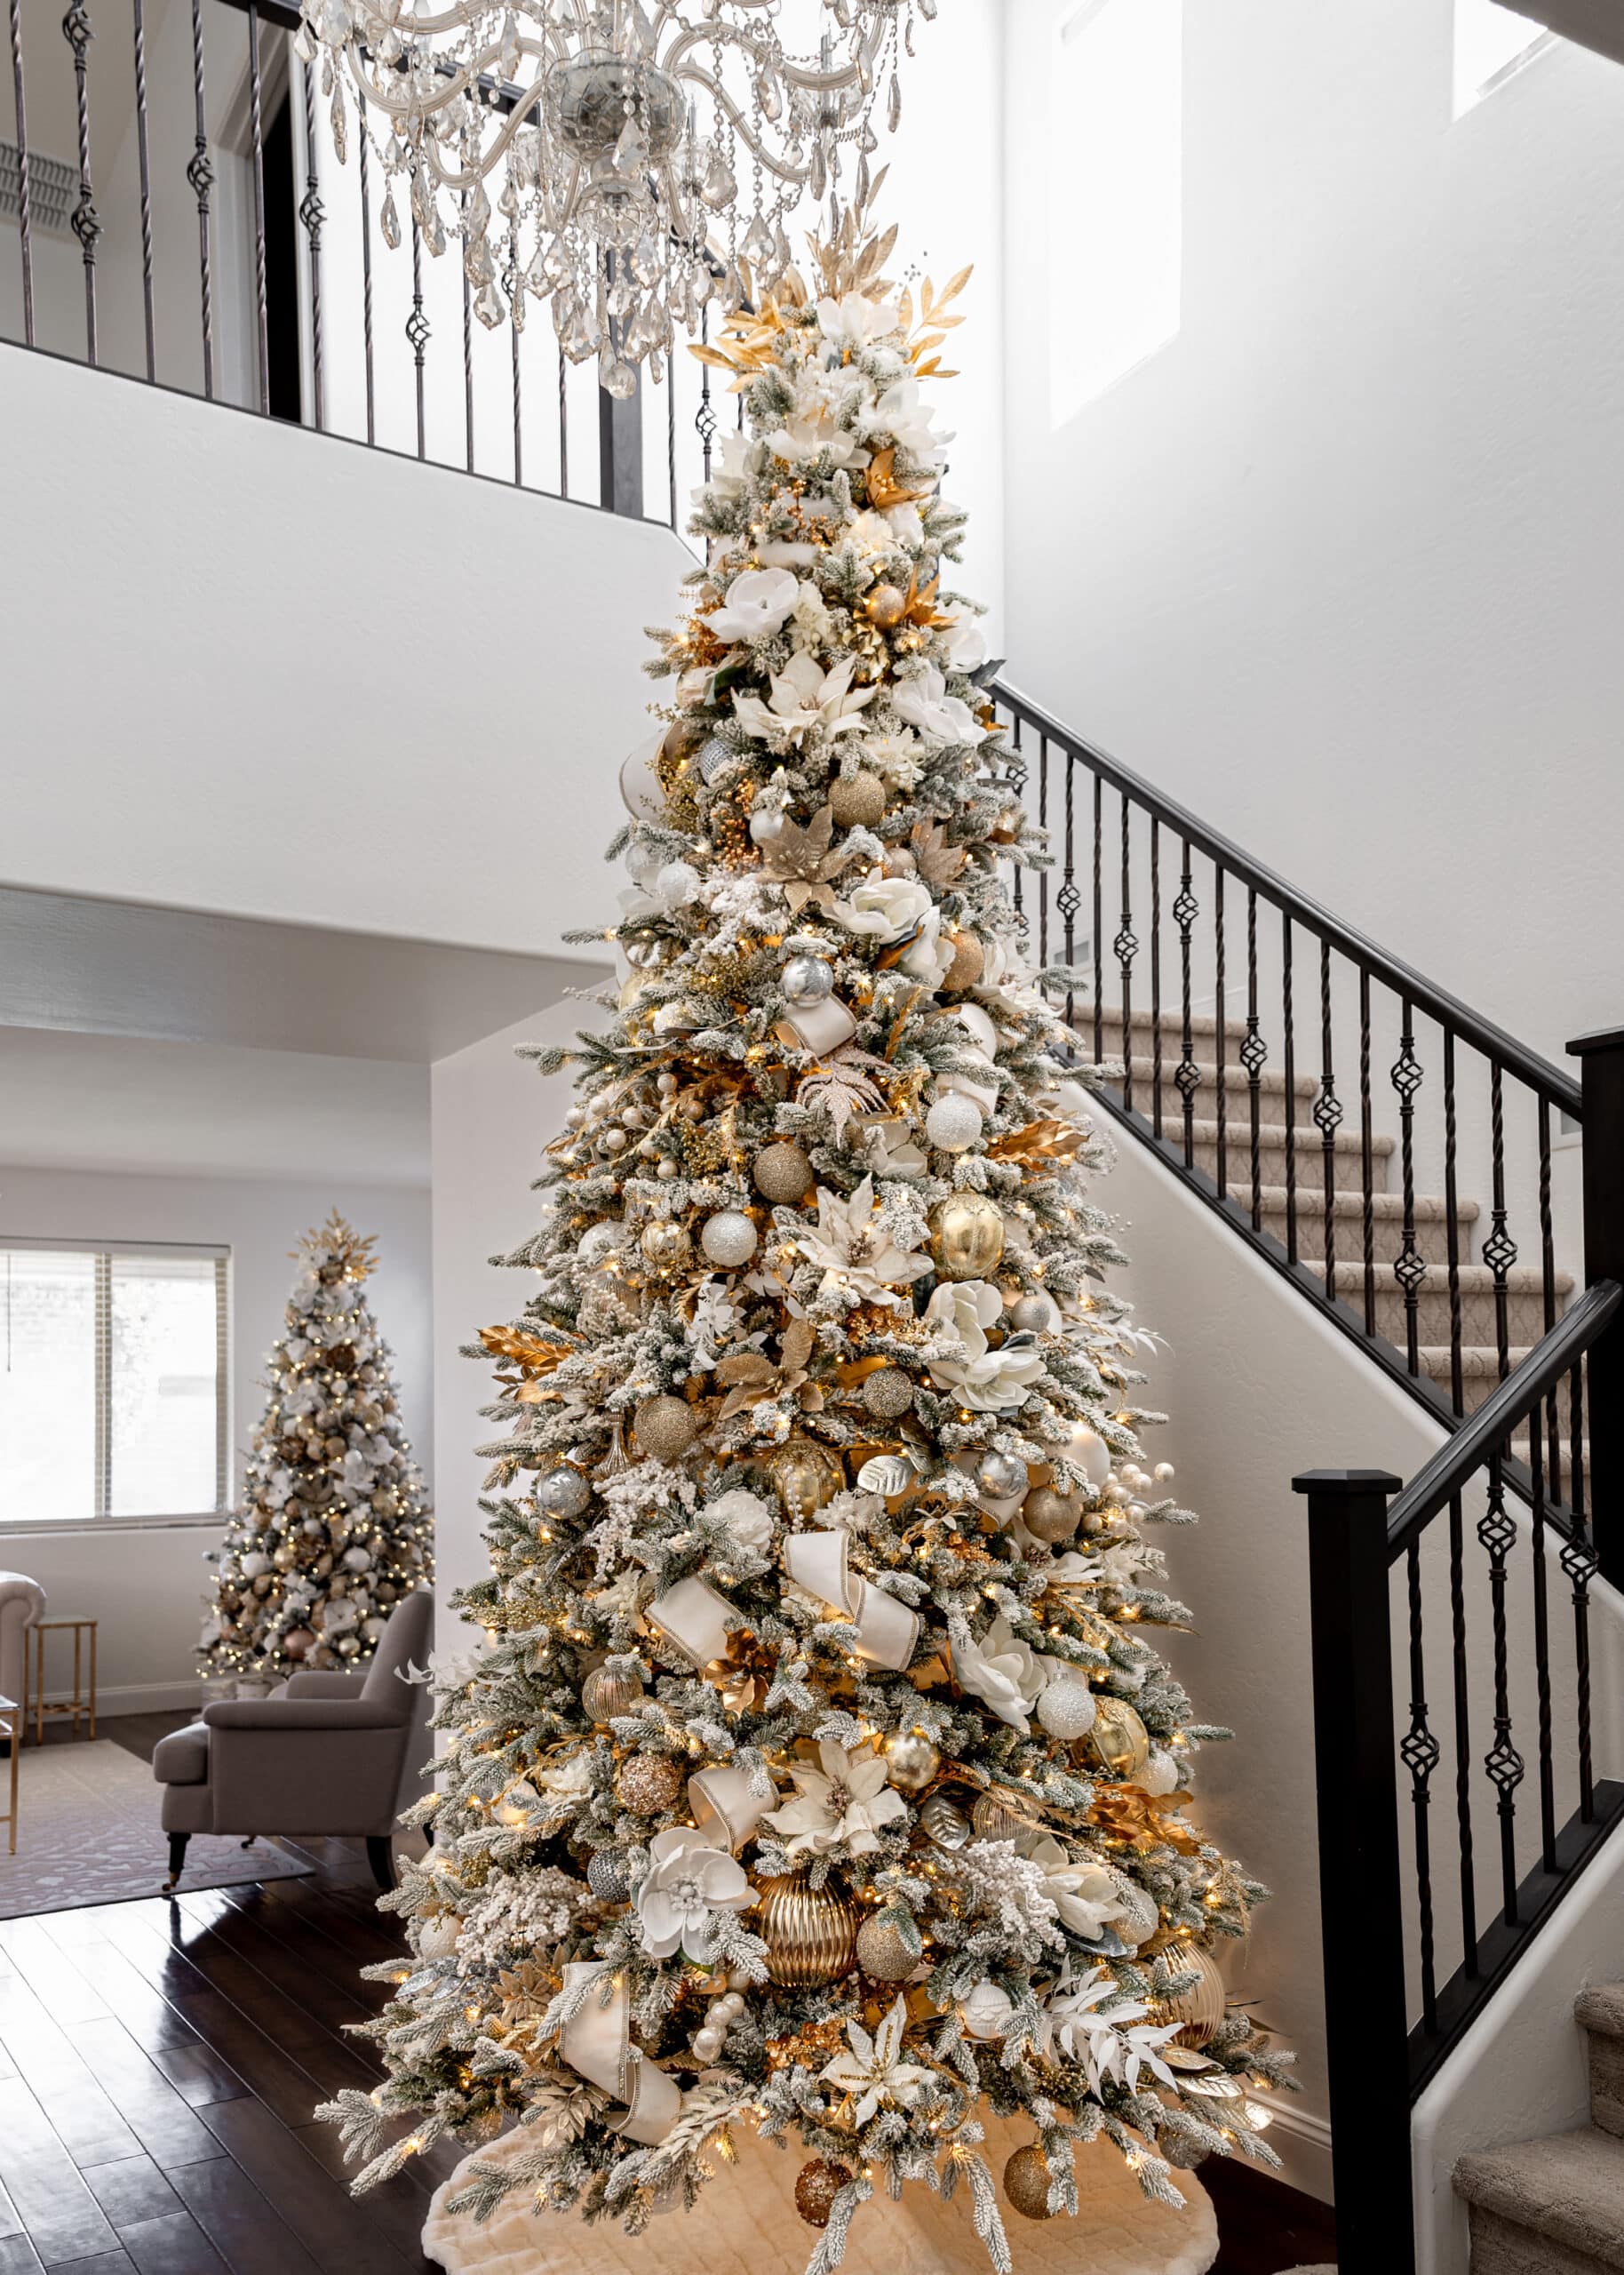
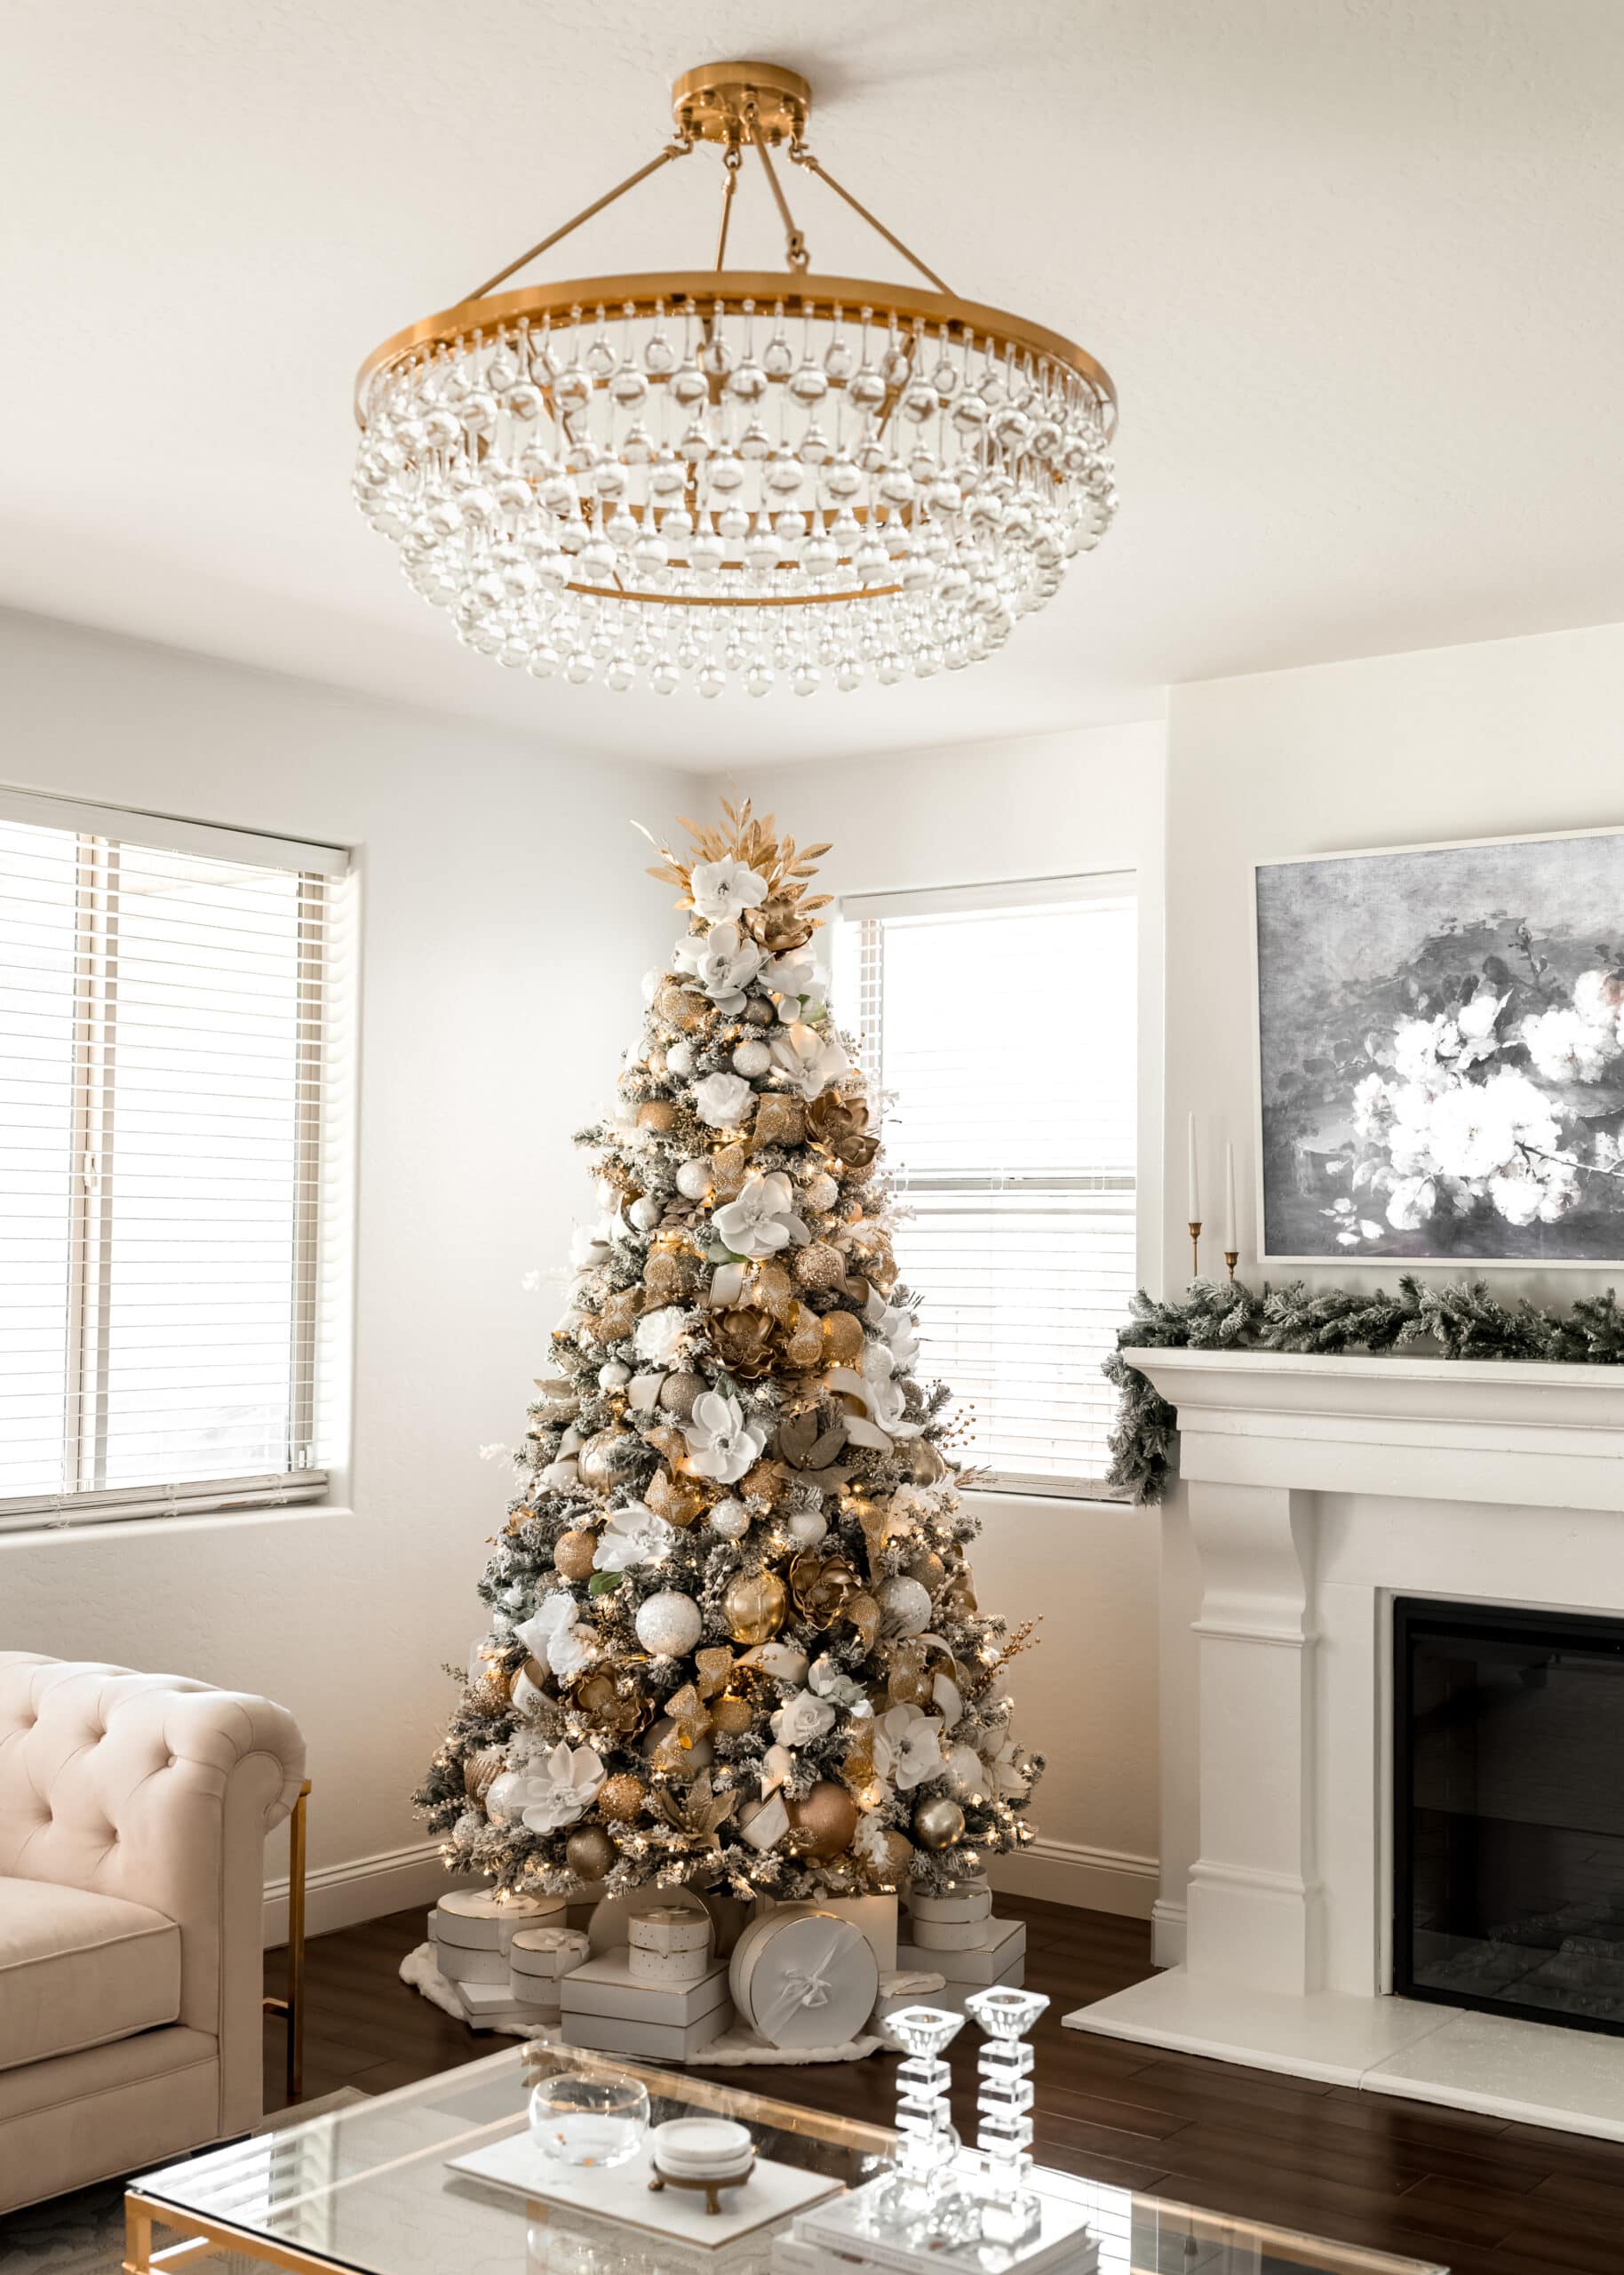
Christmas is my favorite time of year and there's nothing I look forward to more than decorating the tree. This is our first Christmas in our new home with vaulted ceilings in the foyer, making it the perfect place for our show-stopping 12-foot tree. I stuck to my favorite neutral color scheme, white and gold, which pairs lovely with the rest of our home decor. This tree is filled with elegant and timeless ornaments to use for years to come.
O Christmas tree, O Christmas tree, Such pleasure do you bring me.
Decorating a tree of this stature can seem intimidating, but below I have listed several guides to help bring your vision to life. You can use these guides for years to come, making decorating your tree effortless! In this post, I will teach how to decorate both a grand-sized Christmas tree and a standard-size Christmas tree.
For more Christmas Tree Decorating Ideas, check out my My Glamorous White Gold and Silver Christmas Tree post and my Decorating an Elegant Red, Gold, and White Christmas Tree post.
Jump to:
Selecting the Perfect Christmas Tree
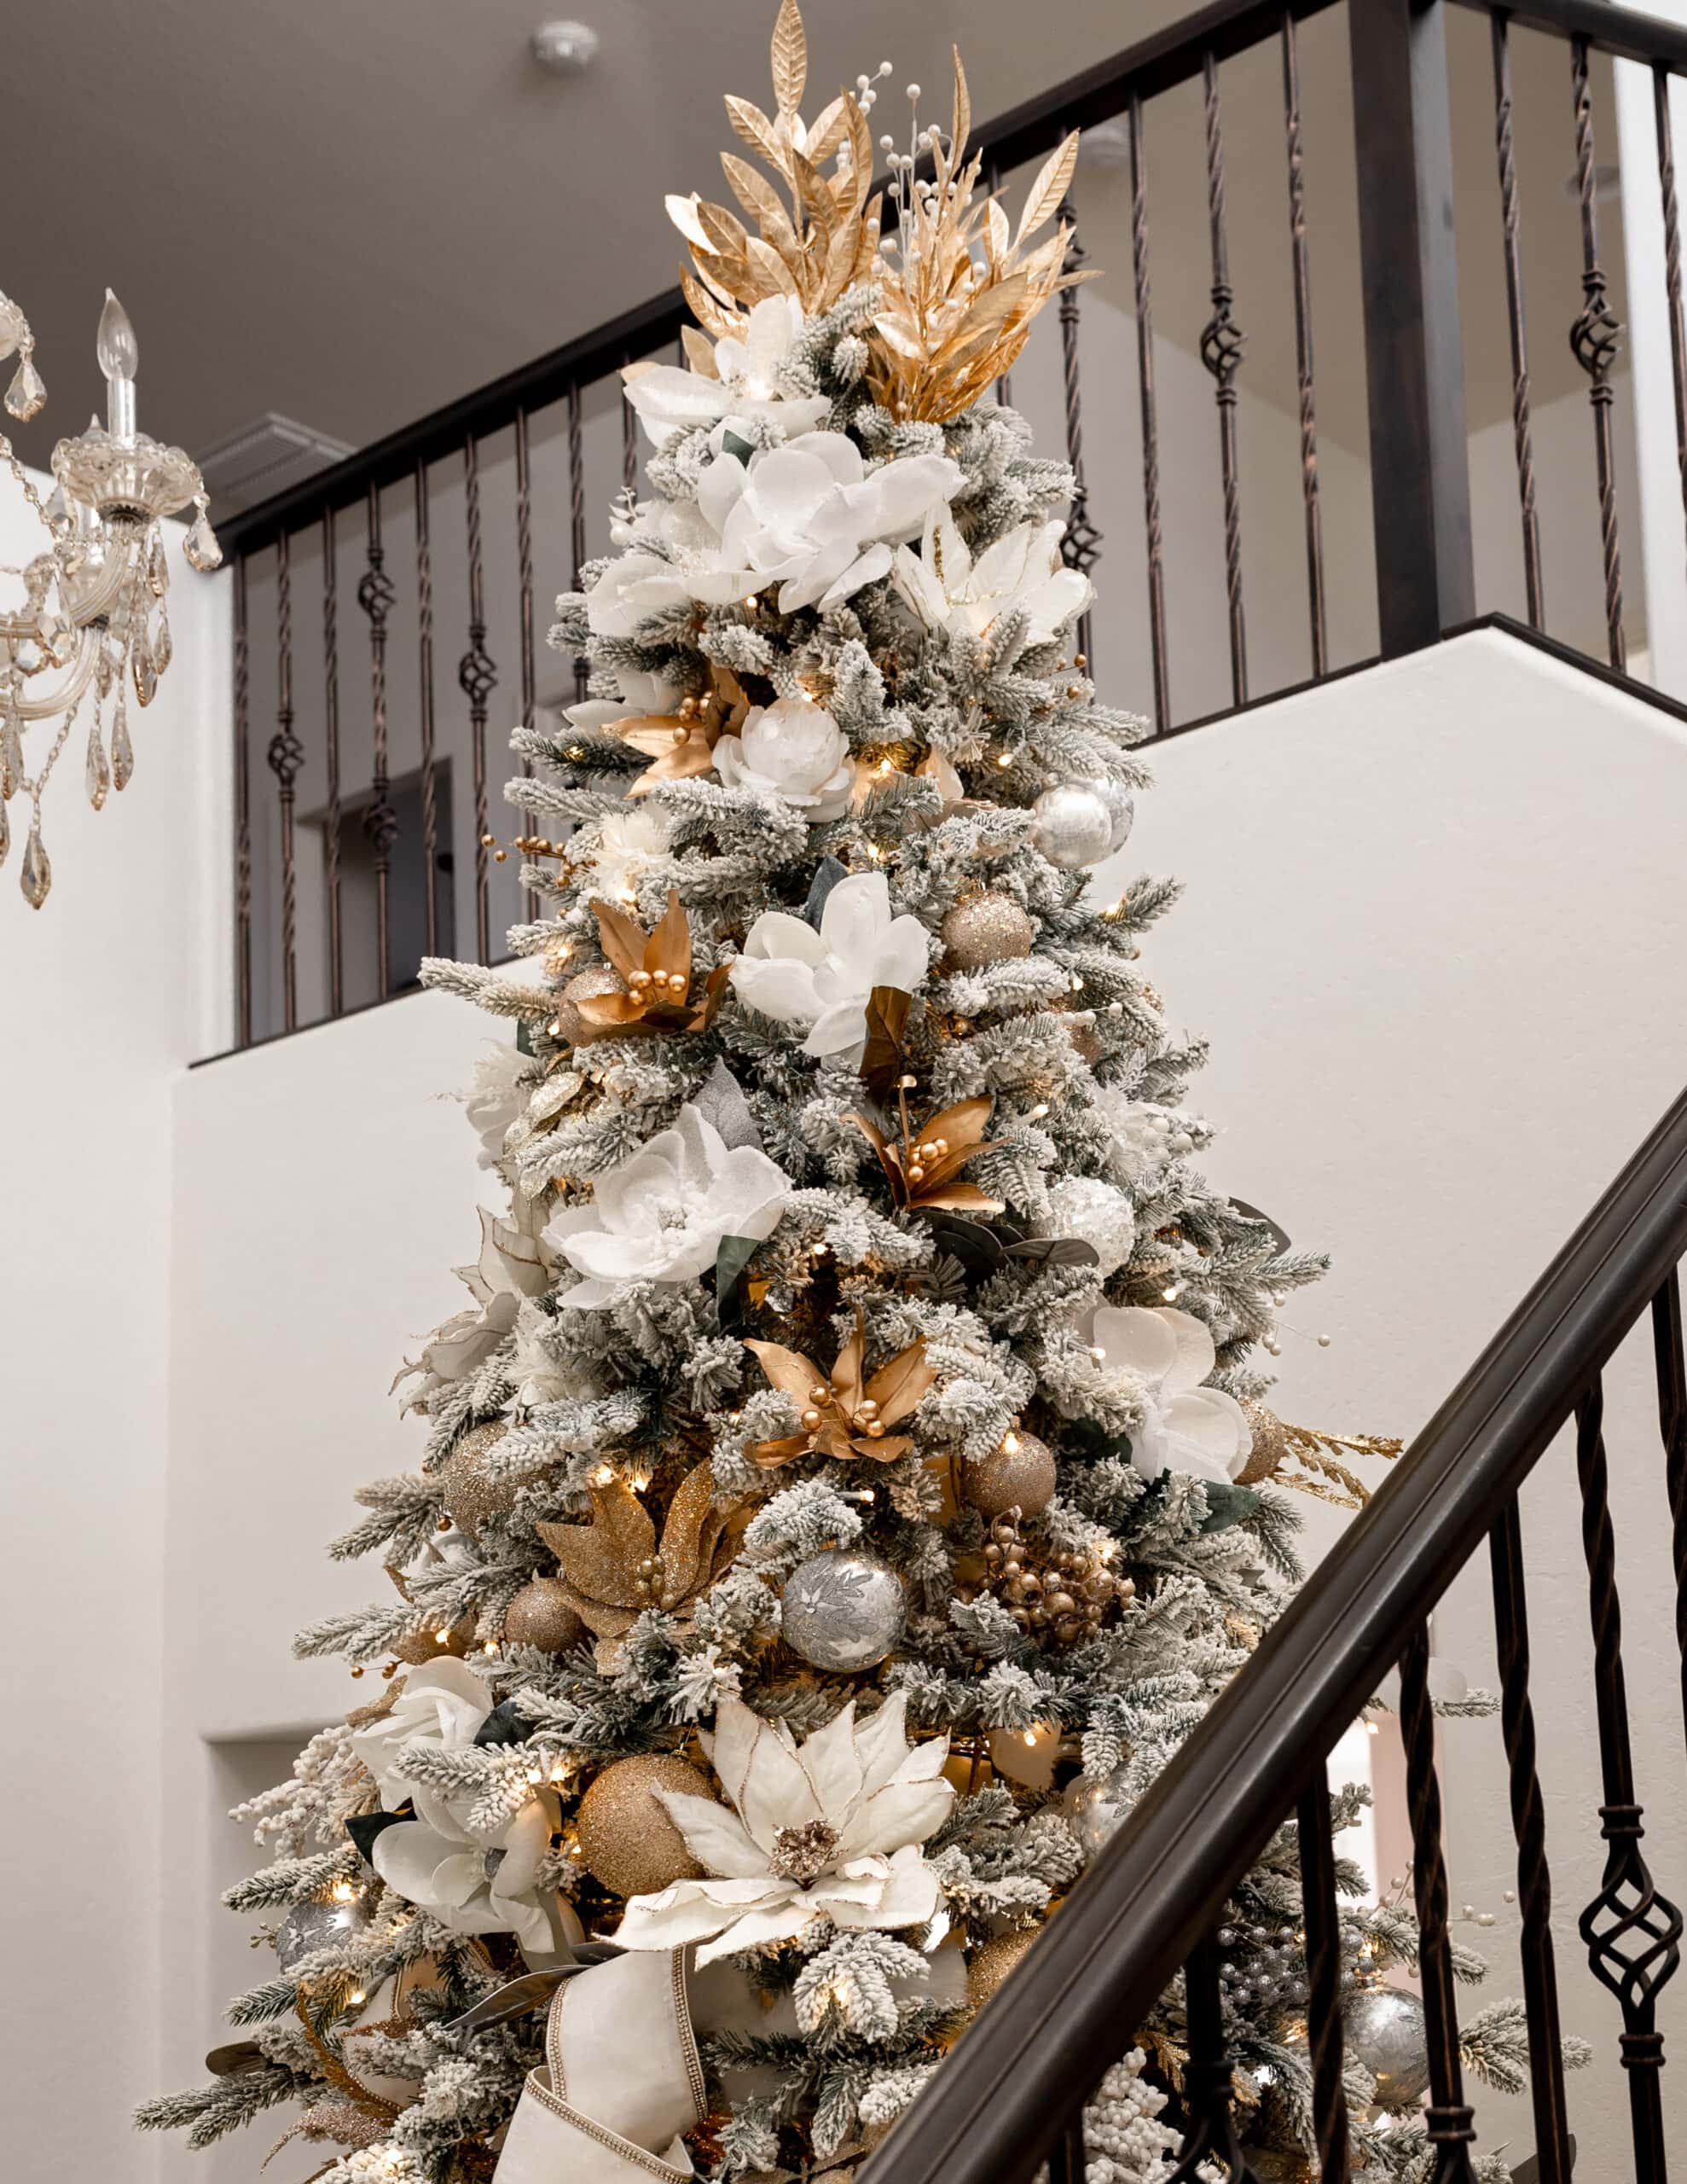
Our two gorgeous Christmas trees are from the company, King of Christmas. In the foyer, we have the 12' Queen Fock Slim Artificial Tree with 1200 Warm White LED Lights and in our family room, we have the 8' Prince Flock® Artificial Christmas Tree with 550 Warm White LED Lights.
What I love about these trees are that it's easy to assemble, the flocking never sheds, and the lights are pre-strung with branches that look so realistic.
Any of their trees would be a great investment for your home.
How to Decorate your Christmas Tree like a Pro
1. Fluff & Shape Your Tree
After assembling your tree you want to fluff and shape the branches in the direction they naturally face. Starting at the base of the tree, fluff the inner branches and work your way outward. This may take a bit of time but it's an essential part of the decorating process to create a full look. Remember to wear gloves to help protect your arms and hands.
2. Add Fur Ribbon
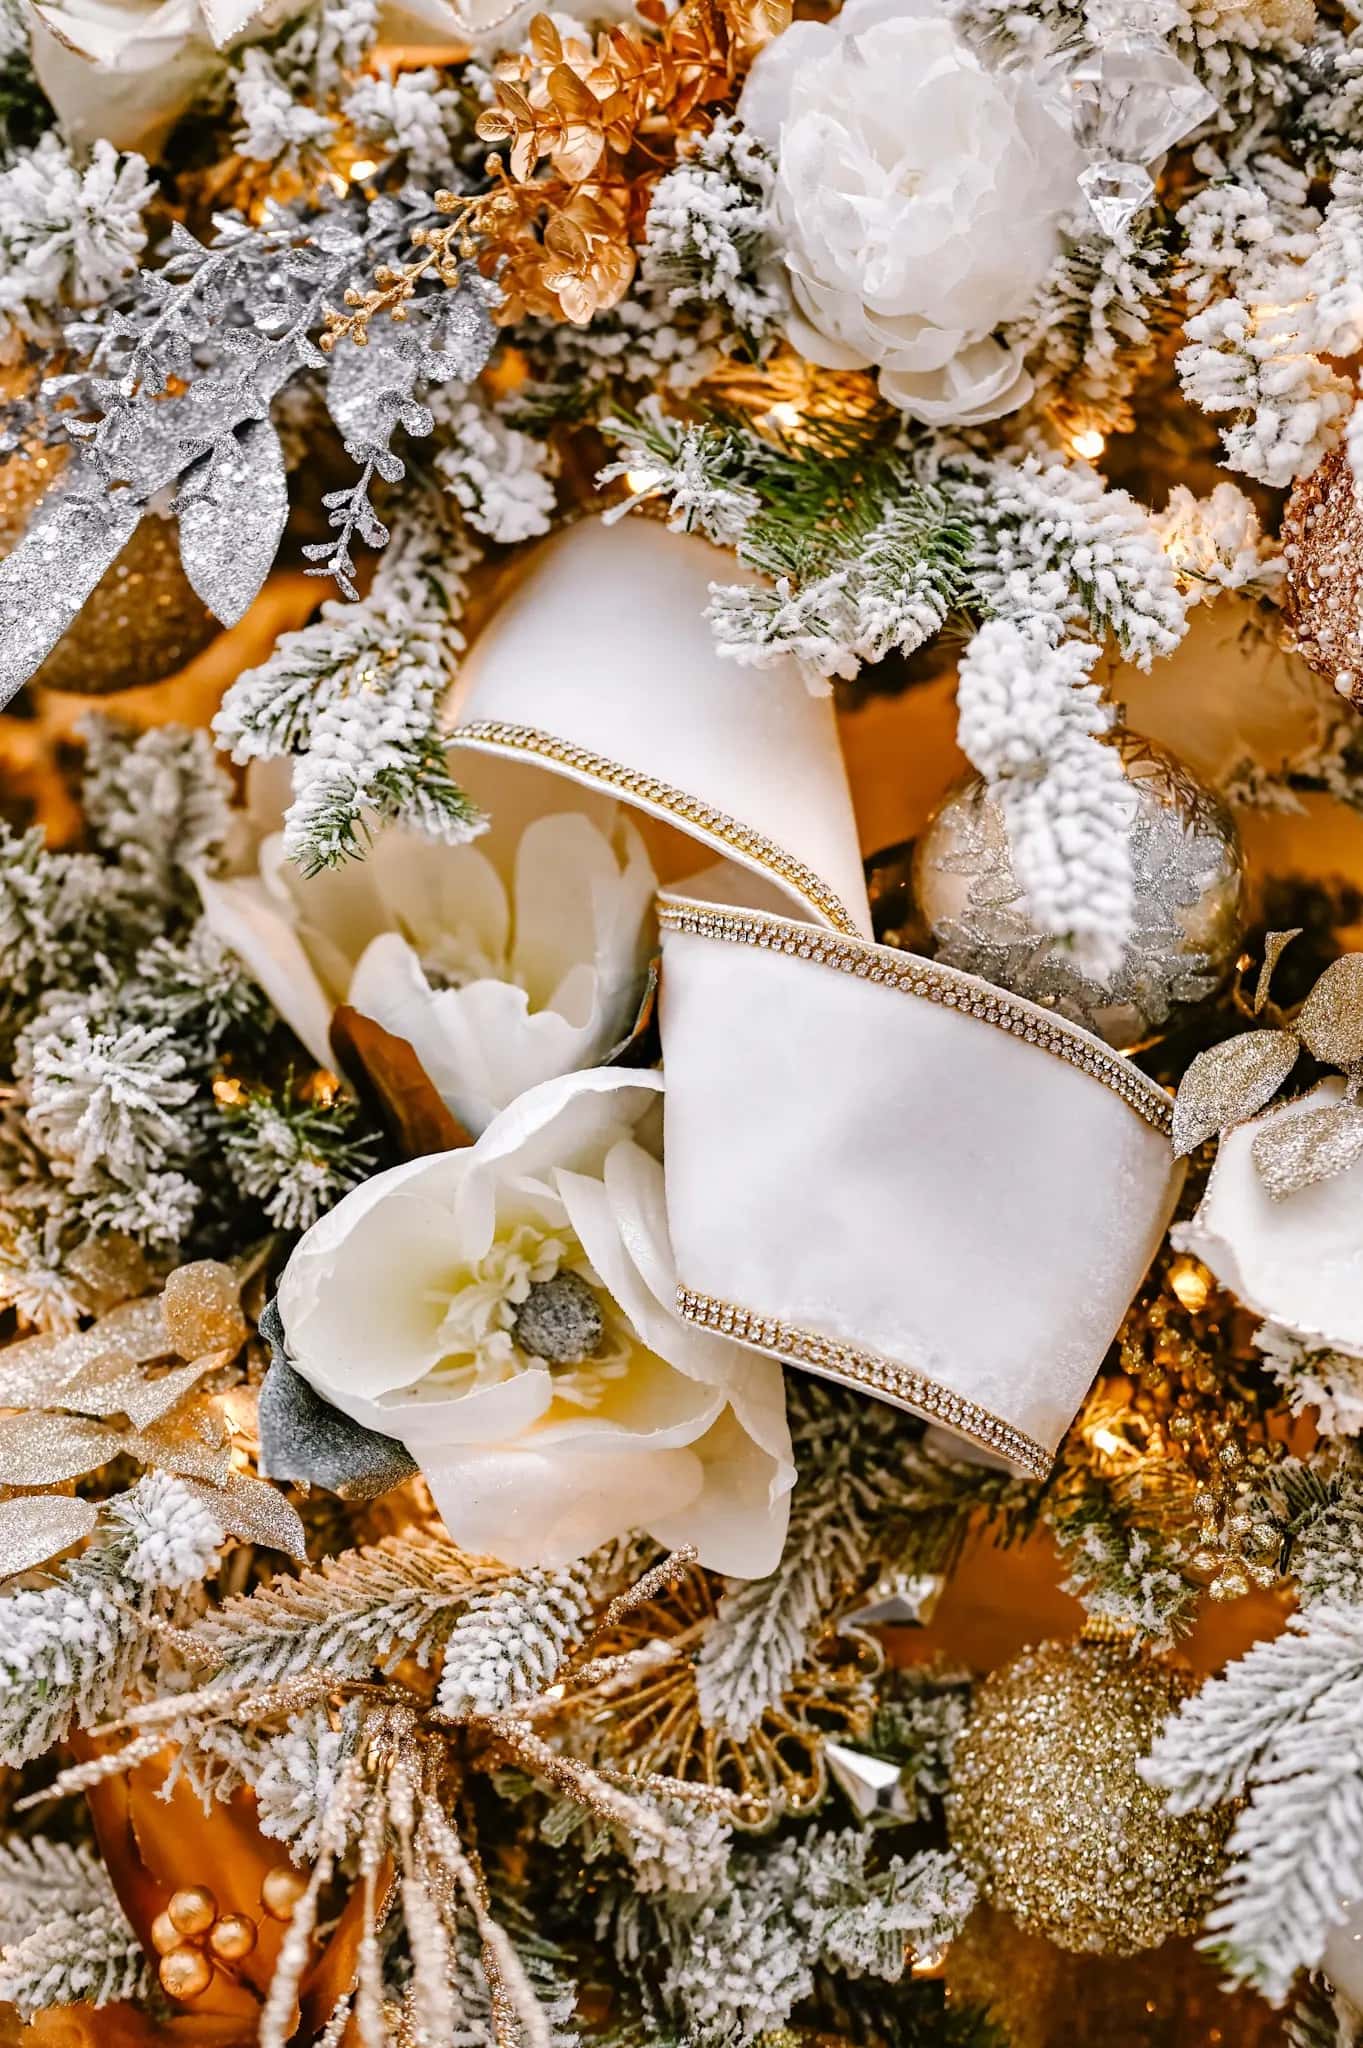
After fluffing the branches, one of my favorite ways to add volume to the tree is to layer sections of fur ribbon to the center from bottom to top. Cut 3-foot strips and stagger them all throughout the tree. You do not have to layer every branch. This helps to bulk up the tree making it appear fuller, and creates a beautiful snowy-like texture. I use around 8 rolls for this 12-foot tree and 4 for the 8-foot tree.
3. Add Florals & Picks
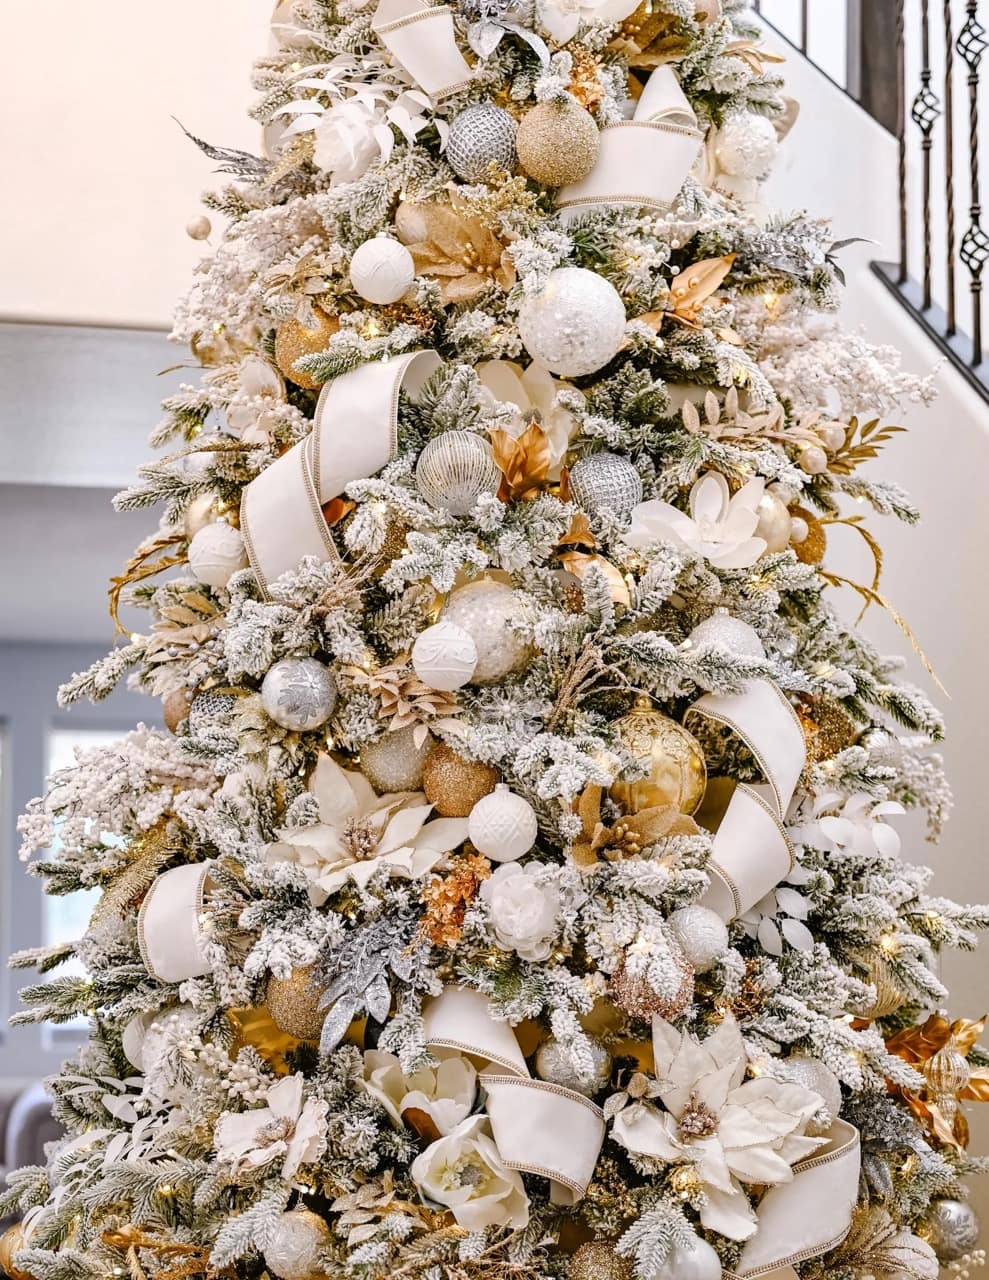
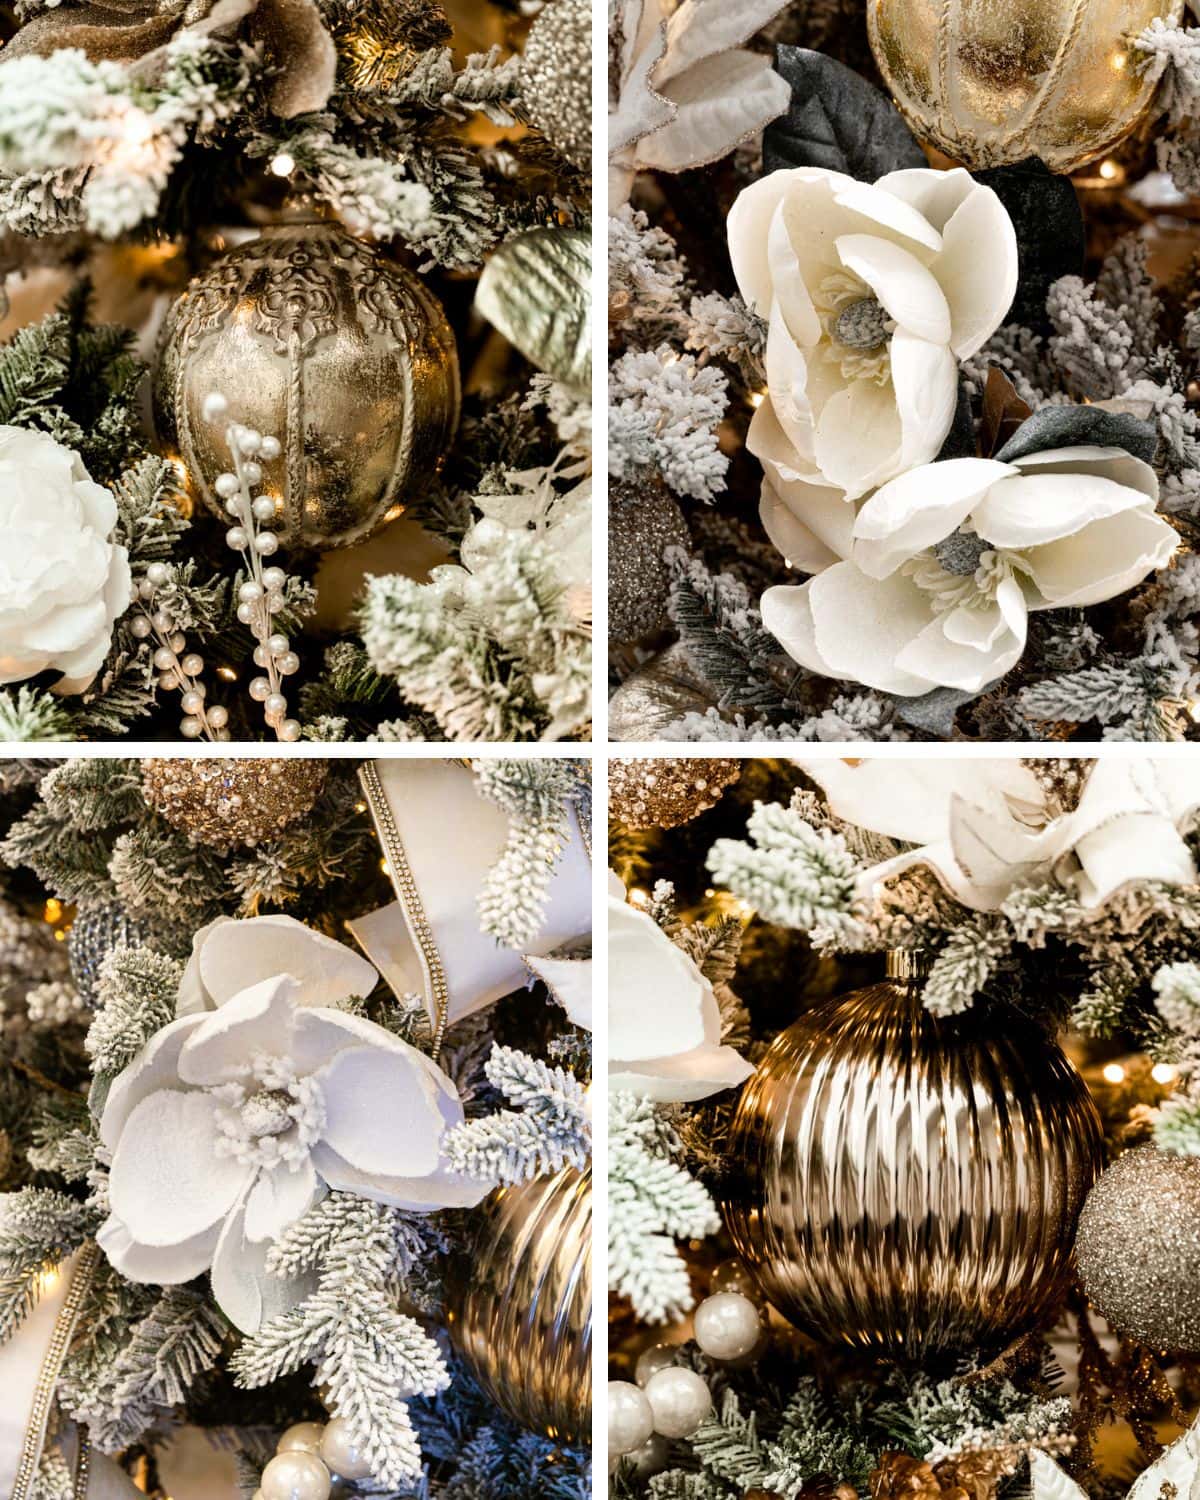
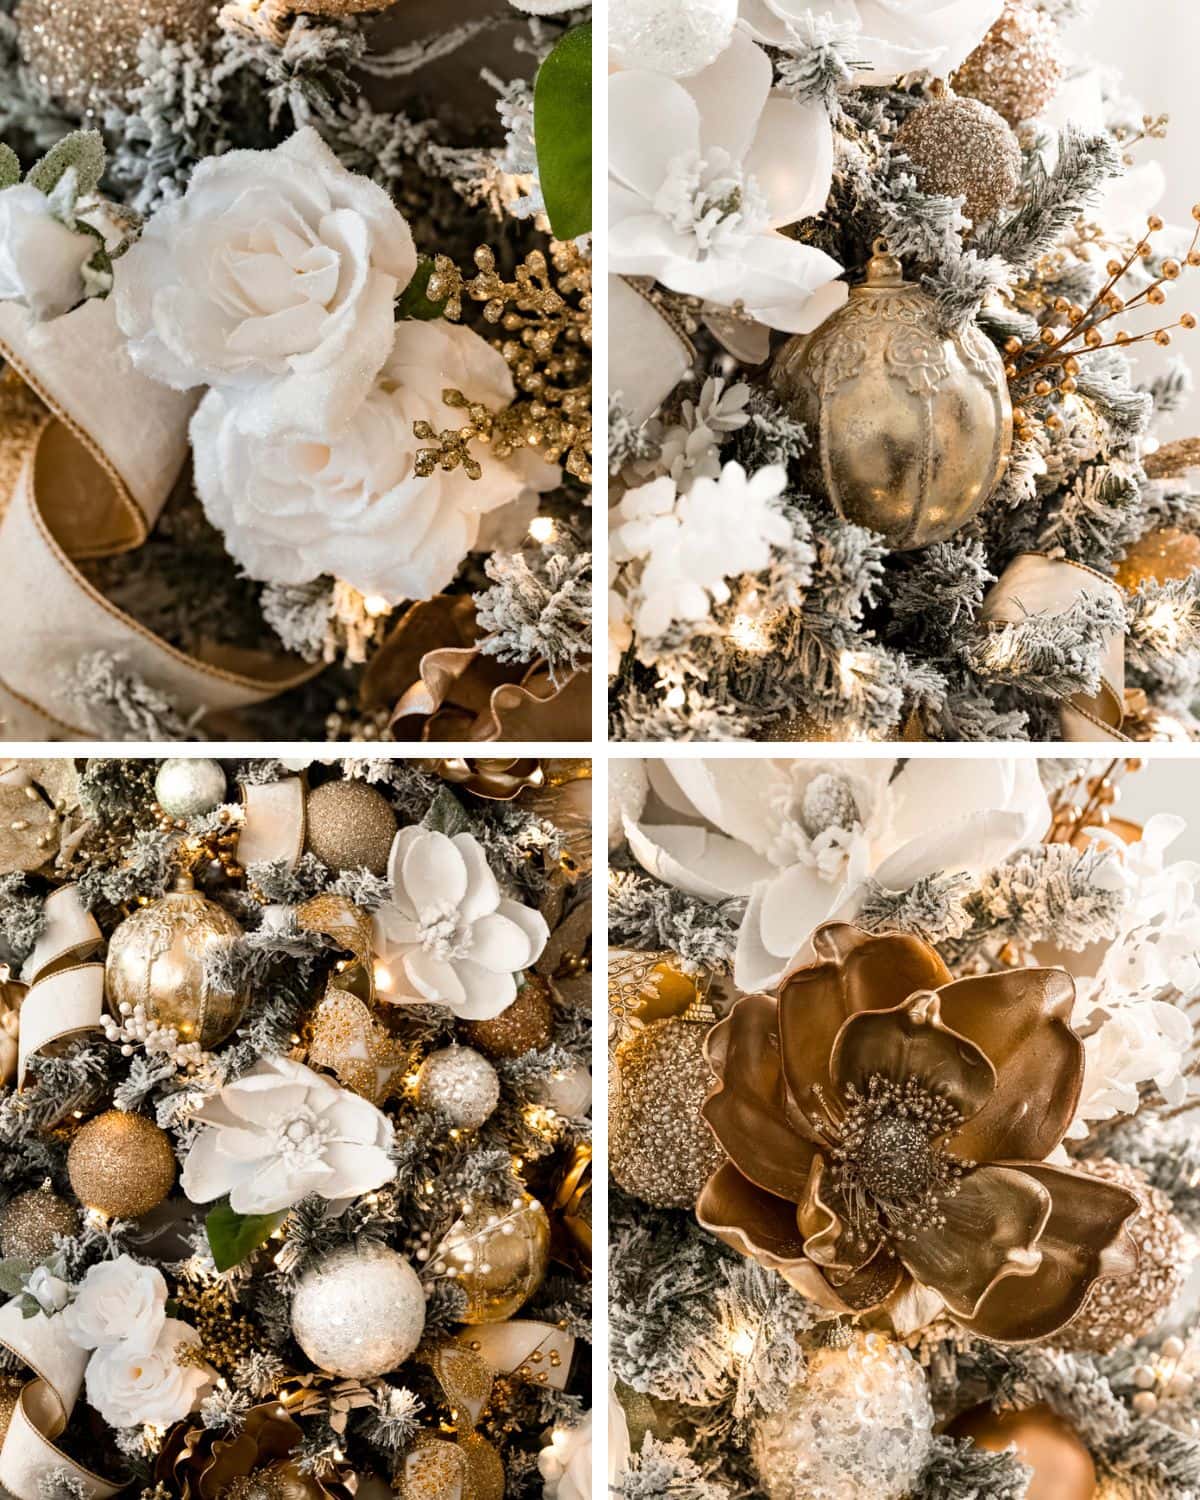
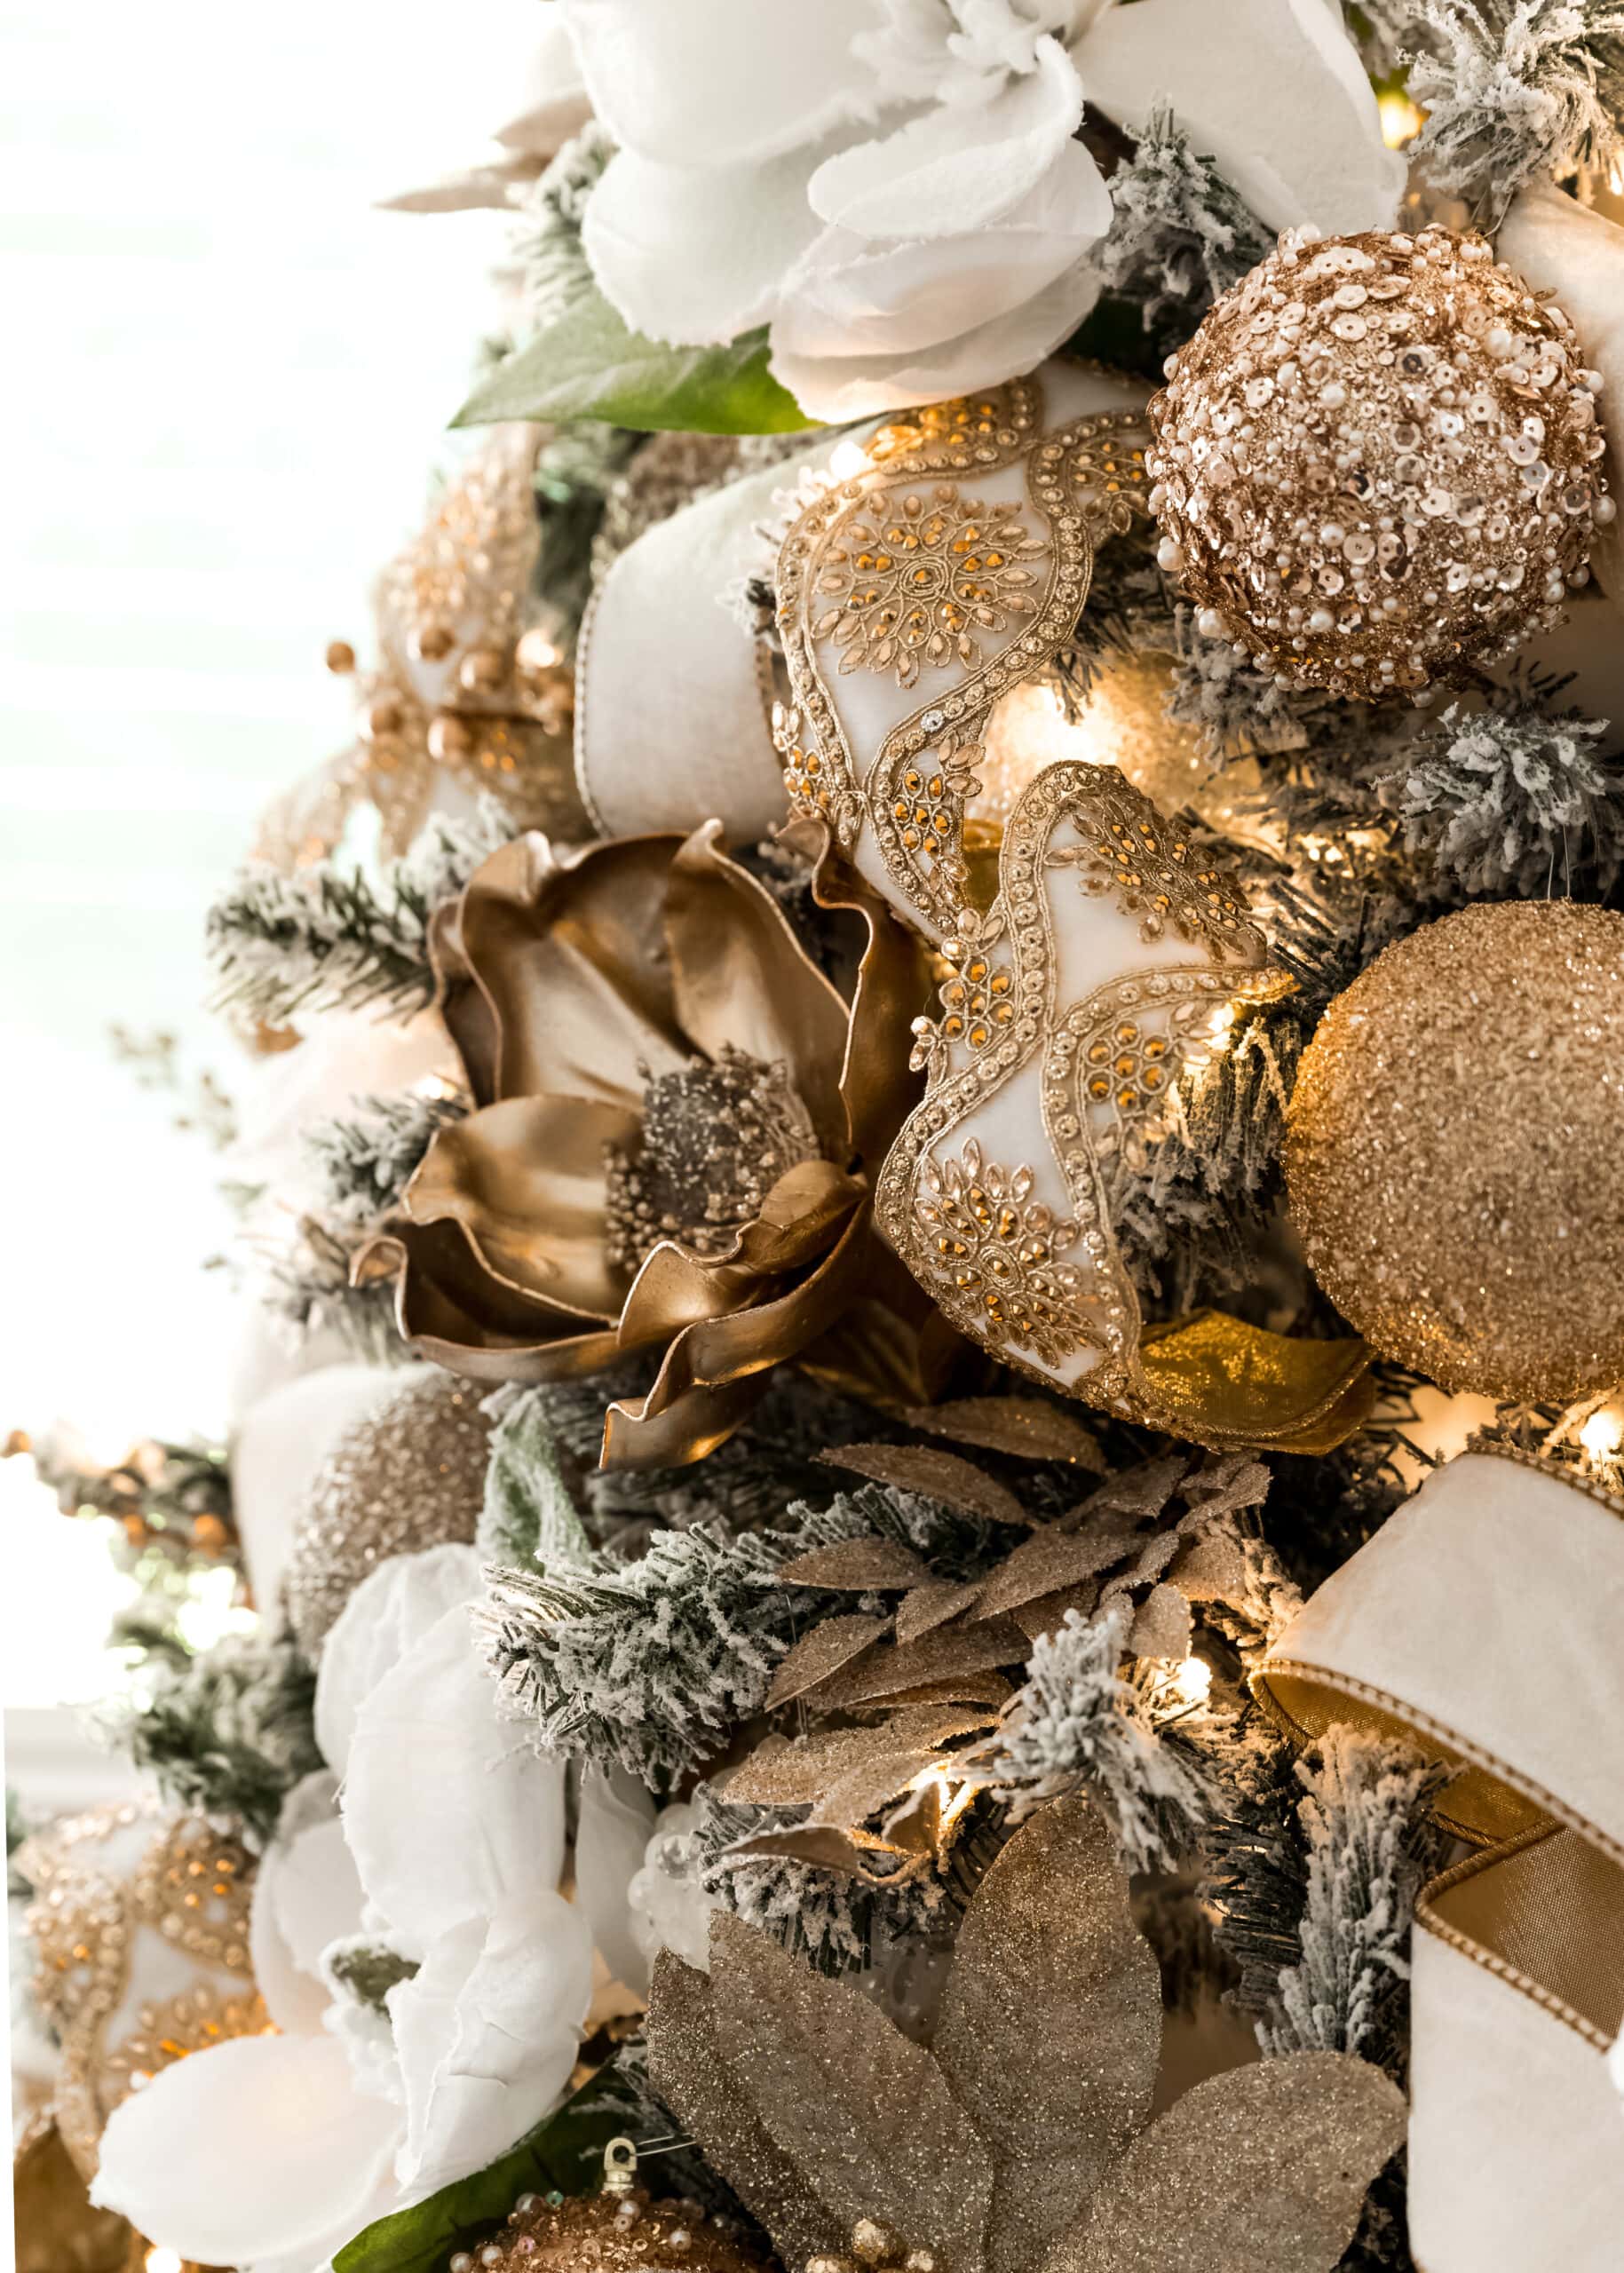
Florals and picks are my favorite Christmas tree accessory. They make a tree look so elegant and help fill in any gaps. On both trees, I use a variety of florals including gold and white magnolias, snowy white roses, snowy white peonies, and white and gold poinsettias. In total, I used about 8 different varieties of picks and florals, which help add volume, texture, and a pop of color to the trees.
4. Add Ornaments
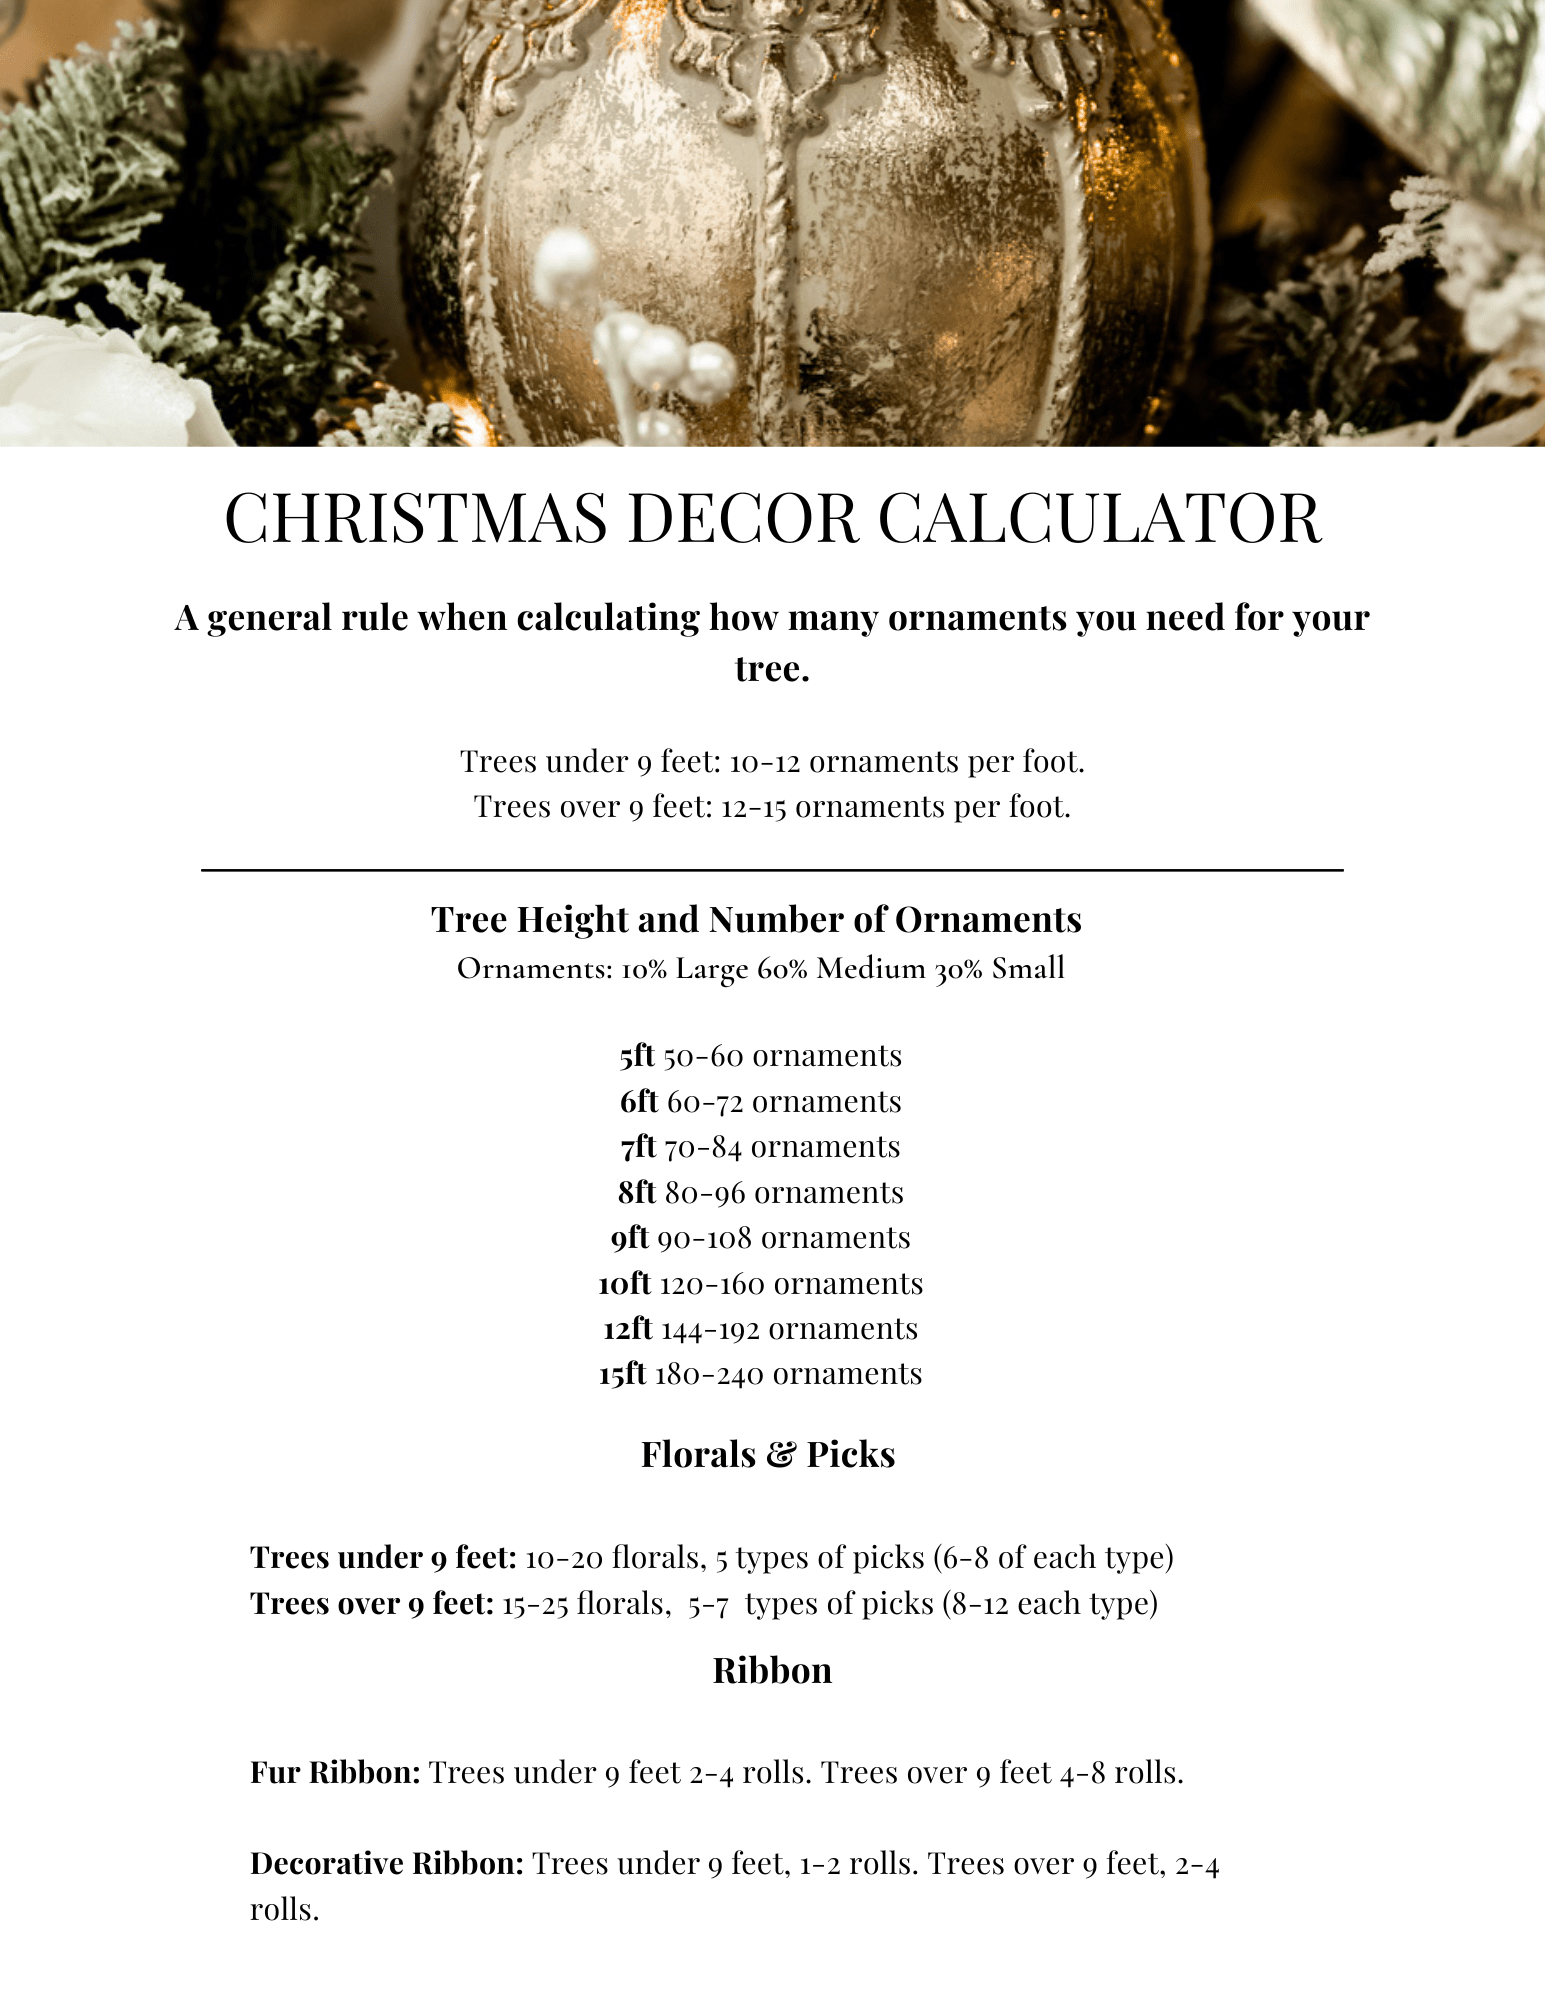
Decorating a tree of this stature involves using a ton of ornaments of various shapes and sizes. For larger trees, you'll need at least 15-20 large ornaments to fill out the base, and for the majority of the rest, you will use medium-sized ornaments with a sprinkle of small ornaments throughout. Refer to my "Christmas Tree Ornaments and Picks Calculator" below for the number of ornaments and picks you will need for your specific size tree.
My 12 feet has about 180 - 200 total ornaments because I prefer a fuller look.
For my 12-foot tree, I use…
15-20 Large Ornaments
125-150 Medium Ornaments
40-50 Small Ornaments
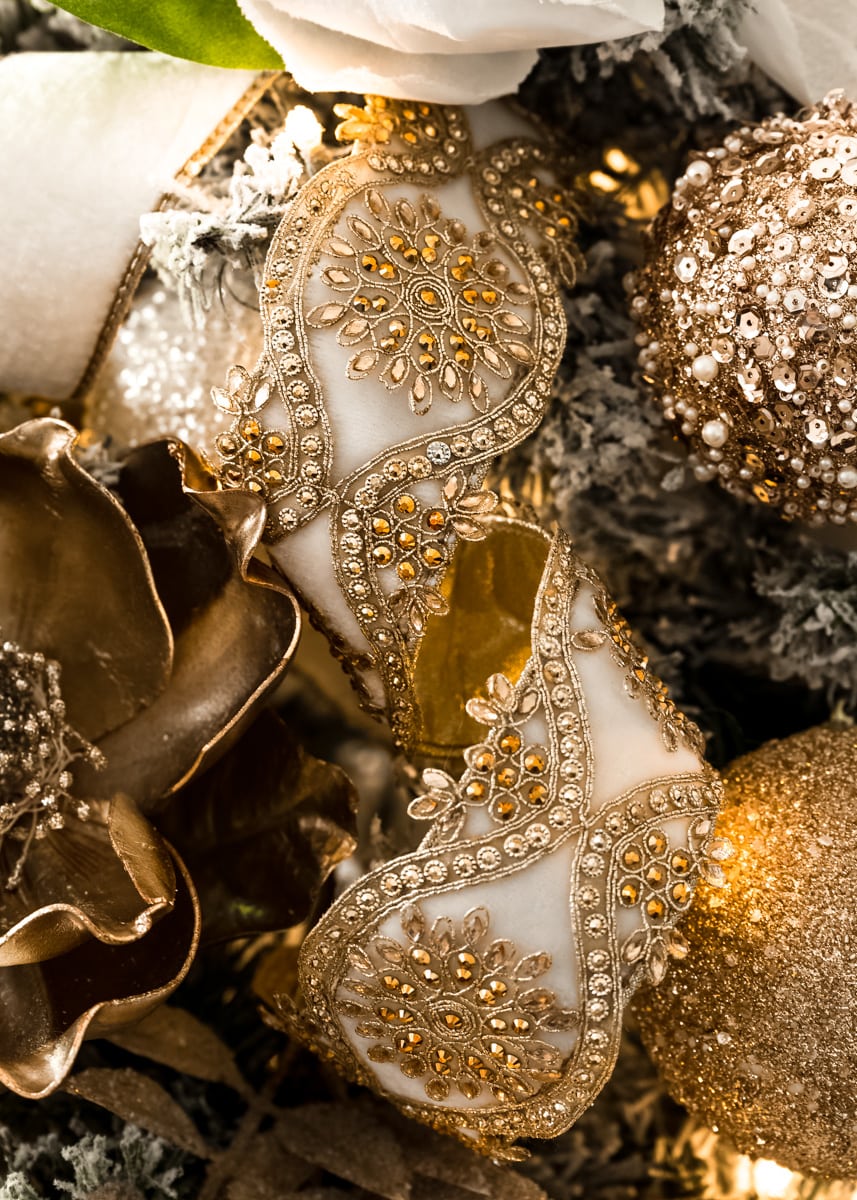
5. Add Decorative Ribbon
Once the tree is fully decorated I add a decorative ribbon as a last step. This is the opposite of how most people decorate their tree, but adding it at the end allows the ribbon to be more viable as it won't be weighed down by the ornaments. It's also another way to fill in any last-minute gaps. You won't need much of the decorative ribbon, therefore you could always splurge for higher quality. I use around 1-2 rolls for each tree.
6. Place Tree Topper
For the last several years I have made my own tree toppers using picks and stems. Depending on the size, you want anywhere from 6-12 picks for each tree. If you don't want to create your own tree topper, you could also splurge for a beautiful decorative piece.
7. Finish with Tree Skirt
A snowy white fur-like tree skirt gives a neutral base with texture. This will be a timeless piece to use for years to come.
How Many Ornaments Do I Need To Decorate My Christmas Tree?



Barr Family says
You lost the number of rolls of ribbon but how many feet per roll? I’m decorating a dining hall with multiple trees but I’m unsure how many feet of ribbon I will need for a 7.5 tree. Thank you so much for all the info!
Rebecca Taig says
Each roll of fur ribbon was around 2'' x 36” or 2 inches by 3 yards. You'll need 1-2 rolls for a 7.5 ft tree.
Anything larger will require 2-4 rolls.
April says
Where did ypu buy your ornaments and other decorations?
Rebecca Taig says
Hi April,
Some of the ornaments and decorations are listed in the shoppable links below the post.
A lot of ornaments, florals, and picks came from various places like Hobby Lobby, Michaels, Balsam Hill, Macys, and Target.
Sarita Fernandes de Mello says
Hi Becca, I too would like to see a video of you placing the ribbon around the tree. Hoping to put the tree up this coming week.
Thanks 🎄
Aliya Alladina says
Hello. Can you please include photos or a video applying the fur ribbon?
Rebecca Taig says
Hi Aliya,
I don't have a video at the moment but let me try to troubleshoot you.
Cut the fur ribbon into several 12-16 inch strips. Starting at the base of the tree, lay a strip onto a branch so that the fur portion is pointing toward the outside of the tree. The strip should be positioned in the middle of the branch. Repeat this process working all the way around the tree and toward the top. You do not have to layer every branch. The goal is to create a snowy like effect that helps fill out some of the branches and adds bulk to the middle of the tree.
Happy decorating!
Aliya Alladina says
Thank you that’s very helpful!
Rebecca Taig says
Hi Aliya,
I recently posted an Instagram story explaining all of this in more detail as well. 🙂
Jenna Tomassetti says
Hi is your tree flocked and pre lit? I have a 7.5 ft prelit tree but wanted to add more lights and flocking to it? What do you suggest?
Rebecca Taig says
Hi Jenna,
Both of our Christmas trees are flocked and pre-lit.
You could always string more lights into the already pre-lit tree. As far as adding flocking, there is something called "snowflock" that you can purchase on Amazon to help whiten the tree, but I have not used it so I can't speak to the quality. Here is a link: https://rstyle.me/+-RF-ttWDxpNTa8bGooUXsw
Another option is to buy flocked pick branches and place them throughout the tree.
Happy Decorating!
Allison says
Hi! LOVE your tree design. How big would you say your large, medium and small bulbs are in inches?
Rebecca Taig says
Hi Allison,
Thank you for the lovely compliment. Great question about the ornament sizing.
Many of the ornaments range from 2.5" - 3" for the smallest bulbs 4"- 6" for the medium bulbs, 8"- 10" for the largest bulbs.
Lynsey says
I'm 31 and just bought my first Christmas tree. Thank you so much for breaking this down. I hope mine turns out as stunning as yours!!
Rebecca Taig says
How exciting! You are going to love it for years to come, and I know it will look fabulous in your home.
Thank you for your kind words and happy decorating!
Bob says
I'd love to know in greater detail how you use the fur ribbon.
Rebecca Taig says
Hi Bob,
To create a snowy look I add fur ribbon after fluffing the branches. It also hides the center of the tree and makes the tree look fuller.
I use around 8 rolls of fur ribbon for our 12-foot tree, and I cut the ribbon into 2-3 foot strips.
Starting at the base of the tree take a strip of ribbon and tuck the ribbon toward the center of the tree, lying flat on the fluffed branches. Work your way toward the top of the tree.
You want to create staggered pieces throughout for a snowy-like appearance, and not every branch has to be covered.
I hope that helps! We will be getting our tree out in two weeks and ill create a more detailed tutorial for the future.
Becca
Jessica says
Where did you get those boxes for the presents?
Rebecca Taig says
Hi Jessica!
I got the boxes at Target. Here is a link https://rstyle.me/+7NGJNC0aVsYNYT-riBFcyw
Brittanie says
Hello do you have a video of how to add the fur ribbon?
Rebecca Taig says
Hi Brittanie,
I don't have a video at the moment but I will eventually make one as this is a popular question.
Cut the ribbon into strips and place it inside the tree branches at random. Start at the bottom of the tree and work your way up toward the top, all the way around the tree. The ribbon does not have to layer every branch. The goal is to create a snowy like effect that helps fill out some of the branches.
Happy decorating!
Charlene says
I love your style. So beautiful. thank you for sharing!
Rebecca Taig says
Thank you for the lovely comment Charlene, I really appreciate it.